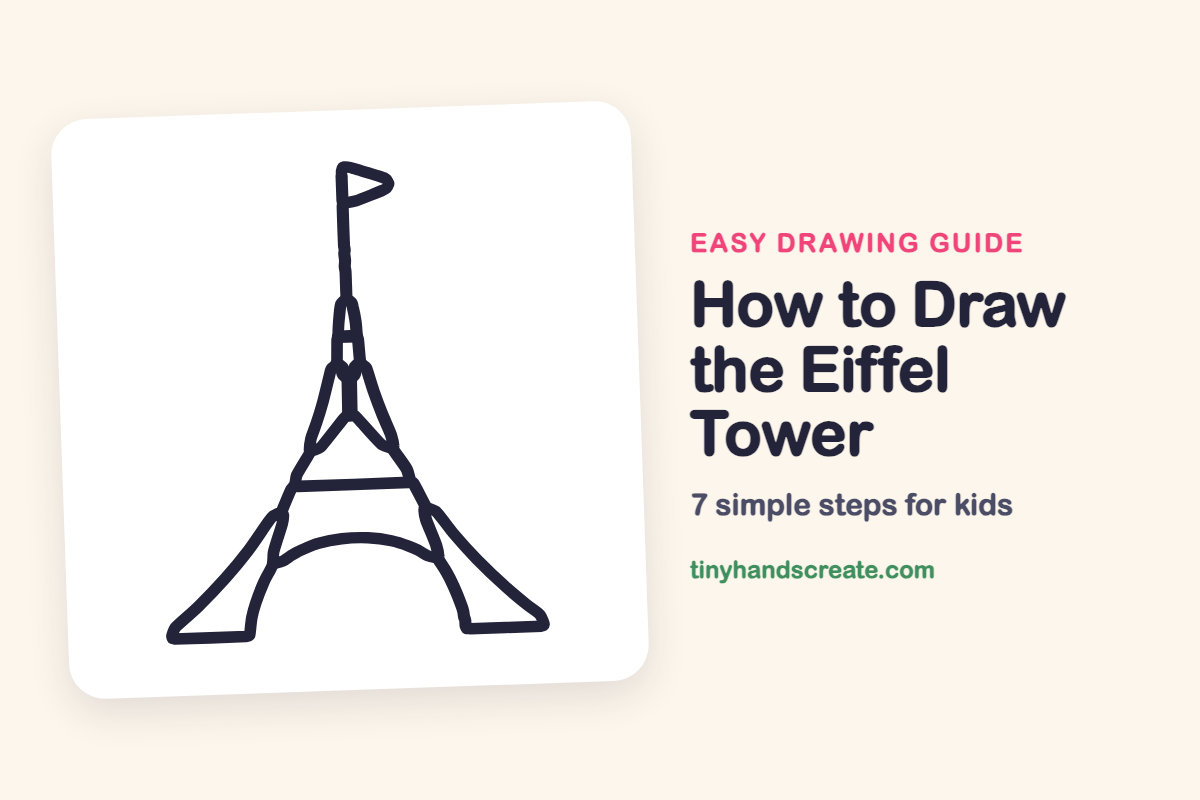
How to Draw the Eiffel Tower (Easy Step by Step)
The Eiffel Tower is a fun drawing because it looks fancy but is built from simple lines. You only need two long sloping legs, a big arch, a couple of straight bars, a few short braces, and a tiny triangle flag. Once you see the tall narrow shape that spreads out at the bottom, it comes together quickly.
- Medium
- 10 minutes
- 7 steps
You need: paper, a pencil, an eraser, and crayons or markers for coloring.
Start drawingIn this article (7 sections)
How to draw the Eiffel Tower step by step
How to Draw the Eiffel Tower · tinyhandscreate.com
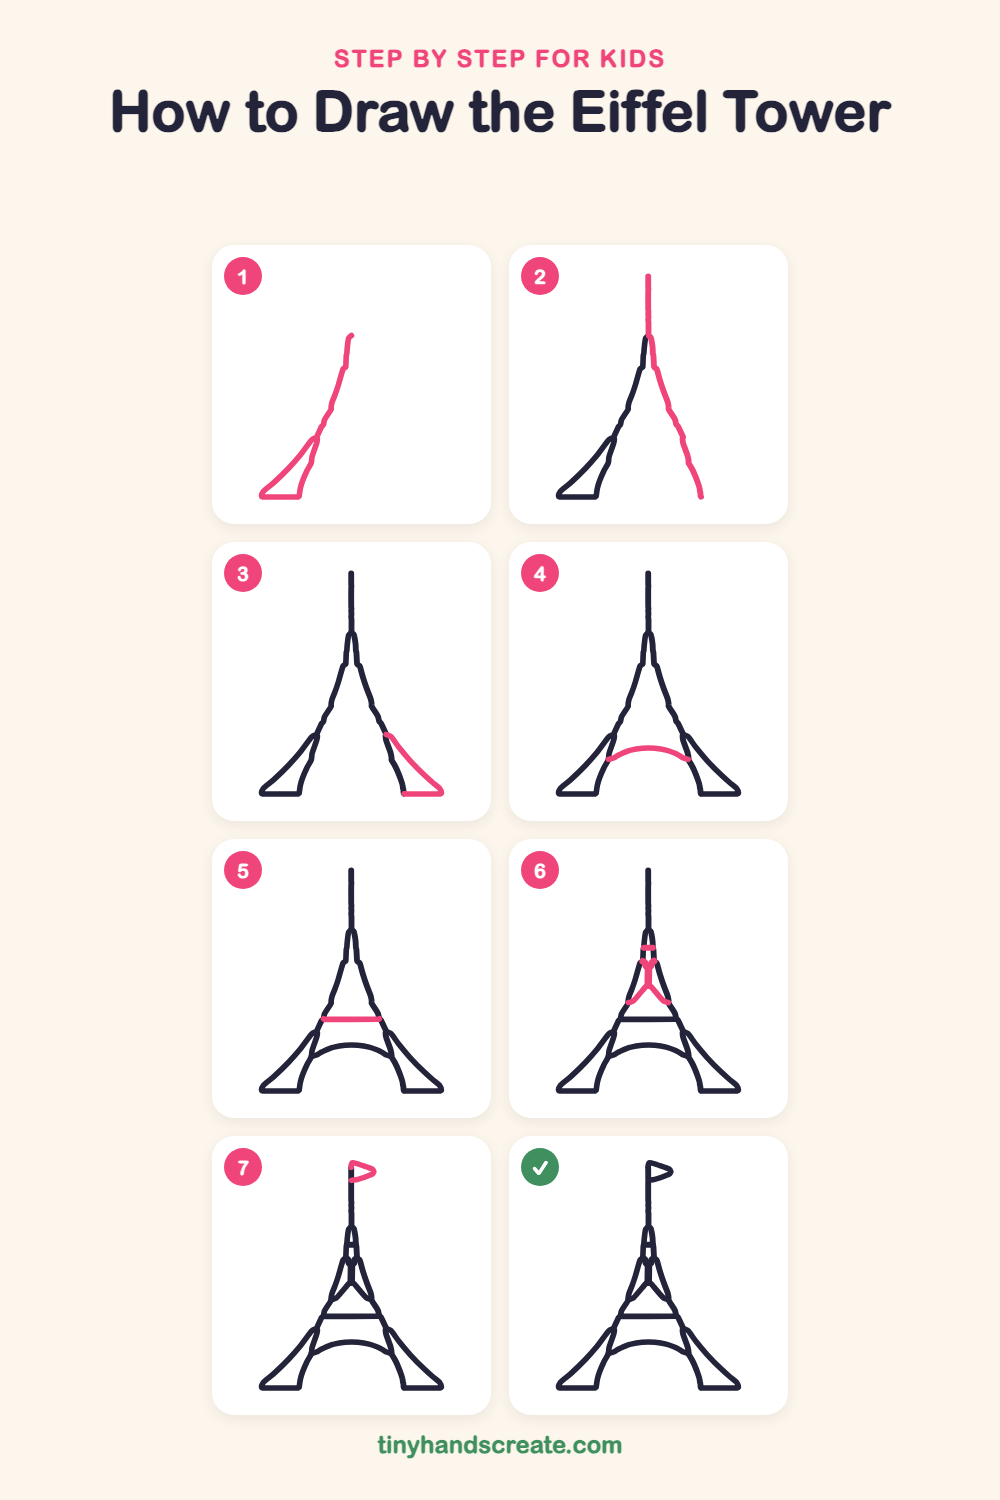
Step 1: Left leg and foot
Start near the top middle and draw a long line that slopes down and out to the left, like a ski slope. At the bottom, draw a flat pointed foot that curves back up to meet the leg.
Step 2: Spire and right leg
Draw a straight line going up from the top of the left leg for the tall spire. Then draw a line down the right side that mirrors the left leg, ending in a point at the bottom.
Step 3: Right foot
Near the bottom right, draw a curved line that starts on the right leg and sweeps out to the right corner. Close it with a flat line along the ground so the foot matches the left side.
Step 4: The big arch
Between the two feet near the bottom, draw a wide rainbow-shaped curve. It starts on one leg and bends over to touch the other leg.
Step 5: The middle platform
Draw one straight sideways line across the tower, a little above the arch. Start on the left leg and stop when you touch the right leg.
Step 6: Top braces
Above the platform, draw a small peak shape like a tiny tent that meets in the middle, with a short line going up from its point. Add a little sideways line higher up, near the narrow top of the tower.
Step 7: The flag
At the very top of the spire, draw a small triangle flag. Start at the top of the pole, draw a line out to a point, then back to the pole to close it.
All done!
Go over your lines with a marker, then color it in.
Finished your Eiffel Tower? Keep the pencils out and learn how to draw a bridge or how to draw a shop next.
Tips for drawing the Eiffel Tower
- The two long legs are the trickiest part. Draw them lightly with a pencil first, and check that they slope out about the same amount on each side.
- Keep the spire straight up and down. Rest your pencil on a ruler or the edge of a book if you want a very straight line.
- Let the ends of the arch touch the legs. If it looks wobbly, erase it and try again with one smooth swoop.
Free Eiffel Tower coloring page
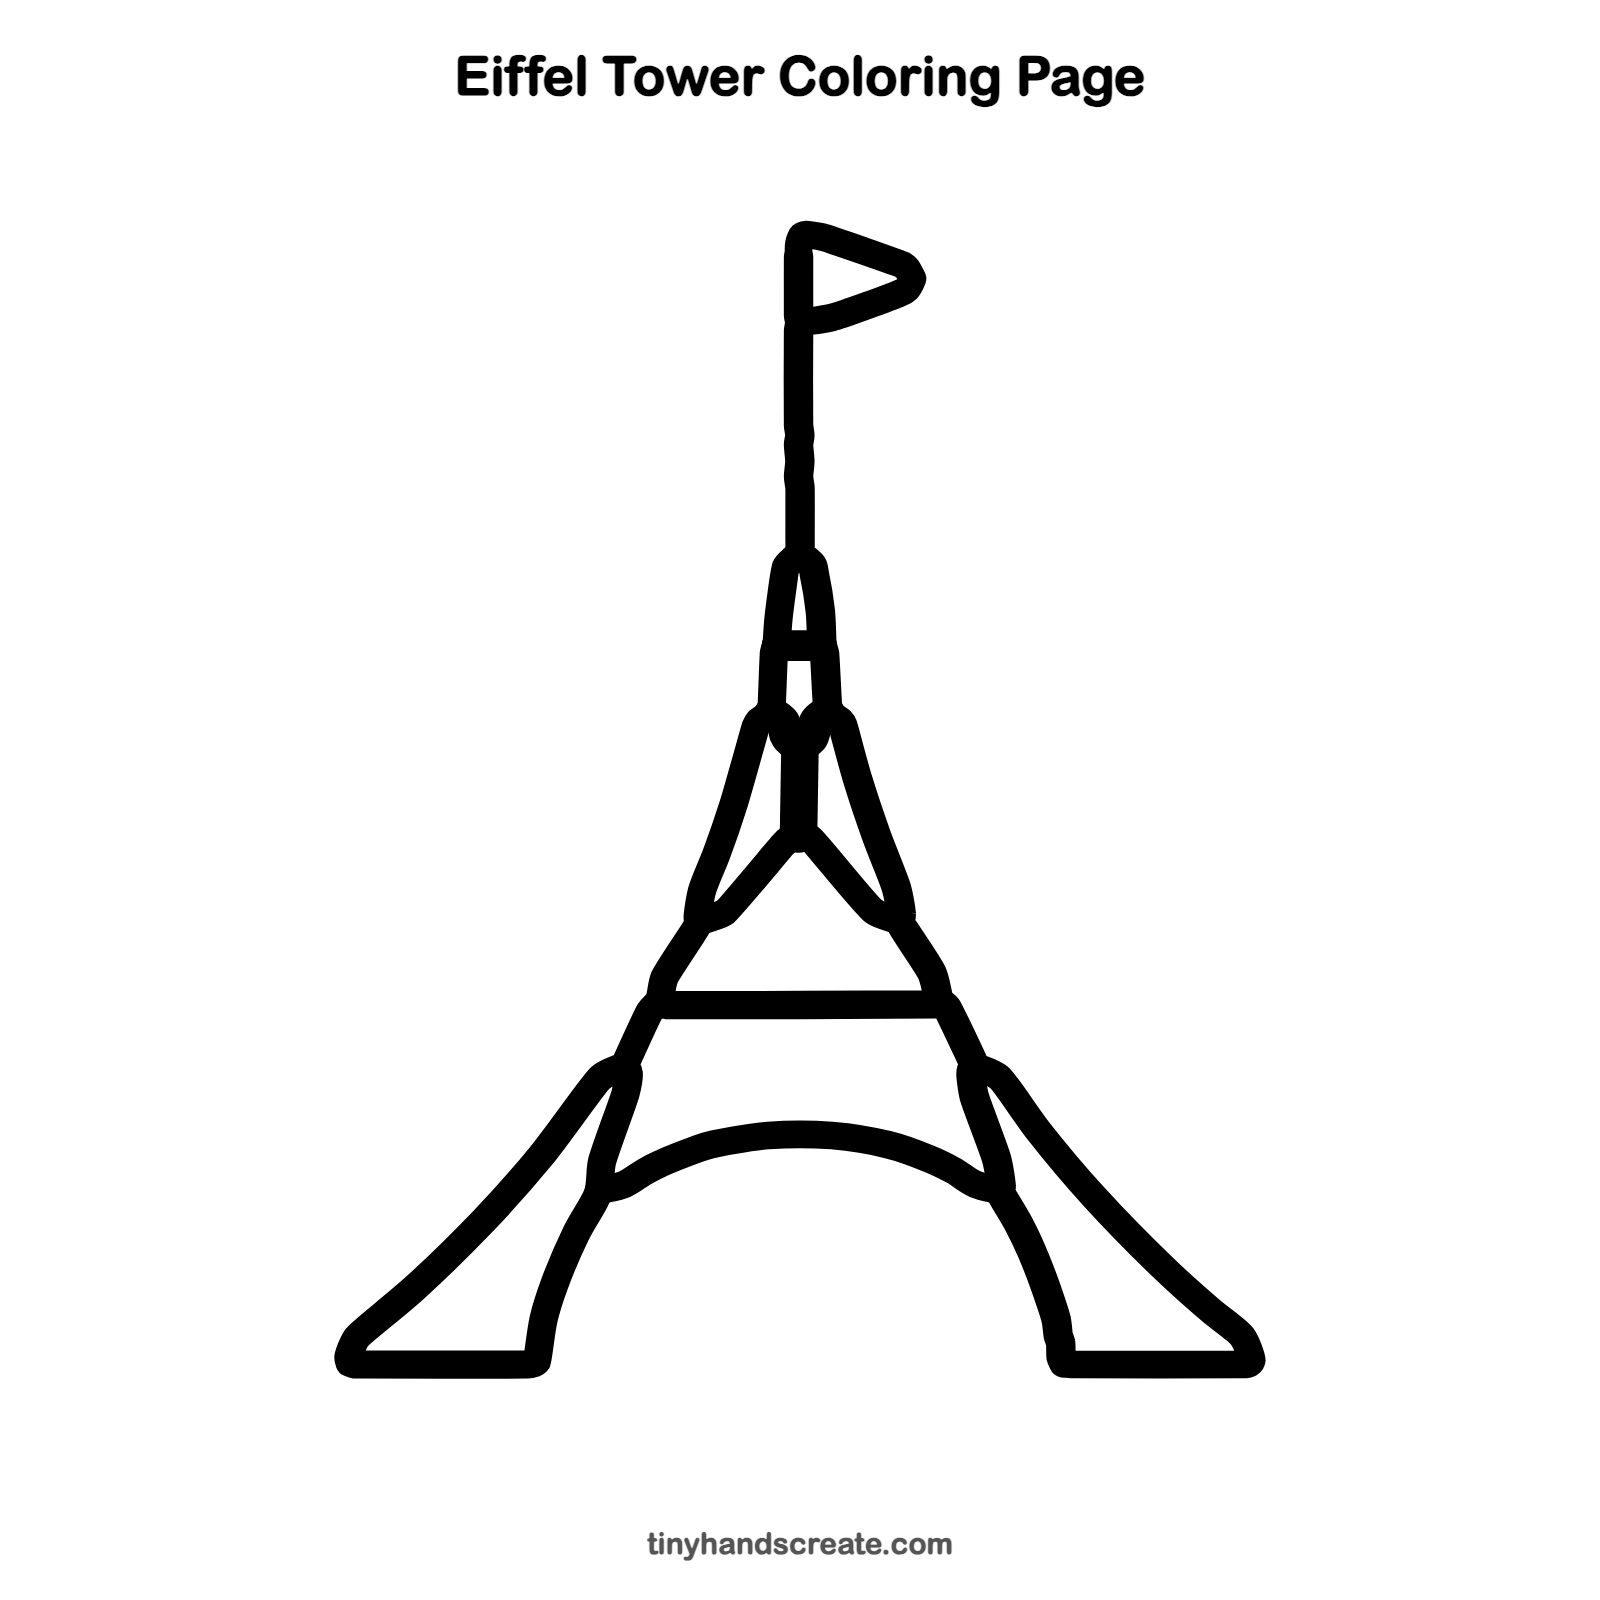
Want to go straight to coloring? Open this Eiffel Tower coloring page at full size and print it. It is the same drawing you just learned, with clean lines ready for crayons or markers.
How to color your Eiffel Tower drawing
Many people color the tower a warm bronze or soft gray, with a bright flag on top. For a creative twist, make it a sunset tower with an orange and pink sky, or add tiny twinkling lights for a night scene.
Eiffel Tower fun fact for kids
The Eiffel Tower in Paris, France, was finished in 1889. It is made of iron, and it can grow a few inches taller in hot summer weather because metal expands when it warms up.
Questions about drawing the Eiffel Tower
What shapes do I need to draw the Eiffel Tower?
You need two long sloping legs with flat feet, a rainbow-shaped arch, a straight line for the platform, a few short braces near the top, and a small triangle for the flag. Together they make a tall, narrow tower that widens at the bottom.
How do I make both sides of the tower match?
Draw one leg, then look at how far it slopes out at the bottom and copy that on the other side. Light guide marks at the same height on each side help a lot.
How long does it take to draw the Eiffel Tower?
Most kids finish this simple version in about 10 minutes. Take your time with the legs, since they shape the whole tower.