How to Draw a Bridge (Easy Step by Step)
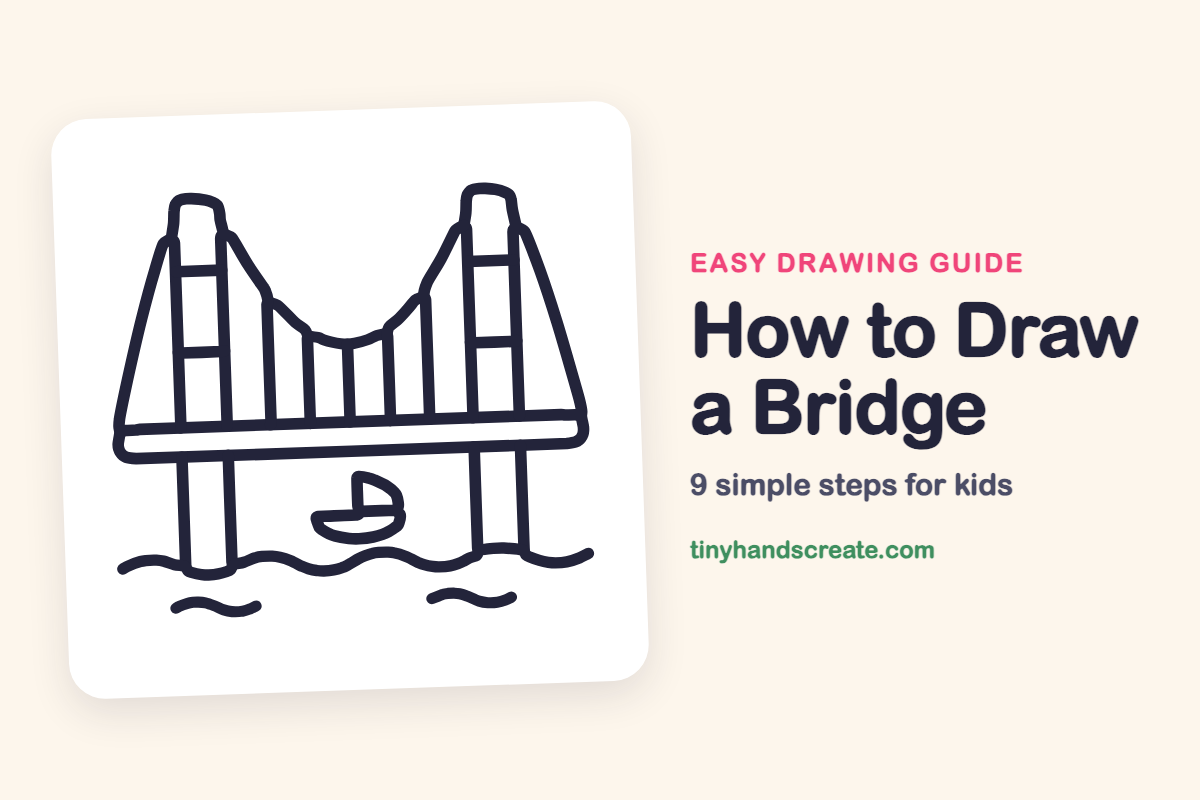
A bridge looks grand, but it is built from simple pieces: rectangles, straight lines and one big smiling curve. You start with the flat road, add two tall towers, then draw the cables and hanging lines. You finish with the legs, a little sailboat and the water. It is a fun one because every part has a clear job.
- Medium
- 15 minutes
- 9 steps
You need: paper, a pencil, an eraser, and crayons or markers for coloring.
Start drawingIn this article (7 sections)
How to draw a bridge step by step
How to Draw a Bridge · tinyhandscreate.com
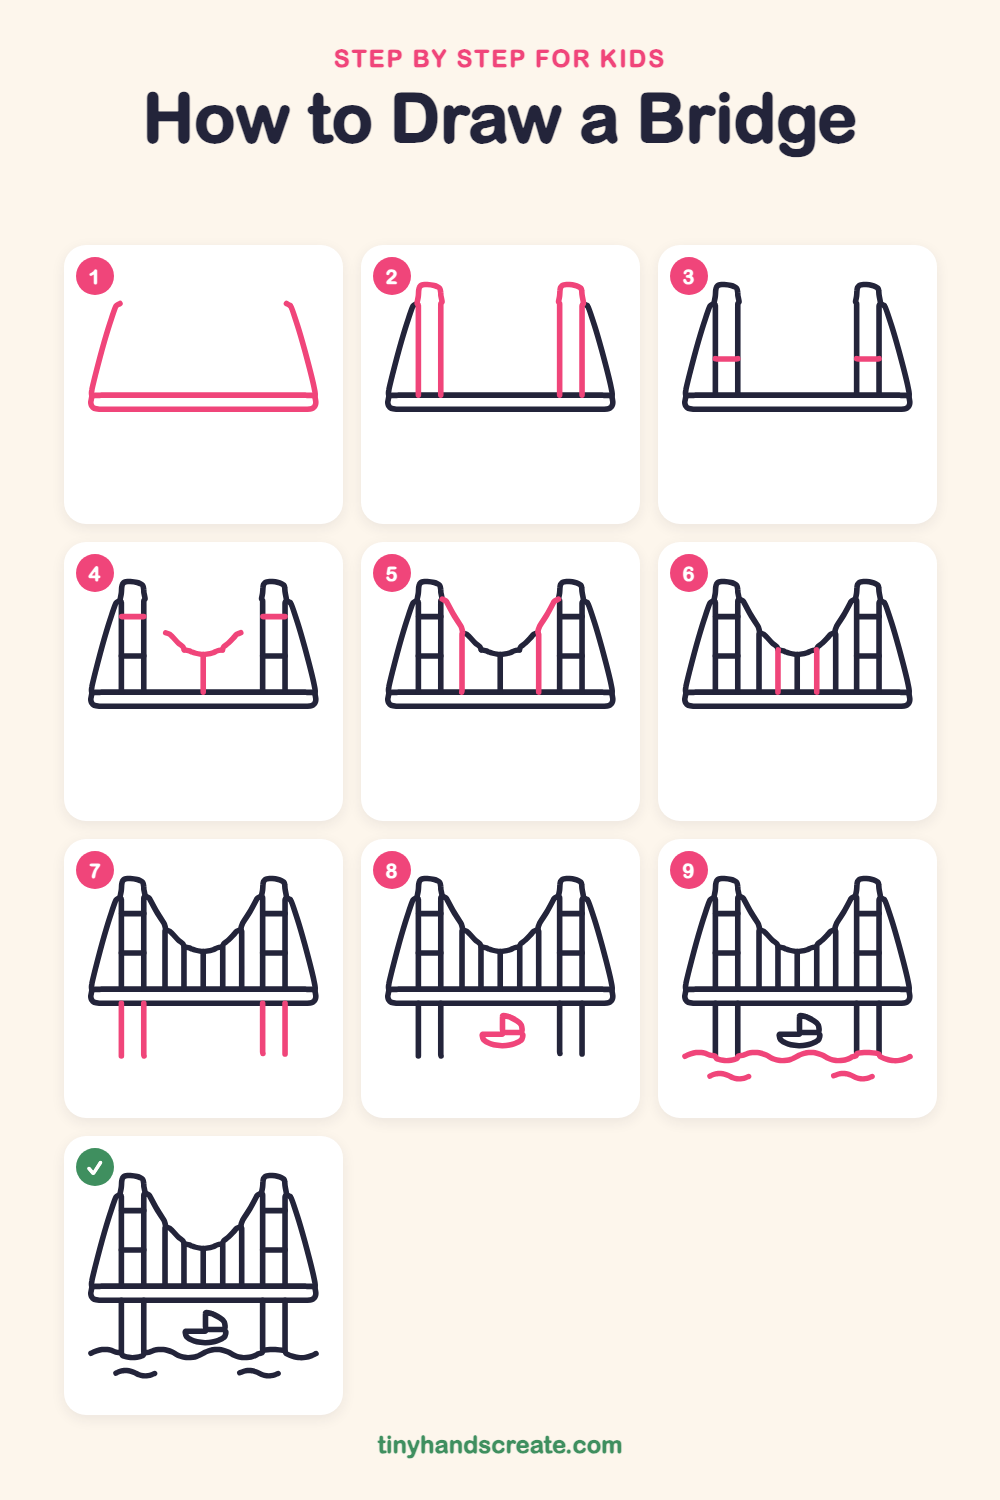
Step 1: Road and slanted sides
Draw a long, flat rounded rectangle across the lower middle of your page for the road. Then draw a slanted line up from each end of the road, leaning in toward the middle.
Step 2: The two towers
Draw two tall, narrow towers standing on the road, one on the left and one on the right. Give each tower a rounded top, like a tall rounded rectangle with no bottom.
Step 3: Lower tower crossbars
Draw a short straight line across the inside of each tower, about halfway down, to join its two sides.
Step 4: Top bars and cable start
Draw a short straight line across each tower near the top. Then in the middle, draw a small curve shaped like a smile, with a straight line going from its bottom down to the road.
Step 5: Cable sides and hangers
From the top of each tower, draw a bent line that slopes down toward the middle. At the end of each one, draw a straight line down to the road.
Step 6: Two more hanging lines
Between the middle line and each side line, draw another straight line from the cable down to the road. Space them evenly, like the teeth of a comb.
Step 7: Legs under the road
Under the road, draw two tall straight lines below each tower. These are the legs that stand in the water.
Step 8: A little sailboat
Between the legs, draw a small bowl shape for the boat. On top, add a small half circle with a flat side for the sail.
Step 9: Water waves
Draw a long wavy line across the bottom, passing over the legs. Then add two short wavy lines underneath for extra ripples.
All done!
Go over your lines with a marker, then color it in.
Finished your bridge? Keep the pencils out and learn how to draw a shop or how to draw building blocks next.
Tips for drawing a bridge
- Draw the road first and use it as your guide, so both towers stand straight and tall on it.
- The cable is the trickiest part. Start with the small smile curve in the middle, then add the sloping lines from each tower top.
- For the hanging lines, draw the middle one first, then add one on each side so they stay evenly spaced.
Free bridge coloring page
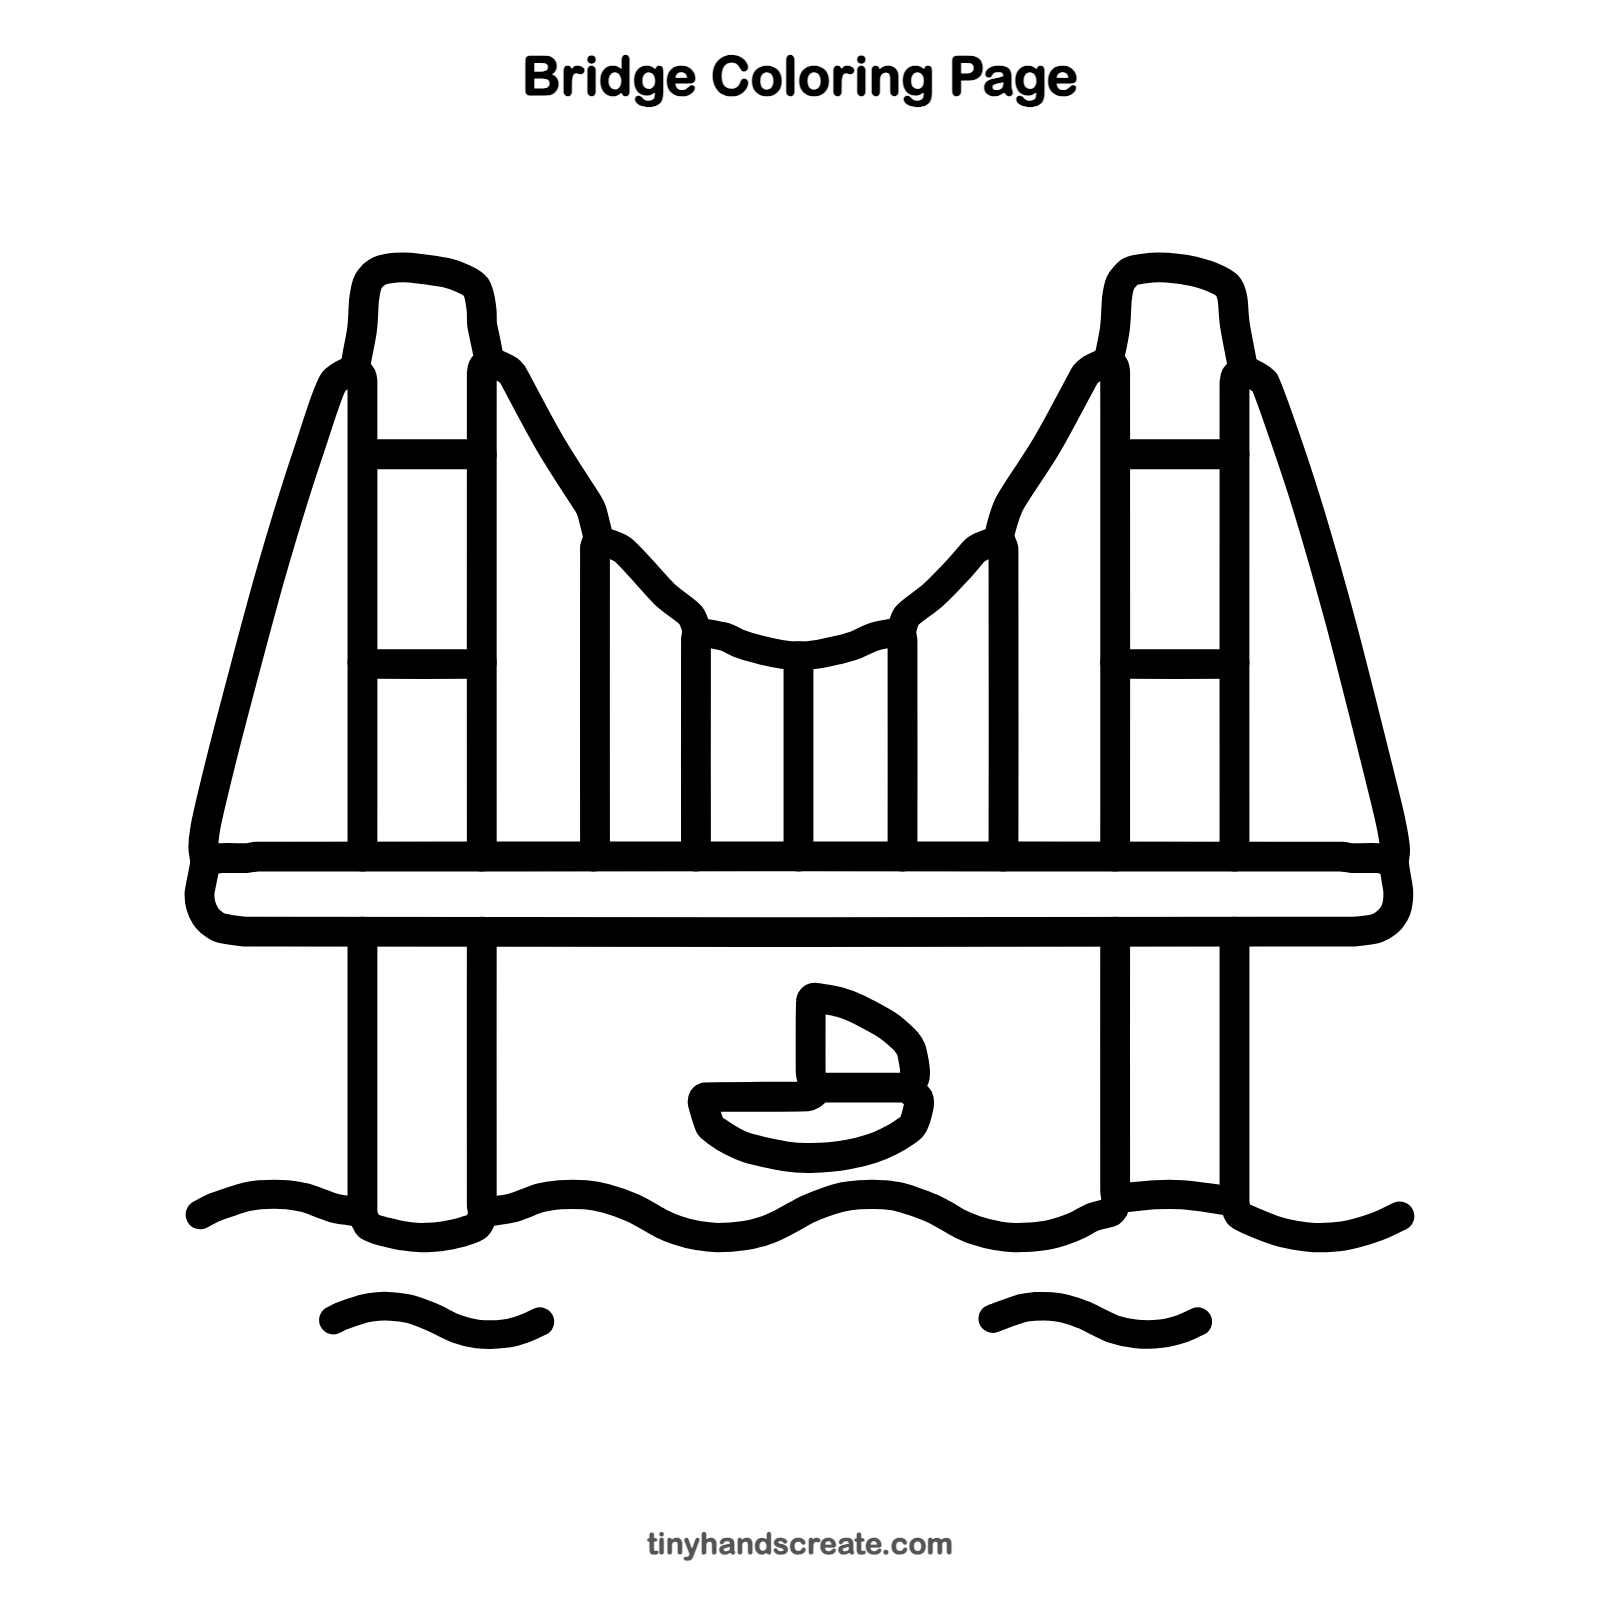
Want to go straight to coloring? Open this bridge coloring page at full size and print it. It is the same drawing you just learned, with clean lines ready for crayons or markers.
How to color your bridge drawing
Try a bright orange-red for the towers and cables, a blue sky behind them and blue-green water below. For a creative twist, color the sailboat's sail with rainbow stripes.
Bridge fun fact for kids
The Golden Gate Bridge in San Francisco opened in 1937. Its color is called International Orange, and it is a suspension bridge, which means its road hangs from cables.
Questions about drawing a bridge
What shapes do I need to draw a bridge?
You need a long rounded rectangle for the road, tall narrow rectangles for the towers, straight lines for the hanging lines and legs, and a curved line for the cable. The boat is a bowl shape with a half circle for the sail.
How do I make the bridge towers look even?
Draw the road first, then put the two towers at the same distance from each end. Compare their heights as you go so they match.
How can I make my bridge drawing look better?
Space the hanging lines evenly and keep the legs straight. Wavy water lines around the legs make the picture feel alive.