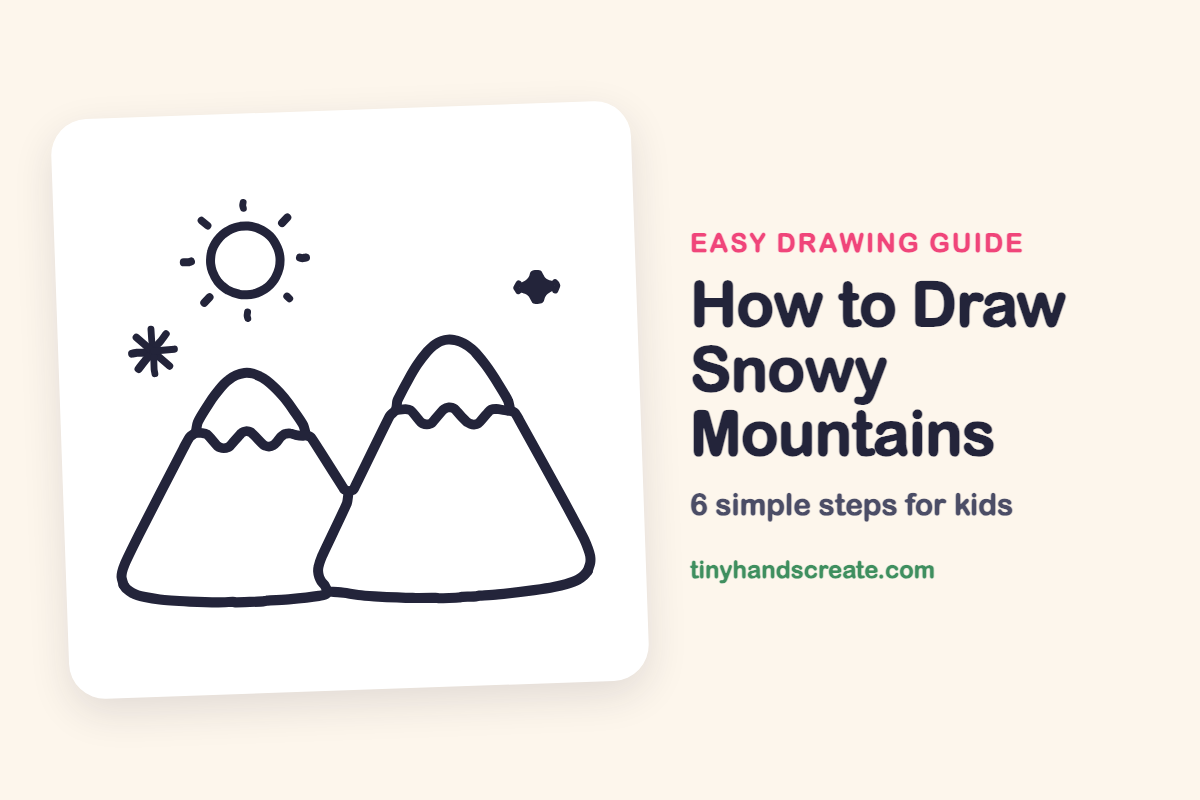
How to Draw Snowy Mountains (Easy Step by Step)
You will learn how to create an easy winter landscape featuring snowy mountain peaks, a glowing sun, and a sparkly sky.
- Build mountain peaks using simple rounded triangles
- Add snowy caps along the peaks with a wavy line
- Draw a circle to complete your scene with a bright sun
This post contains affiliate links. As an Amazon Associate I earn from qualifying purchases.
Snowy mountains are a fun first landscape because they are made from just a few simple shapes. You will use rounded triangles for the peaks, a wavy line for the snow, and a circle for the sun. By the end you will have a cozy winter scene with a sparkly sky.
- Easy
- 12 minutes
- 6 steps
You need: paper, a pencil, an eraser, and crayons or markers for coloring.
Start drawing
In this article (7 sections)
How to draw snowy mountains step by step
How to Draw Snowy Mountains · tinyhandscreate.com
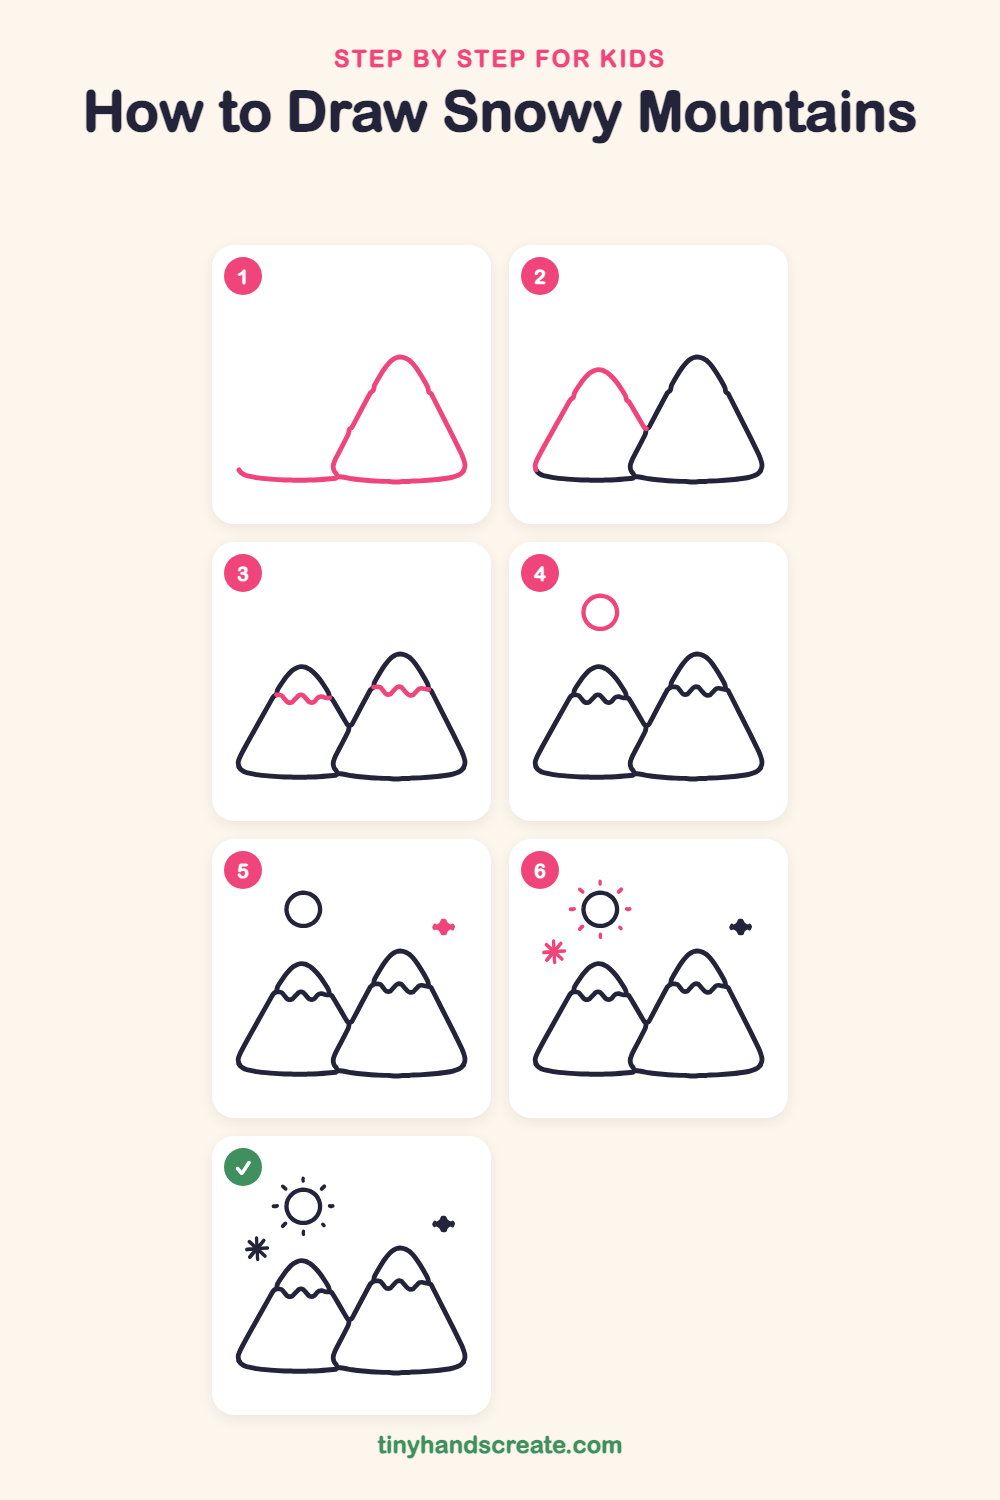
Step 1: The big mountain
Draw a tall rounded triangle like a gumdrop, with a pointy-round top and a gently curved bottom. Let the bottom line stretch out a little to the left, because that is the ground for the second mountain too.
Step 2: The back mountain
Start at the left end of the ground line and draw a slope going up to a rounded peak. Then come down the other side until you bump into the big mountain and stop.
Step 3: Wavy snowcaps
Near the top of each mountain, draw a wiggly line from one side to the other. This makes the snow on the peak.
Step 4: The round sun
In the sky above the back mountain, draw a circle for the sun. Take your time and make it nice and round.
Step 5: A twinkly star
On the right side of the sky, draw a small star with four soft points, like a tiny diamond with pinched sides.
Step 6: Rays and snowflake
Draw short dashes all around the sun, like little rays. Then add a snowflake in the sky on the left by drawing a small asterisk with lots of short spokes.
All done!
Go over your lines with a marker, then color it in.
Finished your snowy mountains? Keep the pencils out and learn how to draw a mushroom or how to draw a sunflower next.
Tips for drawing snowy mountains
- Draw the big mountain first, then tuck the back mountain behind it so its line stops where the two meet.
- For the snowcap, make the wiggly line go up and down like gentle hills, not sharp spikes, and let each end touch the mountain side.
- Draw the sun rays as short, evenly spaced dashes. Do the top, bottom, left, and right ones first, then fill in the gaps.
Free snowy mountains coloring page
Want to go straight to coloring? Open this snowy mountains coloring page at full size and print it. It is the same drawing you just learned, with clean lines ready for crayons or markers.
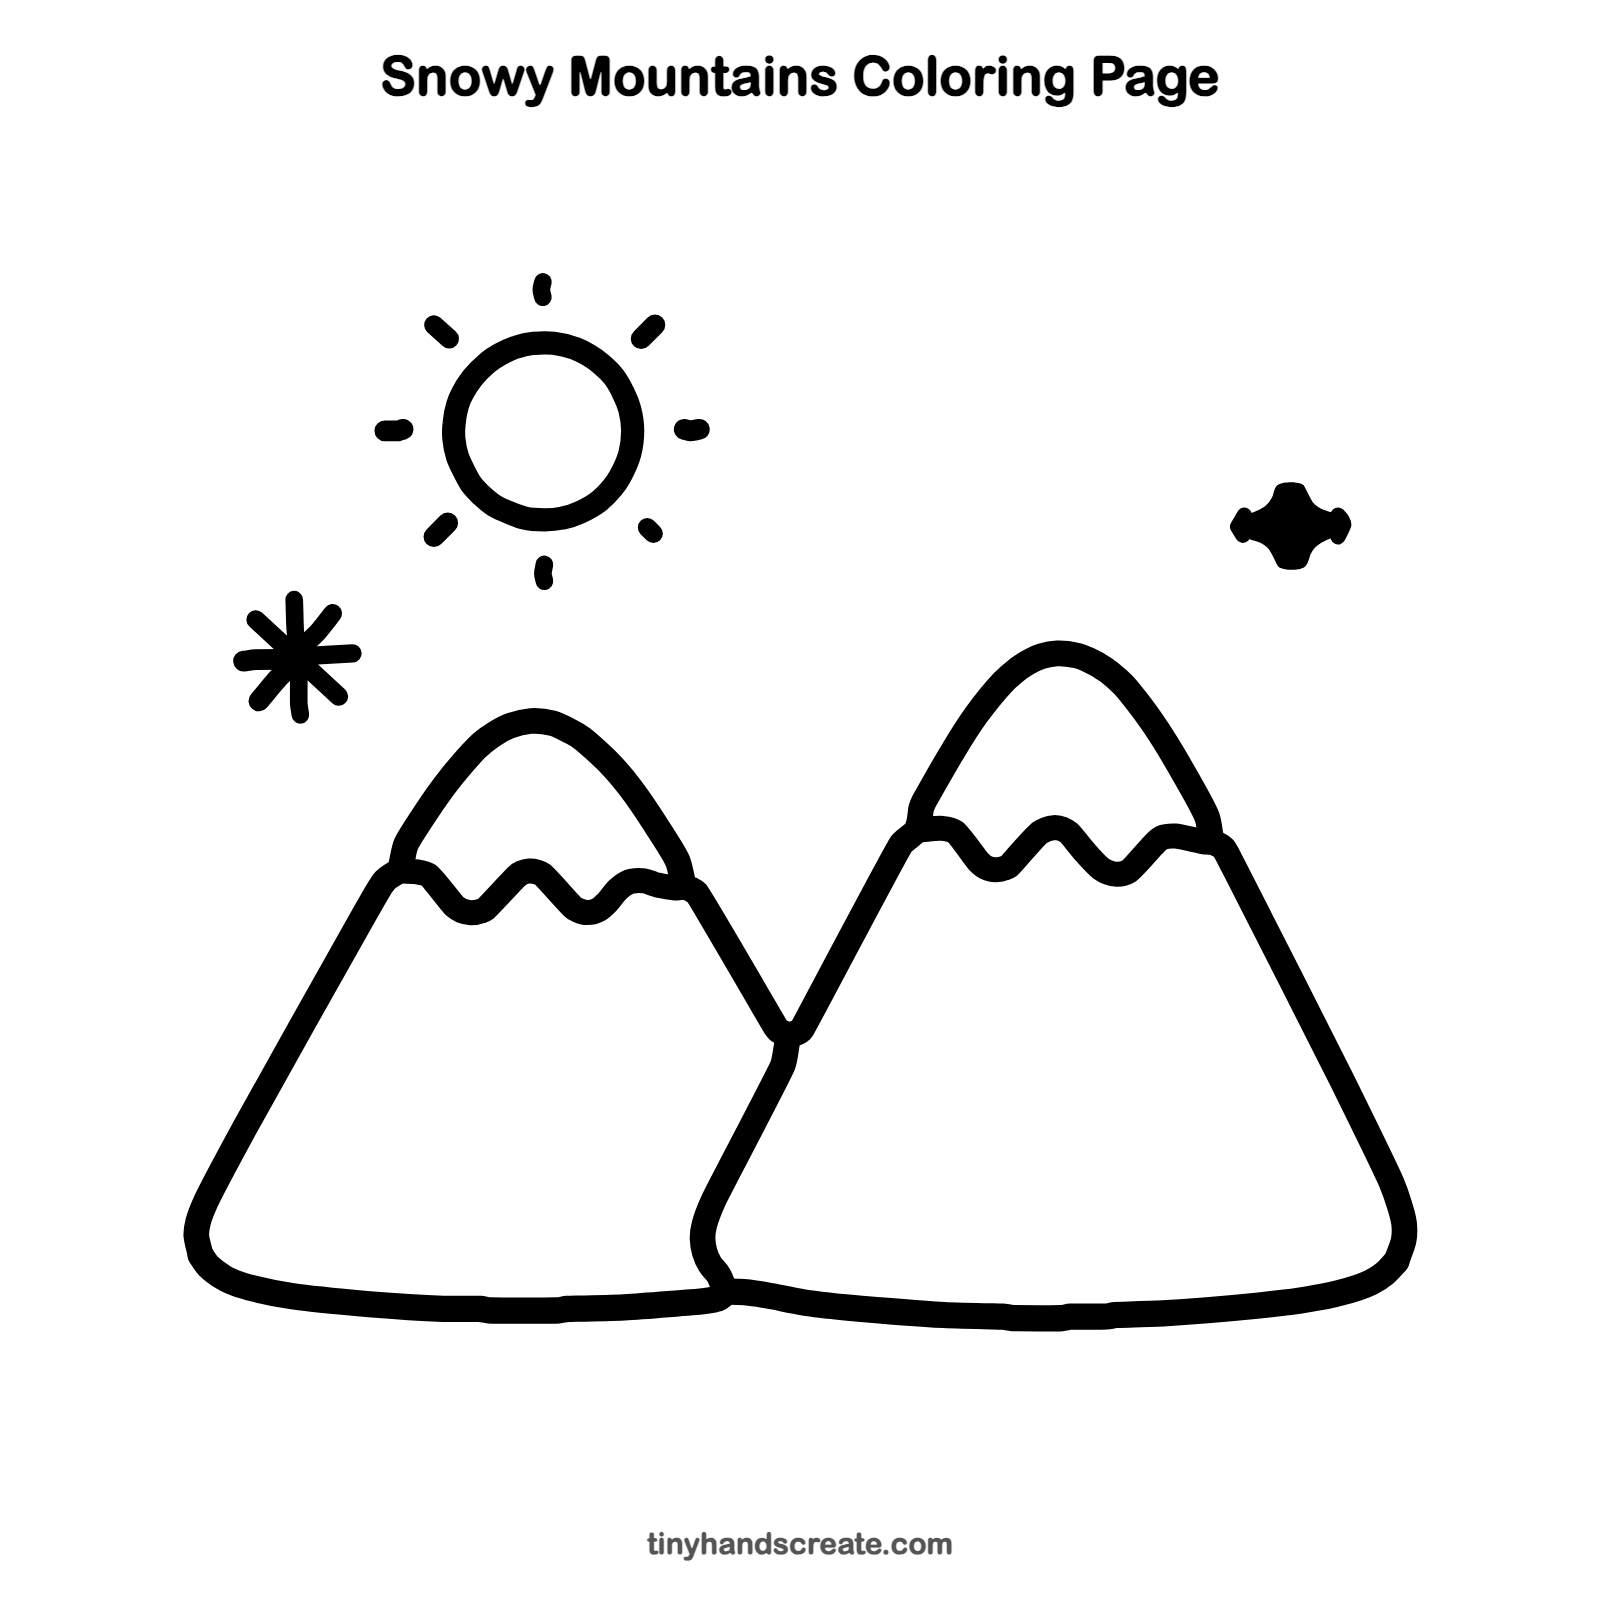
How to color your snowy mountains drawing
Try gray-blue or purple for the mountains, leave the snowcaps white, and make the sun a warm yellow. For a creative twist, color the sky as a sunset with orange and pink stripes.
Snowy mountains fun fact for kids
Mountain tops are often covered in snow even in summer, because the air gets colder the higher you climb.
Questions about drawing snowy mountains
What shapes do I need to draw snowy mountains?
You need two rounded triangles for the mountains, a wavy line for each snowcap, and a circle for the sun. The star is a small four-pointed shape and the snowflake is just short crossing lines.
How do I make my mountains look like one is behind the other?
Draw the front mountain first. When you draw the back mountain, stop its line as soon as it touches the front one.
How do I draw a snowflake easily?
Make a plus sign, then draw an X over it so you have eight short spokes.