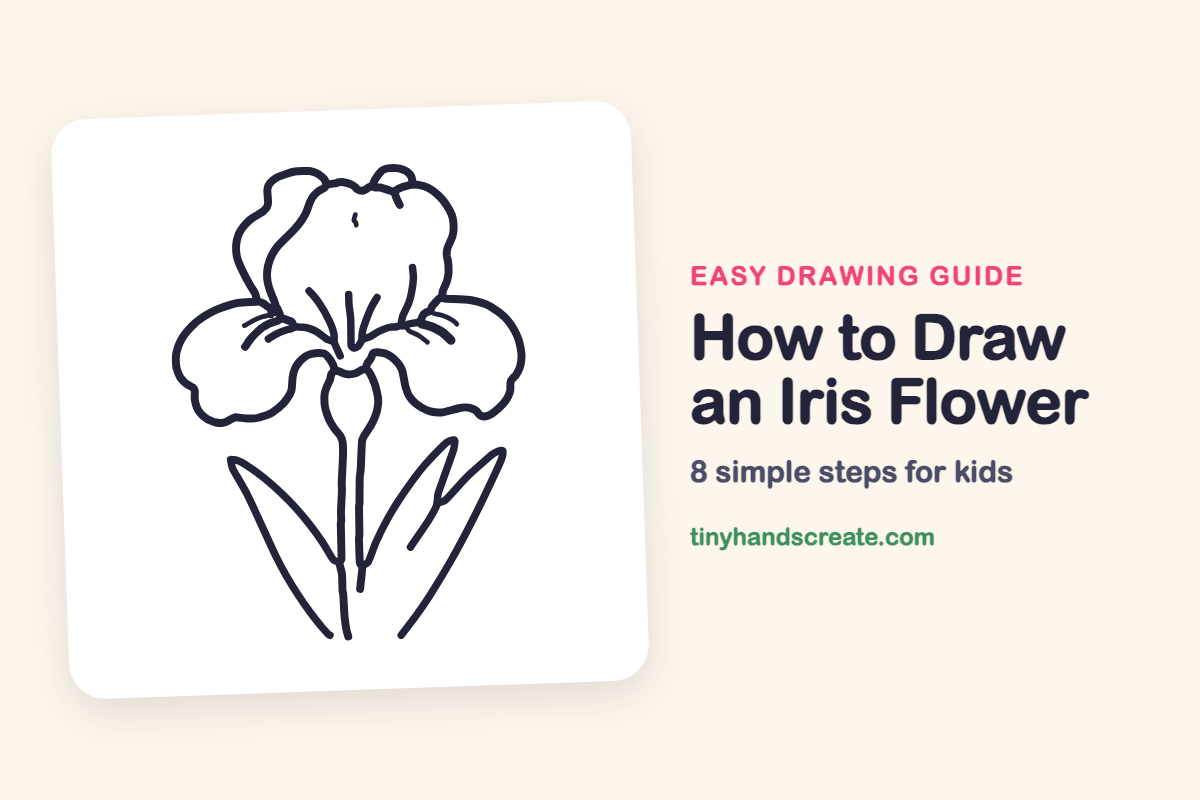
How to Draw an Iris Flower (Easy Step by Step)
An iris looks fancy, but it is built from simple shapes: puffy cloud petals, a round bulb, a long stem, and pointy leaves. It is fun to draw because the wavy edges do not need to be perfect. Every wobble just makes the petals look more real.
- Medium
- 15 minutes
- 8 steps
You need: paper, a pencil, an eraser, and crayons or markers for coloring.
Start drawing
In this article (7 sections)
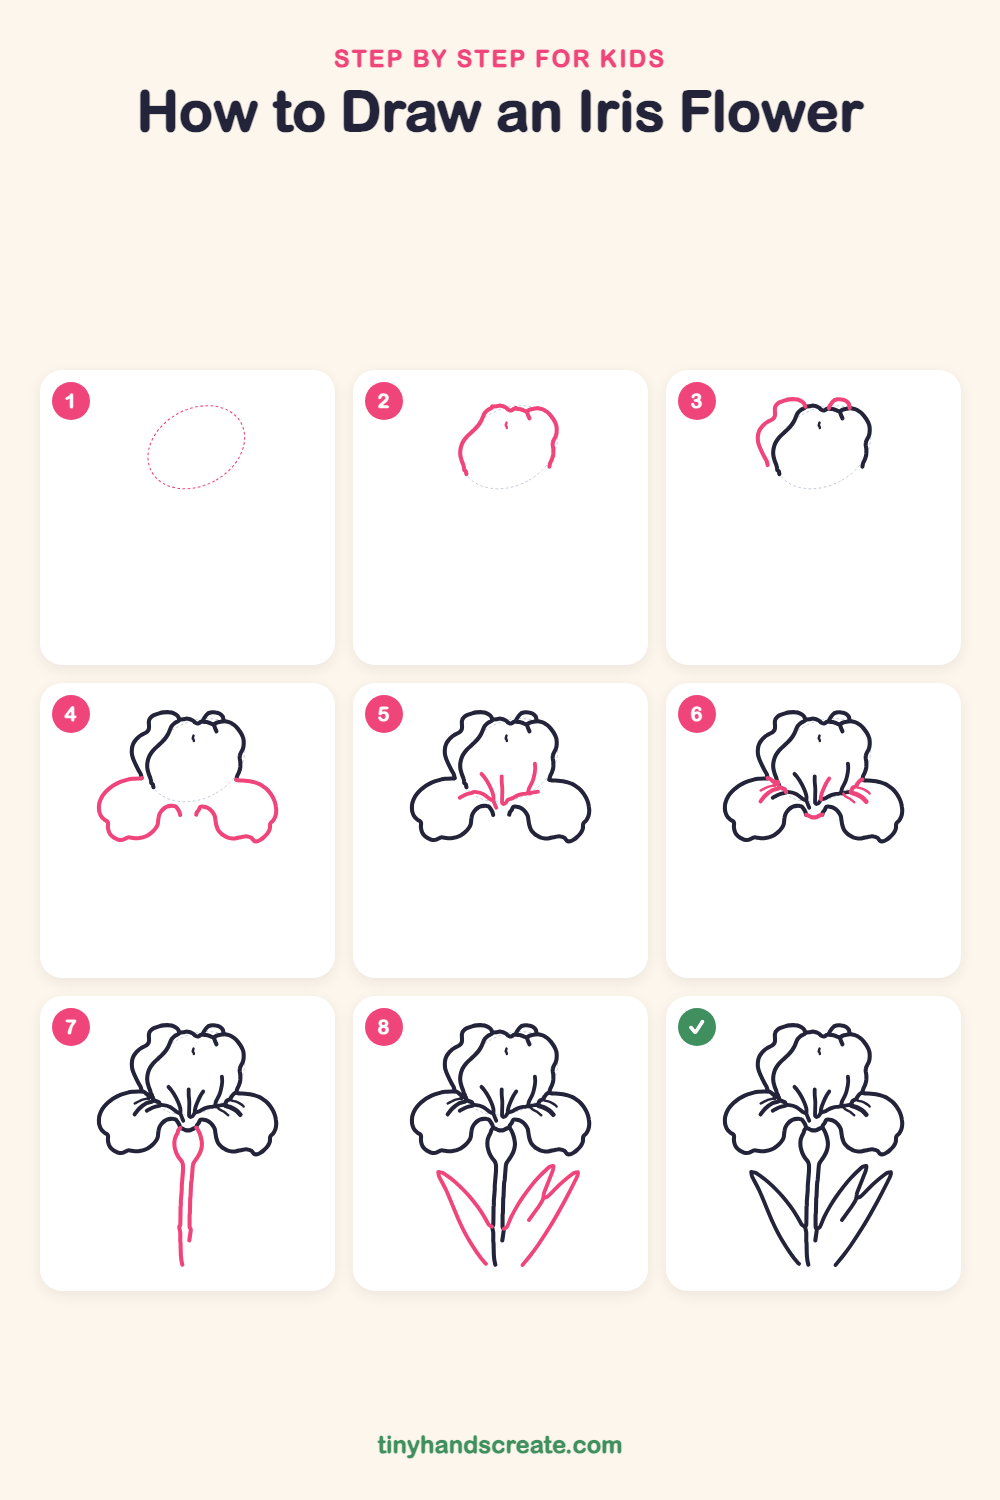
How to draw an iris flower step by step
How to Draw an Iris Flower · tinyhandscreate.com
Step 1: Guide shapes
Lightly sketch this oval. It only shows where the big parts go, so press softly. You will erase it at the end.
Step 2: The top petal
Draw a big rounded shape like a puffy cloud for the tall middle petal. Make the top wavy with a little dip in the middle, and let the sides curve down and in.
Step 3: Back petal and bud
Tuck a wavy petal behind the left side of the top petal, starting near its top and curving down. Add a small bump peeking out at the top, just right of the middle.
Step 4: The two side petals
Draw a wide, wavy petal hanging out to the left and another to the right, like two big floppy ears. Start each one under the top petal and curve it around with soft bumps along the bottom.
Step 5: Center lines
In the middle of the flower, draw a few short curved lines that all point down to one spot, like a little fan. Make the middle one nearly straight.
Step 6: Little vein lines
Add short, bendy lines where the side petals meet the middle, like tiny whiskers. Draw a small smile curve right under the center where all the petals join.
Step 7: Stem and bulb
Under the smile curve, draw a small round bulb shape. Then pull two long, almost straight lines down from it to make a tall stem.
Step 8: The leaves
Draw a long pointy leaf on the left, like a thin boat tipping up. Then add two tall, slim leaves on the right that cross a little, all starting near the bottom of the stem.
All done!
Erase the guide shapes, go over your lines, then color it in.
Finished your iris flower? Keep the pencils out and learn how to draw a mushroom or how to draw a sunflower next.
Tips for drawing an iris flower
- The wavy petal edges are the trickiest part, so draw them slowly with soft bumps instead of sharp corners.
- Draw the tall top petal first and tuck the other petals behind and beside it, so the flower looks layered.
- For the stem, use two long lines that are nearly parallel, and keep your hand relaxed so they stay smooth.
Free iris flower coloring page
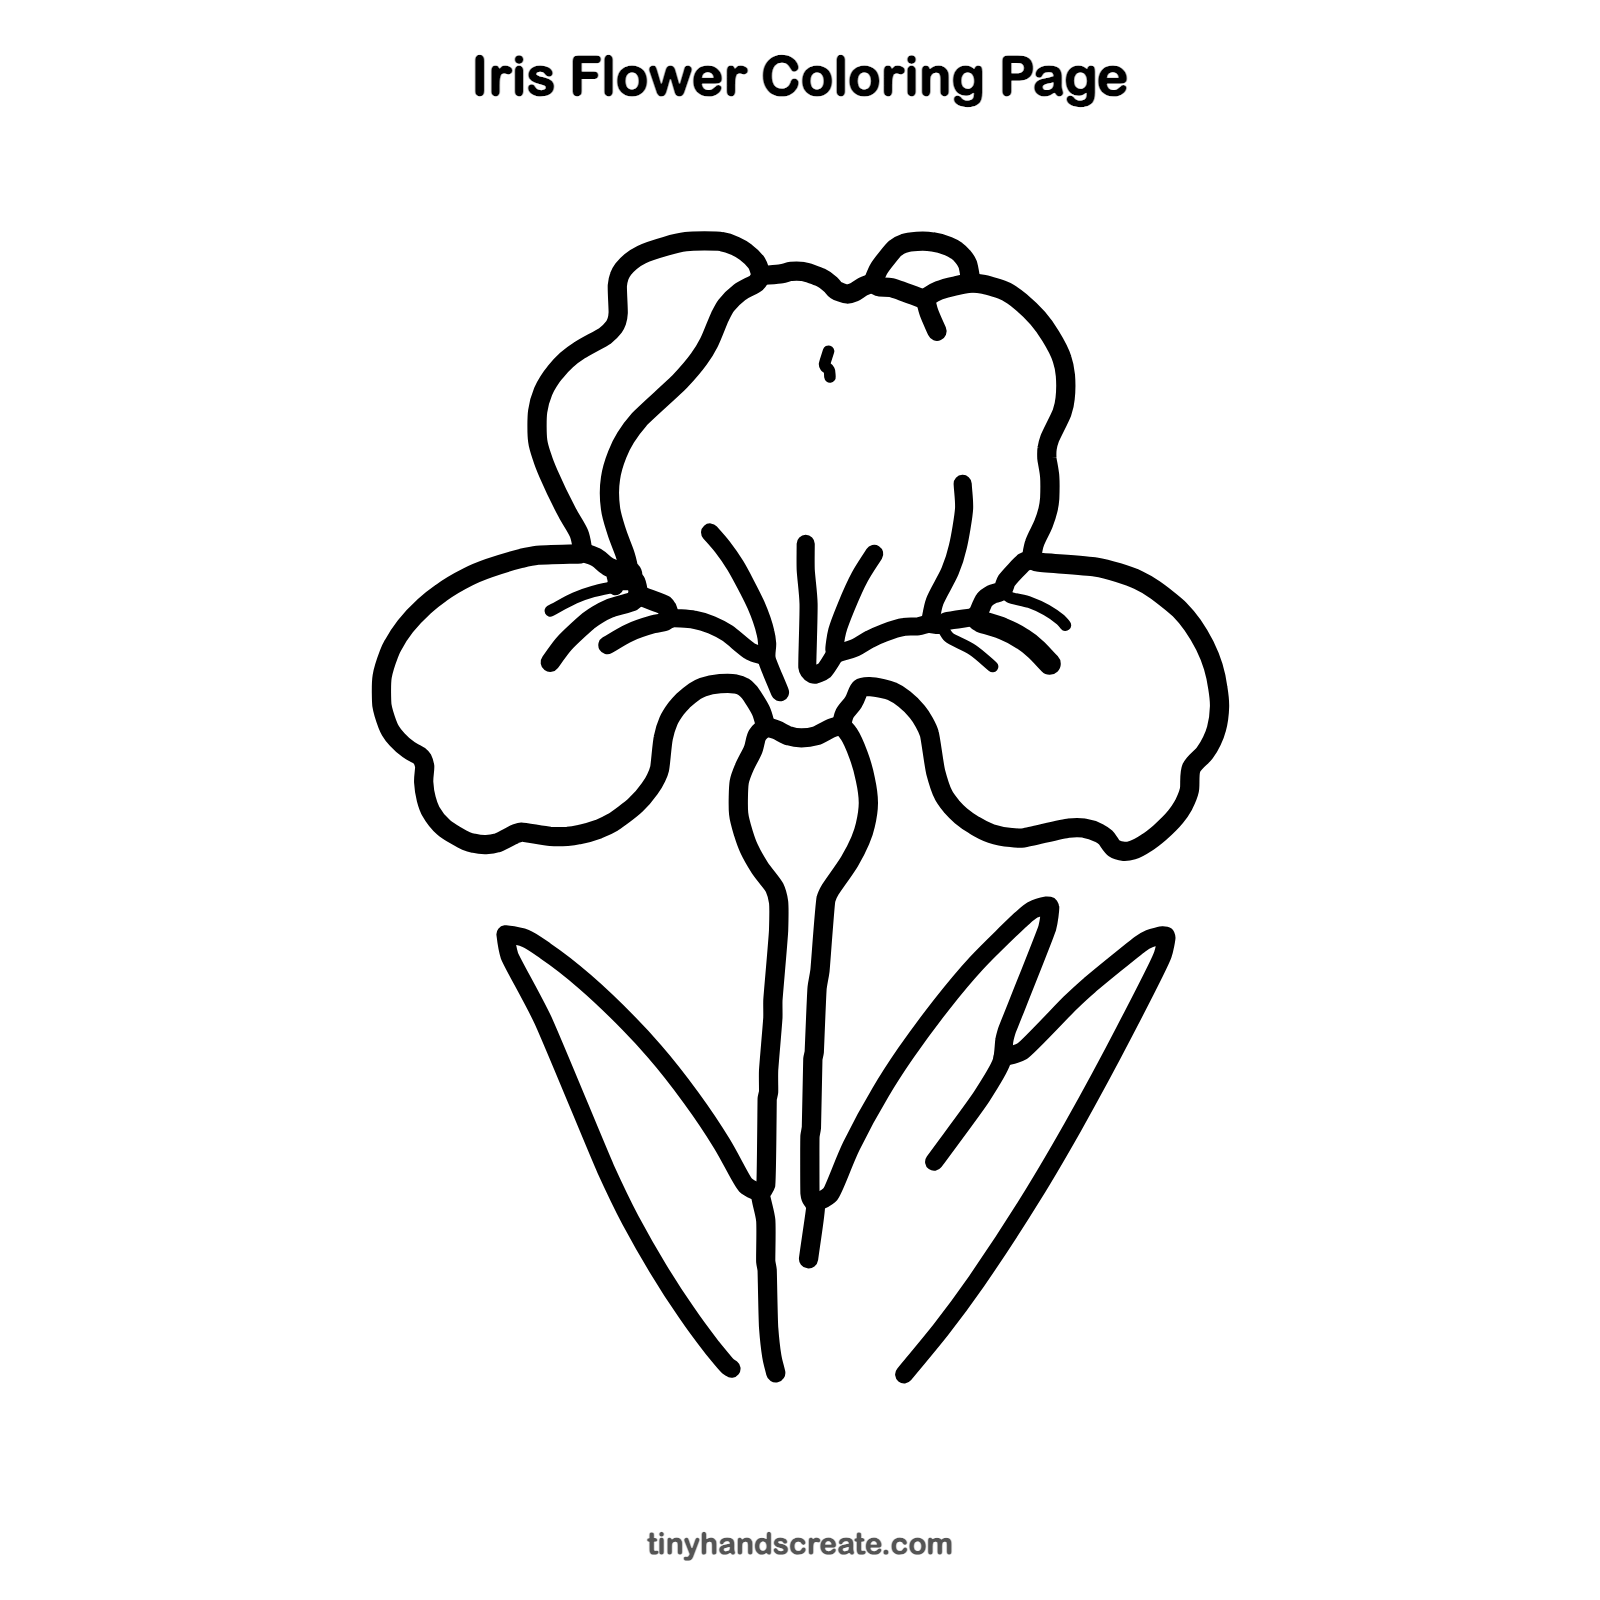
Want to go straight to coloring? Open this iris flower coloring page at full size and print it. It is the same drawing you just learned, with clean lines ready for crayons or markers.
How to color your iris flower drawing
Try purple, blue, or yellow petals with green leaves and stem. For a creative twist, color each petal a different rainbow color to match the iris's name.
Iris flower fun fact for kids
The iris is named after Iris, the Greek goddess of the rainbow, and iris flowers come in many colors.
Questions about drawing an iris flower
What shapes do I need to draw an iris?
You need puffy cloud shapes for the petals, a small oval for the bulb, long lines for the stem, and thin pointy shapes for the leaves.
How do I make the petals look wavy?
Draw the edge as a row of small, soft bumps instead of one long line. Lift your pencil a little between bumps if it helps.
How do I make my iris look more real?
Add the little whisker lines where the side petals meet the middle and let the petals overlap. Using two or three shades of one color when you color also helps.