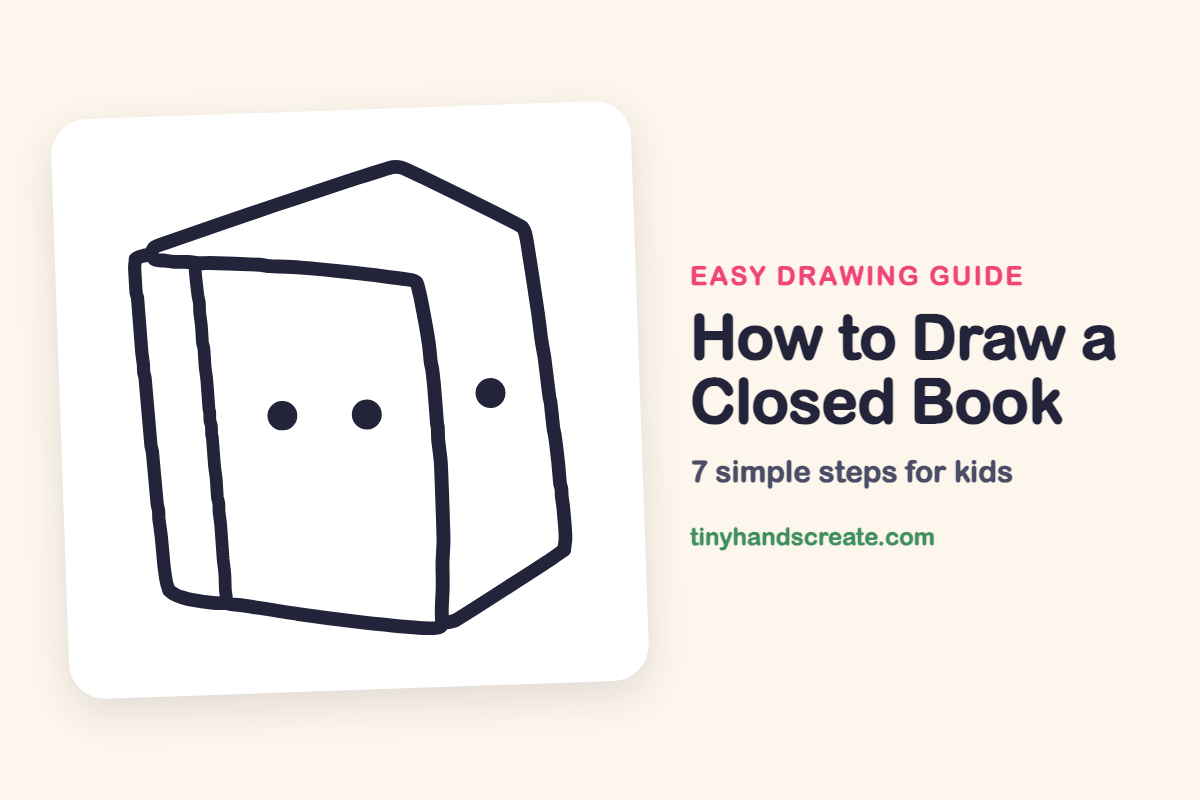
How to Draw a Closed Book (Easy Step by Step)
Learn how to easily draw a closed book using simple shapes. You'll use a few straight lines to form a box and add three round dots to complete your drawing.
- Form the book's base with a tall box shape.
- Create the top of the book using a slanted line.
- Use simple straight lines for the book's structure.
- Add three round dots to complete your closed book.
This post contains affiliate links. As an Amazon Associate I earn from qualifying purchases.
A closed book is a simple drawing made from a few straight lines that form a box shape, plus three round dots. If you can draw a tall box with a slanted top, you can draw this book.
- Easy
- 8 minutes
- 7 steps
You need: paper, a pencil, an eraser, and crayons or markers for coloring.
Start drawing


In this article (7 sections)
How to draw a closed book step by step
How to Draw a Closed Book · tinyhandscreate.com
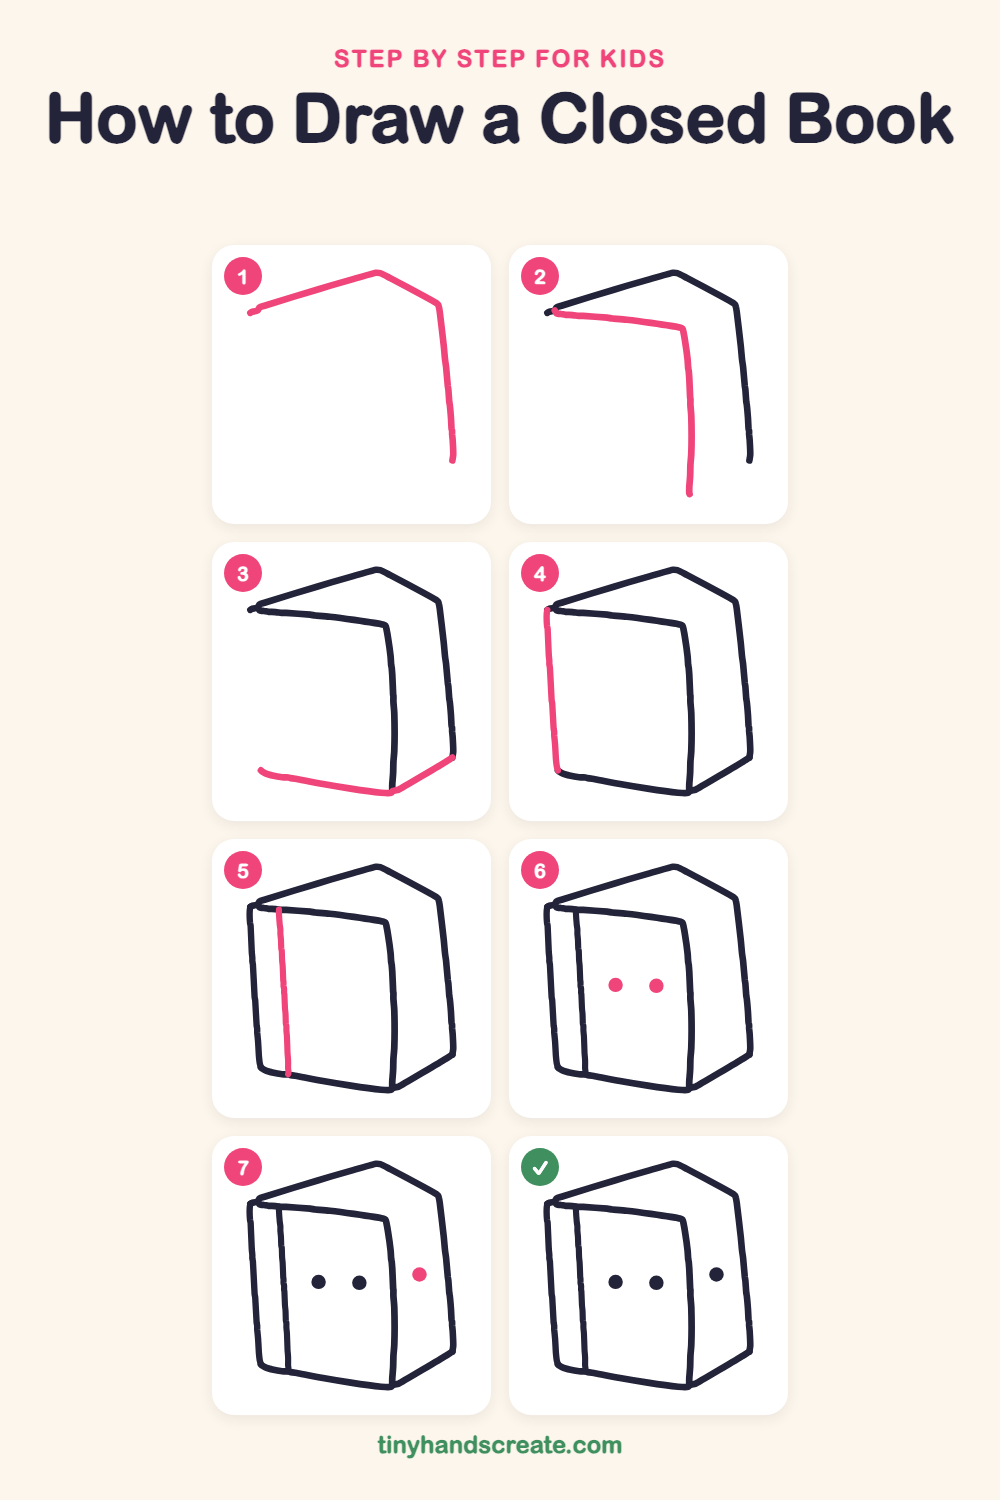
Step 1: Roof and right edge
Start at the left and draw a long line slanting up to a point. Turn there, draw a short line down to the right, then draw a long line going almost straight down.
Step 2: Front cover corner
Start at the left end of the first line and draw a line going right that slopes gently down. Turn the corner and draw a slightly curved line straight down.
Step 3: Bottom edges
Start at the bottom of the curved line and draw a long line to the left, ending with a little curve. Then go back to that bottom corner and draw a short slanted line up to the right to meet the end of the first right edge.
Step 4: Left edge
Start at the left end of the cover's top line and draw a line straight down. Stop where it meets the left end of the bottom line.
Step 5: The spine line
Draw one long line from the top of the cover down to the bottom, close to the left edge. It shows the spine, where the cover bends.
Step 6: Two dots
In the middle of the front cover, draw two round dots side by side. Fill them in.
Step 7: The side dot
On the right side of the book, draw one more round dot. Put it a little higher than the other two dots.
All done!
Go over your lines with a marker, then color it in.
Finished your closed book? Keep the pencils out and learn how to draw a rocket or how to draw a shooting star next.
Tips for drawing a closed book
- Keep your first lines light and slow, so the front cover has room to fit under them.
- The front cover is the trickiest part. Start at the left end of the top line, slope down a little, then turn and curve the right edge just a bit.
- Make the two dots on the cover about the same size. Draw a small circle first, then fill it in so the dots look round.
Free closed book coloring page
Want to go straight to coloring? Open this closed book coloring page at full size and print it. It is the same drawing you just learned, with clean lines ready for crayons or markers.
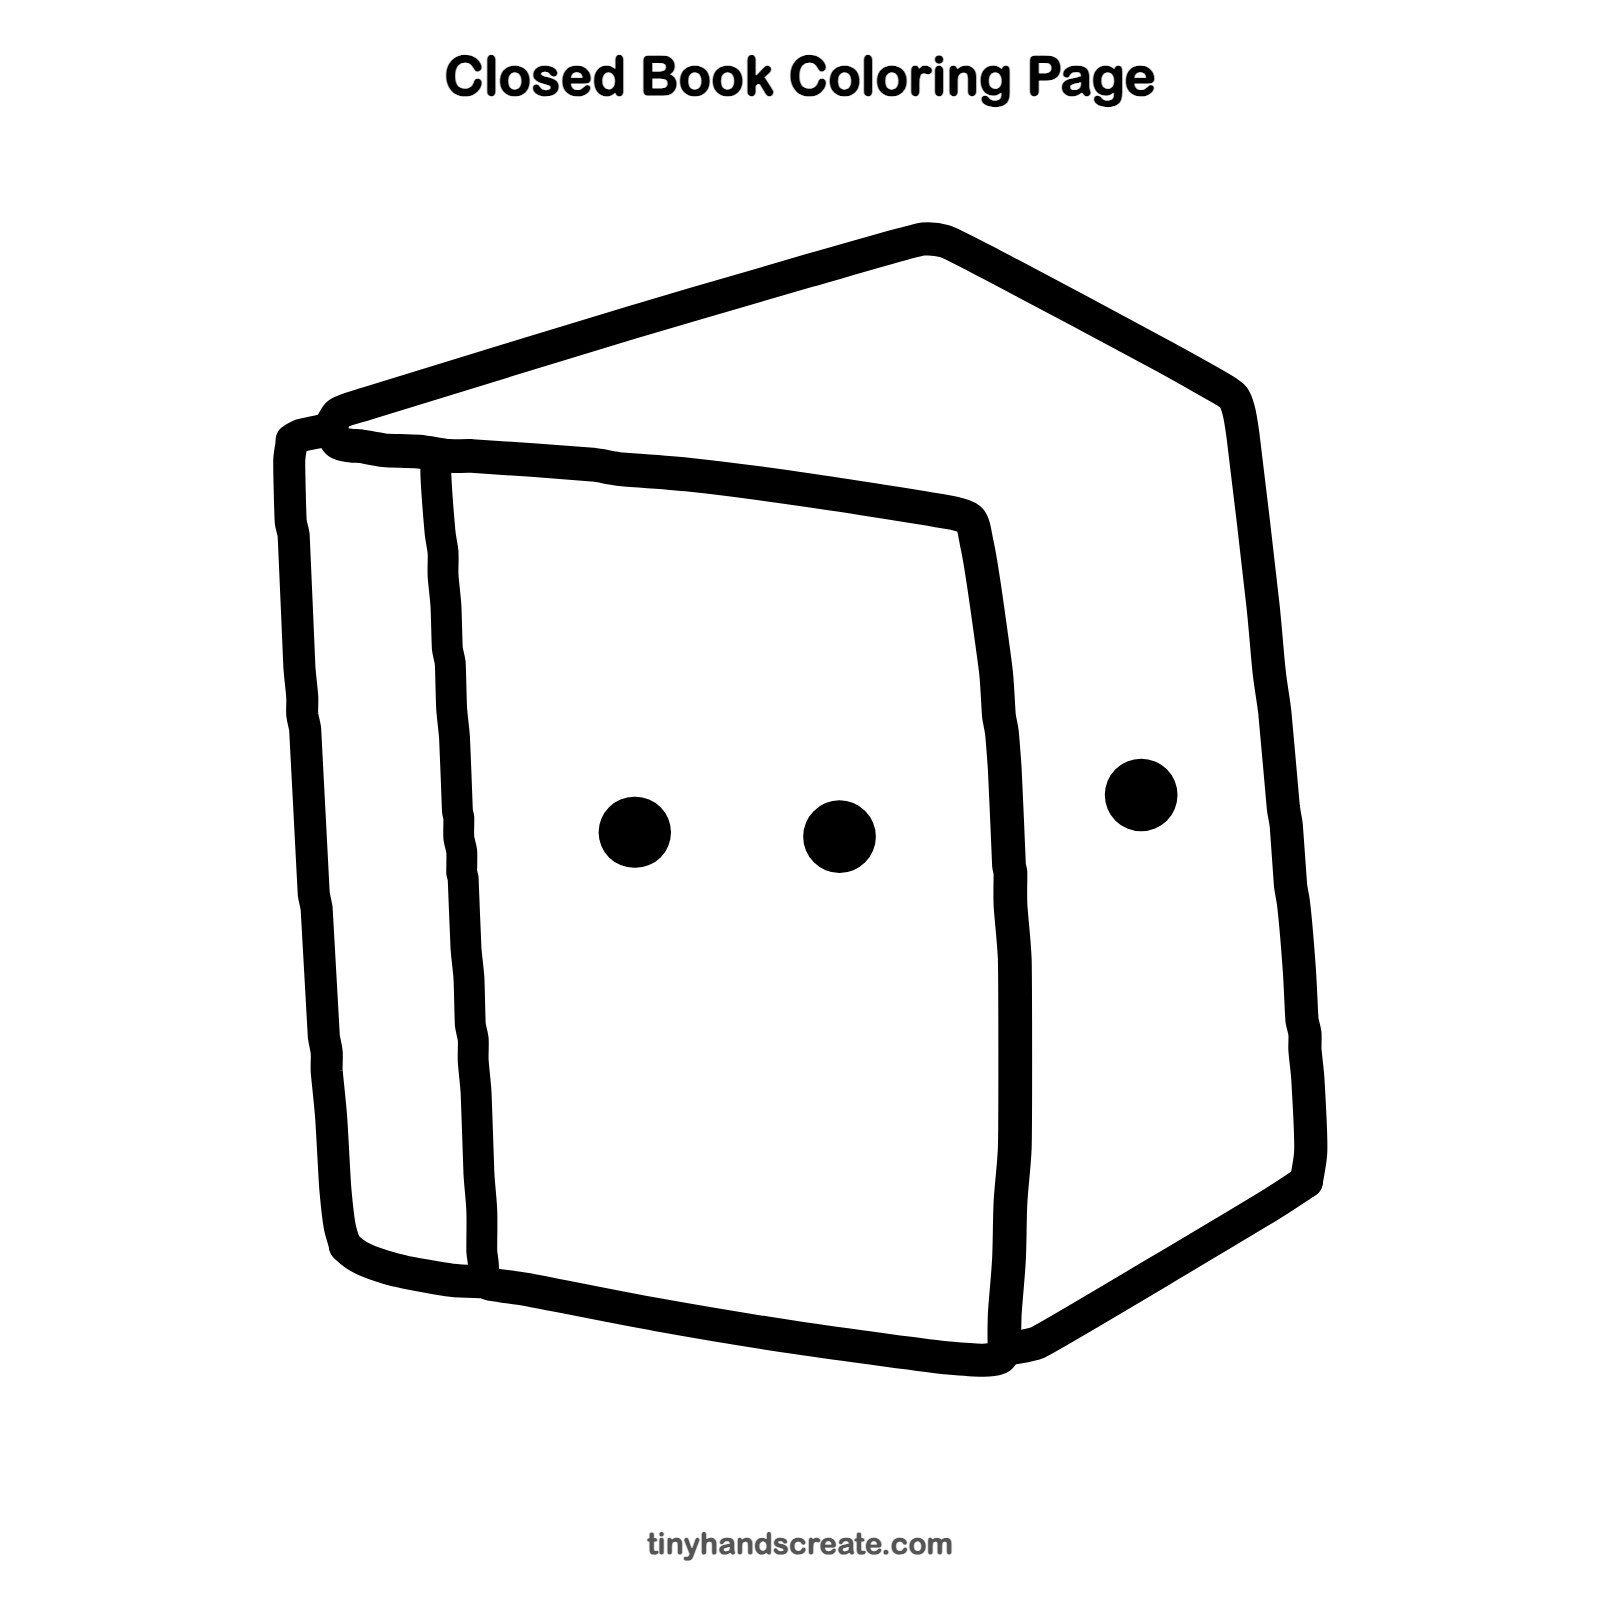
How to color your closed book drawing
Try a bright cover color like red, blue, or green, and leave the right side cream or light yellow like pages. You can also color the strip by the spine a different shade.
Closed book fun fact for kids
The spine of a book is the edge where the pages are bound together. Libraries put titles on spines so you can find a book when it is standing on a shelf.
Questions about drawing a closed book
What shapes do I need to draw a closed book?
You need long, mostly straight lines that make a box, one slightly curved line for the right edge of the cover, and three small round dots.
How do I make my book look like it has thickness?
Draw the cover first, then add the slanted line at the bottom right and the side to the right of the cover. That side shows the edge of the pages.
What is the line near the left edge for?
It is the spine line. It shows where the cover bends along the side where the pages are bound.