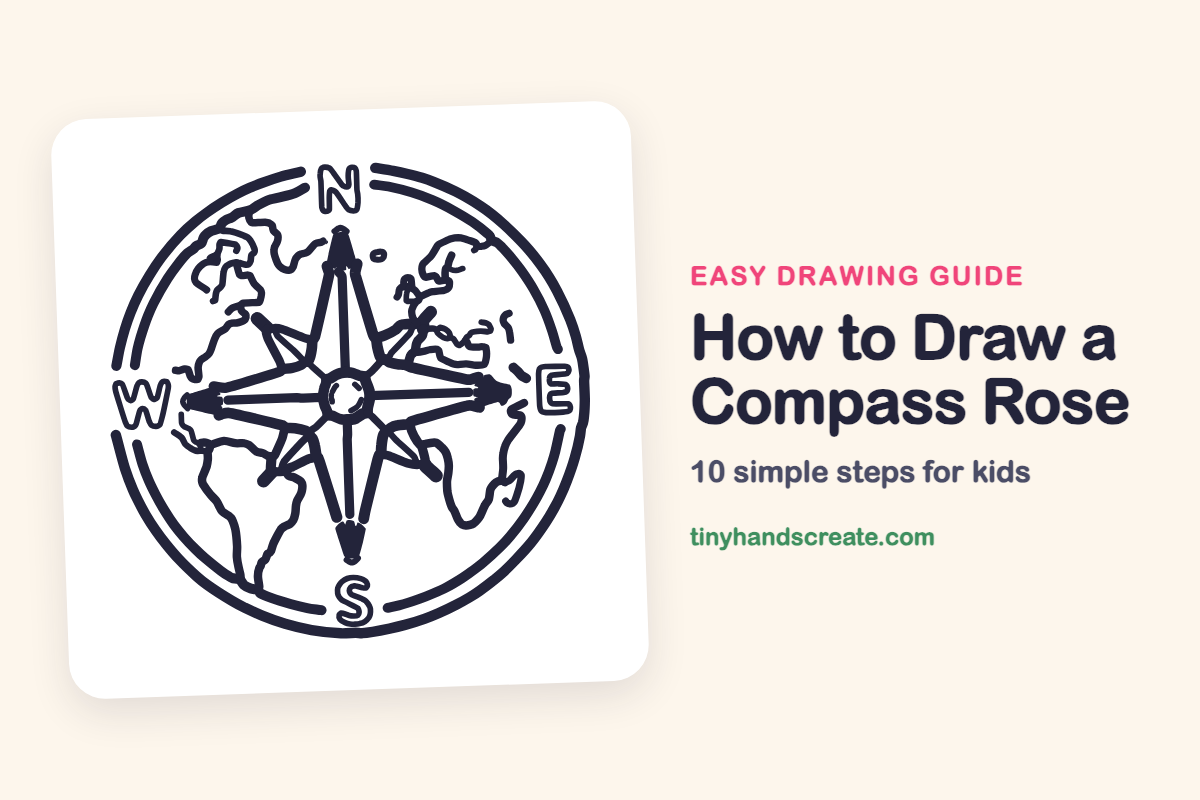
How to Draw a Compass Rose (Easy Step by Step)
Learn how to draw a fancy-looking compass rose using simple shapes. You'll discover how to build it from circles, add directional points, and finish with letters and coastlines.
- Begin your compass rose by drawing two main circles.
- Add a small circle in the middle for the central point.
- Draw skinny, pointed shapes to indicate the four cardinal directions.
- Label your compass rose with the letters N, E, S, and W.
- Complete your drawing by adding wavy coastlines for a finished look.
This post contains affiliate links. As an Amazon Associate I earn from qualifying purchases.
A compass rose is a fun drawing because it looks fancy but is built from simple shapes. You start with two circles, add a small circle in the middle, and then draw skinny pointed shapes aiming in four directions. The big letters N, E, S and W and some wavy coastlines finish it off.
- Medium
- 20 minutes
- 10 steps
You need: paper, a pencil, an eraser, and crayons or markers for coloring.
Start drawing


In this article (7 sections)
How to draw a compass rose step by step
How to Draw a Compass Rose · tinyhandscreate.com
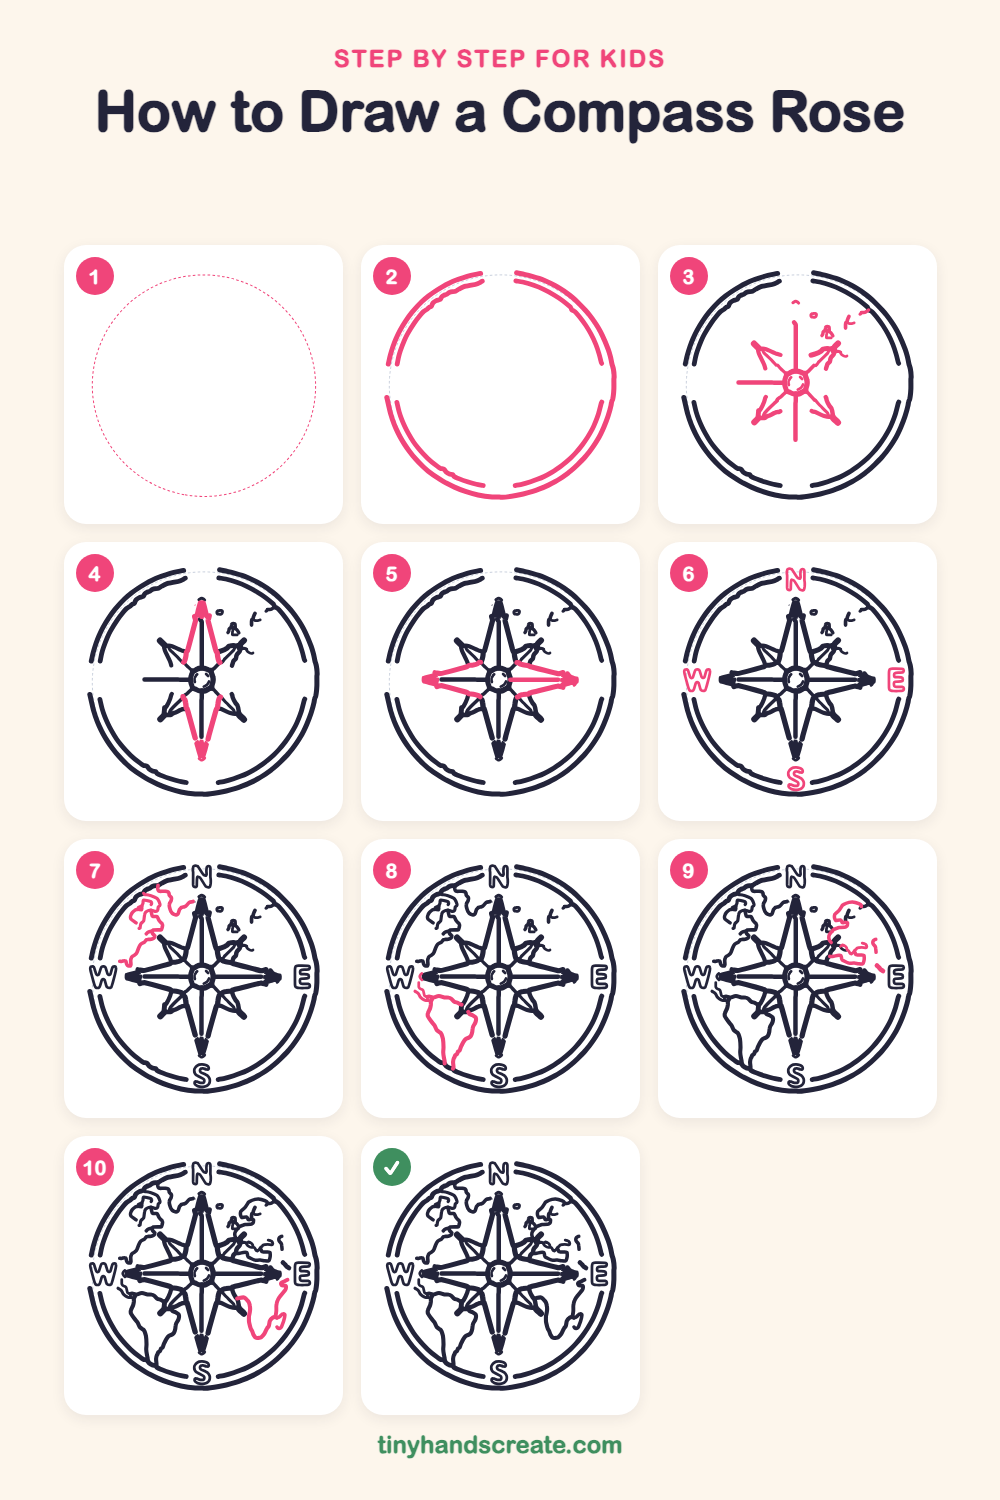
Step 1: Guide shapes
Lightly sketch this oval. It only shows where the big parts go, so press softly. You will erase it at the end.
Step 2: Double circle
Draw a big circle, then a second circle just inside it, like a ring of road around a round park. Leave four small gaps in the rings, at the top, bottom, left and right, where the letters will sit.
Step 3: Center and cross lines
In the middle, draw a small circle. Then draw a long thin line straight up and down through it and another side to side. Add four short slanted lines with little arrowheads pointing to the corners, and a few tiny marks near the top right.
Step 4: North and south points
Draw a tall, skinny diamond shape pointing up from the center, with a pointy tip at the top. Draw the same pointy shape pointing down.
Step 5: East and west points
Draw two more long skinny diamond shapes, one pointing left and one pointing right. Each one starts wide at the center and ends in a sharp tip near the circle.
Step 6: The four letters
Draw an outlined N in the top gap, an E in the right gap, an S in the bottom gap and a W in the left gap. Make each one a hollow bubble letter so it is easy to see.
Step 7: North America
On the upper left, draw a long wiggly line that starts near the N and bumps and curls down toward the left side of the ring. Let it wobble like a coastline.
Step 8: South America
Below the left point, start near the W and draw a wavy line that goes down and around into a shape like an ice cream cone pointing down. Close it with a wiggly line back up the right side.
Step 9: Europe and Asia
On the upper right, draw wavy, wobbly lines for the coast of the land, with a few short squiggles. Add a couple of little dashes near the E.
Step 10: Africa
Below the right point, start at the center of the star and draw a wide wavy shape that narrows toward the bottom, like a leaf. Finish with a small curl on its upper right side.
All done!
Erase the guide shapes, go over your lines, then color it in.
Finished your compass rose? Keep the pencils out and learn how to draw a rocket or how to draw a shooting star next.
Tips for drawing a compass rose
- Draw the north and south points first, then the east and west ones, so the star stays even on all sides.
- Use a ruler or the edge of a book for the long cross lines, so the points stay straight and meet in the middle.
- The coastlines are the trickiest part. Draw them lightly and let the lines wiggle, because real coastlines are never straight.
Free compass rose coloring page
Want to go straight to coloring? Open this compass rose coloring page at full size and print it. It is the same drawing you just learned, with clean lines ready for crayons or markers.
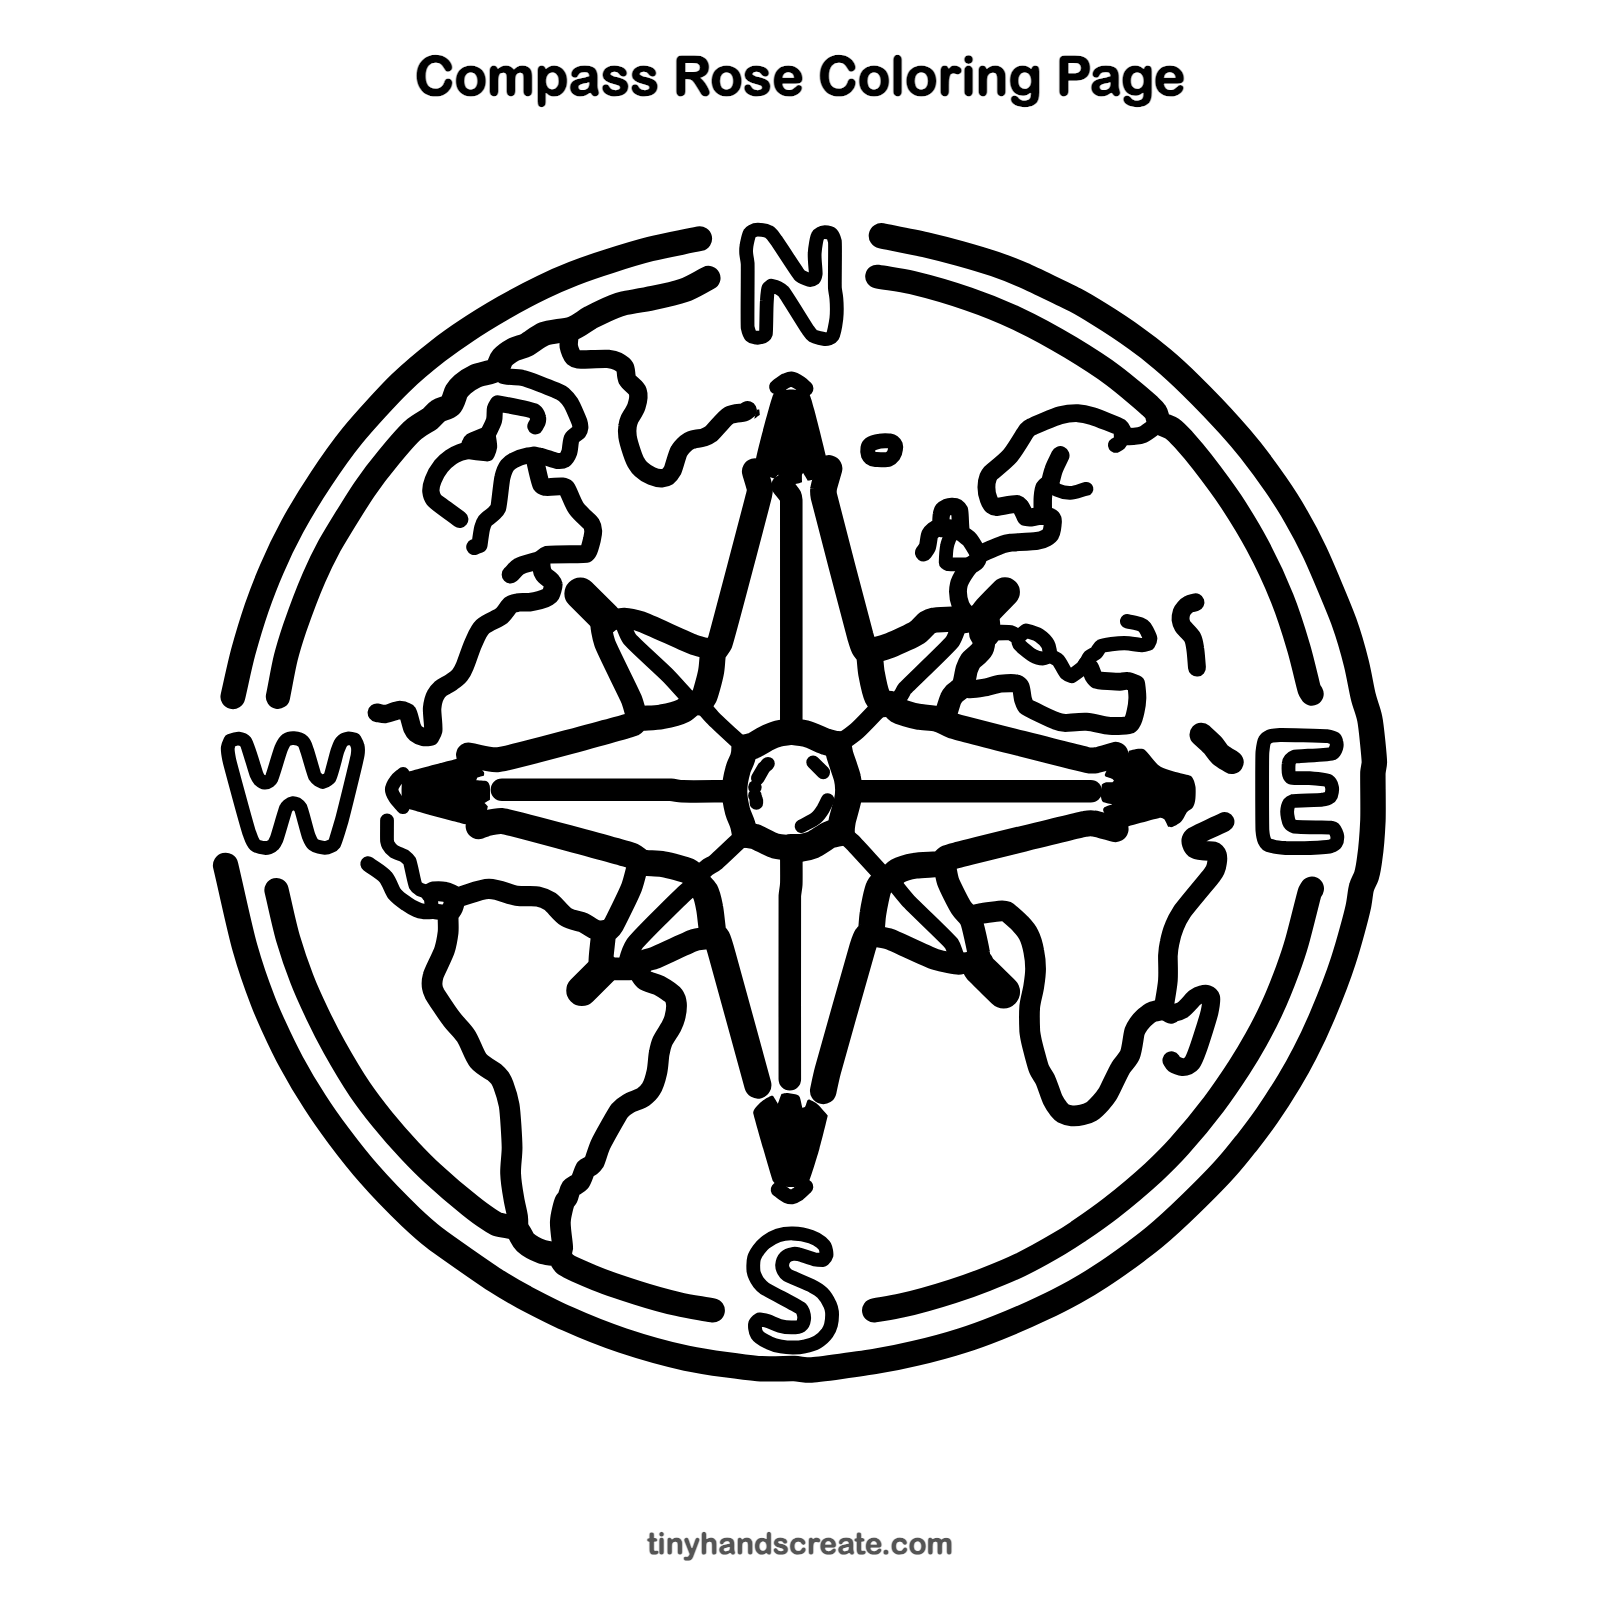
How to color your compass rose drawing
Try blue for the space between the rings, green and yellow for the lands, and red for the north point. For a twist, color each point of the star a different color, like a rainbow.
Compass rose fun fact for kids
A compass rose is the star or circle on a map that shows north, south, east and west. Map makers have drawn them for hundreds of years, and the north point is often decorated with a fancy tip.
Questions about drawing a compass rose
What shapes do I need to draw a compass rose?
You need circles for the outside and the center, and long skinny pointed shapes for the star. A few wavy lines make the coastlines, and four letters finish it.
How do I make my compass rose look even?
Draw the cross lines first, one up and down and one side to side, so they cross in the middle. Then add the points along those lines, and the star will stay balanced.
Do I have to draw the coastlines?
No, it looks great with just the star and the letters. Add the wavy lands later if you want a map look.