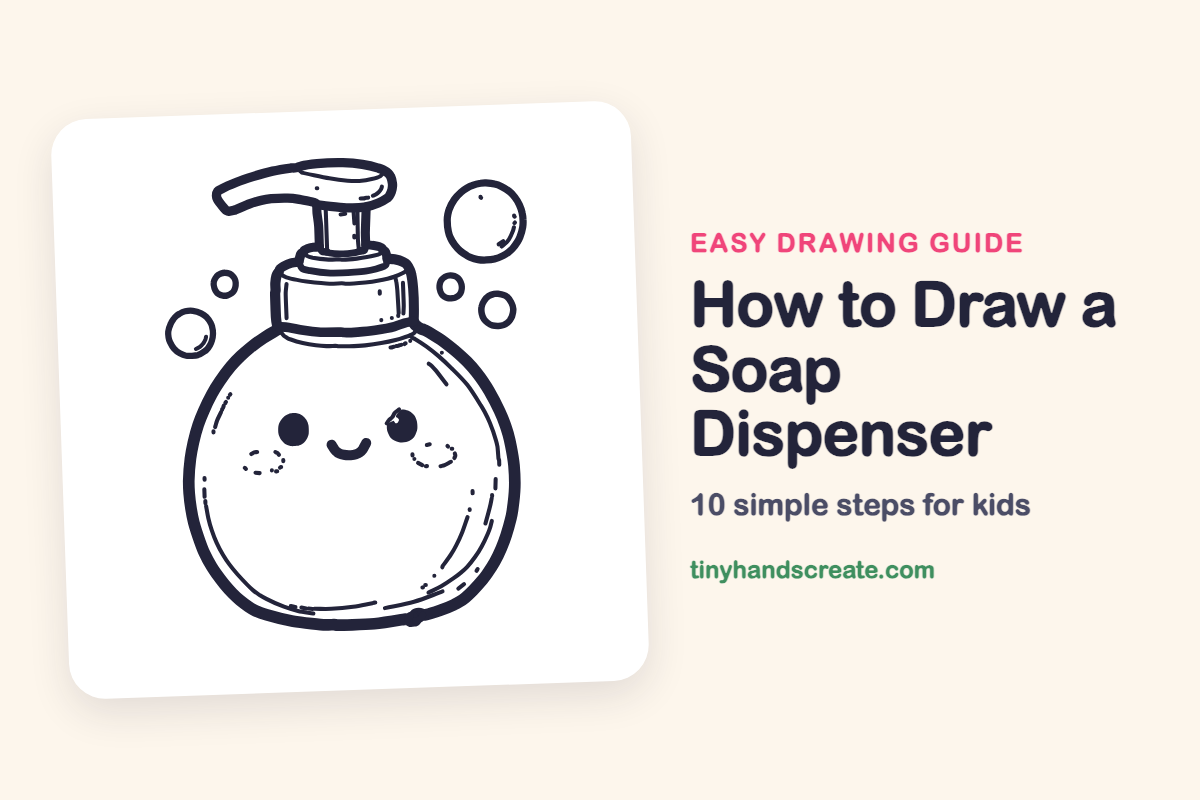
How to Draw a Soap Dispenser (Easy Step by Step)
Learn to draw a cute soap dispenser with a smiling face by following easy step-by-step instructions. You'll practice drawing simple shapes like a round bottle, flat ring, stem, handle, and bubbles.
- You'll learn to draw a smiling soap dispenser.
- Practice simple shapes: bottle, ring, stem, and handle.
- Combine basic parts to create a cute bathroom buddy.
This post contains affiliate links. As an Amazon Associate I earn from qualifying purchases.
A soap dispenser with a smiling face is a friendly way to practice drawing simple shapes. It is built from a big round bottle, a flat ring, a short stem, a bent handle, and some circles for bubbles. Each part is easy by itself, and together they make a cute bathroom buddy.
- Easy
- 15 minutes
- 10 steps
You need: paper, a pencil, an eraser, and crayons or markers for coloring.
Start drawing


In this article (7 sections)
How to draw a soap dispenser step by step
How to Draw a Soap Dispenser · tinyhandscreate.com
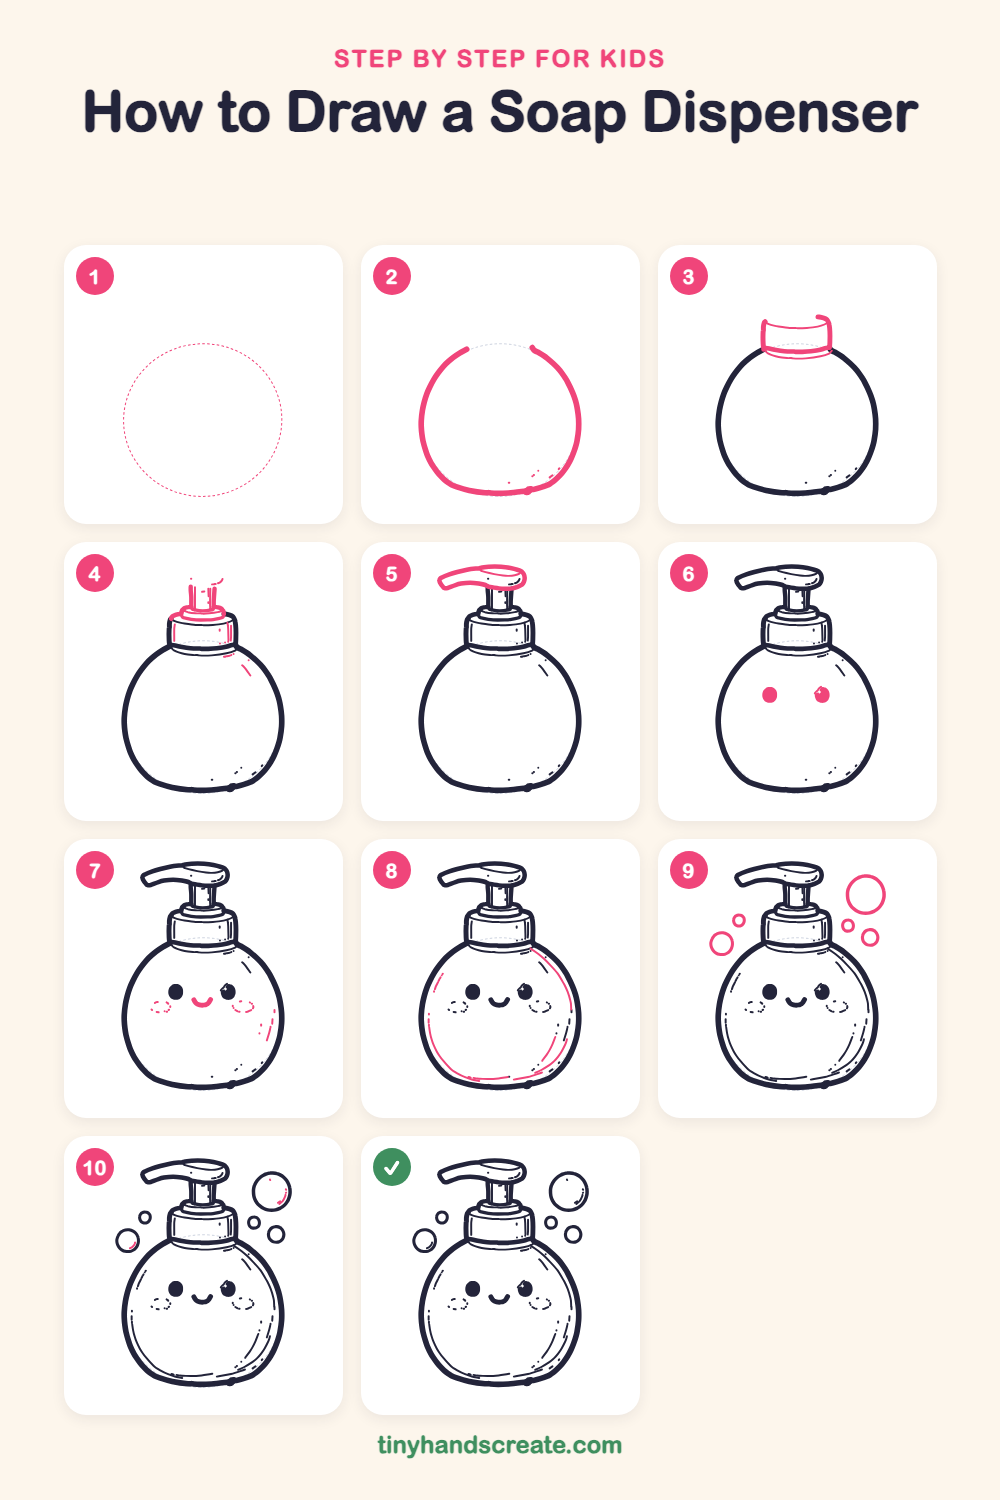
Step 1: Guide shapes
Lightly sketch this oval. It only shows where the big parts go, so press softly. You will erase it at the end.
Step 2: The round bottle
Draw a big round shape, a little flatter at the bottom, with one smooth line. Leave a small gap at the top where the neck will go.
Step 3: The neck band
At the gap on top of the bottle, draw a short, wide band with a gently curved top and bottom. Add a thin curved line just below it so it sits snugly on the bottle.
Step 4: Cap and pump stem
On top of the neck band, draw a smaller flat ring for the cap. Then draw two short straight lines going up from the middle of the ring for the pump stem.
Step 5: The pump handle
At the top of the stem, draw a long, leaning shape like a little bridge. Make it wide and rounded on the right and thinner on the left, then add one curved line inside the wide end.
Step 6: Two round eyes
In the middle of the bottle, draw two small dots side by side and color them in. Leave a tiny white spot in the right eye so it looks shiny.
Step 7: Smile and cheeks
Between the eyes and a little lower, draw a small U shape for a happy smile. Then draw a small dashed oval beside each eye for rosy cheeks.
Step 8: Shiny curved lines
Inside the bottle, draw thin curved lines that follow the edge, like a second outline. Make some of them short and broken so the bottle looks glossy.
Step 9: Floating bubbles
Around the bottle, draw five circles: one big one and four smaller ones in different sizes. Try to keep them from touching the bottle.
Step 10: Bubble sparkles
Inside two of the bubbles, add a tiny curved line near the edge. These little marks make them look shiny and round.
All done!
Erase the guide shapes, go over your lines, then color it in.
Finished your soap dispenser? Keep the pencils out and learn how to draw a rocket or how to draw a shooting star next.
Tips for drawing a soap dispenser
- Draw the bottle with one smooth line and leave a gap at the top for the neck. Stop and lift your pencil if the line starts to wobble.
- The pump handle is the trickiest part. Make the right end wide and rounded and the left end thinner, then add the curved line inside.
- Draw the eyes and smile before the shine lines. Keep the eyes the same size and at the same height so the face looks sweet and even.
Free soap dispenser coloring page
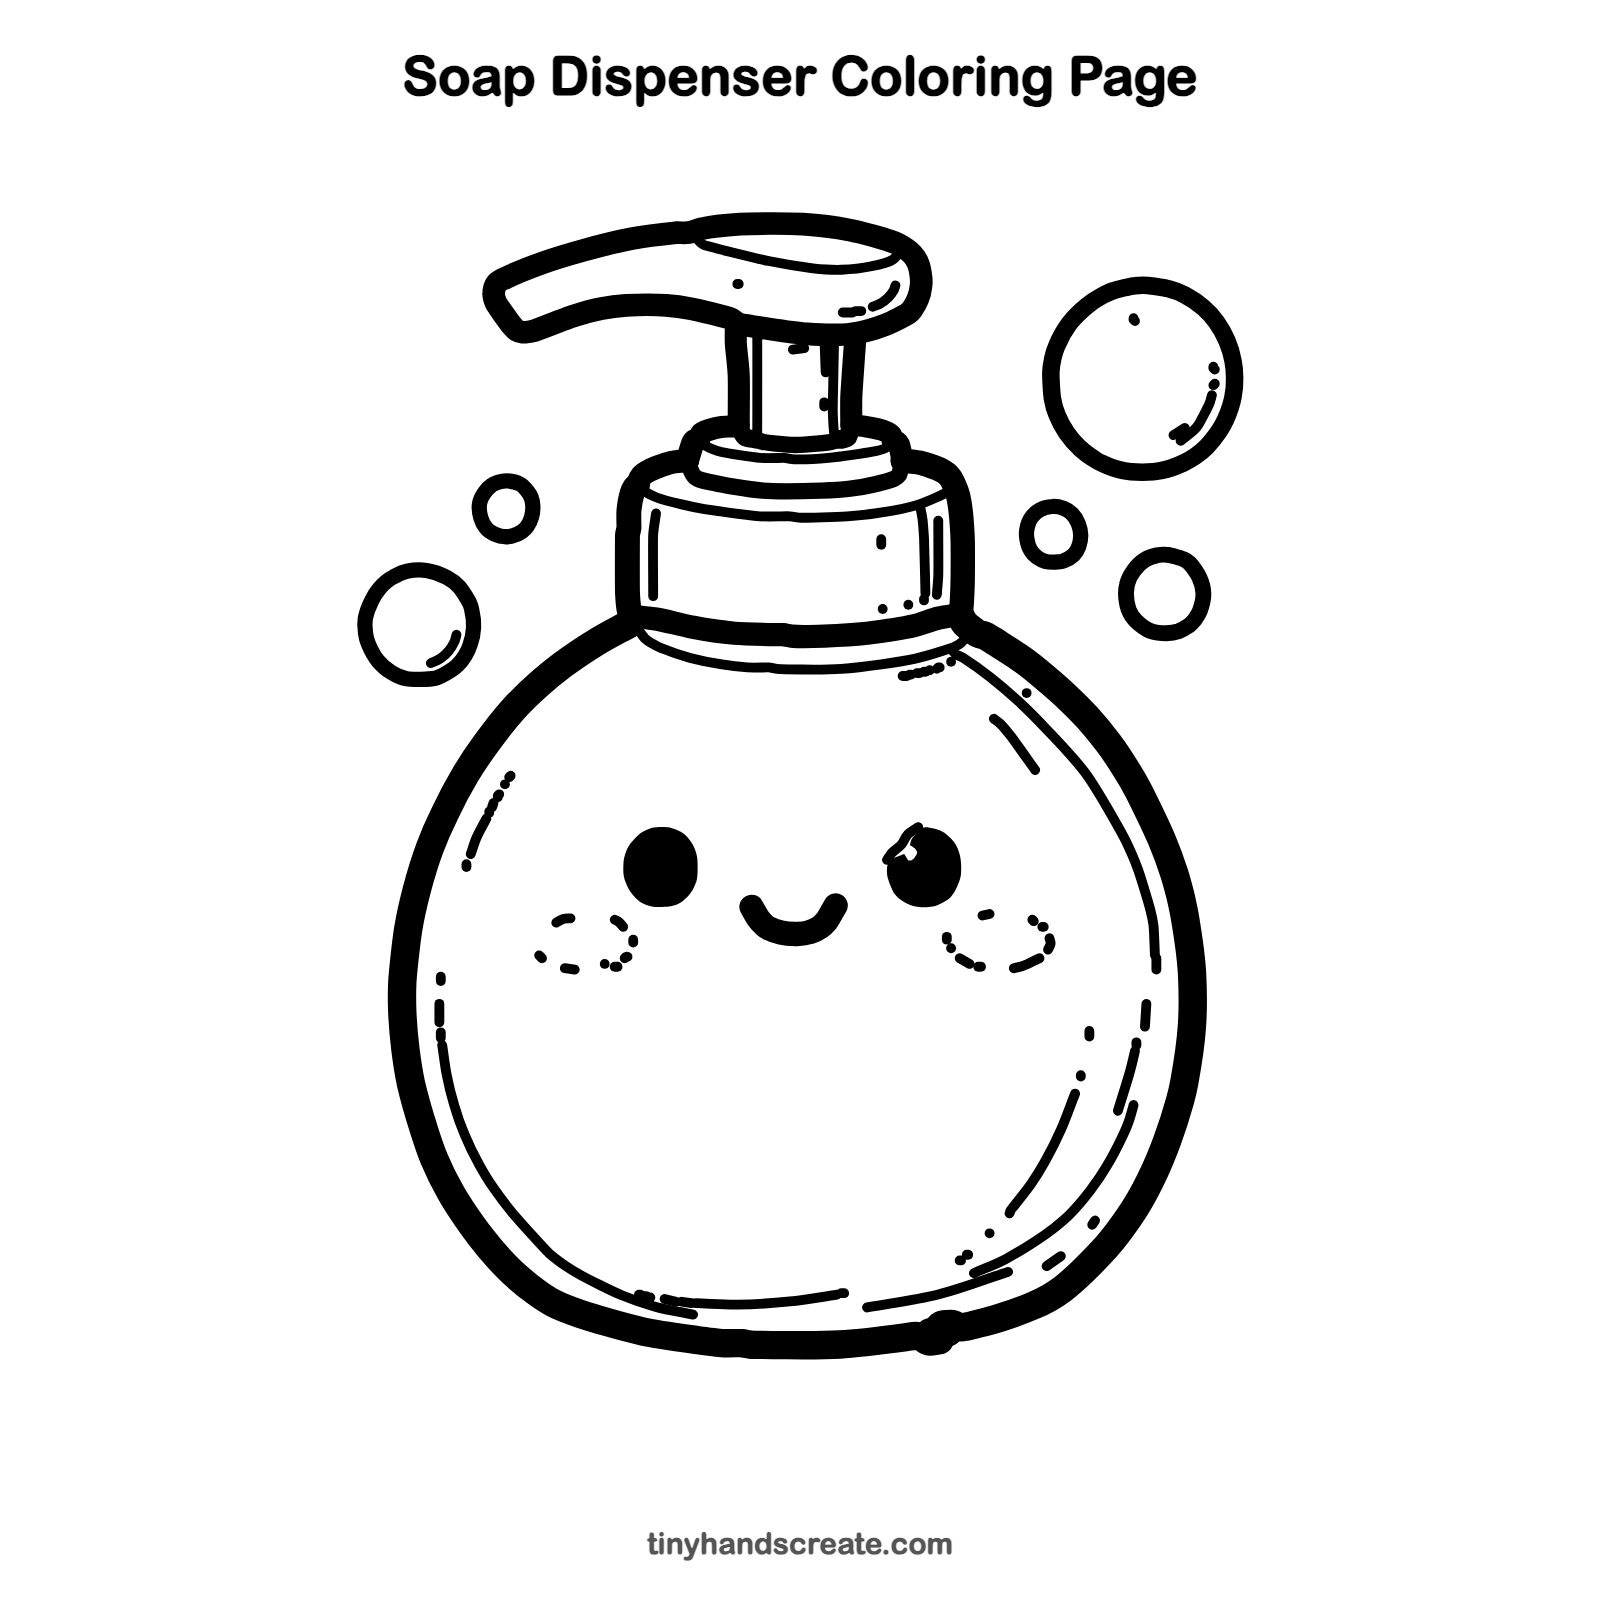
Want to go straight to coloring? Open this soap dispenser coloring page at full size and print it. It is the same drawing you just learned, with clean lines ready for crayons or markers.
How to color your soap dispenser drawing
Pick one soft color for the bottle, like mint green or light blue, and a different one for the neck band, cap and pump. For a creative twist, make every bubble a different pastel color.
Soap dispenser fun fact for kids
Soap bubbles are round because the thin soapy film pulls itself into the shape with the smallest surface, and that shape is a sphere.
Questions about drawing a soap dispenser
What shapes do I need to draw a soap dispenser?
You need a big round shape for the bottle, a short wide band for the neck, a flat ring for the cap, two straight lines for the stem, a bent shape for the handle, and circles for the bubbles.
How do I make my soap dispenser look cuter?
Give it a happy face with two round eyes, a small smile, and dashed rosy cheeks. Adding a few bubbles floating around it makes it look extra playful.
How do I draw the pump handle?
Draw a long leaning shape at the top of the stem. Make the right end wide and rounded and the left end thinner, then add one curved line inside the wide end.