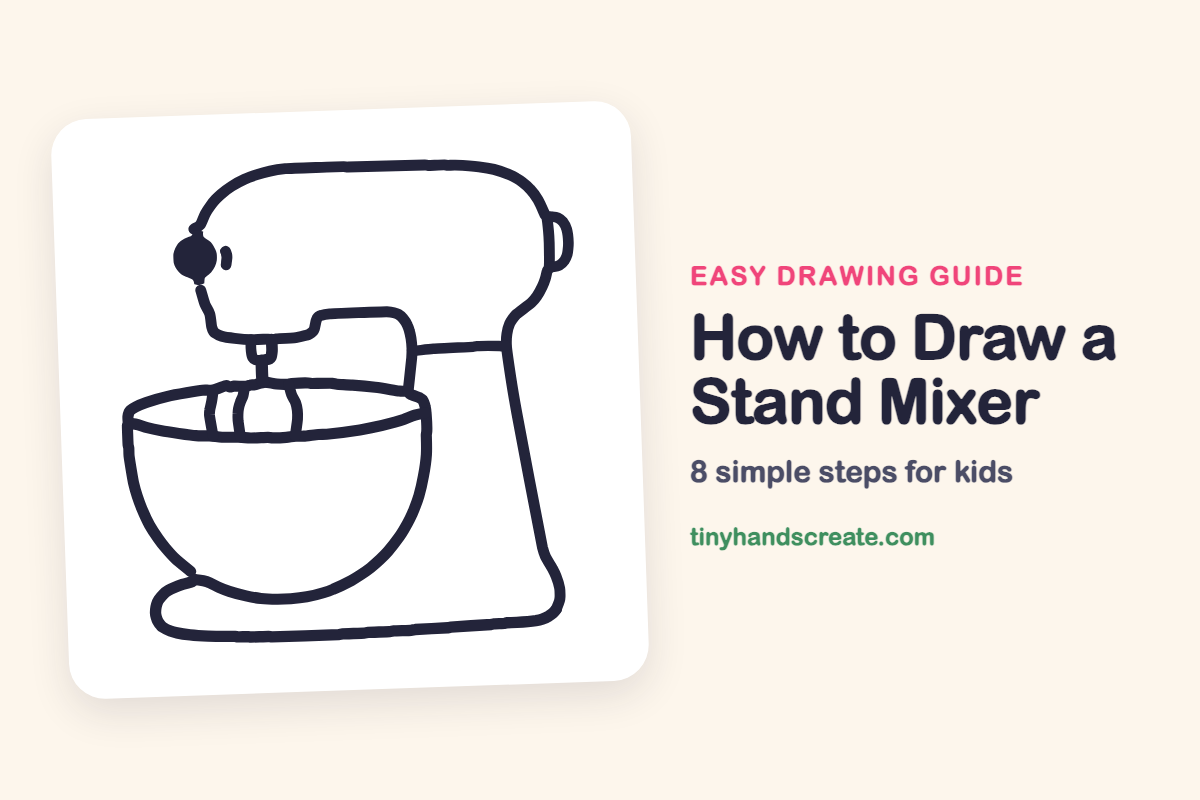
How to Draw a Stand Mixer (Easy Step by Step)
Learn how to easily draw a stand mixer by breaking it down into simple shapes like a rounded head, bowl, base, and whisk. You'll create a friendly kitchen helper with step-by-step guidance.
- Break down the stand mixer into simple shapes.
- Start by drawing the long rounded head.
- Add a half-circle for the bowl.
- Form the flat rounded base.
- Complete your drawing with a whisk.
This post contains affiliate links. As an Amazon Associate I earn from qualifying purchases.
A stand mixer is a fun drawing because it looks like a friendly kitchen helper. It is built from a few simple shapes: a long rounded head, a half-circle bowl, a flat rounded base, and a little whisk. Once you can draw those, you can draw the whole machine.
- Medium
- 15 minutes
- 8 steps
You need: paper, a pencil, an eraser, and crayons or markers for coloring.
Start drawing


In this article (7 sections)
How to draw a stand mixer step by step
How to Draw a Stand Mixer · tinyhandscreate.com
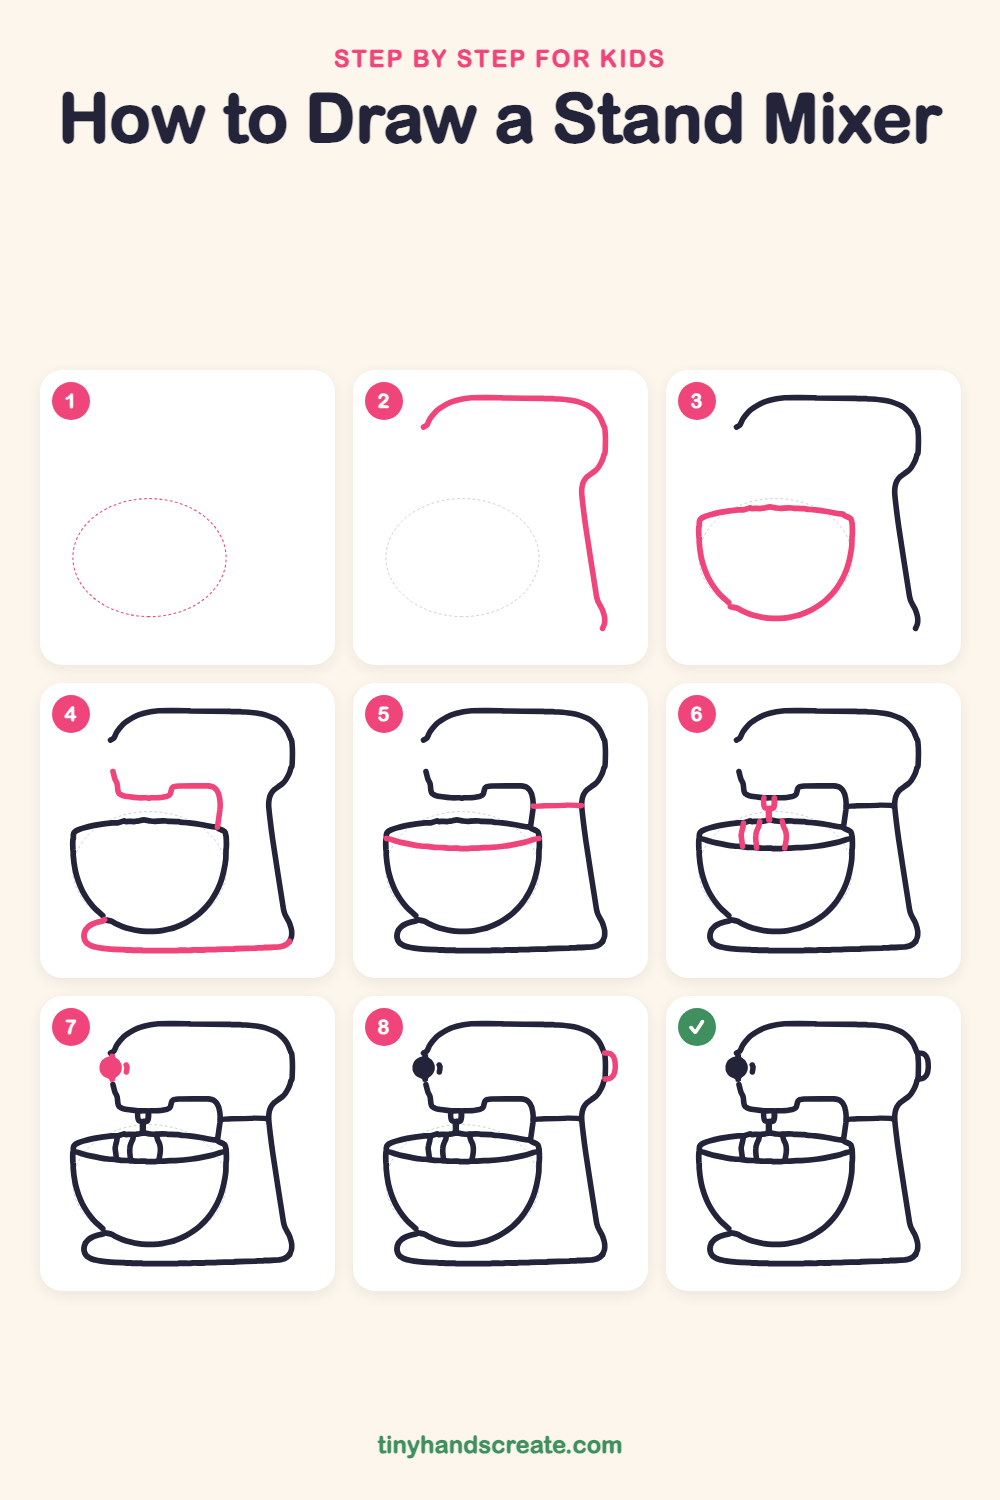
Step 1: Guide shapes
Lightly sketch this oval. It only shows where the big parts go, so press softly. You will erase it at the end.
Step 2: Head top and back
Start at the left and draw a curve that rises up to a long, flat top. Round the corner on the right, then let the line come down the right side, bend in a little, and go straight down the back to the bottom.
Step 3: The bowl
On the left, draw a slightly curved line across for the top edge of the bowl. Then draw a deep curve from each end of that line, down and around, so the two sides meet at the bottom like half a circle.
Step 4: Head front and base
Under the head, draw a line that starts at the left, drops down, then steps over to the right and ends at the bowl's right edge. Then draw a long, flat, rounded line along the bottom, from just below the bowl on the left all the way to the back.
Step 5: Rim and arm
Draw a curved line across the bowl just below its top edge to make the rim. Then draw a short straight line on the right, joining the mixer's arm to the back column.
Step 6: The whisk
Under the head, draw a tiny stub that points down into the bowl. Below it, draw three curved lines hanging down inside the bowl, like the wires of a whisk.
Step 7: Knob and dial
On the left side of the head, draw a big circle and fill it in solid. Next to it, draw a tiny curved dash.
Step 8: The back handle
On the right side of the head, draw a small rounded loop shaped like the letter D, attached to the edge of the head.
All done!
Erase the guide shapes, go over your lines, then color it in.
Finished your stand mixer? Keep the pencils out and learn how to draw a rocket or how to draw a shooting star next.
Tips for drawing a stand mixer
- Draw the head first, then fit the bowl under it. If the bowl looks lopsided, try again with a lighter pencil line.
- The whisk is the trickiest part. Start with the tiny stub under the head, then add three curved lines below it, and keep them small.
- Draw the base as one long, flat line under the bowl so the bowl looks like it is sitting in front of the mixer.
Free stand mixer coloring page
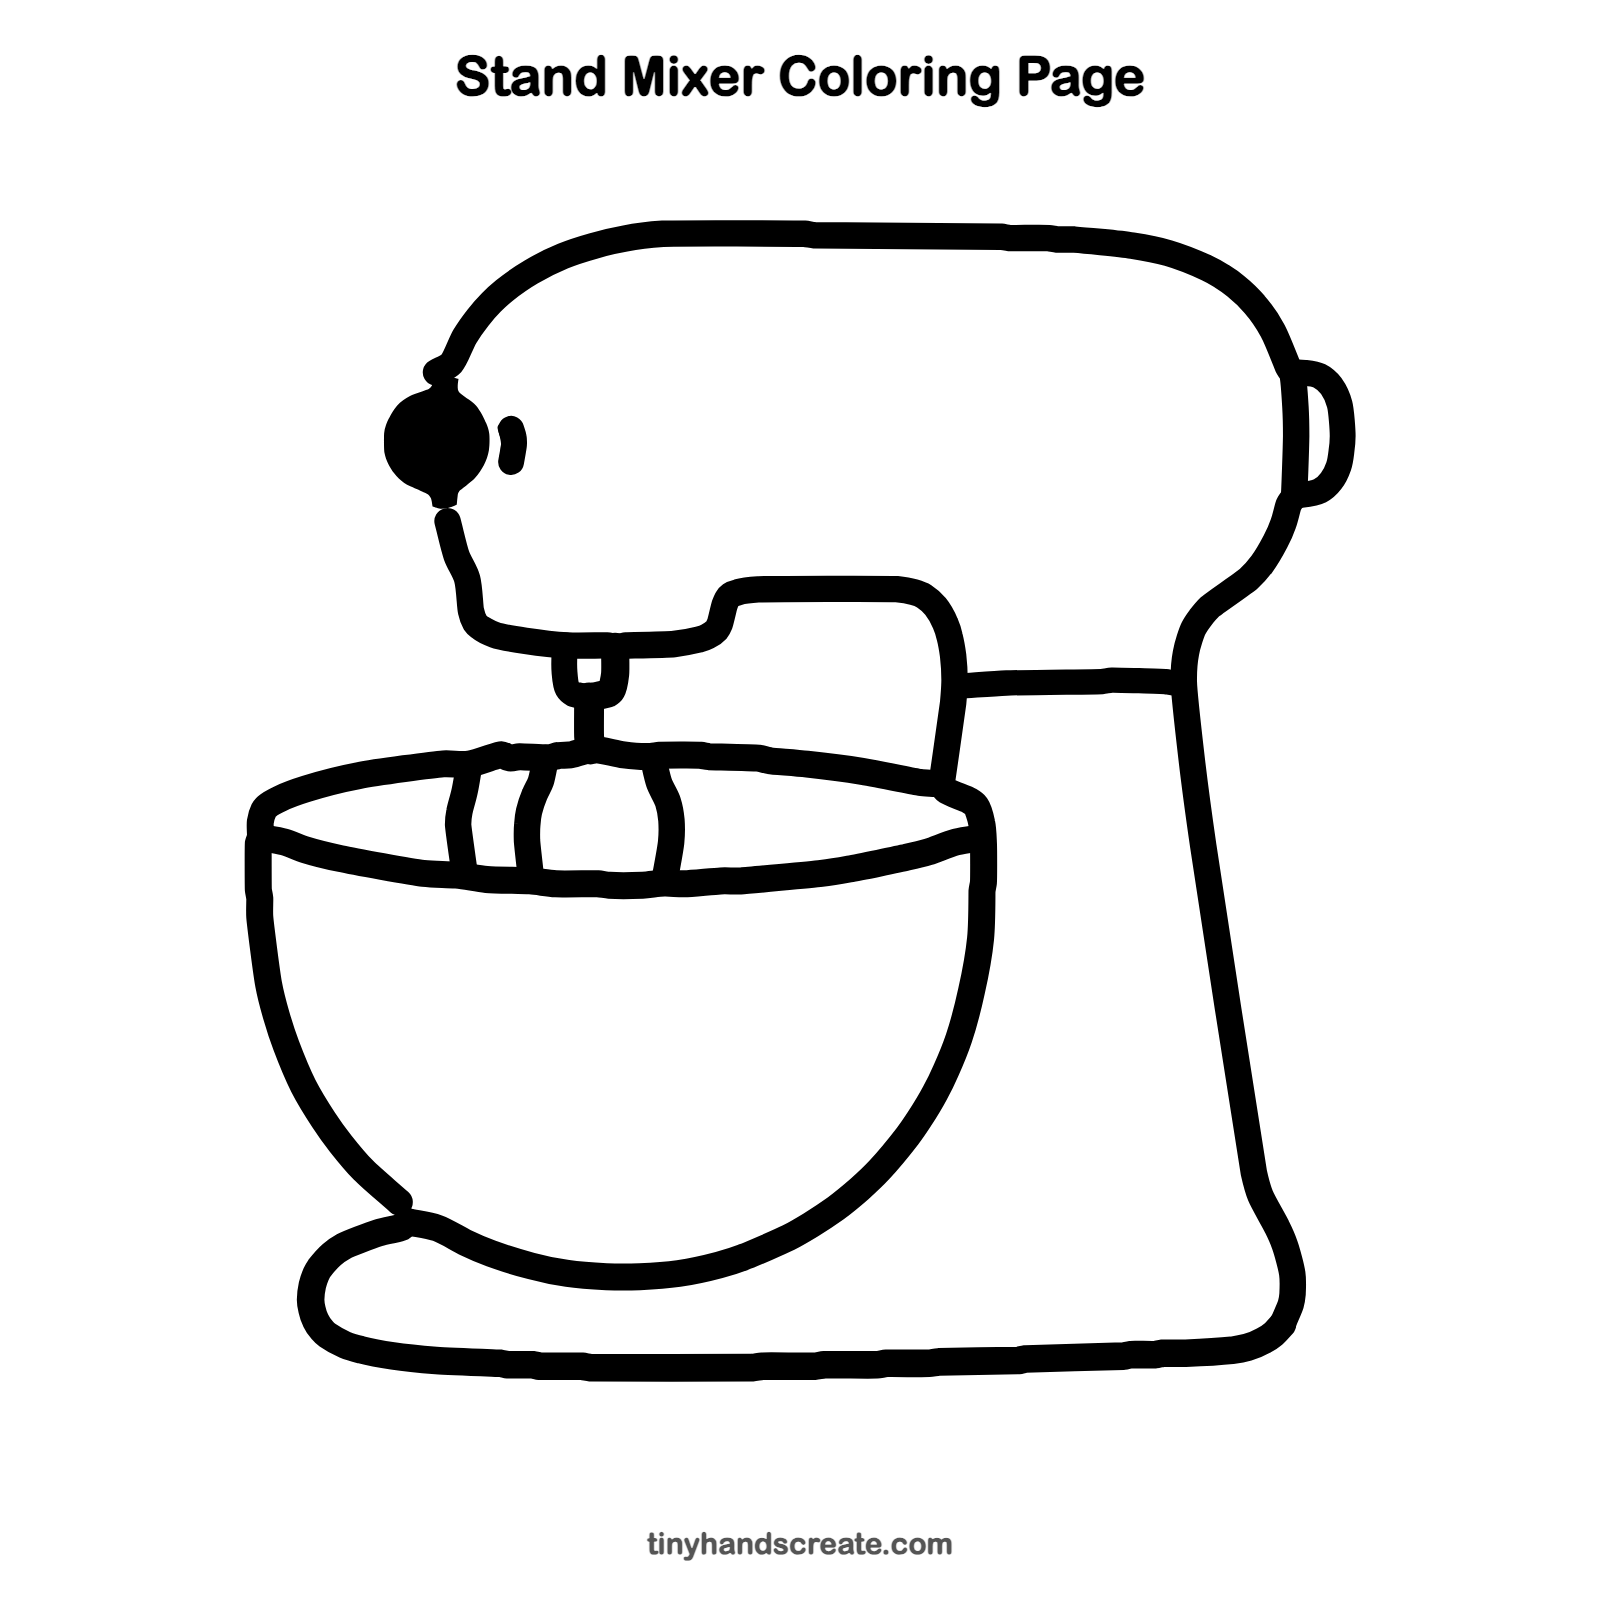
Want to go straight to coloring? Open this stand mixer coloring page at full size and print it. It is the same drawing you just learned, with clean lines ready for crayons or markers.
How to color your stand mixer drawing
Try a classic red, mint green, or sky blue for the mixer body, and silver or gray for the bowl and whisk. Make the knob a bright color so it stands out. For a creative twist, fill the bowl with pink frosting or rainbow cake batter.
Stand mixer fun fact for kids
Many stand mixers use planetary action: the beater spins one way while it also travels around the bowl the other way, so it can reach every part of the bowl.
Questions about drawing a stand mixer
What shapes do I need to draw a stand mixer?
You need a long rounded shape for the head, a half circle for the bowl, a flat rounded line for the base, and a small circle for the knob. A few curved lines for the whisk finish it.
How do I make my stand mixer look balanced?
Make the bowl about as wide as the head, and keep the base long and flat at the bottom. The back column leans slightly, which makes the mixer look sturdy.
How do I draw the whisk inside the bowl?
Draw a tiny stub under the head, then add three curved lines hanging down inside the bowl. Keep the lines thin so the whisk looks light.