How to Draw a Beret (Easy Step by Step)
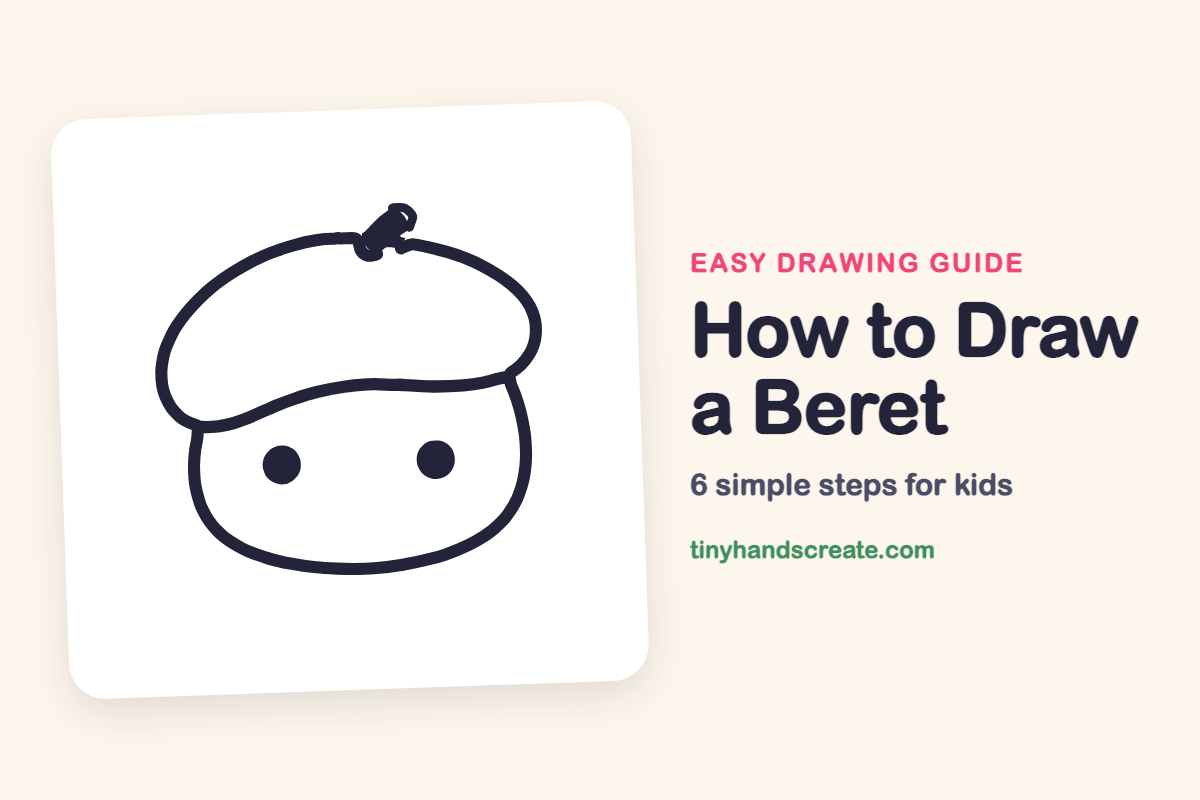
Learn to draw a beret easily with this step-by-step guide. You'll use simple shapes like a rounded bowl for the face, a puffy dome for the hat, and small dots for the eyes.
- Begin by drawing a rounded bowl shape for the face.
- Form the beret by adding a puffy dome on top.
- Complete your drawing with two small dots for the eyes.
This post contains affiliate links. As an Amazon Associate I earn from qualifying purchases.
A beret is a soft, flat, round hat, and this one sits on a cute little face. It is built from a few easy shapes: a rounded bowl for the face, a puffy dome for the hat, and two small dots for the eyes.
- Easy
- 10 minutes
- 6 steps
You need: paper, a pencil, an eraser, and crayons or markers for coloring.
Start drawing


In this article (7 sections)
How to draw a beret step by step
How to Draw a Beret · tinyhandscreate.com
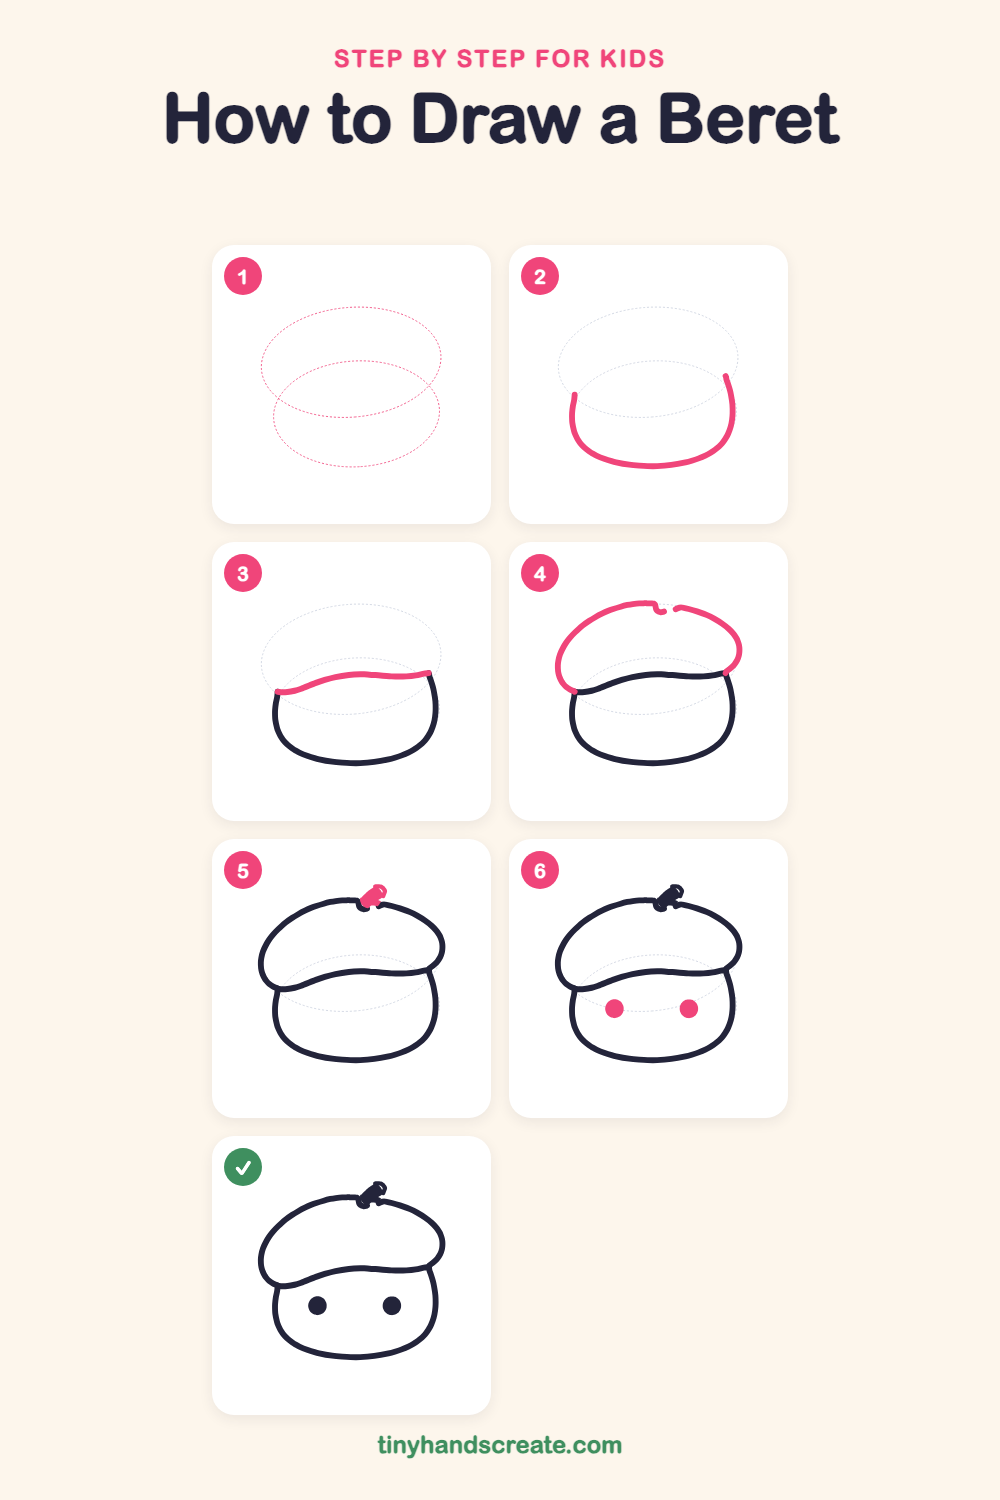
Step 1: Guide shapes
Lightly sketch these 2 ovals. They only show where the big parts go, so press softly. You will erase them at the end.
Step 2: The round face
Draw a wide, rounded U shape like a little bowl. Start high on the left, curve down around the bottom, and come back up on the right, leaving the top open.
Step 3: The hat band
Draw one long, gently wavy line across the top of the bowl. Start at the top of the left side, let the line rise a little in the middle, and end at the top of the right side.
Step 4: The puffy hat top
Start at the left end of the band and draw a big curve up and over, like a squished dome. Bring it down on the right so it meets the right end of the band. Leave a tiny gap at the very top.
Step 5: The little stem
At the top of the hat, in the gap, draw a small curly nub, like a tiny stalk. Make it a bit thick so it stands out.
Step 6: Two round eyes
Draw two small circles on the lower face, side by side with a nice gap between them. Color them in completely with your pencil so they are solid dark dots.
All done!
Erase the guide shapes, go over your lines, then color it in.
Finished your beret? Keep the pencils out and learn how to draw a rocket or how to draw a shooting star next.
Tips for drawing a beret
- Draw the face first, then add the wavy band across the top. Seeing the band sit on the face helps the hat look like it is really being worn.
- Make the hat dome a little wider than the face. Let it stick out on the left so it looks puffy and soft.
- Make the two eyes the same size by tracing around a coin or a bottle cap, then color them in.
Free beret coloring page
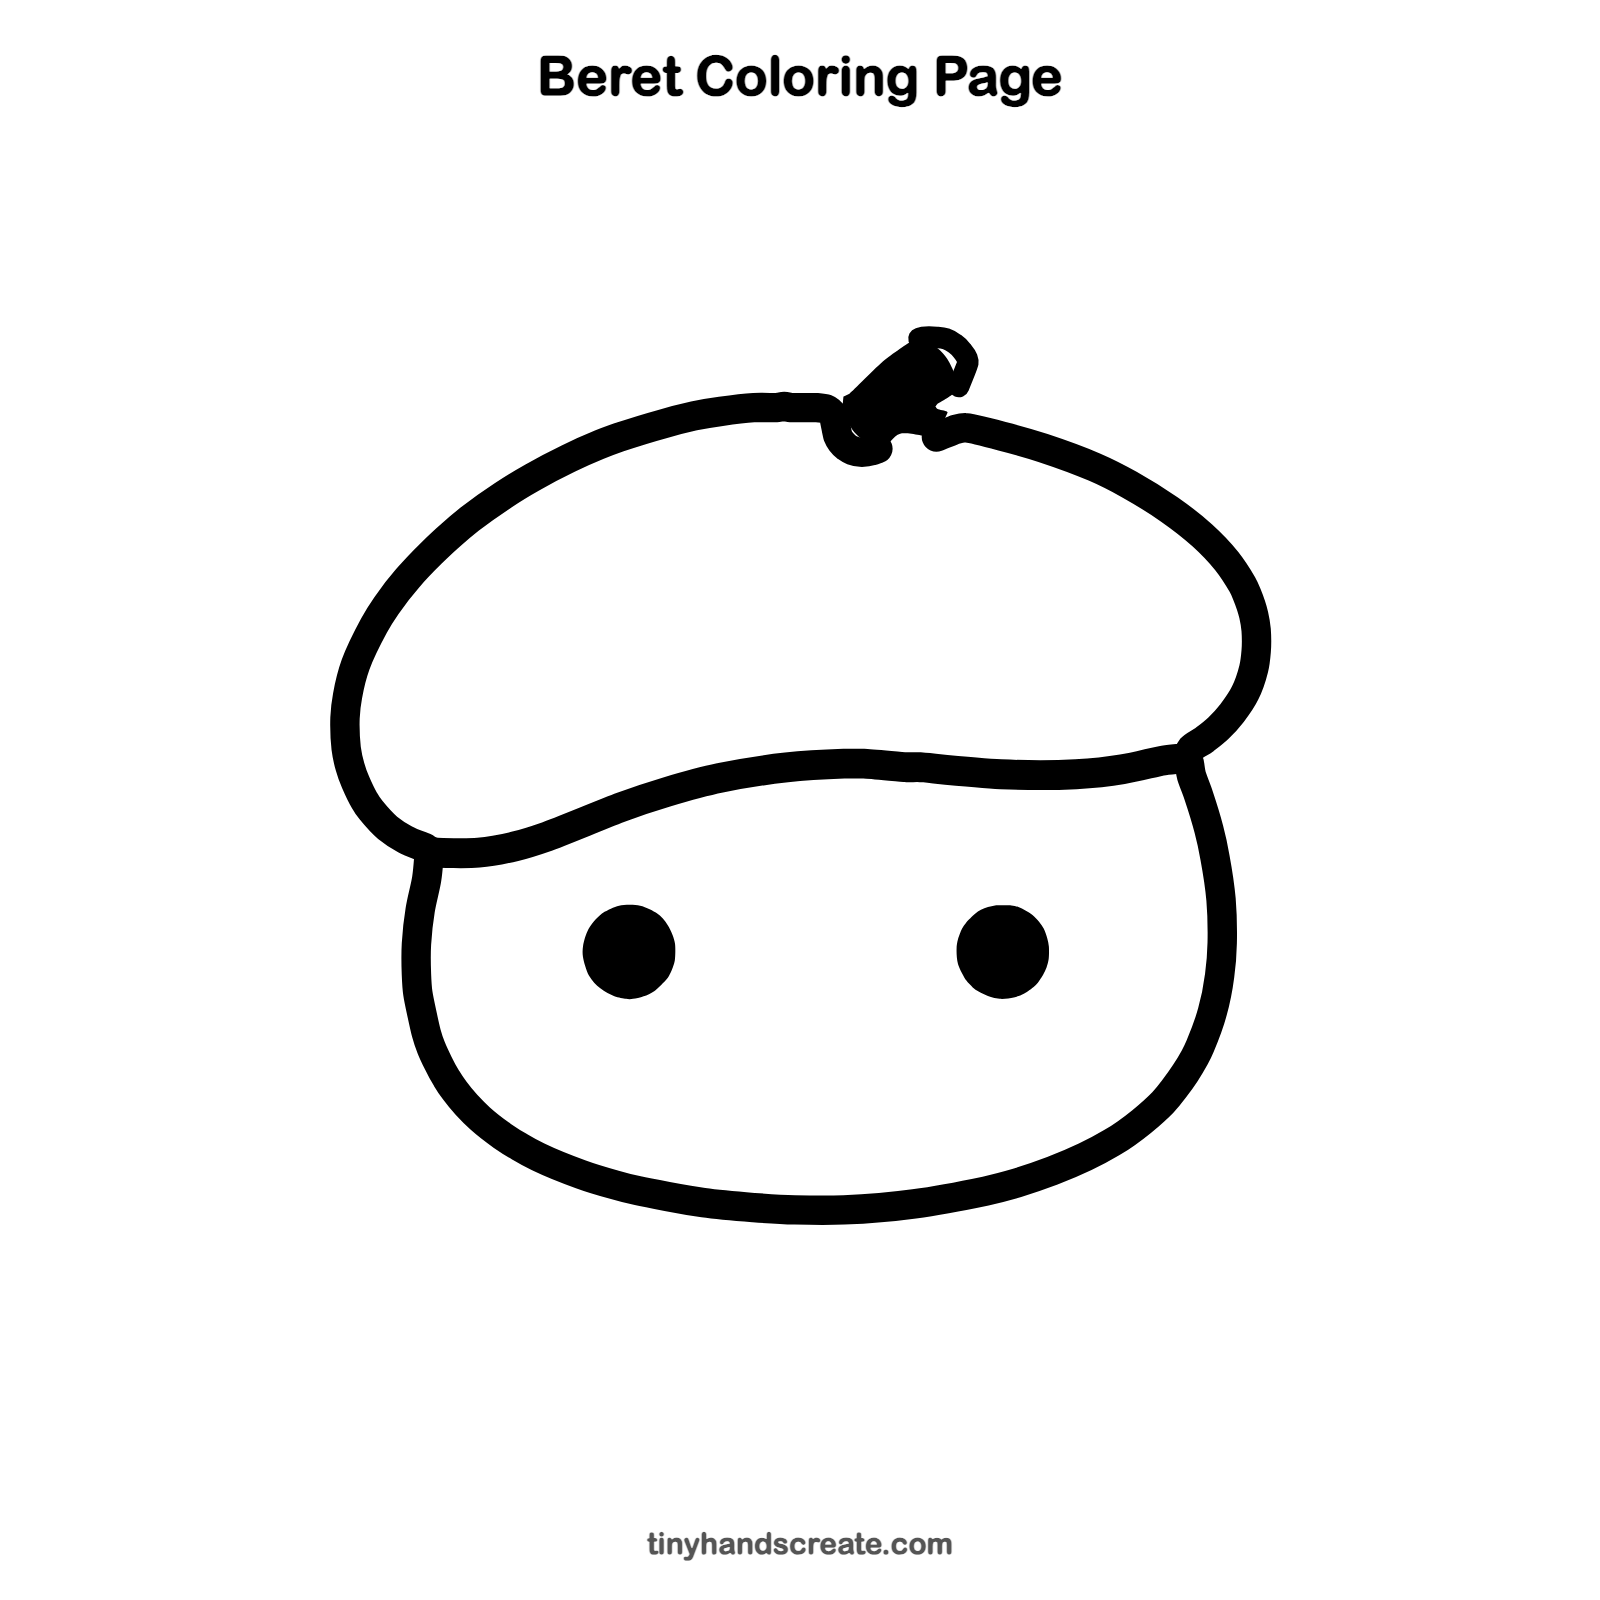
Want to go straight to coloring? Open this beret coloring page at full size and print it. It is the same drawing you just learned, with clean lines ready for crayons or markers.
How to color your beret drawing
Try a classic red, navy, or black for the beret and a soft peach or cream for the face. For a creative twist, add tiny polka dots or stripes on the hat, or give the little stem a bright color.
Beret fun fact for kids
Berets are traditionally made of wool, and the soft round hat has been worn for hundreds of years, especially by shepherds in the Basque region of Spain and France.
Questions about drawing a beret
What shapes do I need to draw a beret?
You need a rounded bowl shape for the face, a wavy line for the band, a squished dome for the hat top, and a small curly nub for the stem. Two filled circles make the eyes.
How do I make my beret look puffy?
Draw the hat wider than the face and keep the top curve round and smooth. Let it overhang the sides a little bit.
How do I make my beret drawing look cuter?
Put the eyes low and wide apart on the face, and make them round and dark. Try to keep both eyes the same size.