How to Draw a Chestnut (Easy Step by Step)
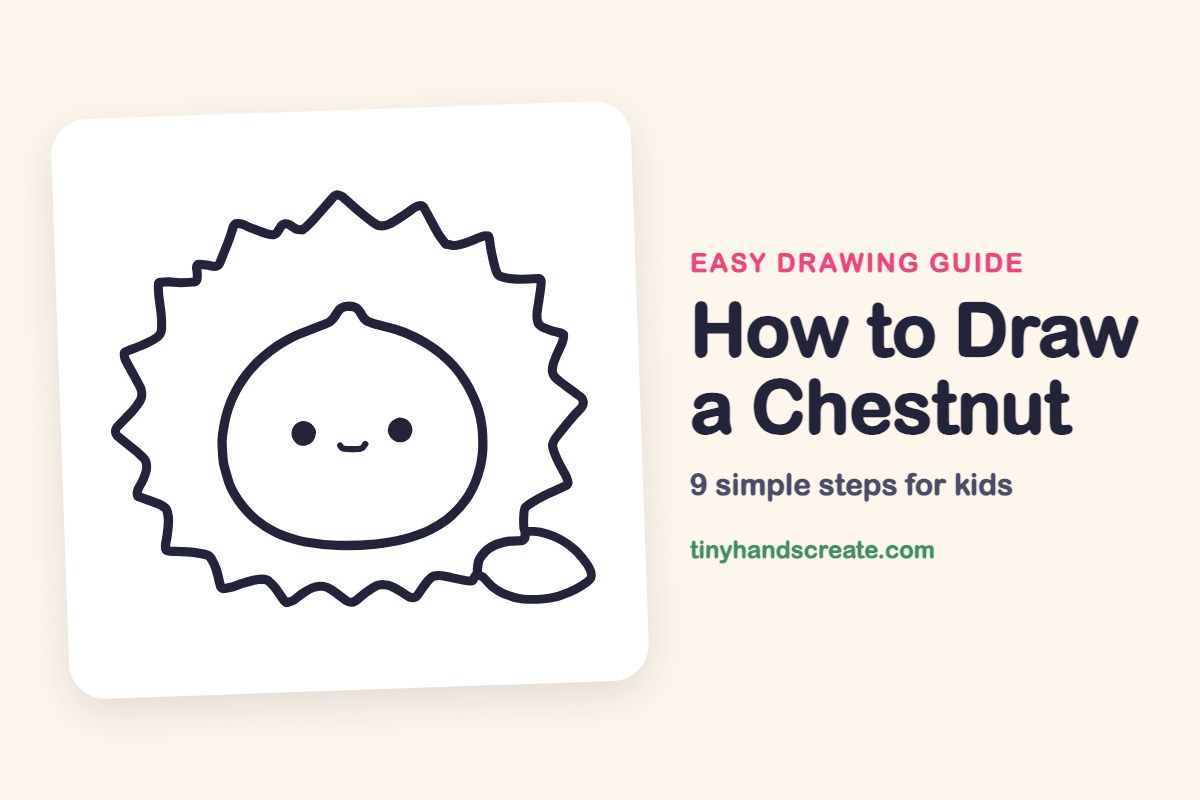
Learn to draw a cute chestnut with a happy face, nestled in a spiky shell. You'll practice smooth curves and pointy lines by creating its rounded body, zigzag points, and a small peeking nut.
- Draw a cute, round chestnut with a happy face.
- Create its spiky shell using a ring of zigzag points.
- Form the main nut with a rounded dumpling shape.
- Add a small second nut peeking from the bottom.
- Practice smooth curves and sharp, pointy lines.
This post contains affiliate links. As an Amazon Associate I earn from qualifying purchases.
This chestnut is a cute round nut with a happy face, sitting inside a spiky shell. It is built from a rounded dumpling shape, a ring of zigzag points, and a small second nut peeking out at the bottom. It is a good drawing for practicing smooth curves and pointy lines.
- Medium
- 15 minutes
- 9 steps
You need: paper, a pencil, an eraser, and crayons or markers for coloring.
Start drawing
In this article (7 sections)
How to draw a chestnut step by step
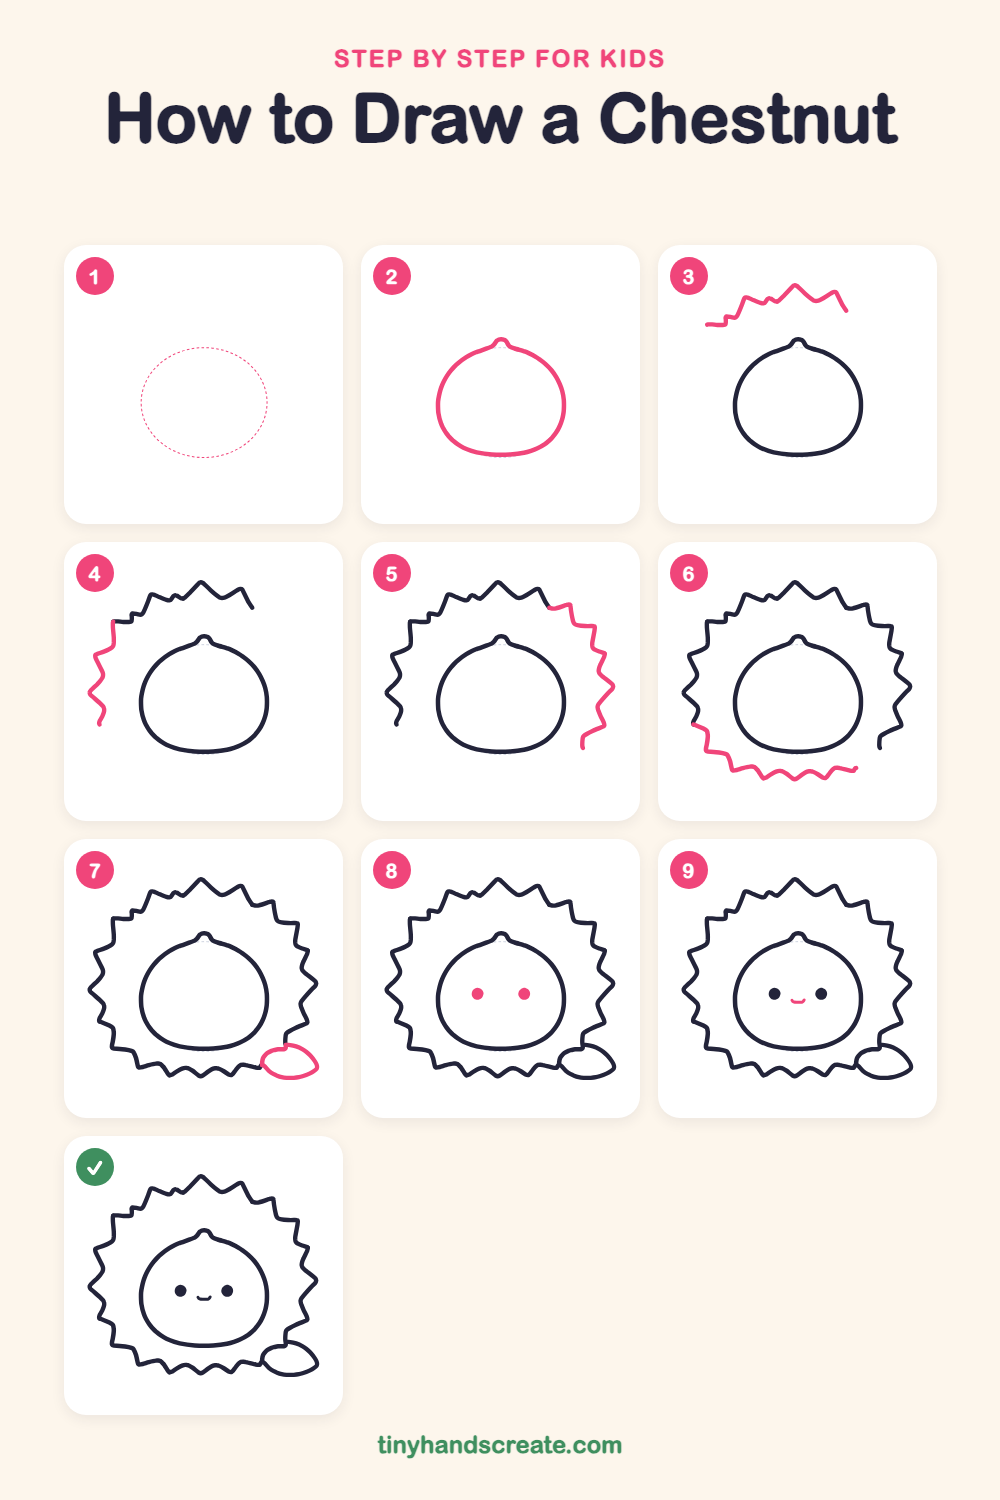
How to Draw a Chestnut · tinyhandscreate.com
Step 1: Guide shapes
Lightly sketch this oval. It only shows where the big parts go, so press softly. You will erase it at the end.
Step 2: The round nut
Draw a wide, rounded shape like a soft dumpling, with a small pointed bump at the top. Start at the bump and curve down both sides until the lines meet at the bottom.
Step 3: Spiky top edge
Above the nut, draw a zigzag line of short and tall points. Start at the left and wiggle across the top to the right.
Step 4: Spiky left side
Start at the left end of the top zigzag and keep going down the left side of the nut. Make pointy zigzags that stick out like the rays of a sun.
Step 5: Spiky right side
Go back to the top right and draw zigzag points down the right side. Stop above the bottom right corner and leave a gap.
Step 6: Spiky bottom edge
Start at the bottom end of the left side and draw wavy zigzag points along the bottom. Stop near the gap at the bottom right.
Step 7: The little nut
In the gap at the bottom right, draw a small rounded shape that peeks out from the shell. It is a little like a leaf, with one pointed end and a curved line all around.
Step 8: The two eyes
Inside the big nut, draw two small round dots side by side, near the middle. Keep them the same size.
Step 9: A tiny smile
Between the eyes and a little lower, draw a small curved smile.
All done!
Erase the guide shapes, go over your lines, then color it in.
Finished your chestnut? Keep the pencils out and learn how to draw a mushroom or how to draw a sunflower next.
Tips for drawing a chestnut
- Draw the round nut first, then draw the spiky shell around it, leaving a gap so the points do not touch the nut.
- The zigzag shell is the trickiest part. Make the points different heights, and go slowly, one point at a time.
- Leave a gap at the bottom right of the shell for the little nut to peek out.
- Keep the eyes and smile small and close together near the middle of the nut so the face looks sweet.
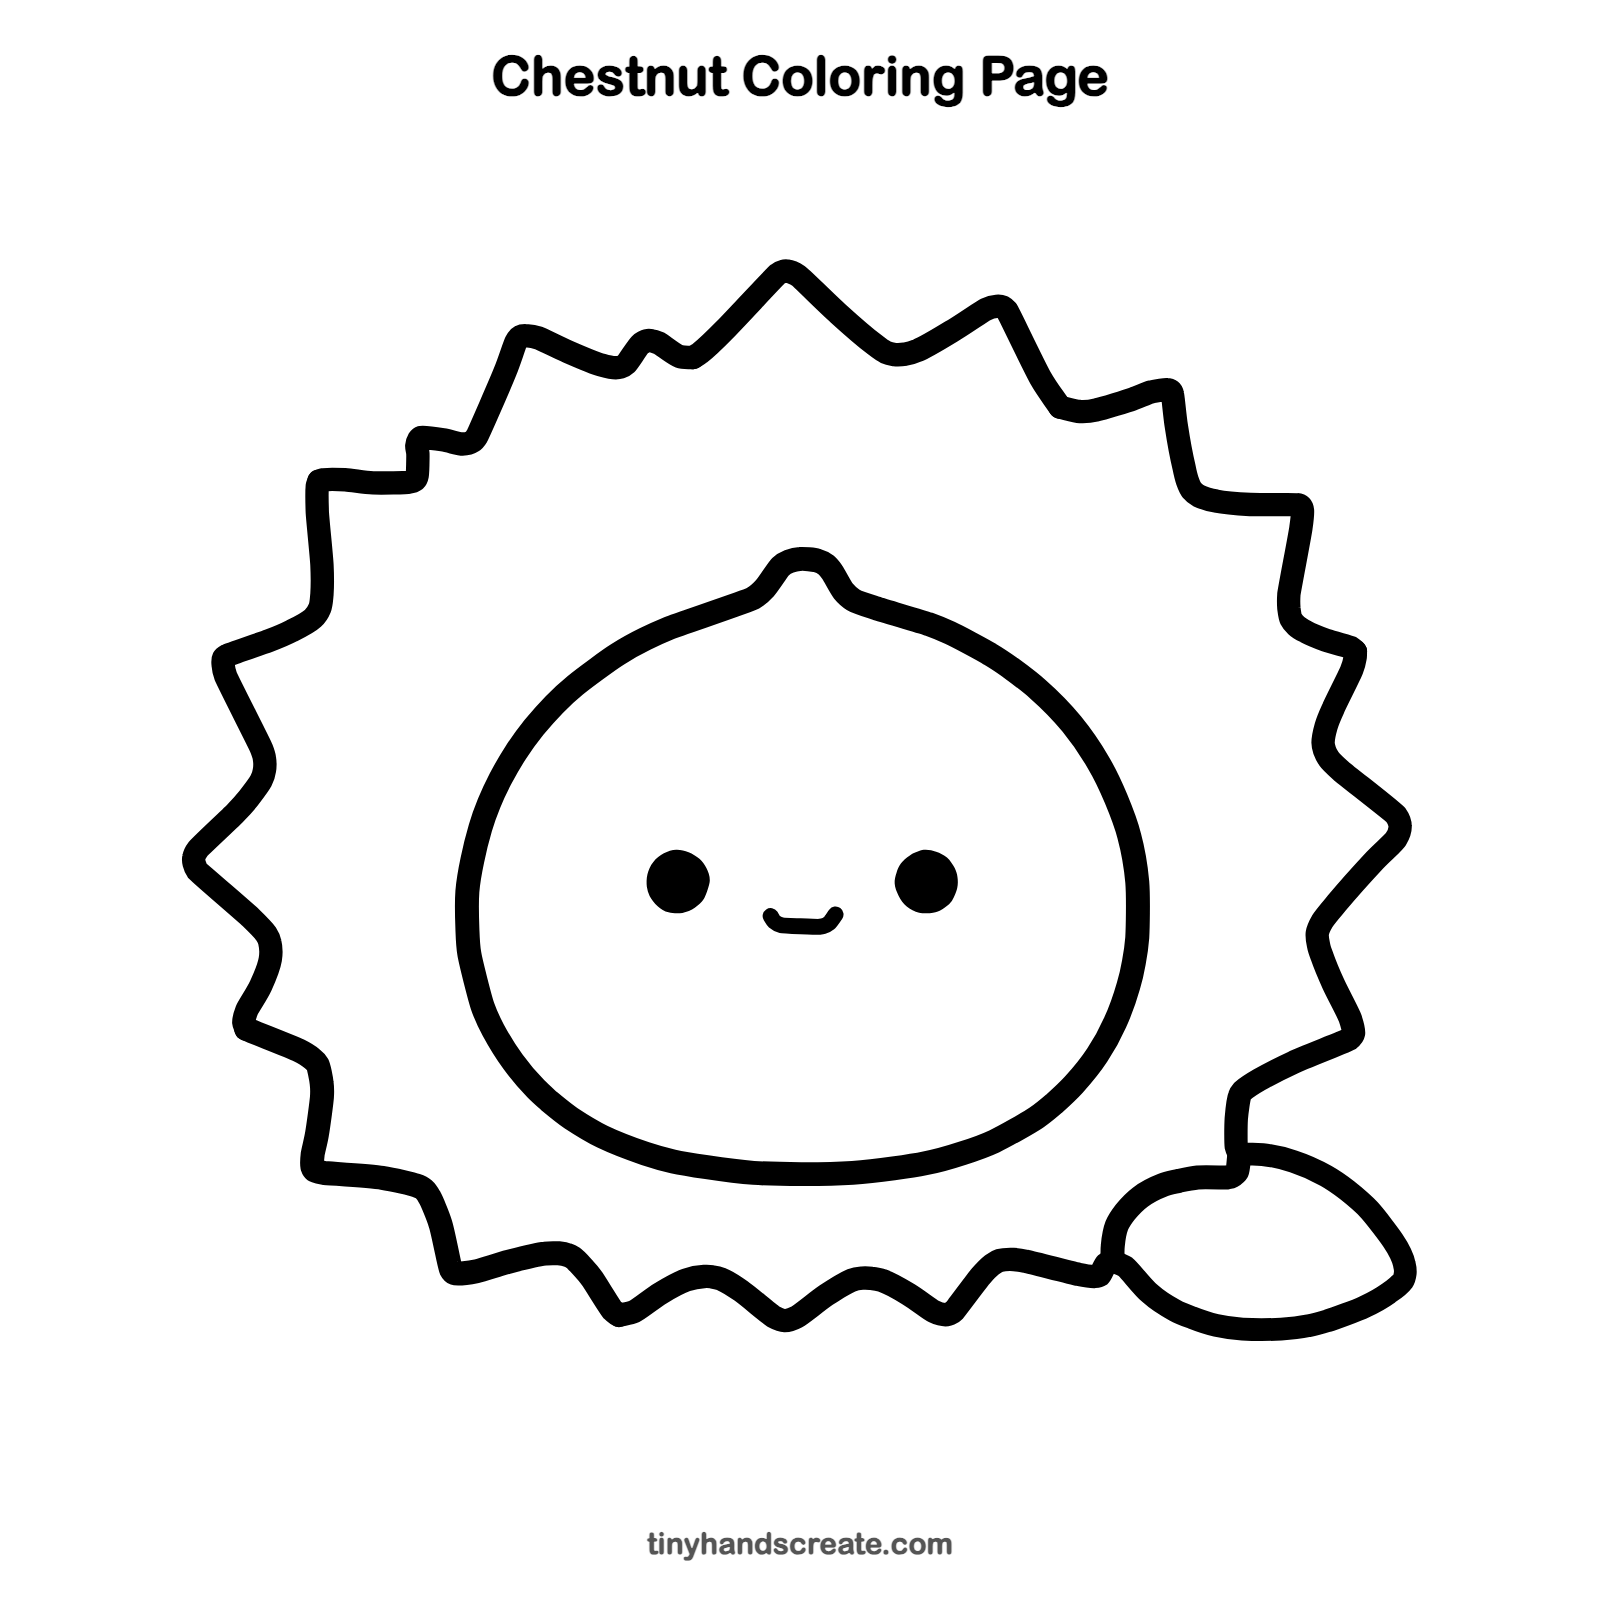
Free chestnut coloring page
Want to go straight to coloring? Open this chestnut coloring page at full size and print it. It is the same drawing you just learned, with clean lines ready for crayons or markers.
How to color your chestnut drawing
Color the nut a warm shiny brown and the shell a spiky green or golden tan. The little nut at the bottom can be brown too.
Chestnut fun fact for kids
Chestnuts grow inside prickly cases called burrs. When the nuts are ripe, the burr splits open and the shiny brown nuts fall to the ground.
Questions about drawing a chestnut
What shapes do I need to draw a chestnut?
You need a rounded dumpling shape for the nut, a zigzag line of points for the shell, and a small rounded shape for the little nut at the bottom.
How do I make my chestnut look cuter?
Draw the eyes as two round dots and the smile as a tiny curve, with a little space between them.
How do I draw the spiky shell?
Draw a zigzag line around the nut, going up and down like mountains. Start across the top, then do the left side, the right side, and the bottom. Vary the size of the points so the shell looks natural.