How to Draw a Koi Fish (Easy Step by Step)
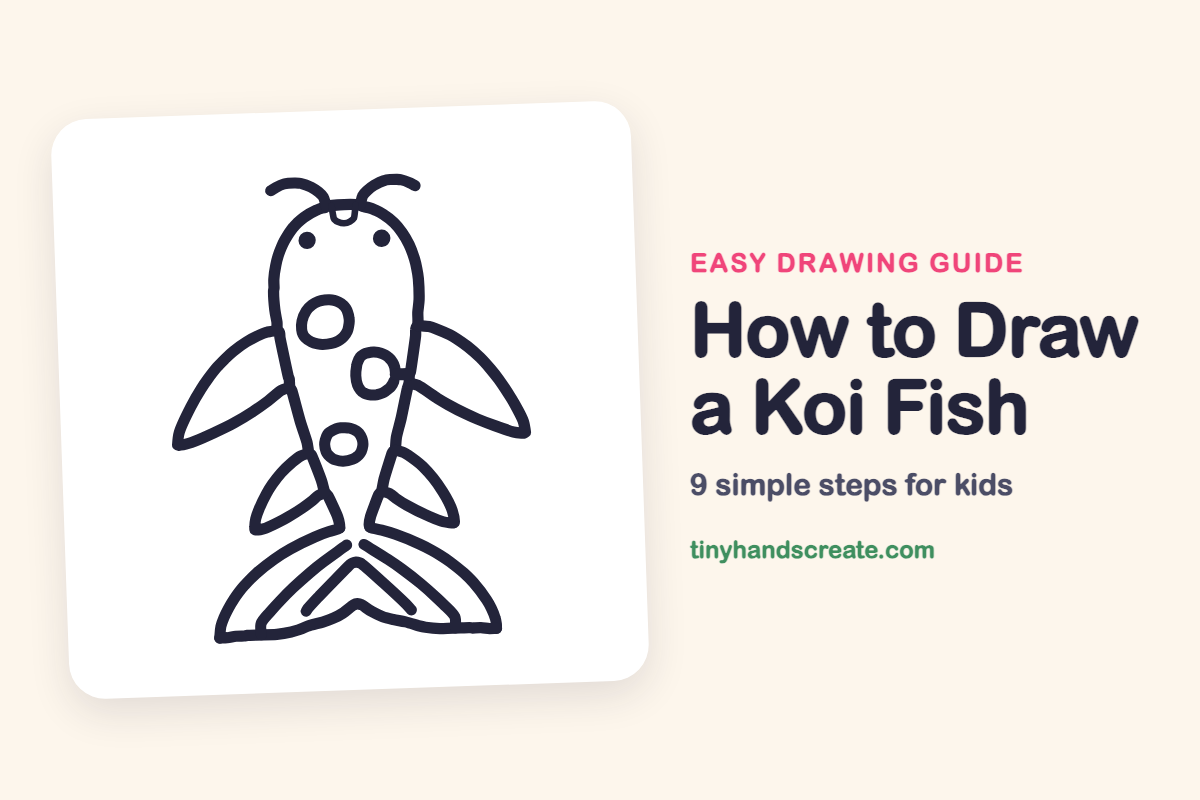
Learn to draw a beautiful koi fish using simple shapes like a teardrop for the body, leaf shapes for fins, and curves for the tail. You'll also discover how to add unique wobbly spots.
- Start your koi fish drawing with a teardrop shape for the body.
- Use leaf shapes to create the fins of your koi.
- Draw curves to form the swishy tail.
- Add wobbly spots to make your koi fish unique.
This post contains affiliate links. As an Amazon Associate I earn from qualifying purchases.
This koi fish is fun because it is built from just a few simple shapes. You will use a teardrop for the body, leaf shapes for the fins, and curves for the swishy tail. The wobbly spots make every koi look a little different.
- Medium
- 15 minutes
- 9 steps
You need: paper, a pencil, an eraser, and crayons or markers for coloring.
Start drawing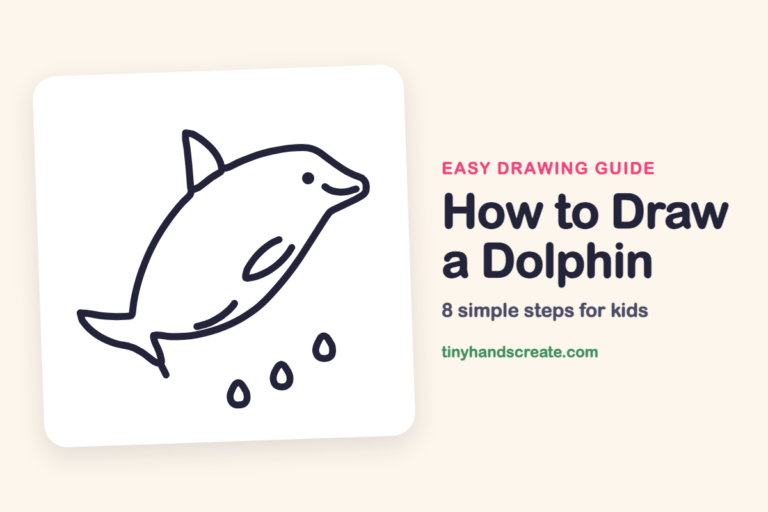
In this article (7 sections)
How to draw a koi fish step by step
How to Draw a Koi Fish · tinyhandscreate.com
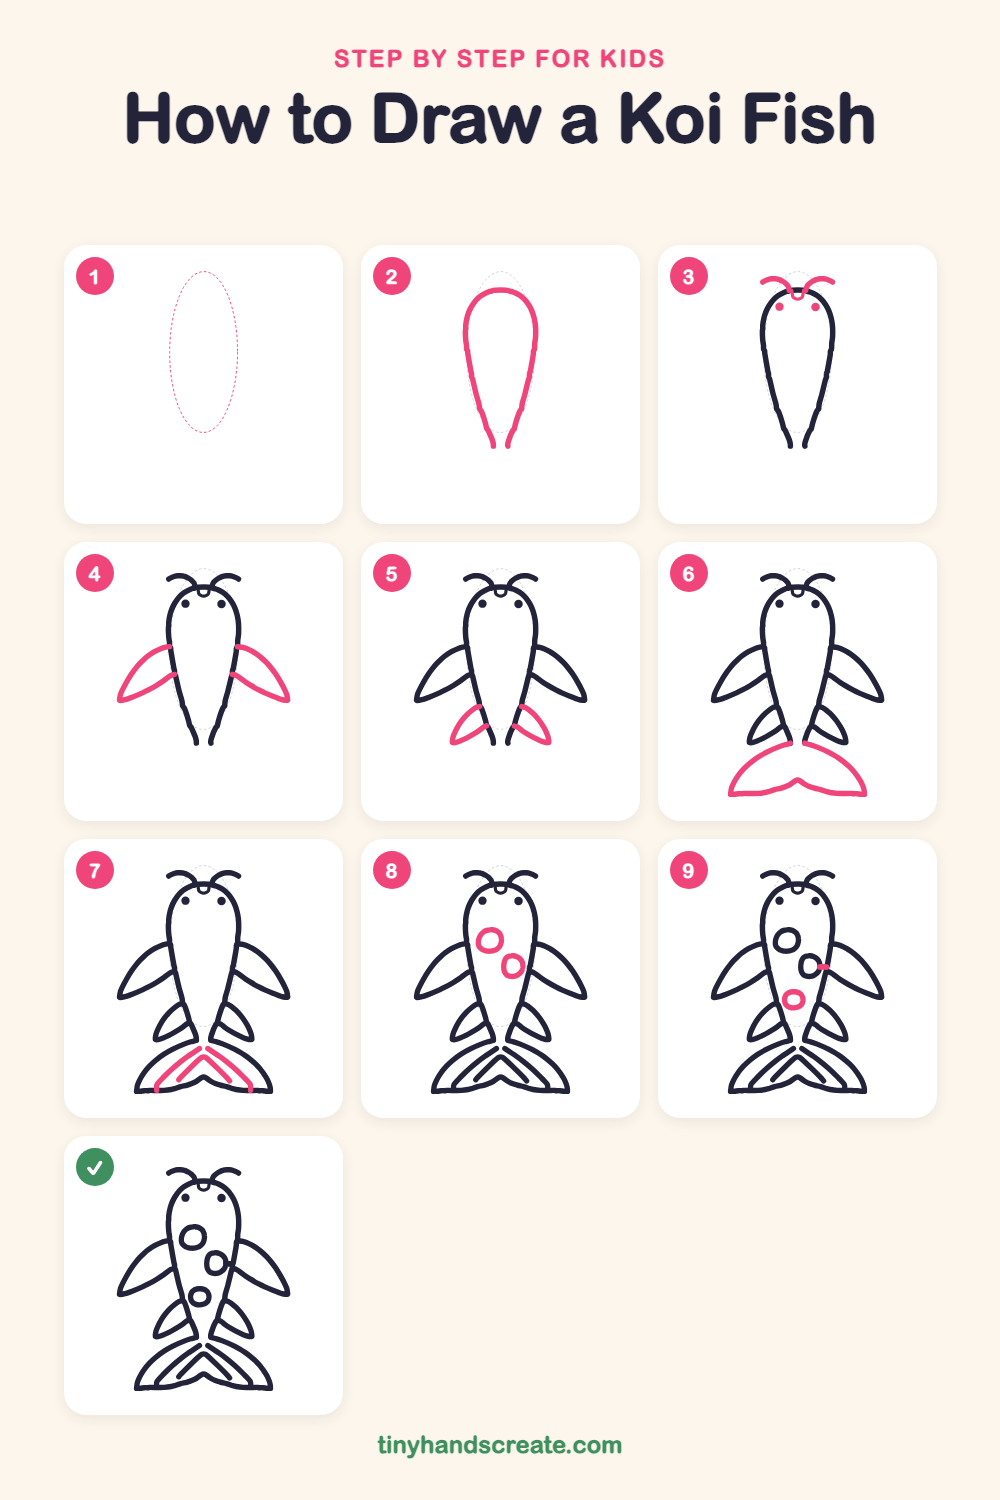
Step 1: Guide shapes
Lightly sketch this oval. It only shows where the big parts go, so press softly. You will erase it at the end.
Step 2: Teardrop body
Draw a tall teardrop shape that is round and wide at the top and gets skinnier toward the bottom. Stop the two sides near the bottom, leaving a narrow gap for the tail.
Step 3: Whiskers and face
Draw two curly whiskers that start at the top of the head and curl outward. Add a tiny U-shaped mouth at the top edge between them, then two round dots for eyes.
Step 4: Big side fins
On each side, draw a big leaf shape that starts on the body and sweeps out and down to a point. Make the left and right fins match.
Step 5: Little lower fins
Near the narrow bottom of the body, draw one smaller leaf shape on each side. Point them down and out, like little wings.
Step 6: Outer tail
At the bottom of the body, draw two big curves that sweep out to each side like a wide skirt. Close the bottom with a wavy line that dips up in the middle.
Step 7: Tail lines
Inside the tail, draw a long curved line on each side that follows the outer edge. Then add a V shape in the middle pointing up.
Step 8: Big spots
Draw two wobbly circles on the upper body. Make them different sizes, with the second one a little lower and to the side.
Step 9: Last spot
Draw one more small circle lower down on the body. Add a tiny short line at the side of the middle spot, where it touches the edge of the body.
All done!
Erase the guide shapes, go over your lines, then color it in.
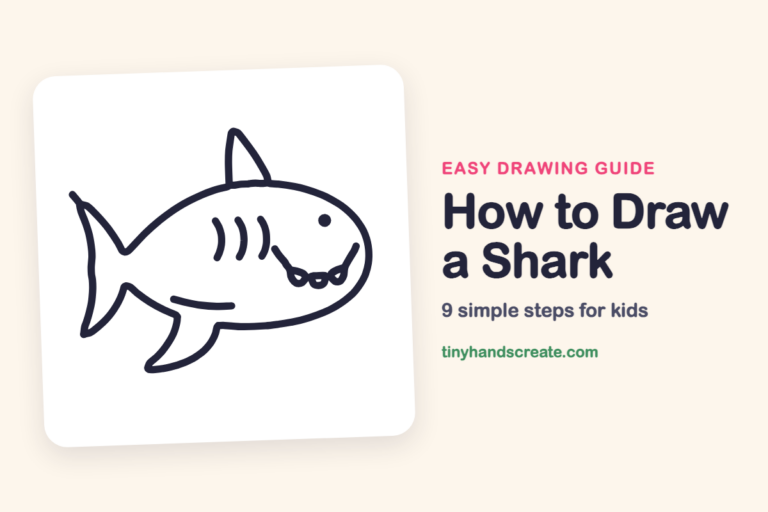
Finished your koi fish? Keep the pencils out and learn how to draw a dolphin or how to draw a shark next.
Tips for drawing a koi fish
- Make the body a tall teardrop, round at the top and narrow at the bottom, so the tail has room to attach.
- Draw the two big side fins so they point out at the same angle, which makes them match.
- The tail is the trickiest part, so draw the two outer curves first and then fit the inside lines between them.
Free koi fish coloring page
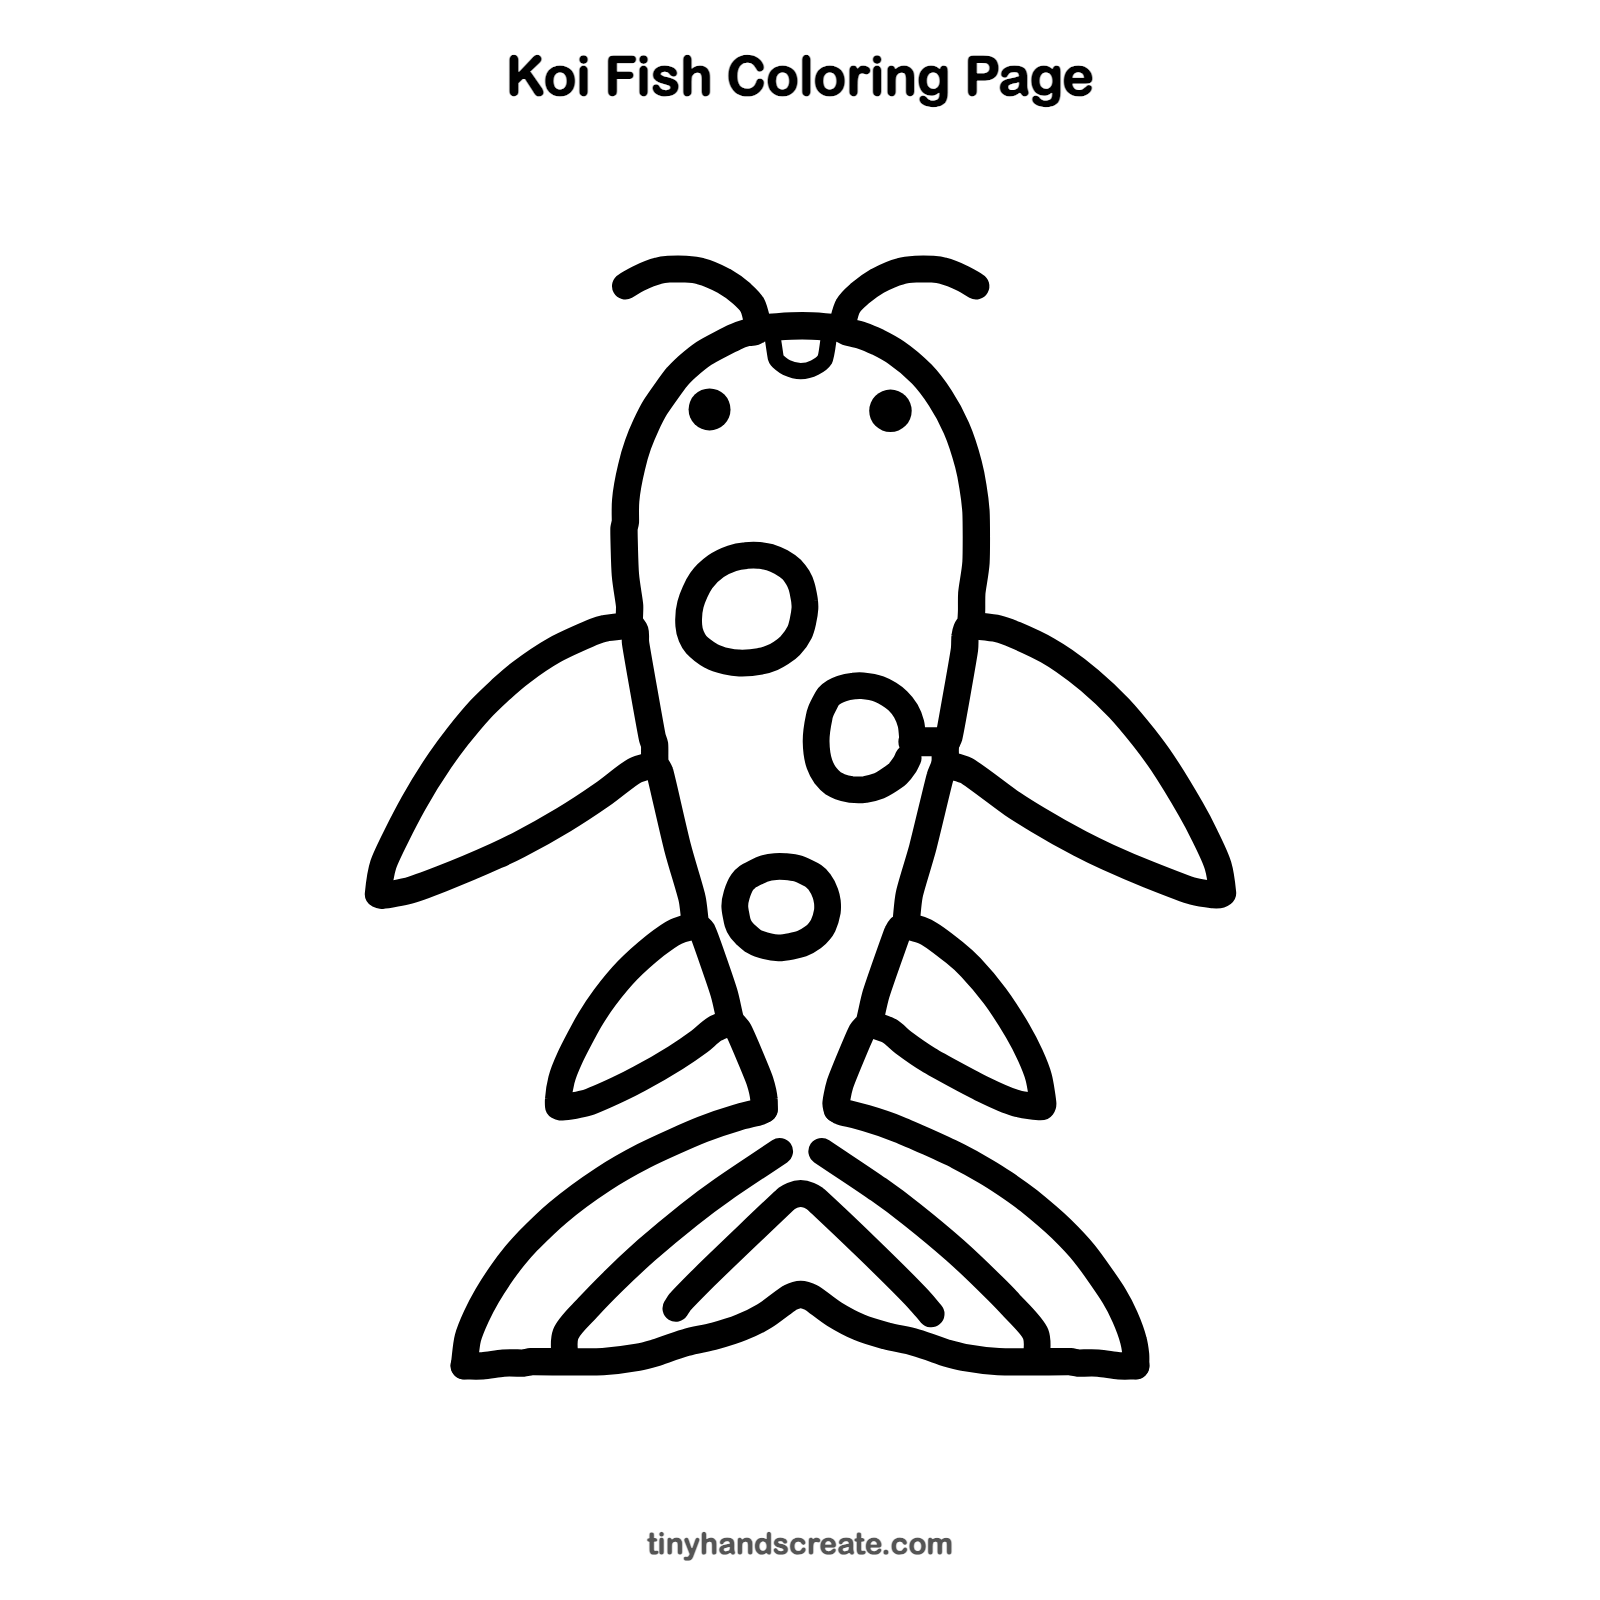
Want to go straight to coloring? Open this koi fish coloring page at full size and print it. It is the same drawing you just learned, with clean lines ready for crayons or markers.
How to color your koi fish drawing
Try bright orange and white for the body and fins, with red spots on top. For a creative twist, use a different color for each spot or draw a pond with lily pads around your koi.
Koi fish fun fact for kids
Koi are a kind of carp, and they can live for a very long time. Some koi in ponds live for more than 50 years.
Questions about drawing a koi fish
What shapes do I need to draw a koi fish?
You need a teardrop for the body, leaf shapes for the fins, and a few curved lines for the tail. Circles make the spots, and two dots make the eyes.
How do I make my koi fish look cuter?
Make the eye dots a little bigger and put them wide apart on the head. You can also draw round, puffy spots and curly whiskers.
How do I draw a koi fish tail?
Start with two wide curves at the bottom of the body, then close them with a wavy line along the bottom. Add curved lines and a V inside to make the tail look flowing.