How to Draw a Hiking Boot (Easy Step by Step)
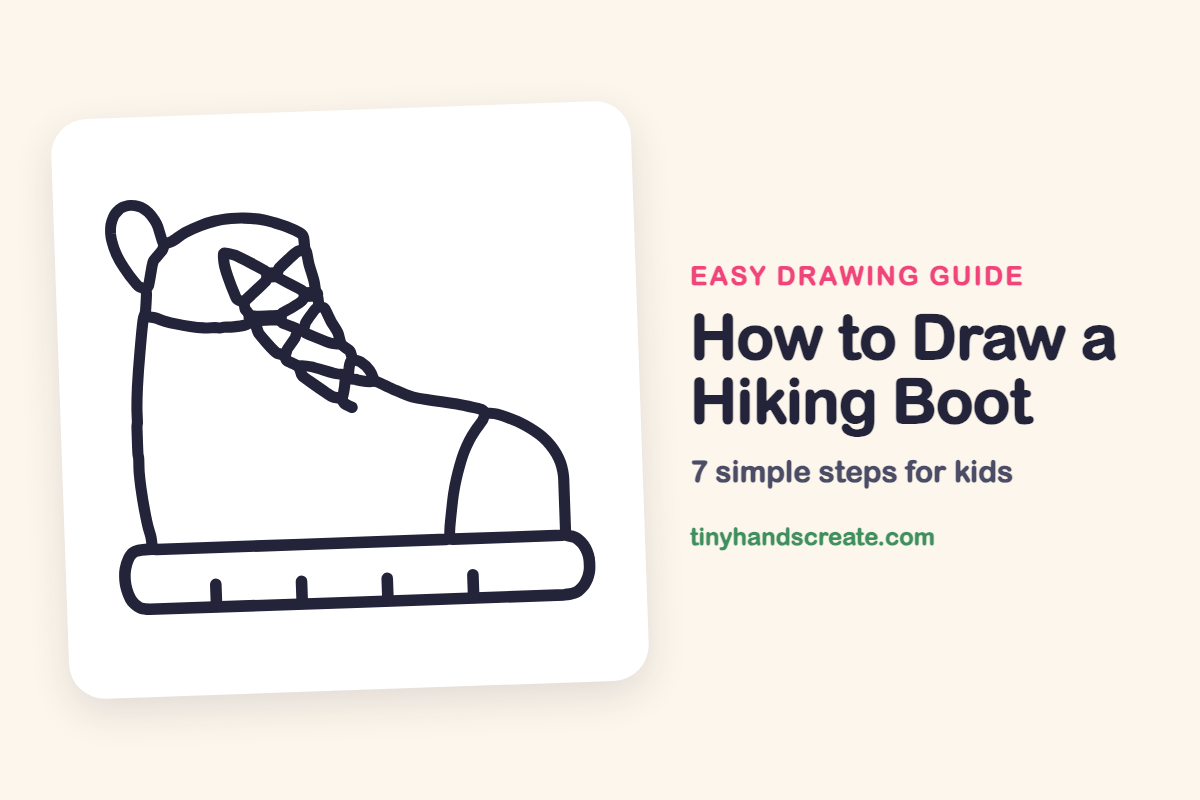
Learn to draw a hiking boot easily by breaking it down into simple shapes like a tall outline, rounded toe, and sausage-shaped sole. You'll master criss-cross laces with simple 'X' marks.
- Break the hiking boot into simple, familiar shapes.
- Begin your drawing with a tall boot outline.
- Form the toe with a rounded shape.
- Add a long, sausage-shaped sole.
- Create criss-cross laces using many small 'X' marks.
This post contains affiliate links. As an Amazon Associate I earn from qualifying purchases.
A hiking boot is a fun drawing because it is built from simple shapes you already know: a tall boot outline, a rounded toe, and a long sausage-shaped sole. The criss-cross laces look fancy, but they are just lots of little X marks. Take your time and your boot will look ready for a mountain trail.
- Medium
- 15 minutes
- 7 steps
You need: paper, a pencil, an eraser, and crayons or markers for coloring.
Start drawing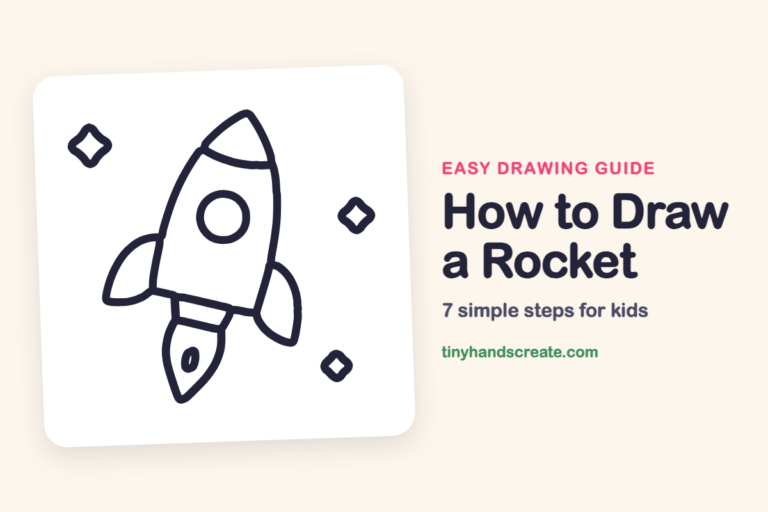
In this article (7 sections)
How to draw a hiking boot step by step
How to Draw a Hiking Boot · tinyhandscreate.com
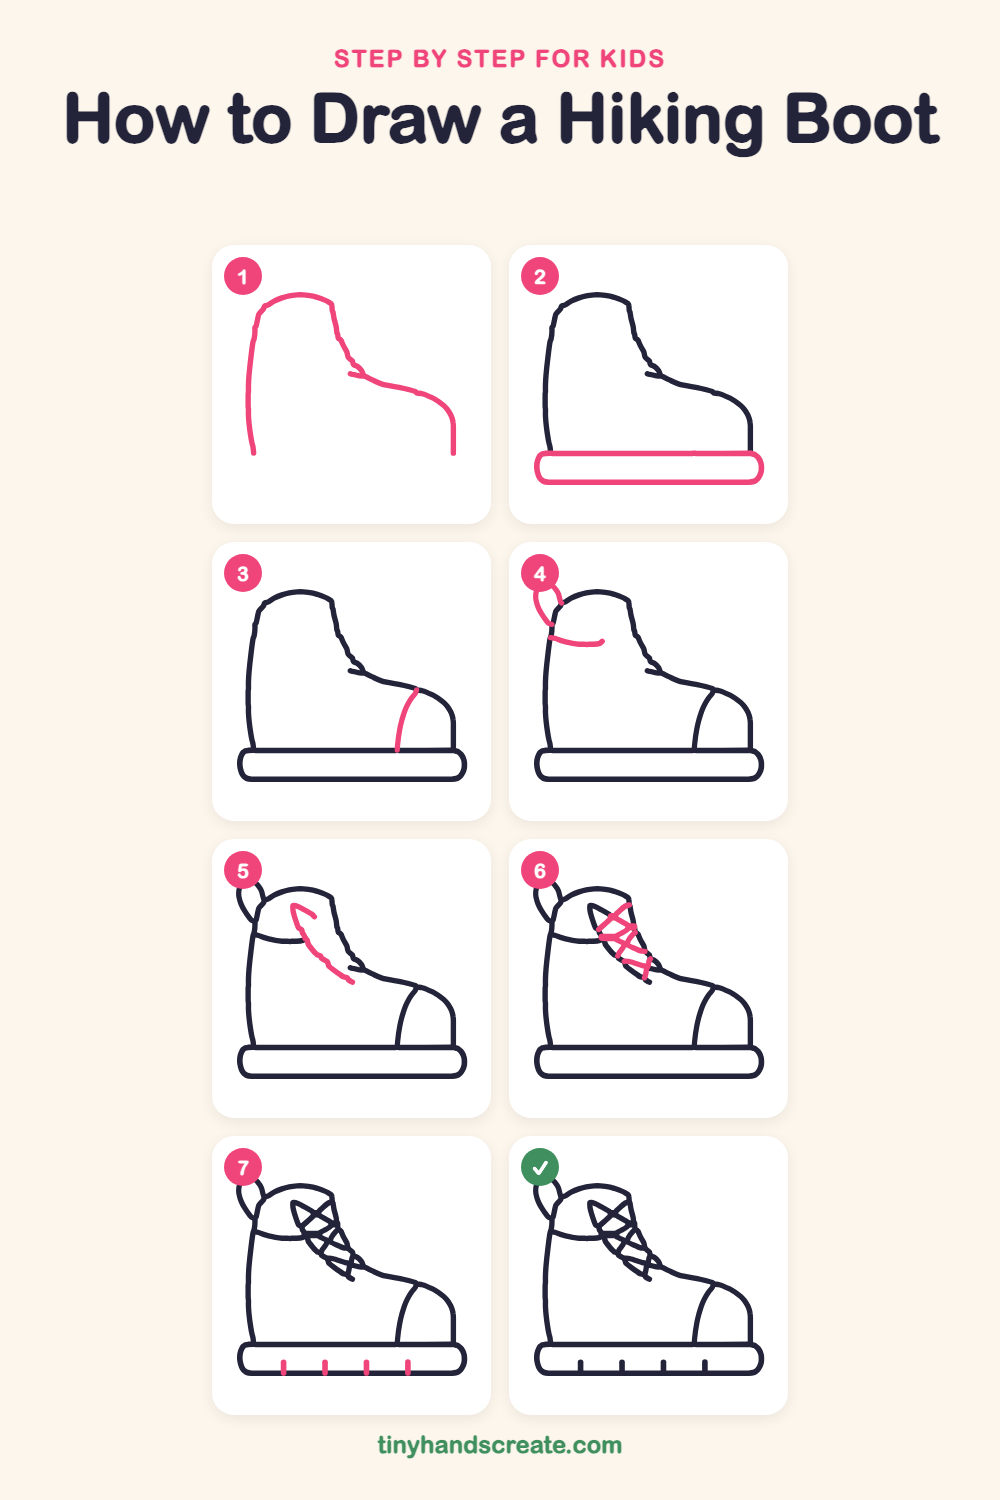
Step 1: Boot outline
Start low on the left and draw a tall, straight line going up, then curve across the top. Come down a slanted line for the front of the ankle, then slope out to the right and curve round the toe, ending with a short line down.
Step 2: The thick sole
Along the bottom, draw a long rounded rectangle like a fat sausage. Its top edge should sit under both ends of the boot.
Step 3: The toe cap
Near the front, draw a curved line that starts on the slope above the toe and swoops down to the sole. It makes a cozy cap over the toes.
Step 4: Pull loop and collar
At the top left corner, draw a small teardrop loop sticking out. Then draw a gentle curved line going from the back edge toward the right, just below the top, for the collar.
Step 5: Lace opening edge
Inside the boot, start near the top and draw one long curved line that slants down toward the front slope. It marks the edge of the opening where the laces will go.
Step 6: Criss-cross laces
Between that curved line and the front edge, draw short slanted lines that cross each other like the letter X. Keep going down until the laces fill the opening.
Step 7: Sole grips
Draw four short straight lines pointing up from the bottom edge of the sole. Space them out evenly so they look like the bumps that grip the trail.
All done!
Go over your lines with a marker, then color it in.
Finished your hiking boot? Keep the pencils out and learn how to draw a rocket or how to draw a shooting star next.
Tips for drawing a hiking boot
- Draw the boot outline and the sole first, then add the details. It is easier to fit the laces inside a shape that is already there.
- The laces are the trickiest part. Draw the slanted lines going one way first, then add the lines going the other way to make the X marks.
- Leave the four sole grips for last and try to make them the same height. Use a ruler or a finger as a guide if that helps.
Free hiking boot coloring page
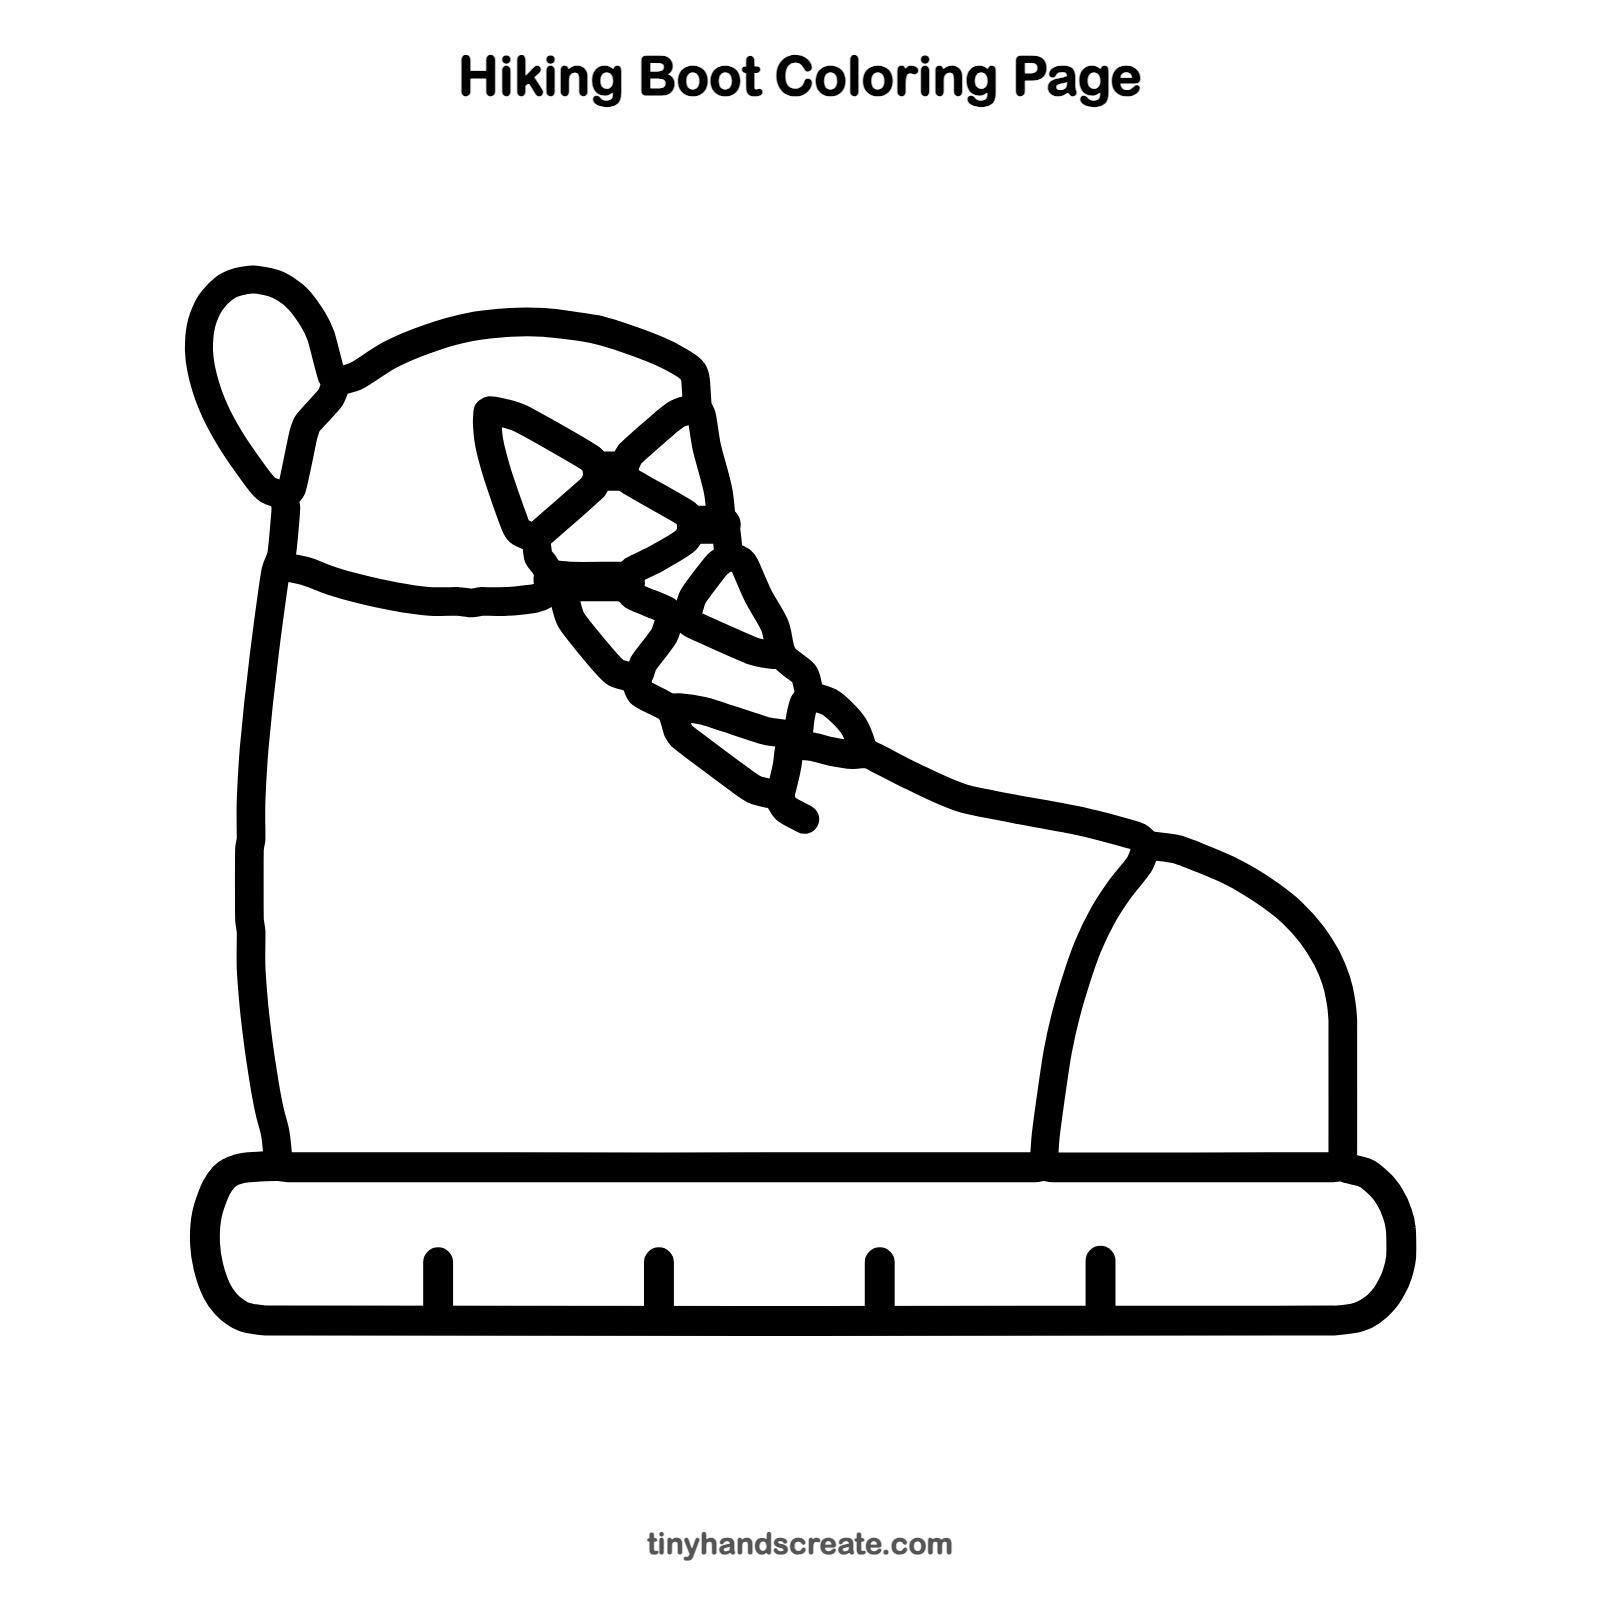
Want to go straight to coloring? Open this hiking boot coloring page at full size and print it. It is the same drawing you just learned, with clean lines ready for crayons or markers.
How to color your hiking boot drawing
Try brown or tan for the boot, a darker color for the sole, and bright red or yellow for the laces and the pull loop. For a creative twist, add muddy splashes, little flowers, or a mountain scene behind it.
Hiking boot fun fact for kids
Hiking boots have thick, bumpy soles with raised bumps called lugs. The lugs grip mud, rocks, and wet leaves so walkers do not slip on the trail.
Questions about drawing a hiking boot
What shapes do I need to draw a hiking boot?
You need a tall boot outline with a rounded toe, a long rounded rectangle for the sole, and a small teardrop for the pull loop. Short slanted lines make the laces.
How do I make the laces look neat?
Draw short lines slanting one way, then cross them with lines slanting the other way. Light pencil lines first make them easy to fix.
How can I make my hiking boot look more fun?
Color the laces in bright colors, add mud splatters around the sole, or draw a matching boot next to it to make a pair.