How to Draw a Spring Toy (Easy Step by Step)
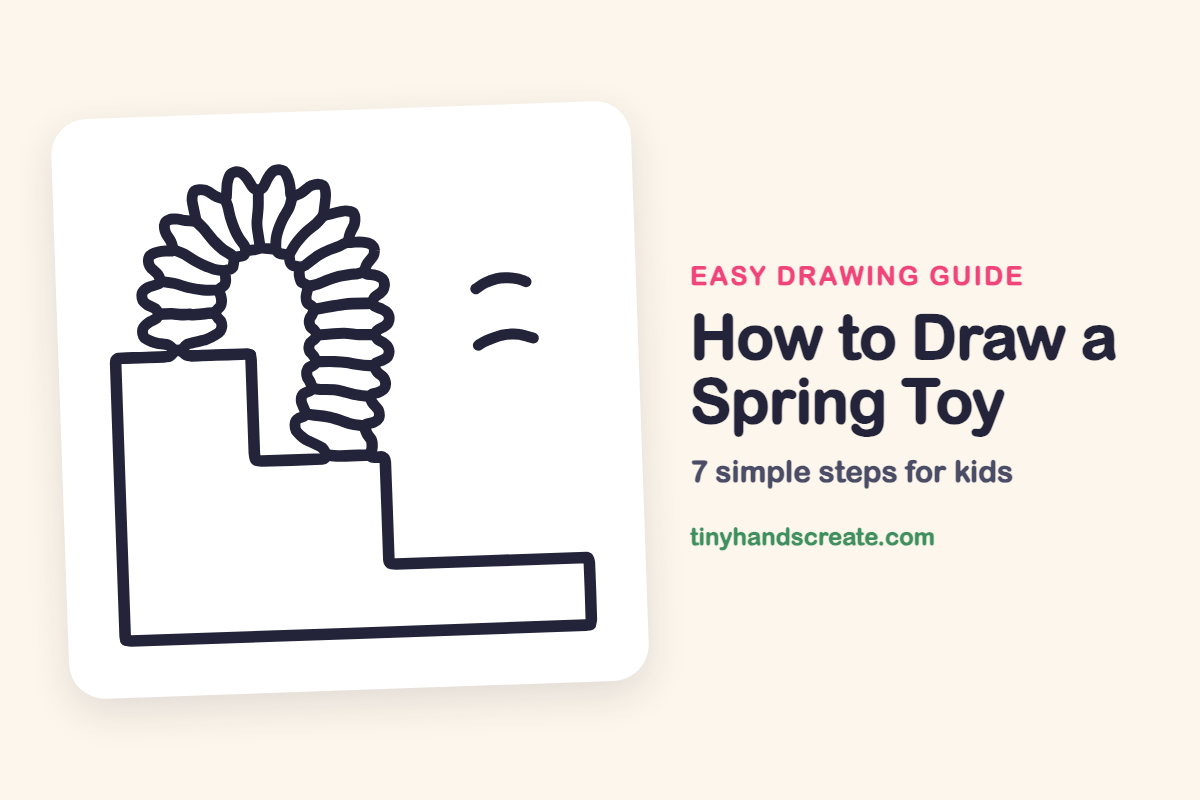
Learn to draw a spring toy easily by breaking it down into simple shapes. You'll use straight lines for the steps and squished ovals for the coils to create a fun, rainbow-arched spring.
- Understand the spring toy's basic structure: loops, arch, and stairs.
- Use straight lines to draw the steps of your spring toy.
- Form the spring's coils using small, squished oval shapes.
- Realize that drawing a spring toy is simpler than it appears.
A spring toy is fun to draw because it is a stack of little loops bent into a rainbow arch, sitting on a set of stairs. You only need straight lines for the steps and small squished ovals for the coils. Once you see the shapes, it is easier than it looks.
- Medium
- 15 minutes
- 7 steps
You need: paper, a pencil, an eraser, and crayons or markers for coloring.
Start drawing
In this article (7 sections)
How to draw a spring toy step by step
How to Draw a Spring Toy · tinyhandscreate.com
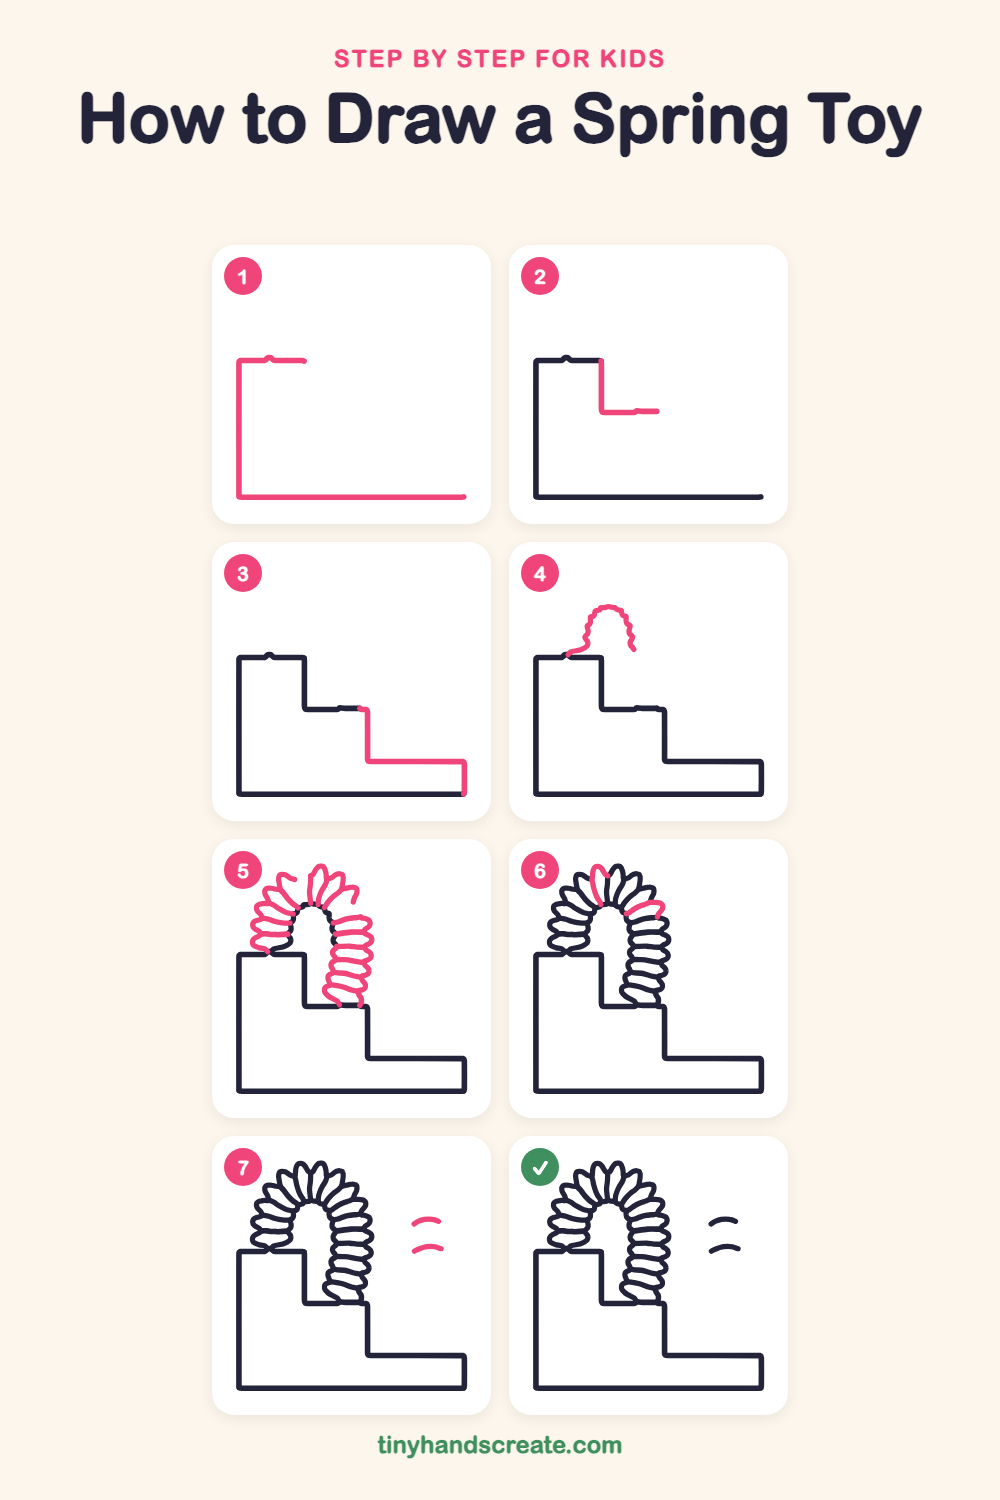
Step 1: Top step and base
Start at the bottom right and draw a long flat line to the left. Draw a straight line up from its left end, then a short flat line to the right across the top.
Step 2: Middle step
From the right end of the short top line, draw a straight line down. Then draw a short flat line going right to make the first stair.
Step 3: Last step
From the end of the middle stair, draw a straight line down, then a long flat line to the right. Finish with a short line down to the bottom line.
Step 4: Top of the arch
Start on the top step and draw a wobbly curve that bumps up and over, like the top of a rainbow. Stop in the air to the right.
Step 5: Spring loops
Draw a row of small, stacked loops down each side of the arch, like squished ovals. Start on the top step on the left and on the middle step on the right, so the loops make the spring's sides.
Step 6: Loops at the top
Add a few more loops across the top of the arch to fill the gap between the two sides. Make them a little taller and thinner, fanning out like petals.
Step 7: Wiggle lines
To the right of the spring, draw two short curved lines, one above the other, like little smiles. They show the spring bouncing.
All done!
Go over your lines with a marker, then color it in.
Finished your spring toy? Keep the pencils out and learn how to draw a rocket or how to draw a shooting star next.
Tips for drawing a spring toy
- Draw the stairs first so the spring has somewhere to sit. Use a ruler or the edge of a book if you want straight lines.
- Draw the wobbly arch curve before the loops. It shows you where the spring will bend.
- Keep the loops close together and about the same size on each side. They do not need to be perfect.
Free spring toy coloring page
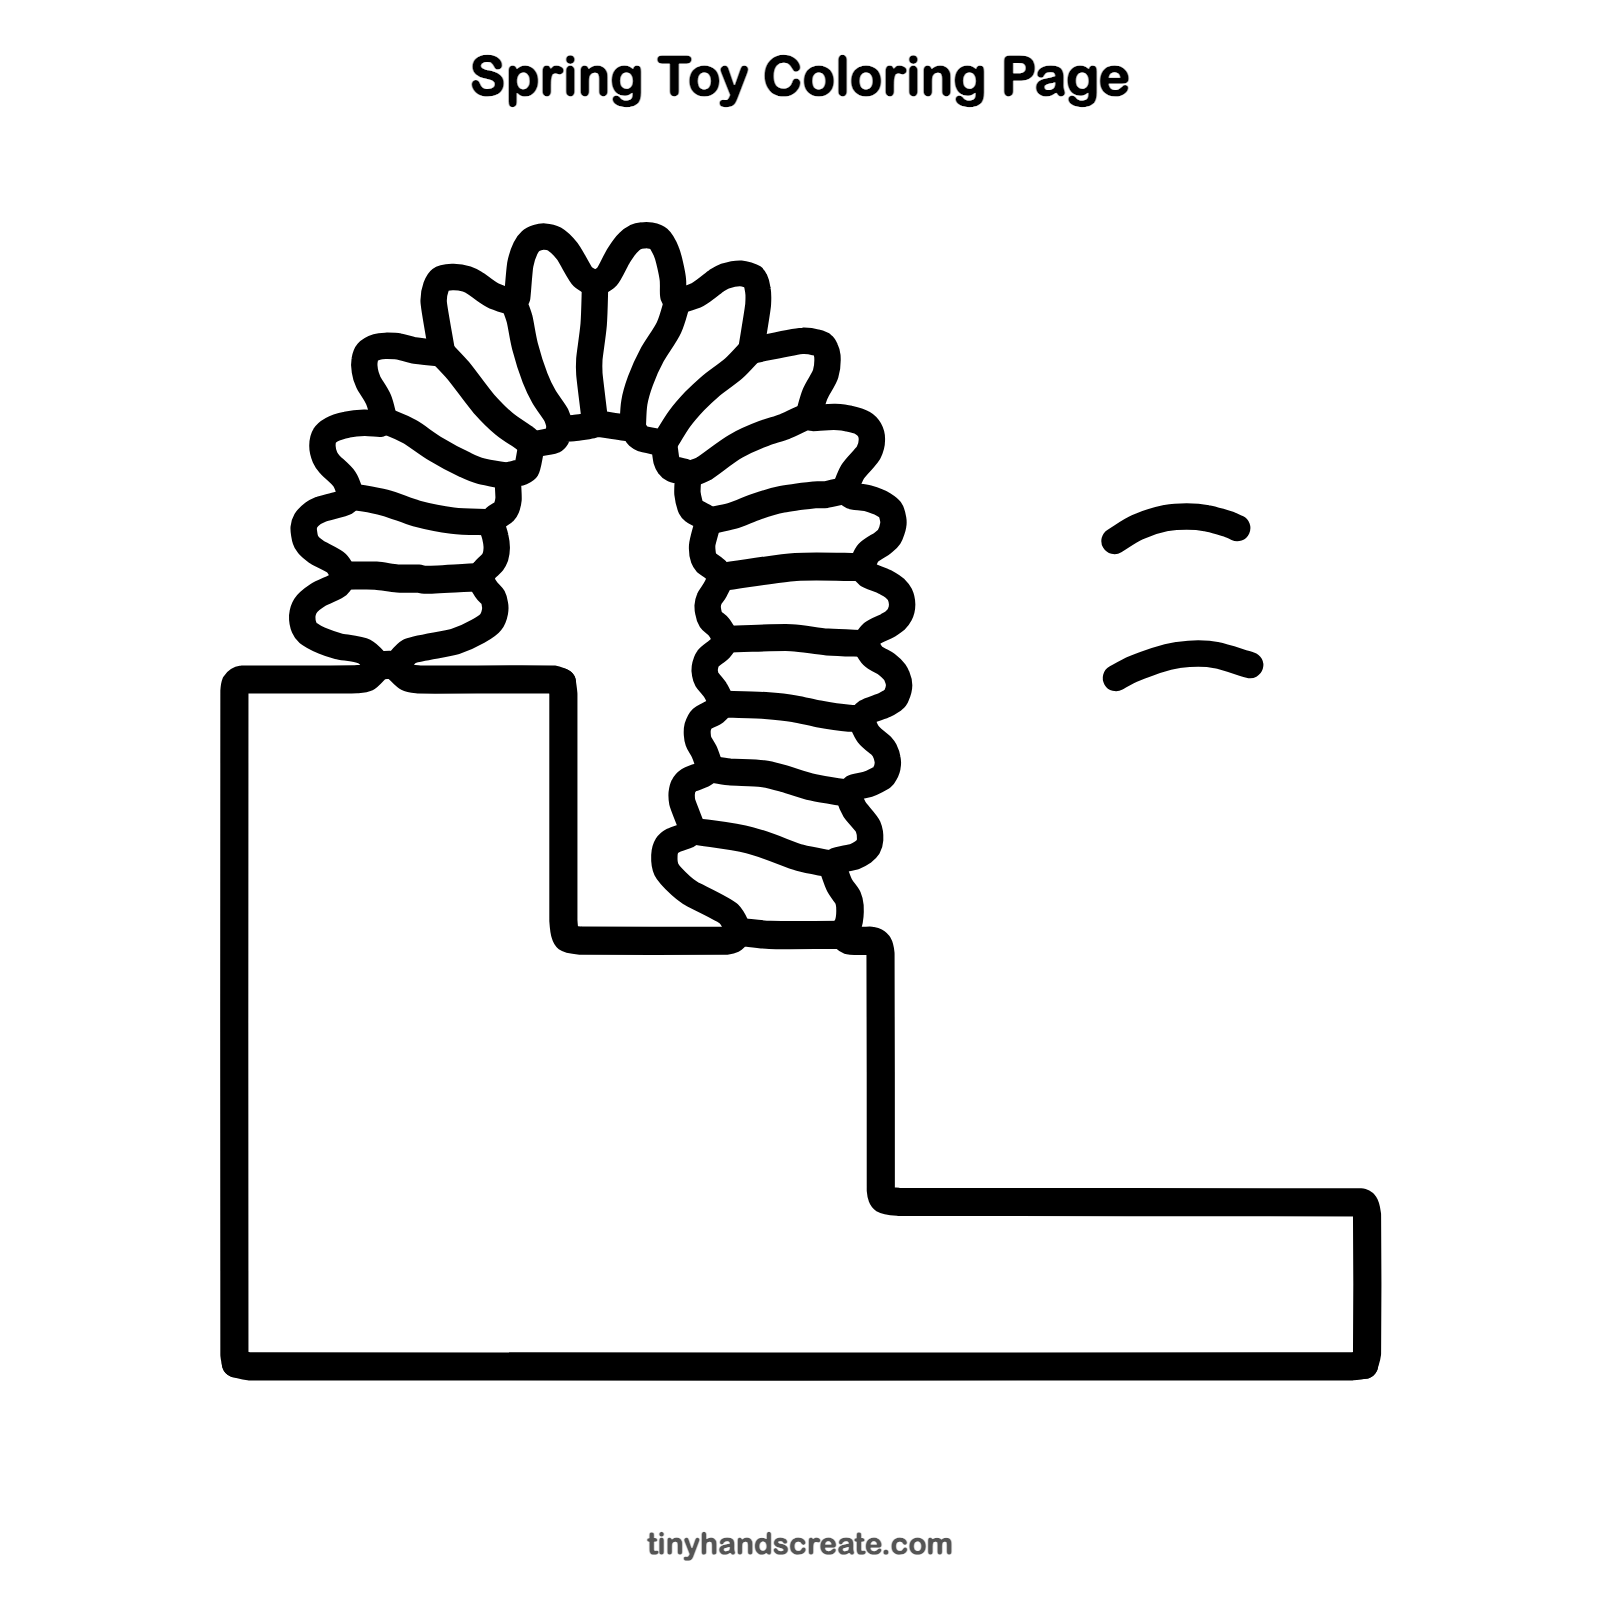
Want to go straight to coloring? Open this spring toy coloring page at full size and print it. It is the same drawing you just learned, with clean lines ready for crayons or markers.
How to color your spring toy drawing
Try a rainbow of colors for the loops, one color per loop, with gray or tan stairs. You can also color the two wiggle lines in a bright color.
Spring toy fun fact for kids
The Slinky, the most famous toy spring, was invented by accident in 1943 by a naval engineer named Richard James, who saw a spring fall off a shelf and keep moving.
Questions about drawing a spring toy
What shapes do I need to draw a spring toy?
You need straight lines for the stairs and lots of small squished ovals for the loops. The loops make a curved row like a rainbow.
How do I make the spring look bouncy?
Add the two small curved lines beside the spring to show it moving. Loops that are a little uneven also make it look stretchy.
How do I keep my loops even?
Start from the stairs and add loops one at a time up each side of the arch. Try to make each loop about the same size as the one before.