How to Draw a Flag on the Moon (Easy Step by Step)
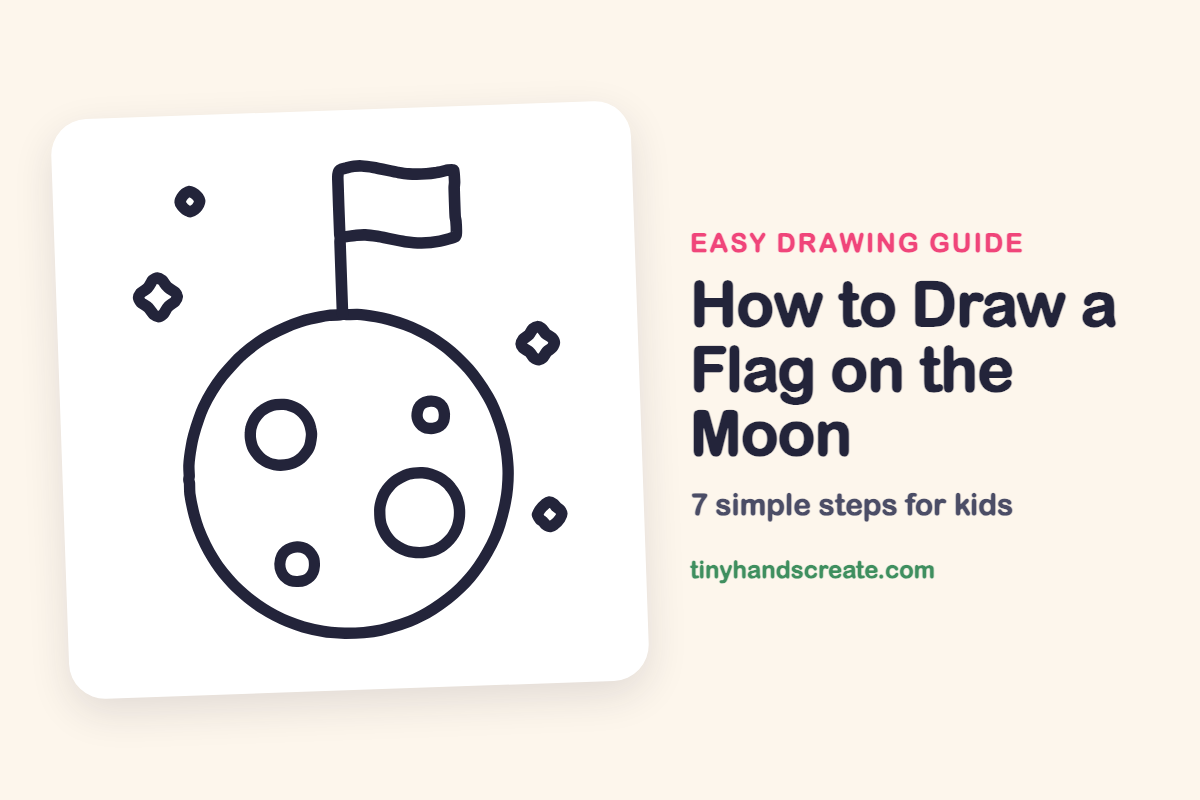
You'll learn how to draw a flag on the moon using simple shapes. This guide breaks down the process into easy steps, combining circles for the moon and craters with a pole, wavy flag, and stars.
- Begin by drawing one large circle for the moon.
- Add smaller circles to create realistic moon craters.
- Draw a straight pole to support your flag.
- Design a wavy rectangle for the flag itself.
- Include sparkly four-pointed stars in your drawing.
A flag standing on the moon is a fun scene to draw because it tells a whole adventure story with just a few lines. It is built from one big circle, a few smaller circles for craters, a straight pole with a wavy rectangle flag, and sparkly four-pointed stars.
- Easy
- 10 minutes
- 7 steps
You need: paper, a pencil, an eraser, and crayons or markers for coloring.
Start drawing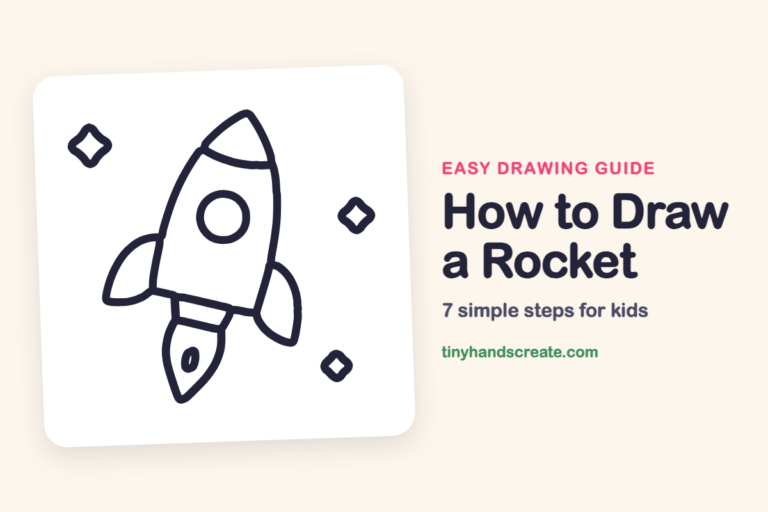
In this article (7 sections)
How to draw a flag on the moon step by step
How to Draw a Flag on the Moon · tinyhandscreate.com
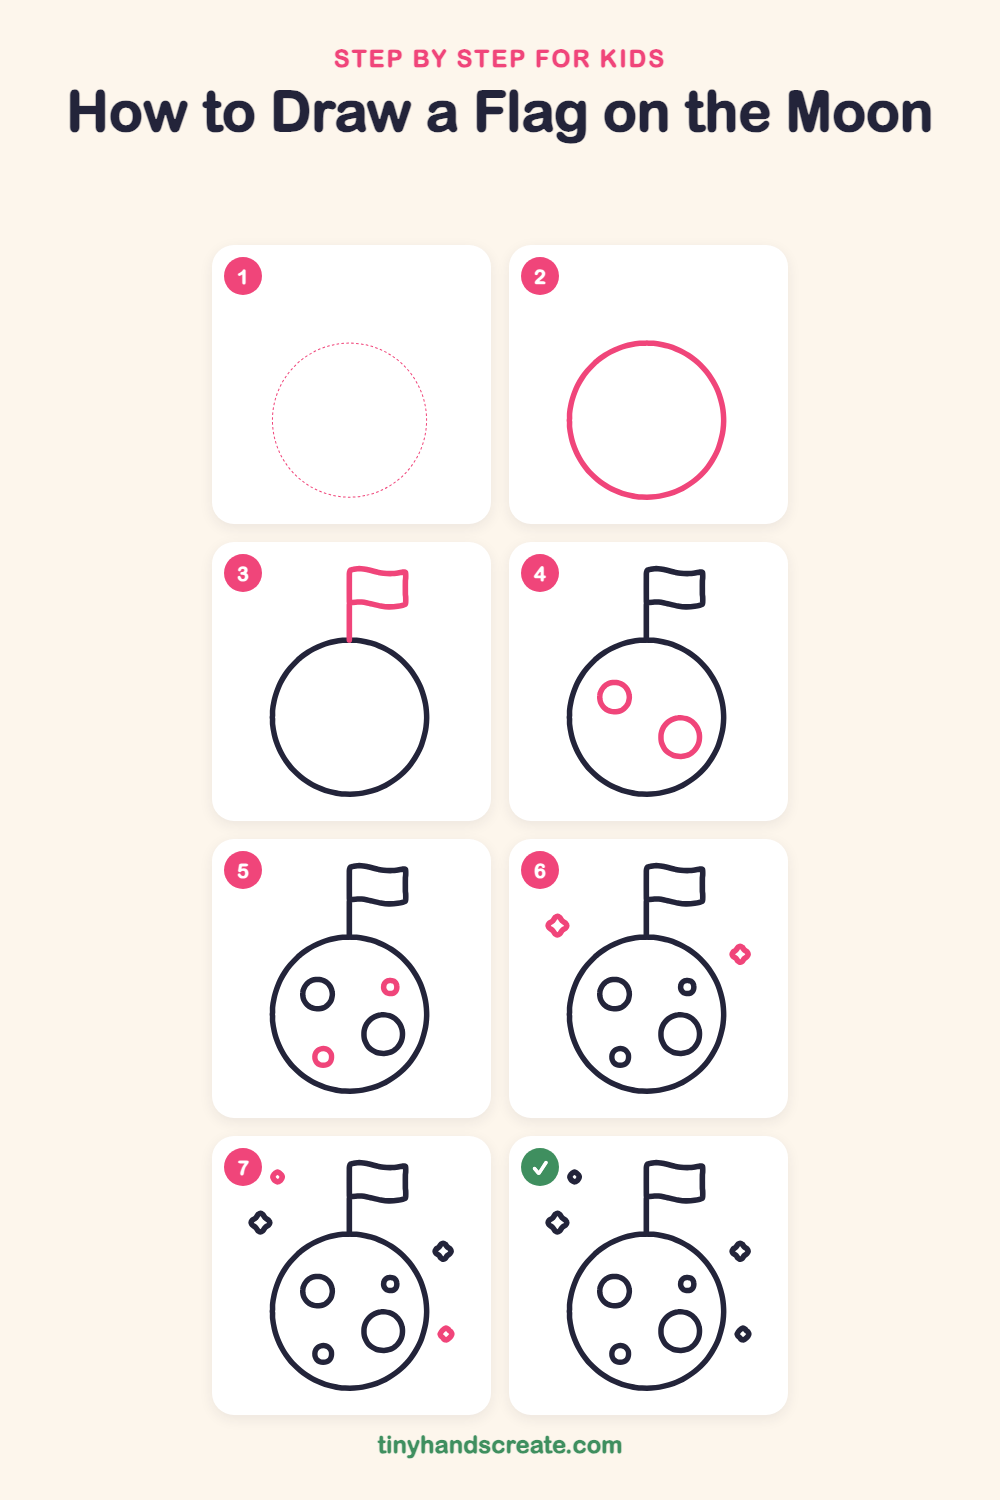
Step 1: Guide shapes
Lightly sketch this oval. It only shows where the big parts go, so press softly. You will erase it at the end.
Step 2: The big moon
Start with a big, round circle in the lower middle of your page. Take your time and make it as round as you can, like a giant ball.
Step 3: The pole and flag
Draw a straight line going up from the top of the moon. Near the top of the pole, draw a wavy rectangle sticking out to the right, with wavy top and bottom edges.
Step 4: Two big craters
Draw a medium circle on the upper left inside the moon. Then draw a slightly larger circle on the lower right inside the moon, leaving space between the craters and the moon's edge.
Step 5: Two small craters
Add a tiny circle near the top right inside the moon and another tiny circle near the bottom left. Keep them apart from the bigger craters.
Step 6: The big stars
Draw two sparkly stars outside the moon, one on the left and one on the right. Each one is a small diamond shape with curved sides and four pointy tips.
Step 7: The little stars
Finish with two smaller sparkles, one high in the top left and one low on the right side of the moon. Draw them the same way as the first stars, just tinier.
All done!
Erase the guide shapes, go over your lines, then color it in.
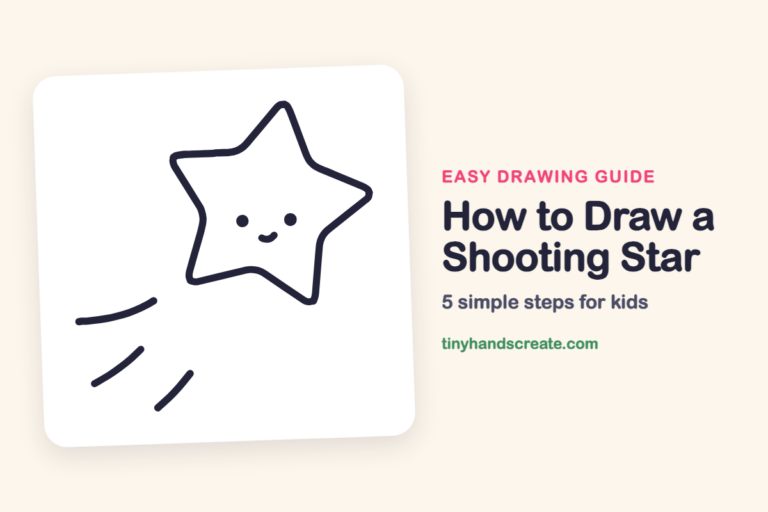
Finished your flag on the moon? Keep the pencils out and learn how to draw a rocket or how to draw a shooting star next.
Tips for drawing a flag on the moon
- Draw the moon circle first and lightly, so you can erase and try again if it looks lopsided. A big round shape is the trickiest part, so it is worth a few tries.
- For the wavy flag, draw the top and bottom edges as gentle S-curves, then close the right side with a short line. The pole forms the left side.
- Make your craters different sizes and keep them inside the moon, away from its edge. For each star, draw a small diamond with curved sides and four pointy tips.
Free flag on the moon coloring page
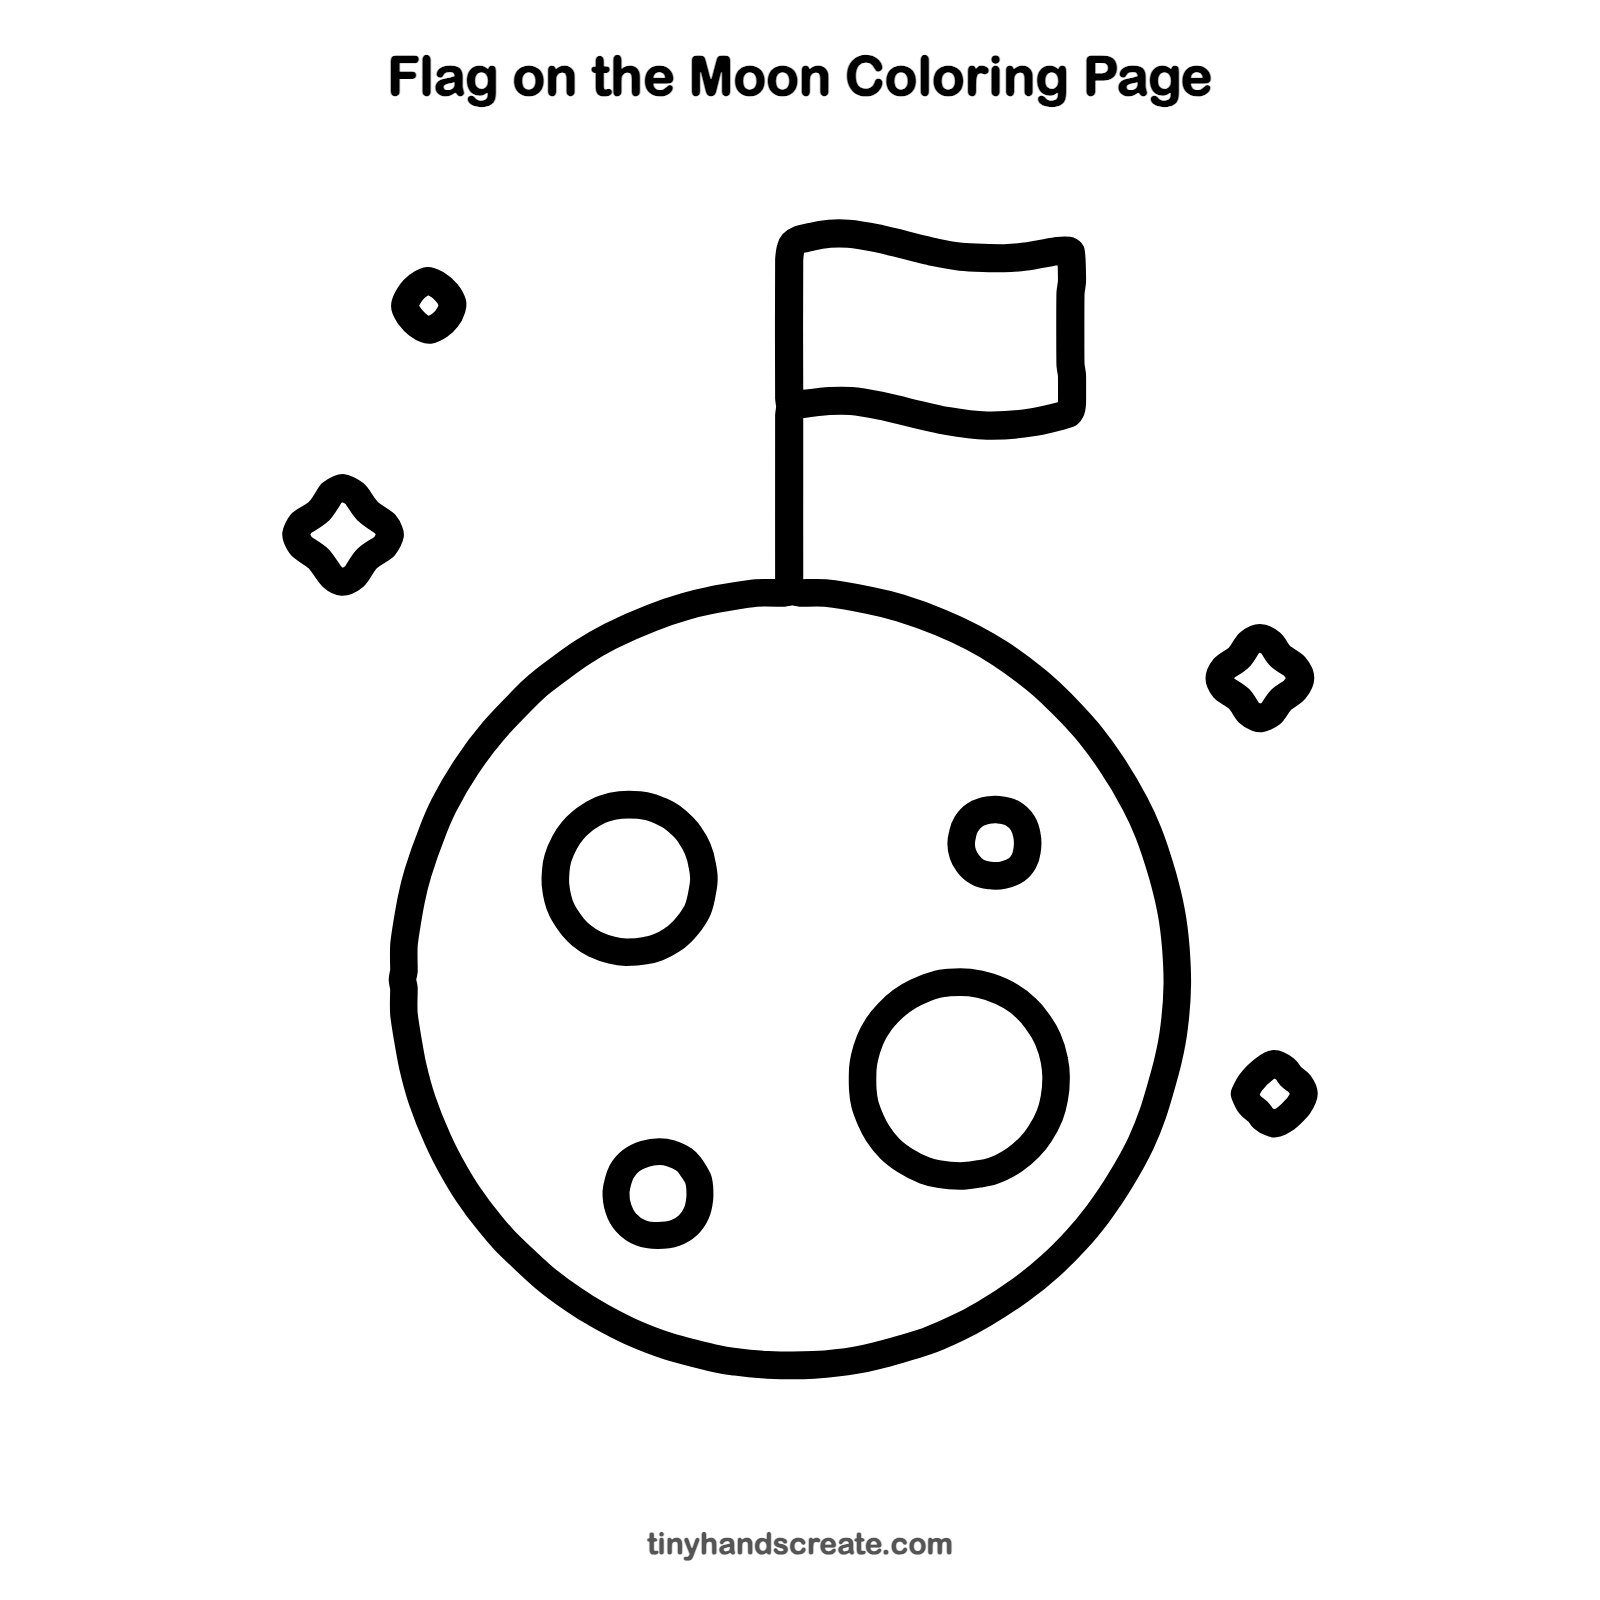
Want to go straight to coloring? Open this flag on the moon coloring page at full size and print it. It is the same drawing you just learned, with clean lines ready for crayons or markers.
How to color your flag on the moon drawing
Try light gray or silver for the moon with darker gray craters, a bright red and white flag, and a deep blue or black night sky with yellow stars. For a creative twist, design your own flag with your initials or a favorite animal on it.
Flag on the moon fun fact for kids
Astronauts planted six American flags on the moon during the Apollo missions between 1969 and 1972. There is no wind on the moon, so a thin rod along the top edge of each flag helped hold it out.
Questions about drawing a flag on the moon
What shapes do I need to draw a flag on the moon?
You need a big circle for the moon, smaller circles for the craters, a long straight line for the pole, and a wavy rectangle for the flag. The stars are small diamonds with curved sides.
How do I draw a round moon without a compass?
Draw it lightly in a few quick, loose loops first, then trace over the best one. You can also trace around a plate or the bottom of a bowl.
How do I make my moon look more real?
Draw craters in different sizes and scatter them unevenly. Real moon craters are never all the same, so mixing big and small ones makes it look more natural.