How to Draw Decorative Gourds (Easy Step by Step)
This post contains affiliate links. As an Amazon Associate I earn from qualifying purchases.
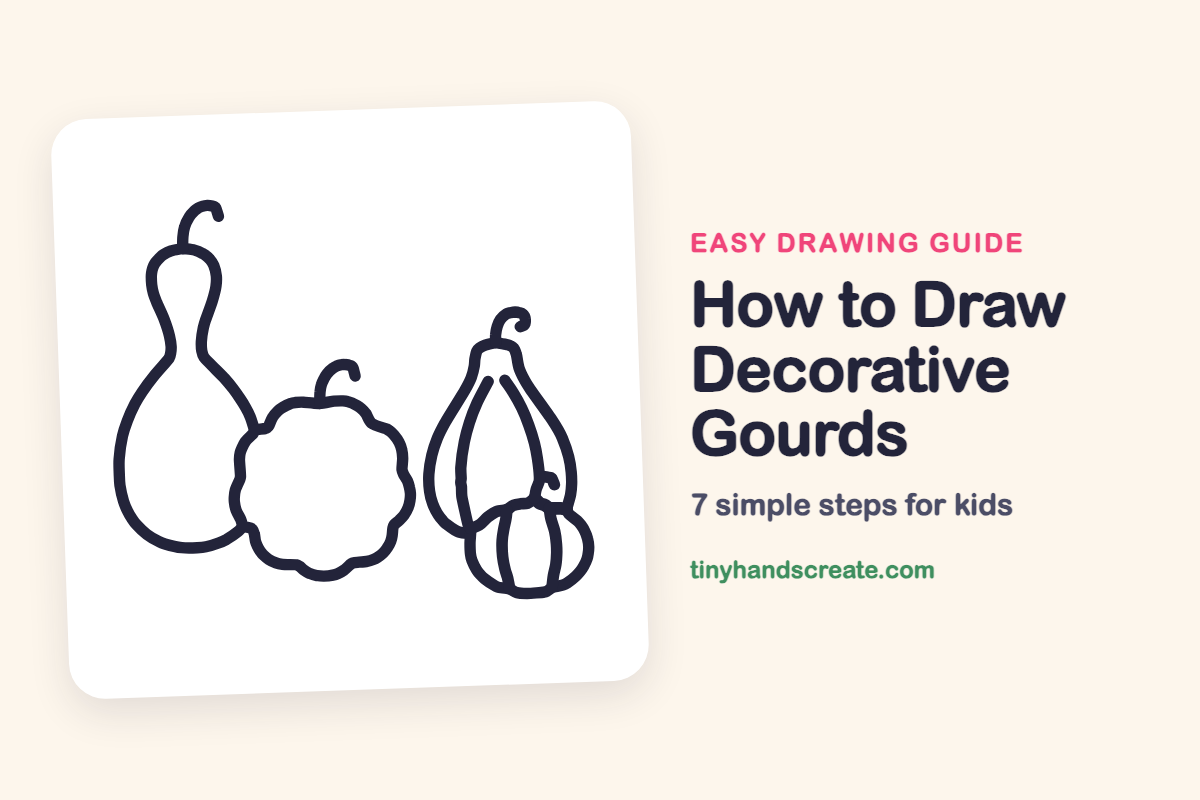
This cozy group of gourds is a great way to practice drawing different sizes and shapes side by side. Each gourd starts from a simple shape: a pear, a flower-edged circle, a teardrop and a squashed oval. Add curly stems and a few ribs and the whole autumn pile comes to life.
- Medium
- 15 minutes
- 7 steps
You need: paper, a pencil, an eraser, and crayons or markers for coloring.
Start drawing
In this article (7 sections)
How to draw decorative gourds step by step
How to Draw Decorative Gourds · tinyhandscreate.com
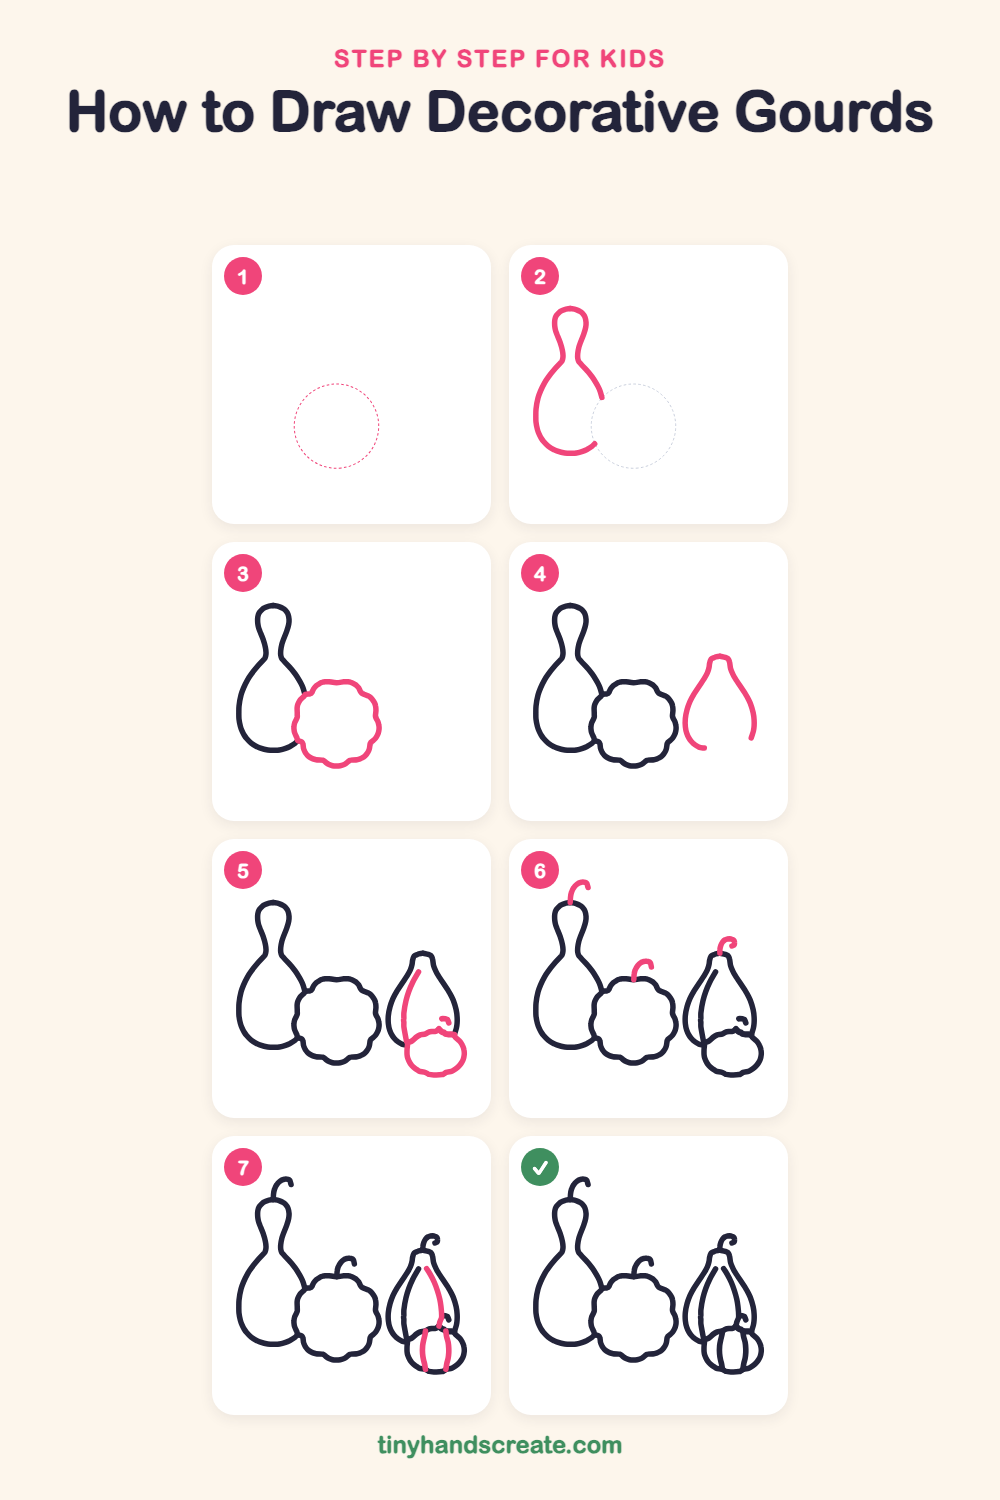
Step 1: Guide shapes
Lightly sketch this oval. It only shows where the big parts go, so press softly. You will erase it at the end.
Step 2: Tall bottle gourd
On the left, draw a small round top, pinch in for a skinny neck, then swoop out into a big round bottom, like a pear standing up. Stop the curve near the lower right and leave a small gap there.
Step 3: Bumpy round gourd
Draw a wide circle in front of the bottle gourd's bottom right. Go around it with little scoops, like a flower with rounded petals, so the edge looks bumpy.
Step 4: Teardrop gourd sides
On the right, draw a narrow rounded top. From each side of it, draw a curved line that spreads wider as it goes down, like an upside-down V with curvy sides. Leave the bottom open for now.
Step 5: Little gourd and rib
At the bottom of the teardrop, draw a short wide oval, like a squashed ball, overlapping the teardrop. Then draw one long curved line inside the teardrop, from near its top down along its left side to the oval.
Step 6: Curly stems
Give the three bigger gourds a stem each. Start at the top of each one and draw a short line that curls over at the end, like a little hook.
Step 7: More ribs
Inside the teardrop gourd, draw one more long curved line from near the top down its right side to the little oval. Then draw two upright curved lines on the little oval, from its top to its bottom, to make sections.
All done!
Erase the guide shapes, go over your lines, then color it in.
Finished your decorative gourds? Keep the pencils out and learn how to draw a turkey cupcake or how to draw a turkey cookie next.
Tips for drawing decorative gourds
- For the tall bottle gourd, start with a small round top, pinch in for a skinny neck, then let the bottom swell out wide. Leave a small gap at the lower right, where the bumpy gourd will tuck in front.
- On the bumpy round gourd, draw the scoops one at a time and go slowly. Try to keep the bumps about the same size, and small differences will make it feel natural.
- The teardrop gourd starts as two curved sides. Draw the little gourd over its bottom, then add the long rib lines so they end where they meet the little gourd.
Free decorative gourds coloring page
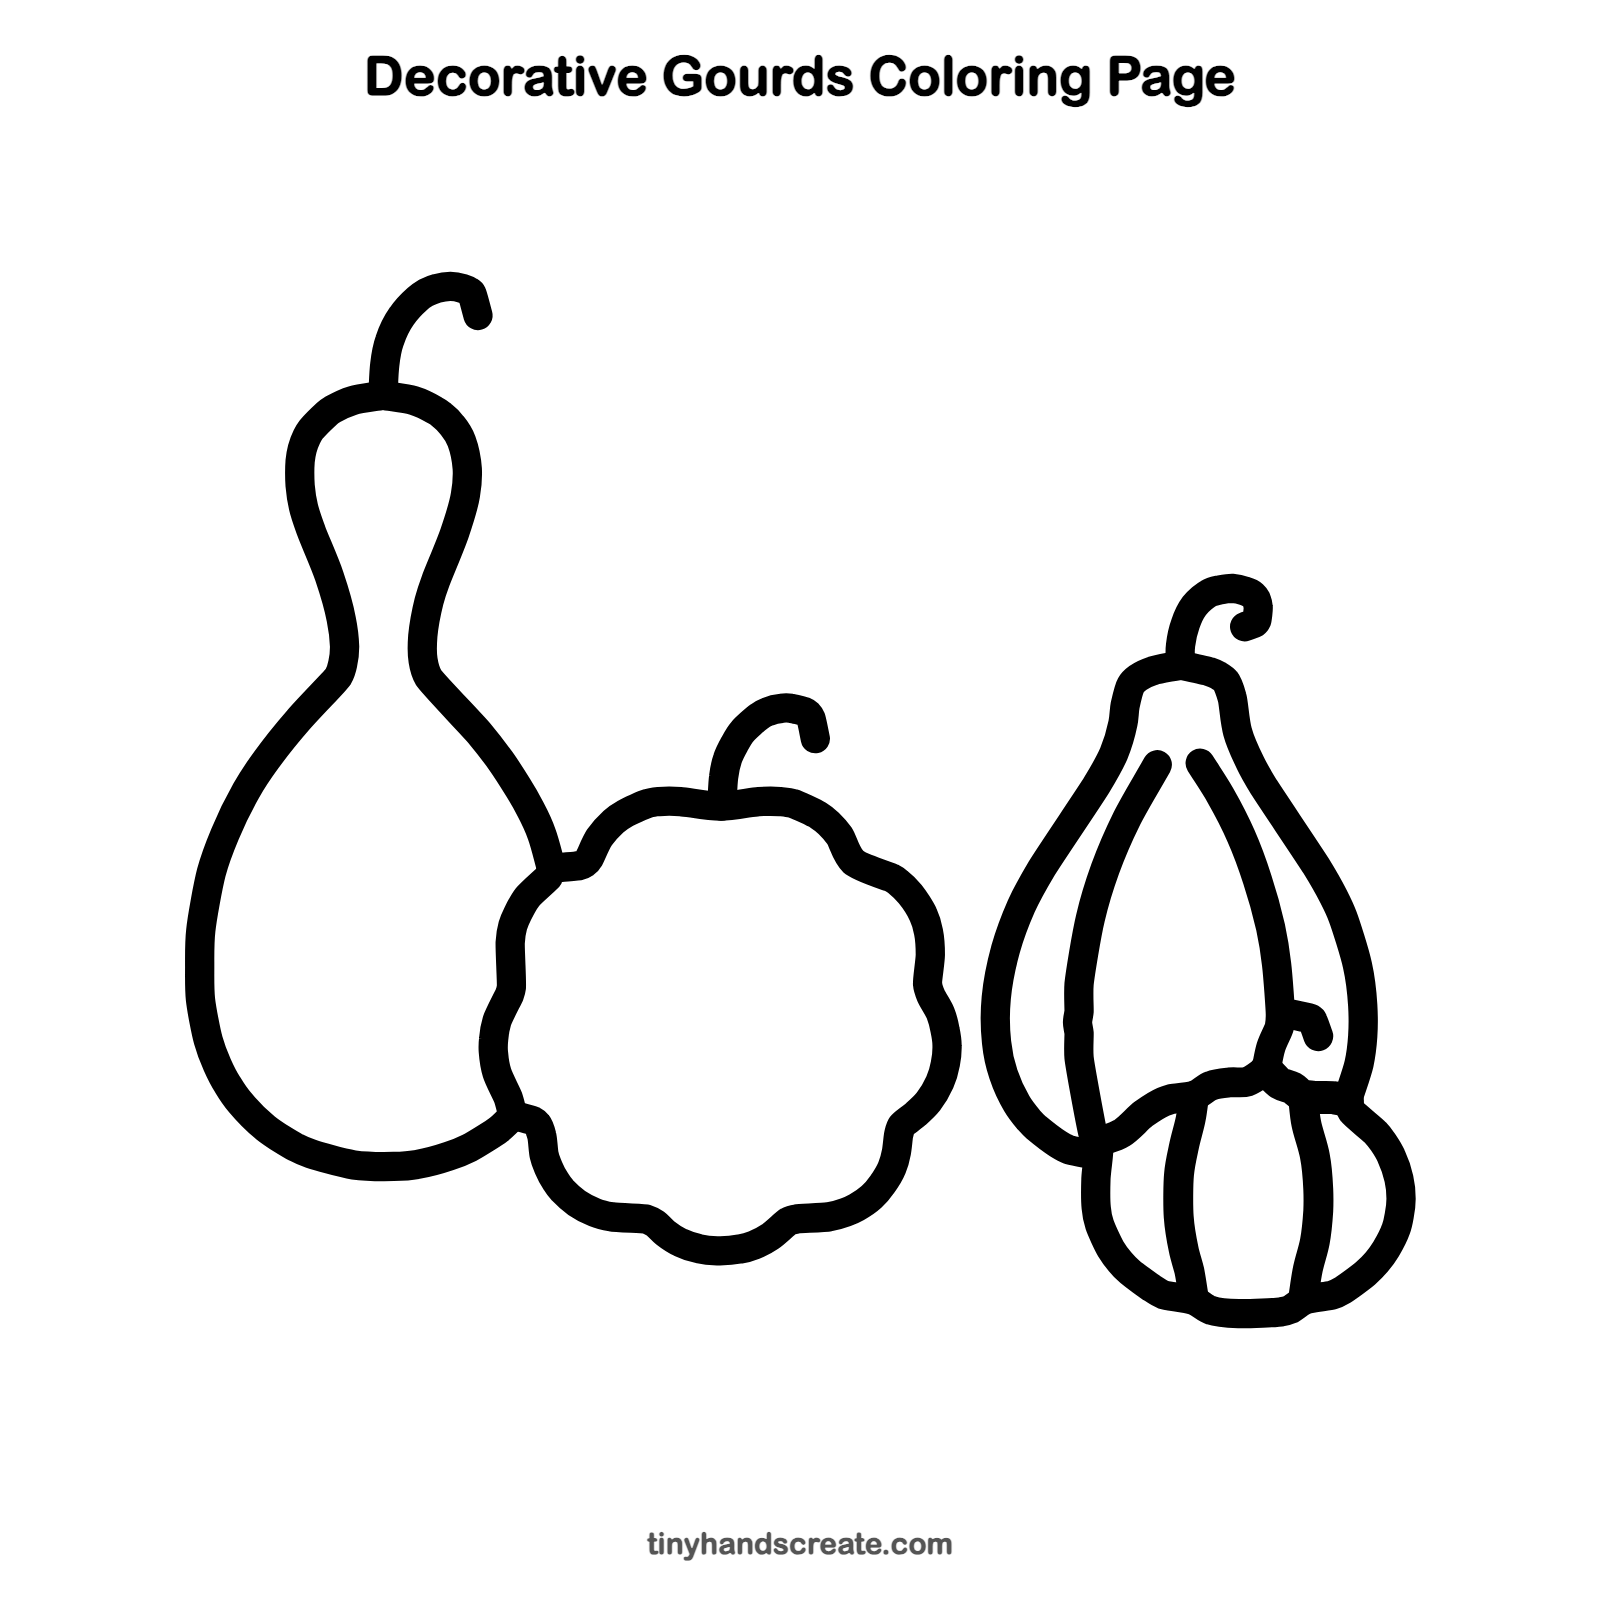
Want to go straight to coloring? Open this decorative gourds coloring page at full size and print it. It is the same drawing you just learned, with clean lines ready for crayons or markers.
How to color your decorative gourds drawing
Try warm fall colors like orange, yellow, green and deep brown, using a different color for each gourd. For a creative twist, give one gourd stripes or polka dots.
Decorative gourds fun fact for kids
Bottle gourds are among the oldest plants people have grown. Long ago, people dried them and used them as bowls, bottles and even musical instruments.
Questions about drawing decorative gourds
What shapes do I need to draw gourds?
You need a pear shape, a circle with bumpy edges, a teardrop and a squashed oval. Short curly lines make the stems, and long curved lines make the ribs.
How do I make the bumpy gourd look right?
Start with a plain circle in pencil as a guide, then draw small round scoops all the way around it. Erase the guide circle when you are done.
How do I make my gourds look like they are sitting together?
Let the shapes overlap a little, with the front gourds covering the back ones. Draw the back gourd first and stop its lines where the front gourd begins.