How to Draw a Wind-Up Mouse (Easy Step by Step)
This post contains affiliate links. As an Amazon Associate I earn from qualifying purchases.
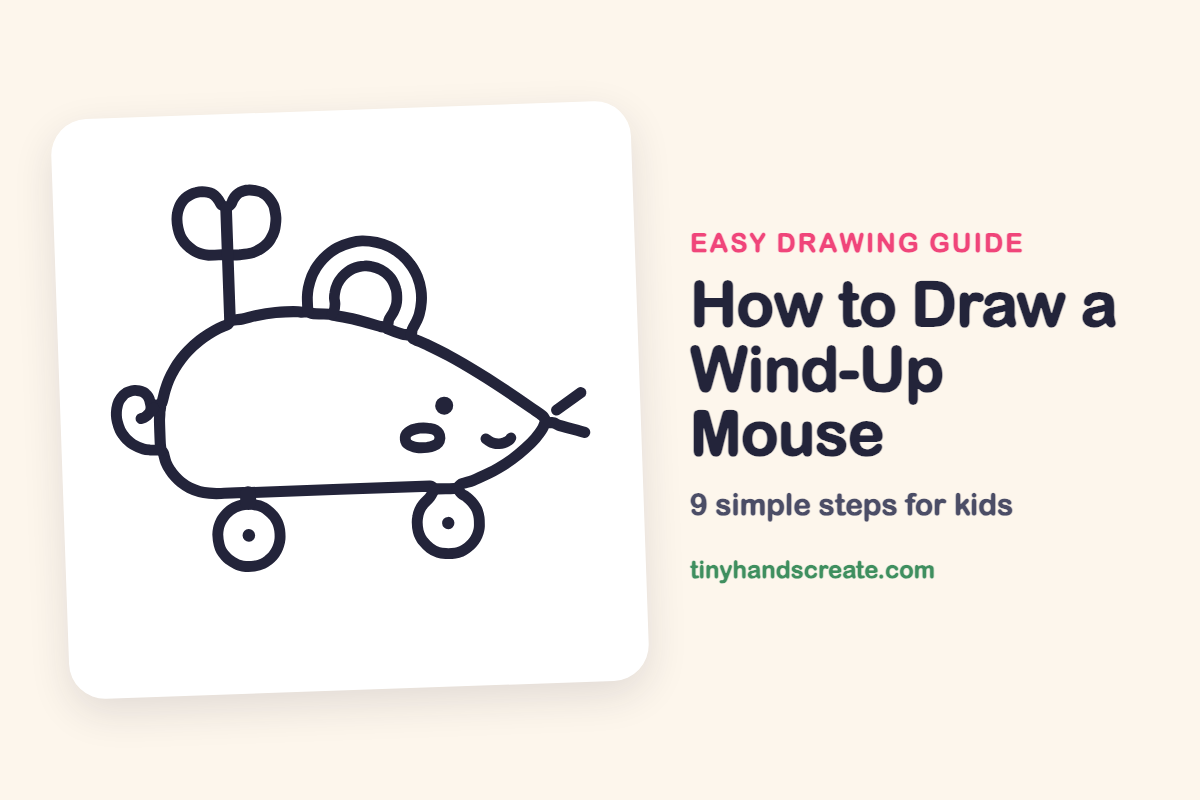
A wind-up mouse is a cute toy on wheels with a little key in its back. It is built from simple shapes: a teardrop body, circles for the wheels, a half circle ear, and a few curly lines. Once you know the shapes, you can draw it in just a few minutes.
- Easy
- 12 minutes
- 9 steps
You need: paper, a pencil, an eraser, and crayons or markers for coloring.
Start drawing
In this article (7 sections)
How to draw a wind-up mouse step by step
How to Draw a Wind-Up Mouse · tinyhandscreate.com
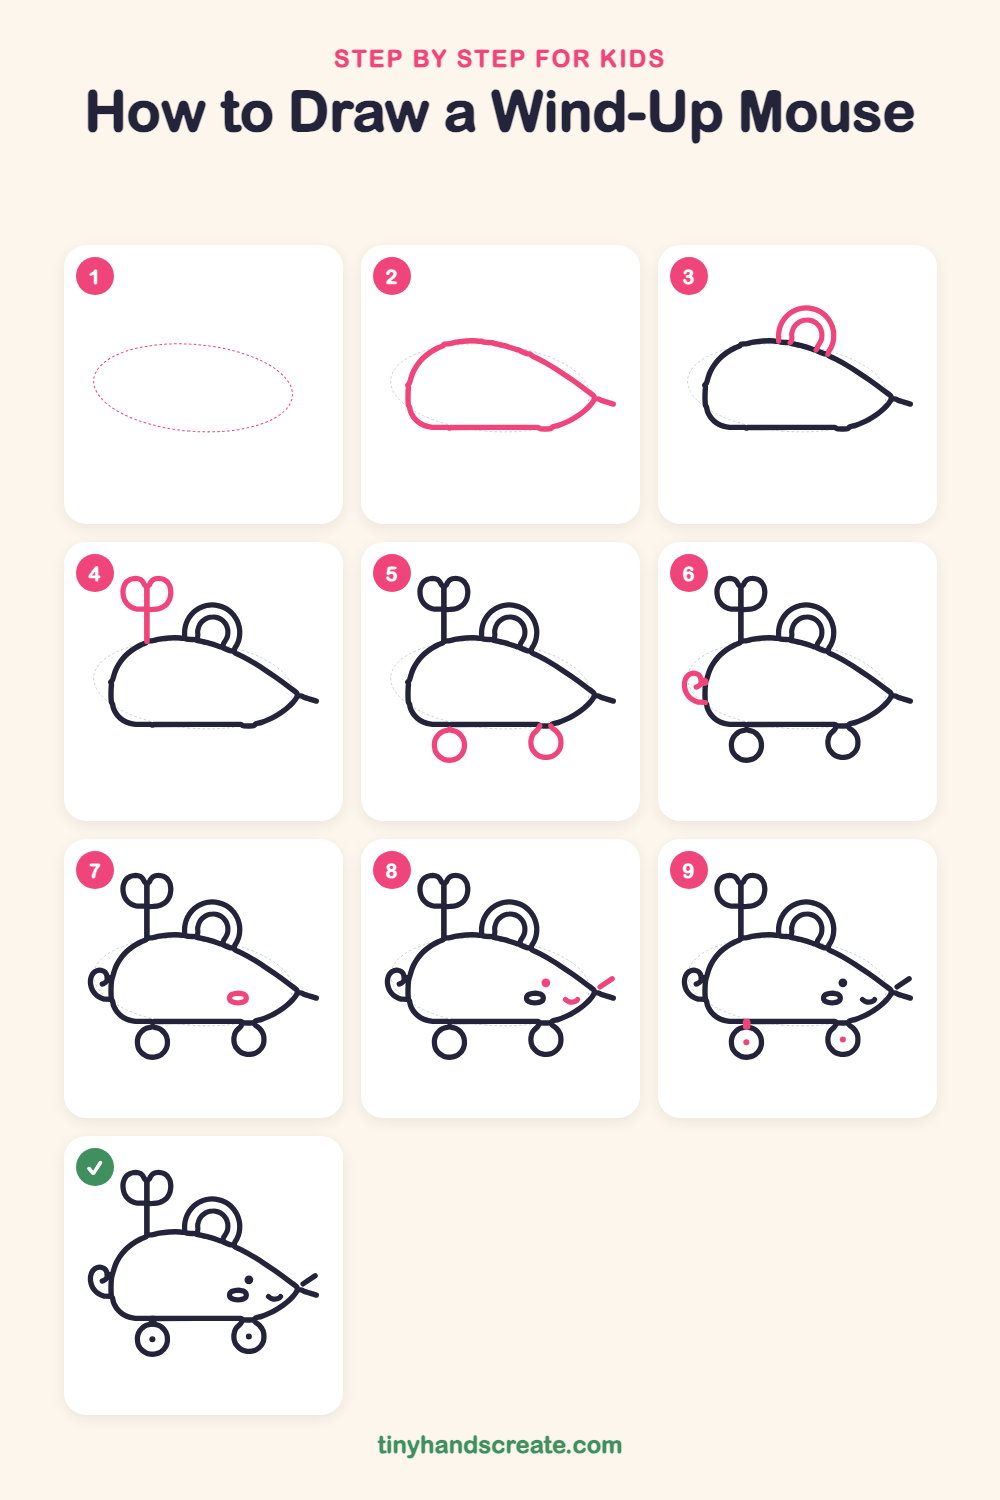
Step 1: Guide shapes
Lightly sketch this oval. It only shows where the big parts go, so press softly. You will erase it at the end.
Step 2: The body
Draw a big rounded shape like a teardrop lying on its side. Make the back end round and tall, the front end pointy, and the bottom flat. Add a tiny tail line sticking out past the pointy tip.
Step 3: The ear
On top of the body, draw a big half circle for the ear. Then draw a smaller half circle tucked inside it.
Step 4: The wind-up key
Draw a straight stick going up from the top of the back. At the top, draw two round loops side by side, like a heart or butterfly wings.
Step 5: The wheels
Under the flat bottom, draw two small circles for wheels. Tuck the top of each circle up against the body so the mouse can roll.
Step 6: The curly tail
At the back end of the body, draw a little curl that loops around like a spiral. Keep it small and tucked against the body.
Step 7: The nose
Near the pointy end, draw a small oval for the nose.
Step 8: Eye, smile and whisker
Draw a small dot for the eye above the nose. Add a little curvy smile near the tip, then a short whisker line sticking out from the tip.
Step 9: Wheel centers
Add a small dot in the middle of each wheel. They show where the wheels turn.
All done!
Erase the guide shapes, go over your lines, then color it in.
Finished your wind-up mouse? Keep the pencils out and learn how to draw a pull-along duck toy or how to draw stacking rings next.
Tips for drawing a wind-up mouse
- Draw the body first and keep the bottom flat. The wheels need a flat place to sit.
- The key is easiest if you draw the stick first, then add one loop on each side of the top.
- Draw the curly tail slowly in one smooth line, like winding a spring, and stop when the curl is small.
Free wind-up mouse coloring page
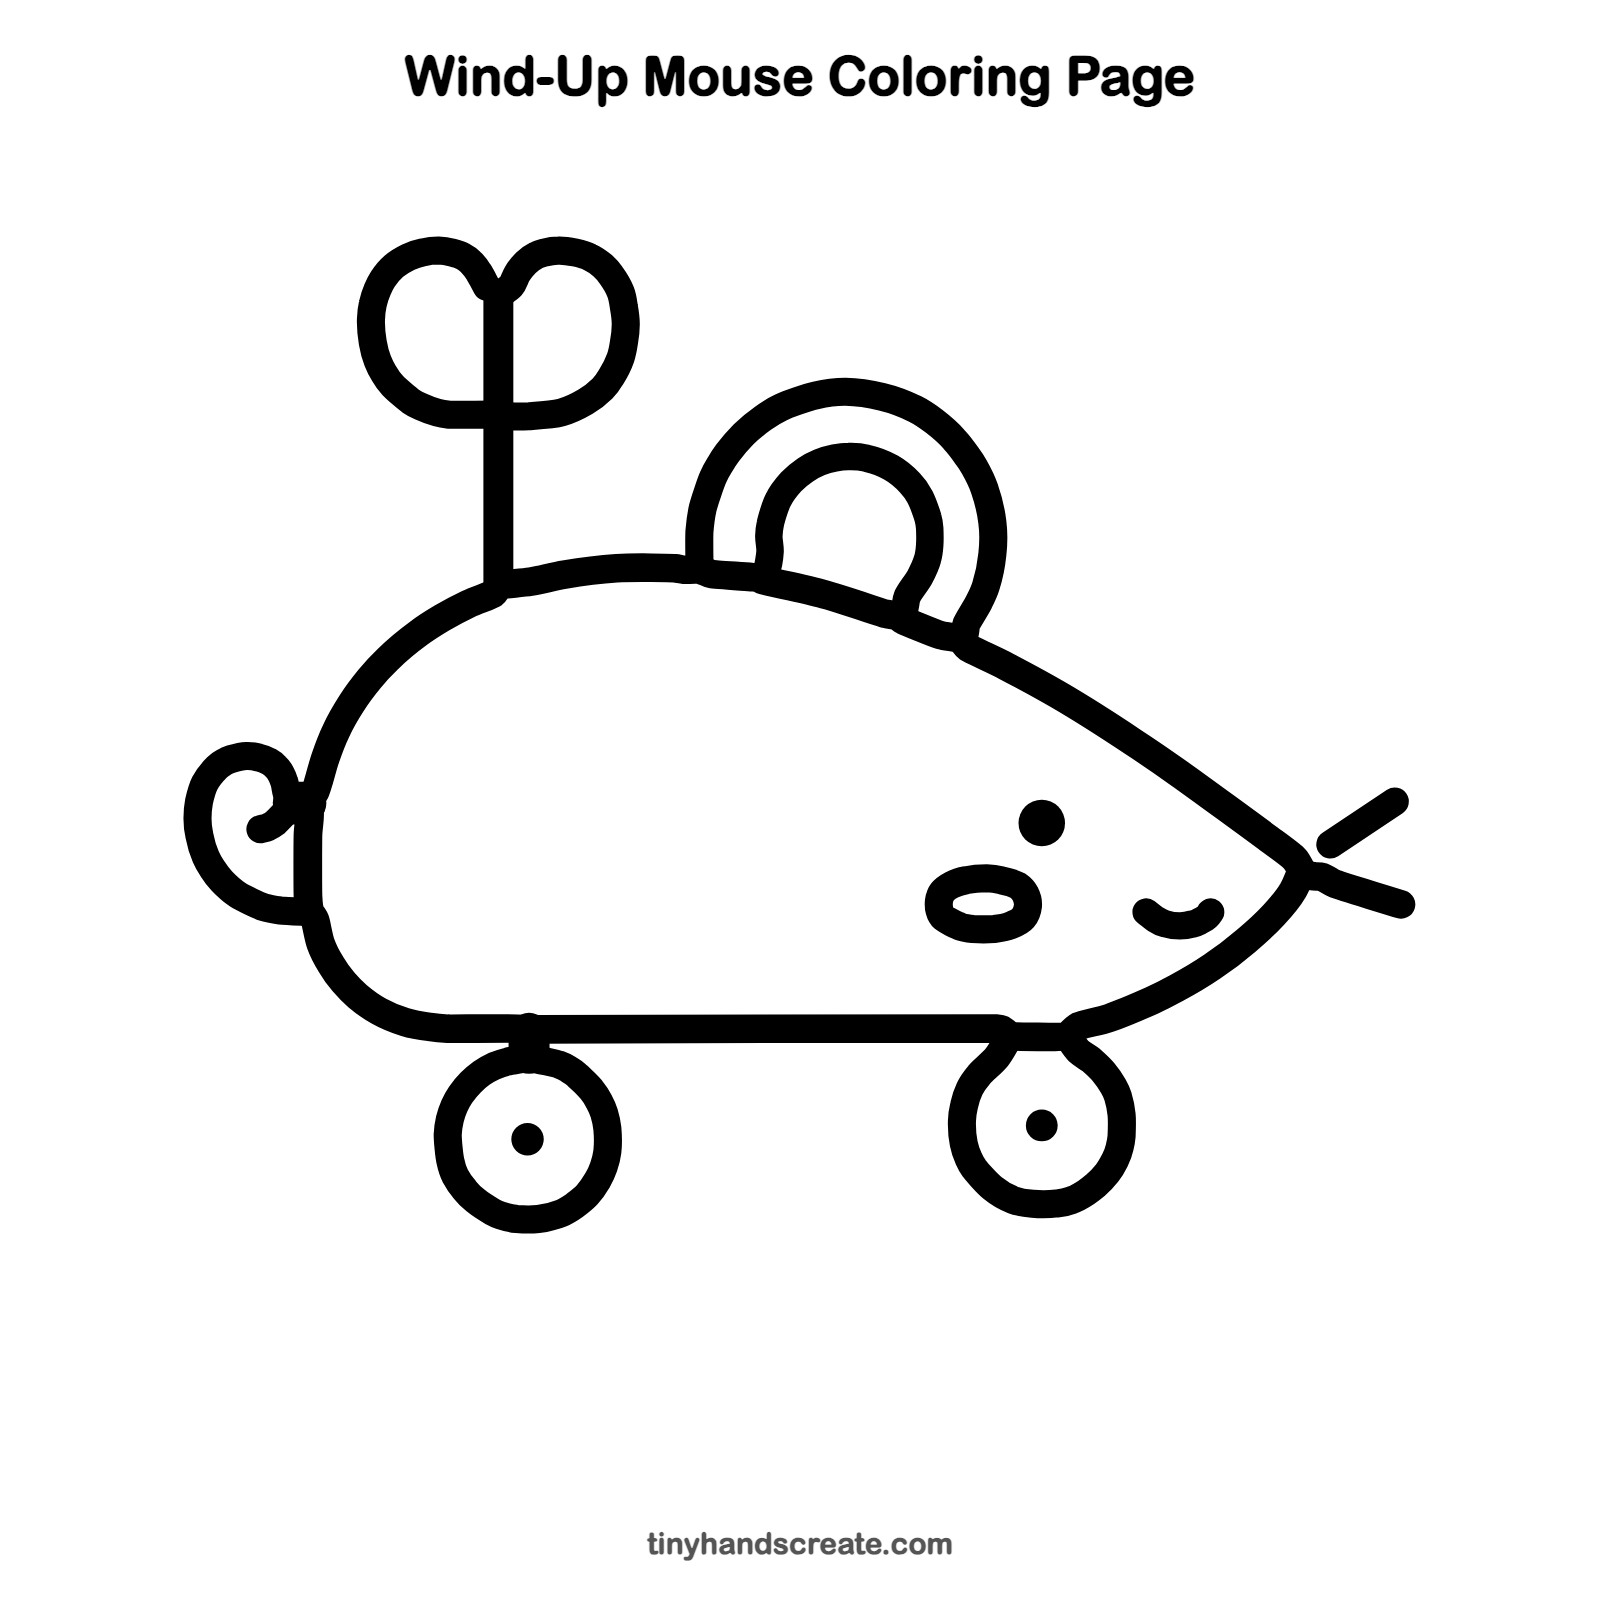
Want to go straight to coloring? Open this wind-up mouse coloring page at full size and print it. It is the same drawing you just learned, with clean lines ready for crayons or markers.
How to color your wind-up mouse drawing
Try a soft gray or pink body with a bright red key and dark gray wheels. For a twist, color it like a rainbow toy with each part in a different color.
Wind-up mouse fun fact for kids
Wind-up toys run on a coiled spring inside. Turning the key tightens the spring, and as it slowly unwinds it makes the wheels or legs move.
Questions about drawing a wind-up mouse
What shapes do I need to draw a wind-up mouse?
You need a teardrop shape for the body, two circles for the wheels, and half circles for the ear. The key is a stick with two loops on top.
How do I make my wind-up mouse look cuter?
Make the eye a bit bigger and add a tiny smile. A round, chubby body also makes it look friendlier.
How do I draw the wind-up key?
Draw a straight stick up from the back, then add two round loops at the top, side by side. They look like a heart or butterfly wings.