How to Draw Nigiri Sushi (Easy Step by Step)
This post contains affiliate links. As an Amazon Associate I earn from qualifying purchases.
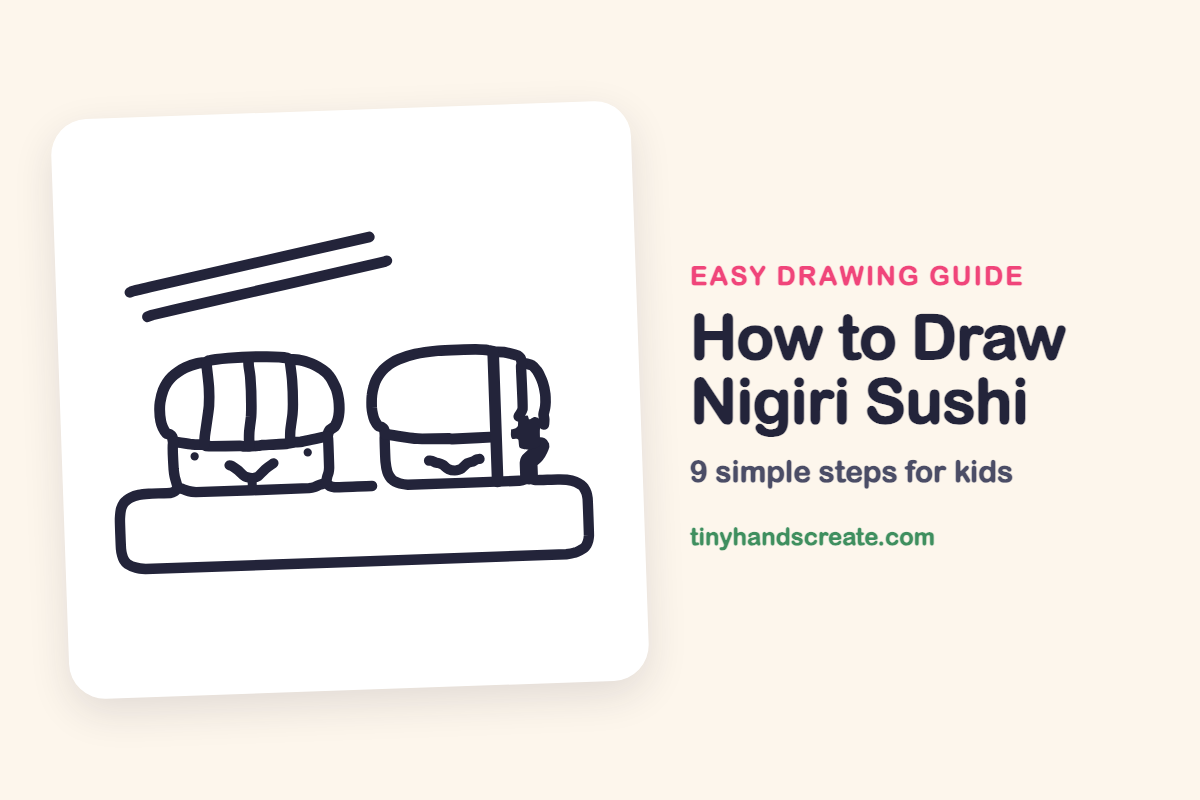
Nigiri sushi is a cute thing to draw because it is really just a few friendly shapes put together. You will use a rounded rectangle for the plate, domes for the fish, boxes for the rice, and straight lines for the stripes and chopsticks. Add a little smile and the sushi looks ready to say hello.
- Easy
- 12 minutes
- 9 steps
You need: paper, a pencil, an eraser, and crayons or markers for coloring.
Start drawing
In this article (7 sections)
How to draw nigiri sushi step by step
How to Draw Nigiri Sushi · tinyhandscreate.com
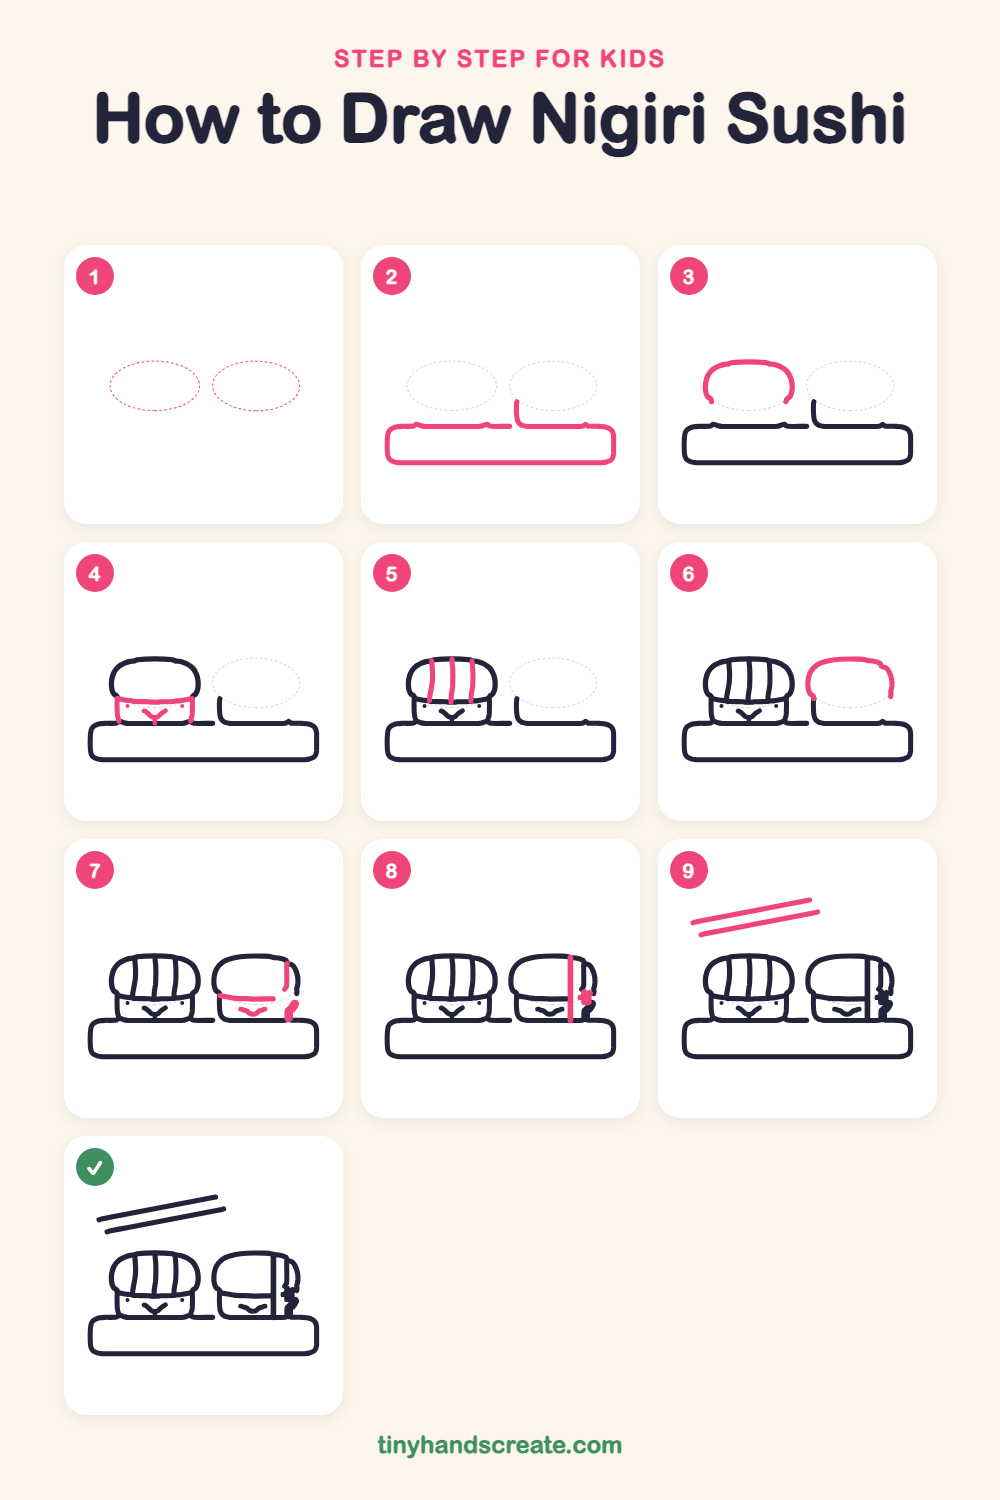
Step 1: Guide shapes
Lightly sketch these 2 ovals. They only show where the big parts go, so press softly. You will erase them at the end.
Step 2: The wooden plate
Draw a long rectangle with soft rounded corners near the bottom of your page. Near the middle of the top edge, add a short line that goes up a little.
Step 3: First fish topping
Above the left side of the plate, draw a wide dome shape like an upside-down bowl. Leave the bottom open for now.
Step 4: Rice and happy face
Under the dome, draw a short rounded box with a straight line across its top. Its sides come down to the plate. Add two tiny dots for eyes and a little V-shaped smile in the middle.
Step 5: Fish stripes
Draw three gently curved lines from the top of the dome down to its bottom edge. Keep them roughly the same distance apart.
Step 6: Second fish topping
Next to the first sushi, draw another wide dome like an upside-down bowl. Leave the bottom open and the inside empty.
Step 7: Second rice and smile
Draw a straight line across the bottom of the second dome, and a small curvy smile just below it. Add a short line near the top right edge of the dome and a small blob at the bottom right, beside the plate.
Step 8: Tall stripe and blob
Near the right end of the second dome, draw a tall straight stripe from the top of the dome down to the plate. Add a small wiggly blob right beside it.
Step 9: Chopsticks
Above the sushi, on the left, draw two long straight lines side by side, both tilting up toward the right. Keep them parallel, like two friends walking together.
All done!
Erase the guide shapes, go over your lines, then color it in.
Finished your nigiri sushi? Keep the pencils out and learn how to draw spring rolls or how to draw an egg tart next.
Tips for drawing nigiri sushi
- Draw the dome of the fish first and the rice box right under it, so the two parts line up and meet along the same edge.
- The three stripes on the first fish look best when they curve a little the same way, so draw each one from top to bottom in one smooth stroke.
- Draw the chopsticks last, and keep the two lines parallel so they do not cross.
Free nigiri sushi coloring page
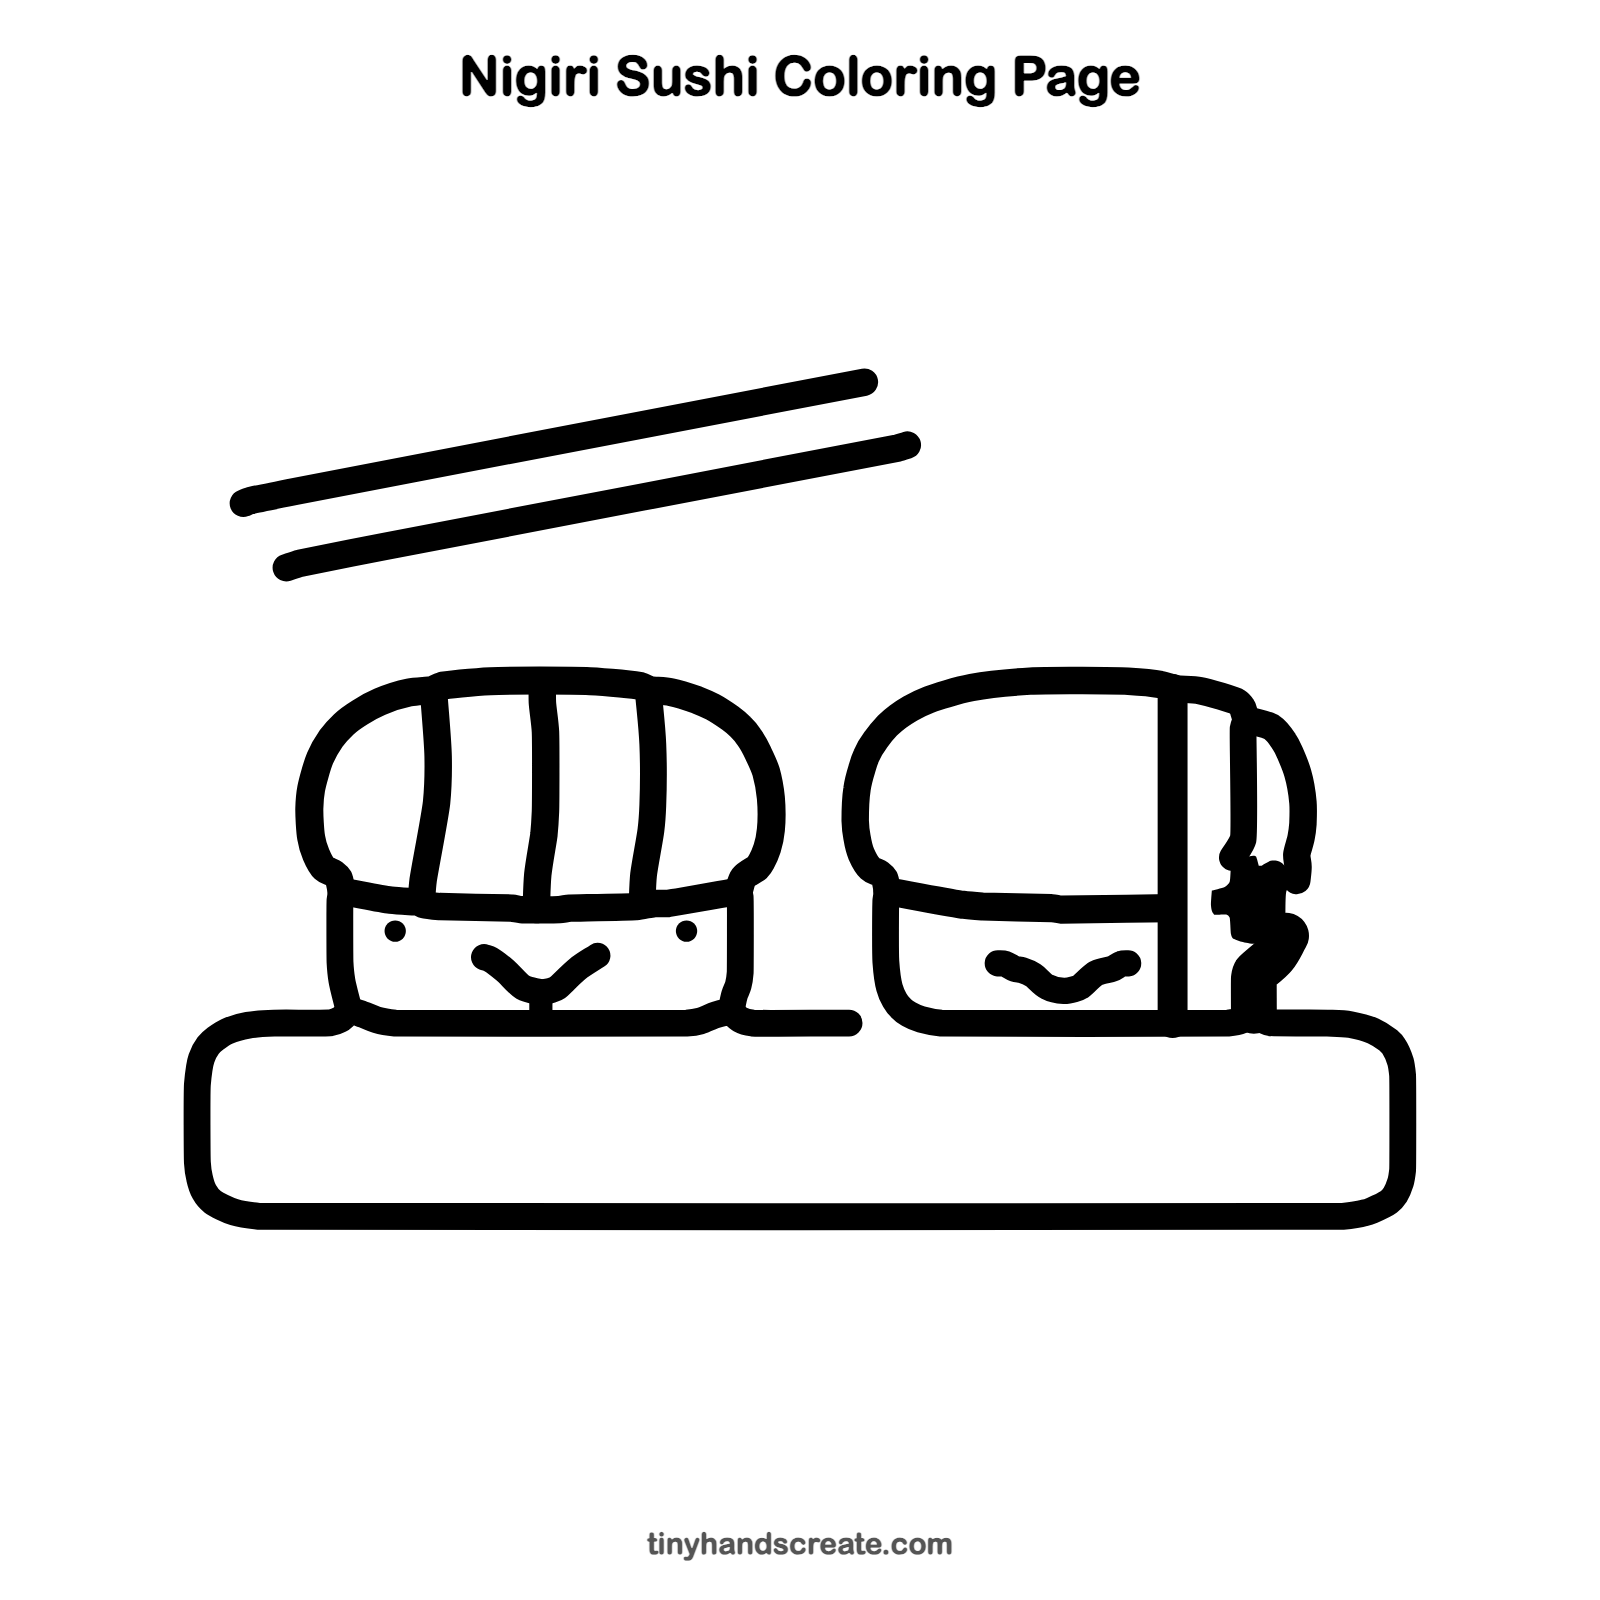
Want to go straight to coloring? Open this nigiri sushi coloring page at full size and print it. It is the same drawing you just learned, with clean lines ready for crayons or markers.
How to color your nigiri sushi drawing
Try orange or pink for the fish, white or light cream for the rice, and light brown for the plate. The small blob next to the second sushi can be green, like a dab of wasabi.
Nigiri sushi fun fact for kids
The word nigiri comes from a Japanese word meaning to grip or squeeze. A sushi chef presses the rice by hand and then lays a slice of fish on top.
Questions about drawing nigiri sushi
What shapes do I need to draw nigiri sushi?
You need a dome for the fish, a rounded box for the rice, and a long rounded rectangle for the plate. Two straight lines make the chopsticks.
How do I make my sushi look cuter?
Give it a face with two small dot eyes and a smile, and put the face low on the rice box. A curvy smile is enough if you want a simpler look.
How do I draw the stripes on the fish?
Draw curved lines from the top of the dome down to its bottom edge. Space them evenly so they look like the pattern on a slice of fish.