How to Draw Leaves Blowing in the Wind (Easy Step by Step)
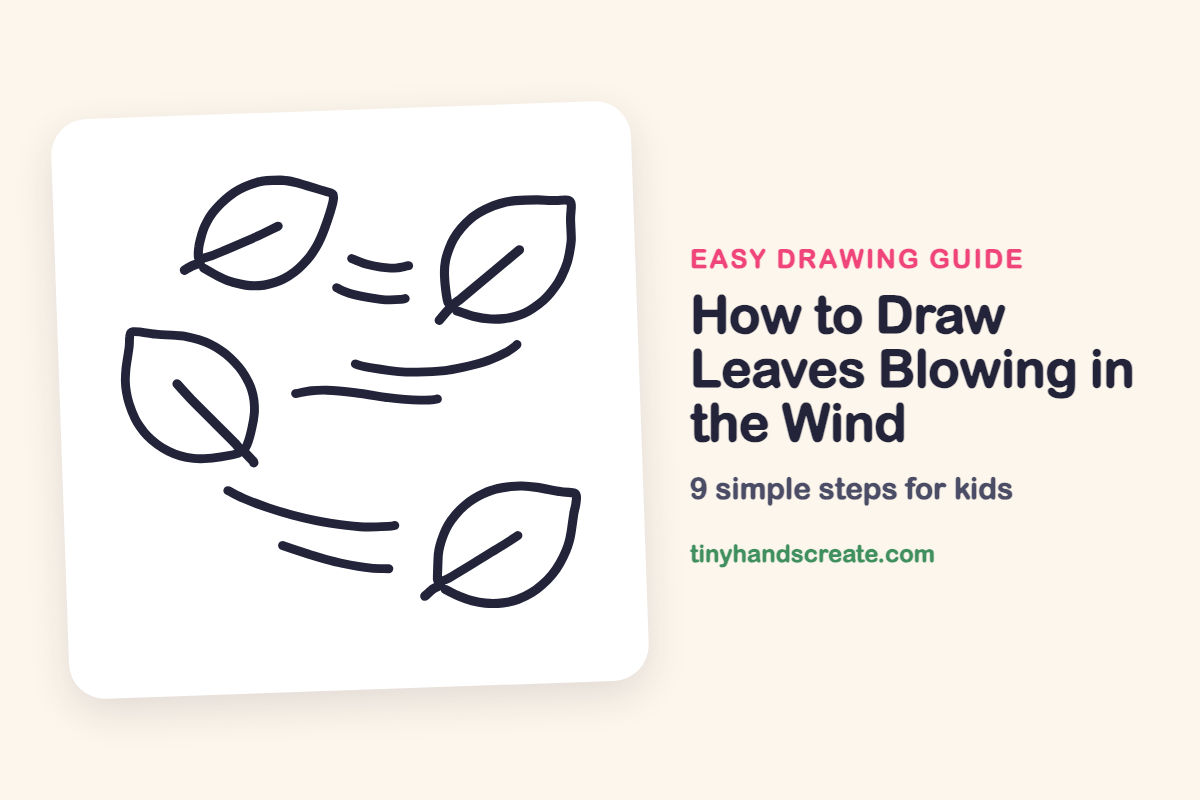
Leaves blowing in the wind is a great drawing for beginners because every leaf is the same simple shape, a teardrop. You add one straight line for a vein, a tiny stem, and a few curvy swoosh lines, and the page suddenly feels like a breezy autumn day.
- Easy
- 12 minutes
- 9 steps
You need: paper, a pencil, an eraser, and crayons or markers for coloring.
Start drawing
In this article (7 sections)
- How to draw leaves blowing in the wind step by step
- Tips for drawing leaves blowing in the wind
- Free leaves blowing in the wind coloring page
- How to color your leaves blowing in the wind drawing
- Leaves blowing in the wind fun fact for kids
- Questions about drawing leaves blowing in the wind
- More easy nature drawings
How to draw leaves blowing in the wind step by step
How to Draw Leaves Blowing in the Wind · tinyhandscreate.com
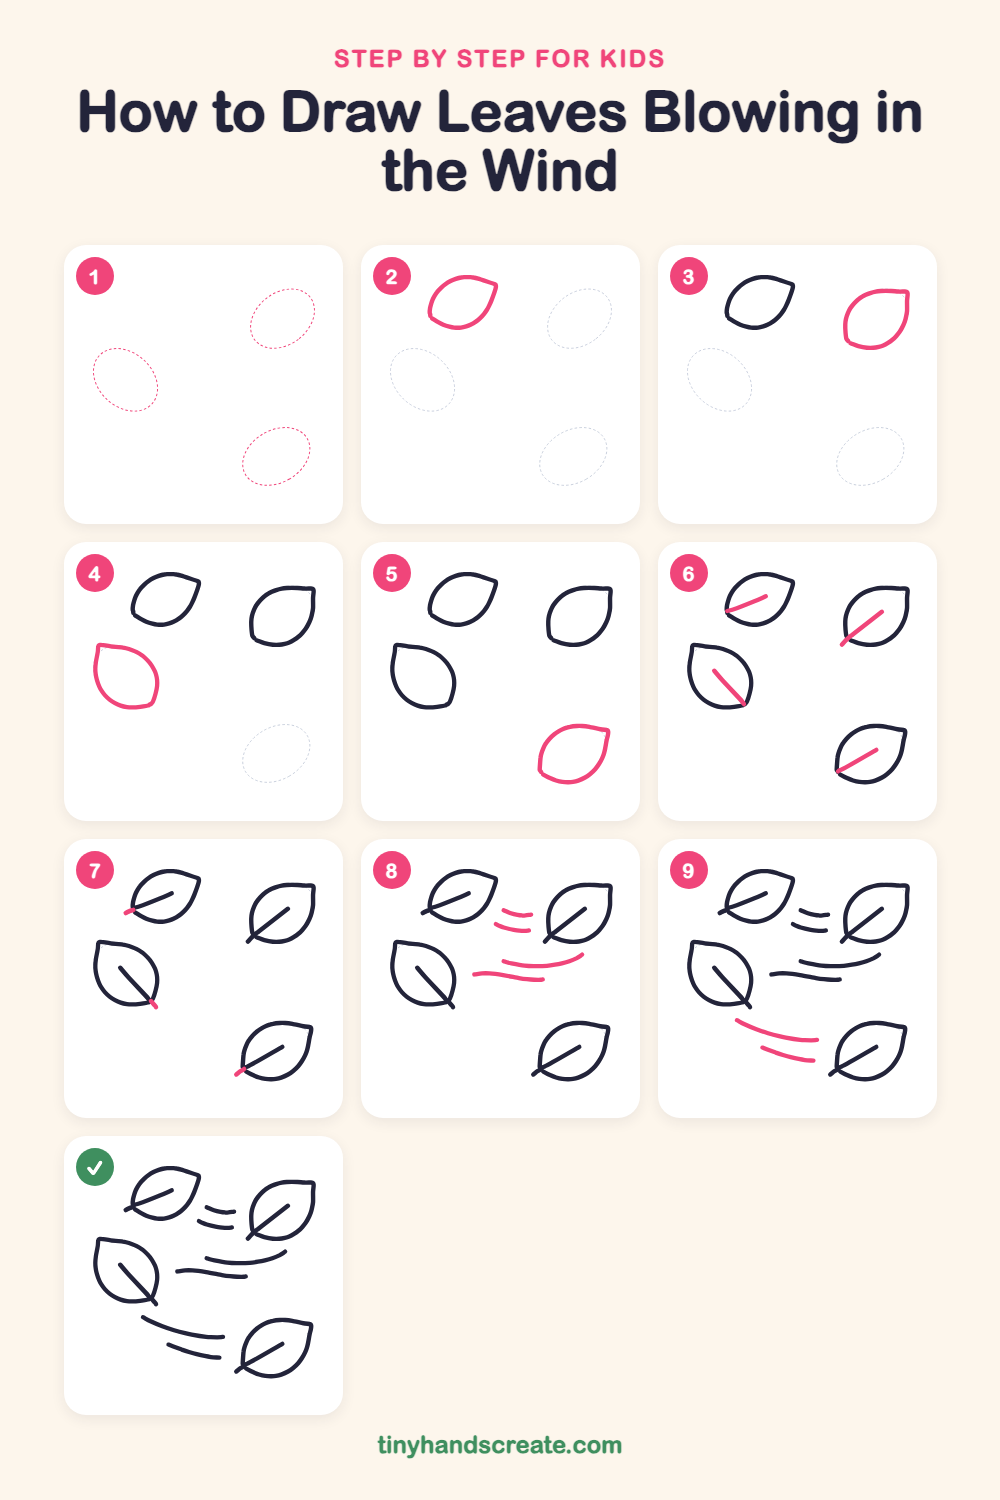
Step 1: Guide shapes
Lightly sketch these 3 ovals. They only show where the big parts go, so press softly. You will erase them at the end.
Step 2: Top left leaf
Draw a pointy teardrop shape tilted like it is tumbling, with a sharp tip at the upper right and a round belly at the lower left. Keep the line smooth and close the shape.
Step 3: Top right leaf
On the right side of the page, a little lower than the first leaf, draw a second teardrop about the same size. Point its tip toward the top right and make the belly round.
Step 4: Left leaf
On the left, draw another teardrop with its pointy tip at the top left and its round belly swinging down to the right. Tilting each leaf a different way makes them look like they are spinning.
Step 5: Bottom right leaf
Near the bottom right corner, draw the last teardrop leaf with its tip pointing up and to the right. Make it about the same size as the others.
Step 6: Leaf veins
Inside each leaf, draw one straight line that starts at the leaf's lower edge and goes up toward the middle. Stop the line before it reaches the far side of the leaf.
Step 7: Little stems
On the top left, left, and bottom right leaves, make each vein a little longer so a short stubby line sticks out past the edge of the leaf. This is the stem that used to hold the leaf to the tree.
Step 8: Wind swooshes in the middle
Between the leaves, draw two short curved lines stacked one above the other, then two longer curved lines below them. Let the longer lines bend gently and wave a little like ribbons of air.
Step 9: Wind swooshes at the bottom
Below the left leaf, draw two more long curved lines, one above the other. Let them sweep down toward the bottom right leaf as if the wind is pushing it along.
All done!
Erase the guide shapes, go over your lines, then color it in.
Finished your leaves blowing in the wind? Keep the pencils out and learn how to draw a mushroom or how to draw a sunflower next.
Tips for drawing leaves blowing in the wind
- Tilt every leaf a different way. If all four point the same direction they look parked, but different angles make them look like they are tumbling.
- Draw each vein with one quick, confident stroke. Stopping before the far edge keeps it looking like a real leaf vein.
- Make the wind lines long and smooth by moving your whole arm, not just your fingers. Leave a little space between the lines and the leaves so the air looks like it is flowing.
Free leaves blowing in the wind coloring page
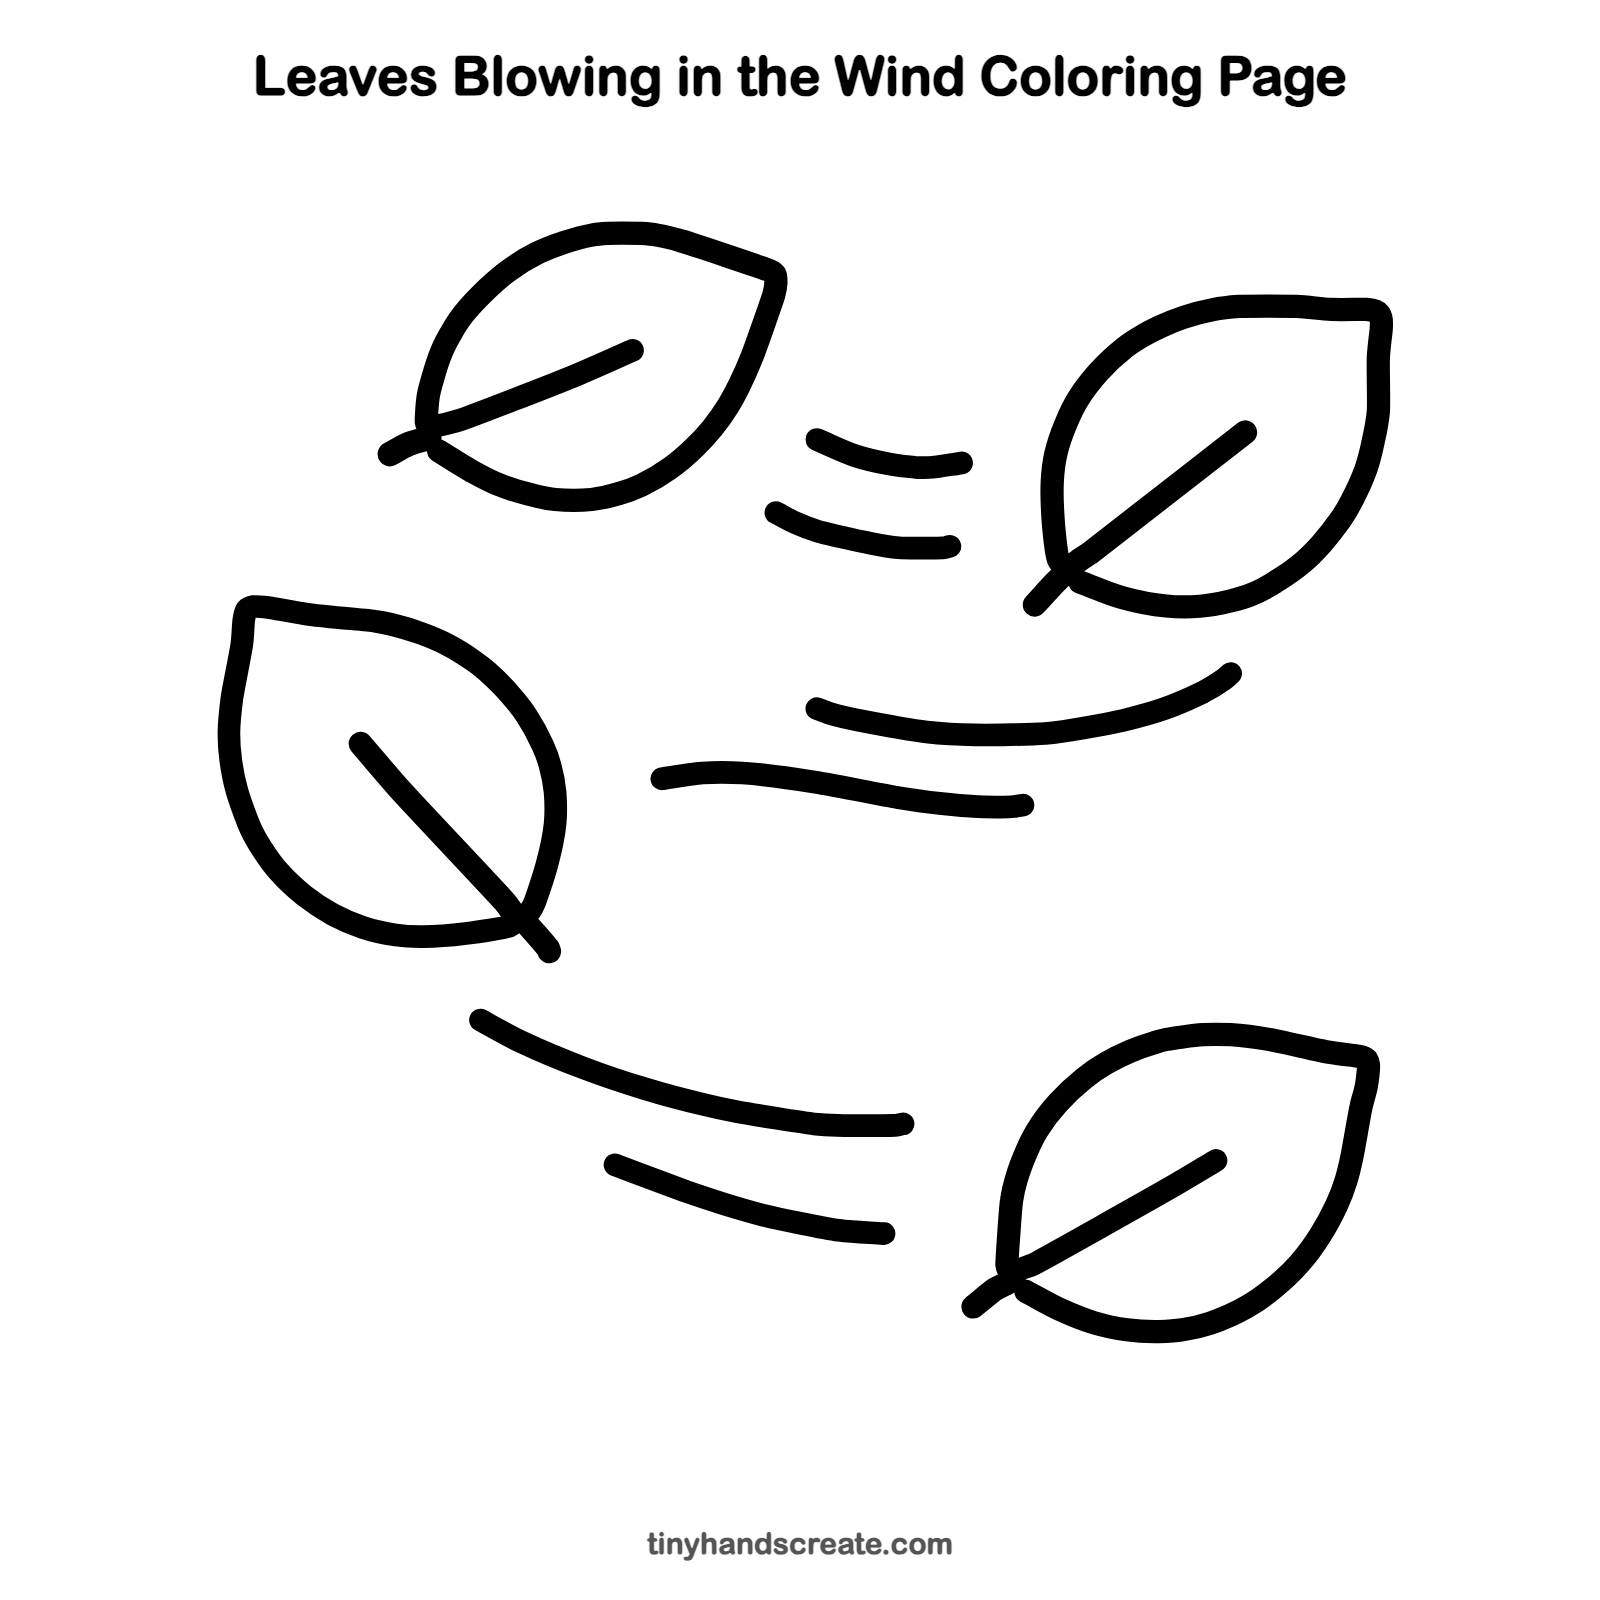
Want to go straight to coloring? Open this leaves blowing in the wind coloring page at full size and print it. It is the same drawing you just learned, with clean lines ready for crayons or markers.
How to color your leaves blowing in the wind drawing
Try red, orange, yellow, and brown for the leaves and light blue or gray for the wind lines. For a creative twist, color each leaf with stripes of two autumn colors.
Leaves blowing in the wind fun fact for kids
Leaves change color in fall because trees stop making green chlorophyll. The yellow and orange colors were in the leaves all summer, hidden under the green.
Questions about drawing leaves blowing in the wind
What shapes do I need to draw leaves blowing in the wind?
You need a teardrop shape for each leaf, a straight line for the vein, and a short line for the stem. The wind is just long, curved lines.
How do I make my leaves look like they are moving?
Tilt each leaf at a different angle and put the wind lines near them. Leaves that point in different directions look like they are spinning.
How do I draw a leaf that is not lopsided?
Start with a light oval, then pinch one end into a point. Once the outline is done, draw the vein and use it to check that both sides are about even.