How to Draw a Throne (Easy Step by Step)
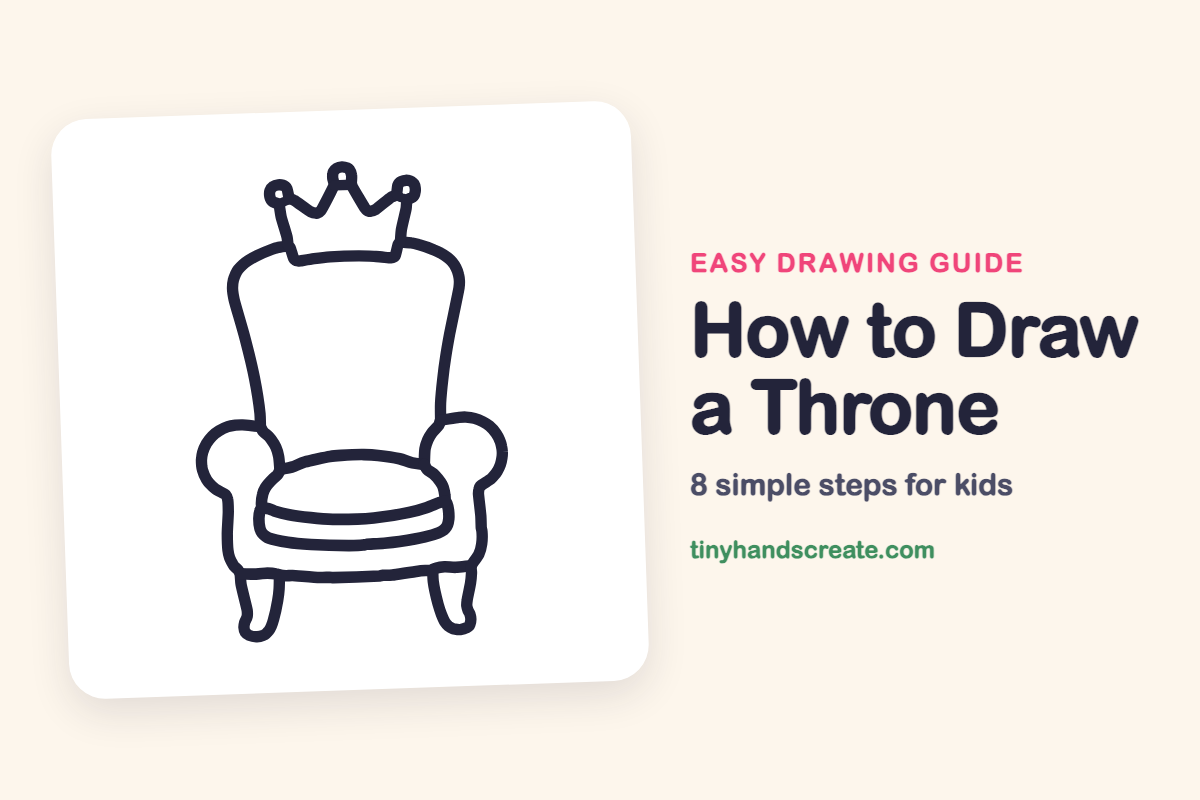
A throne is a chair fit for a king or queen, and it is easy to build from simple shapes. You will use a tall back with curved sides, a zigzag crown on top, two round scrolls for the armrests, and a rounded cushion on the seat.
- Easy
- 15 minutes
- 8 steps
You need: paper, a pencil, an eraser, and crayons or markers for coloring.
Start drawing
In this article (7 sections)
How to draw a throne step by step
How to Draw a Throne · tinyhandscreate.com
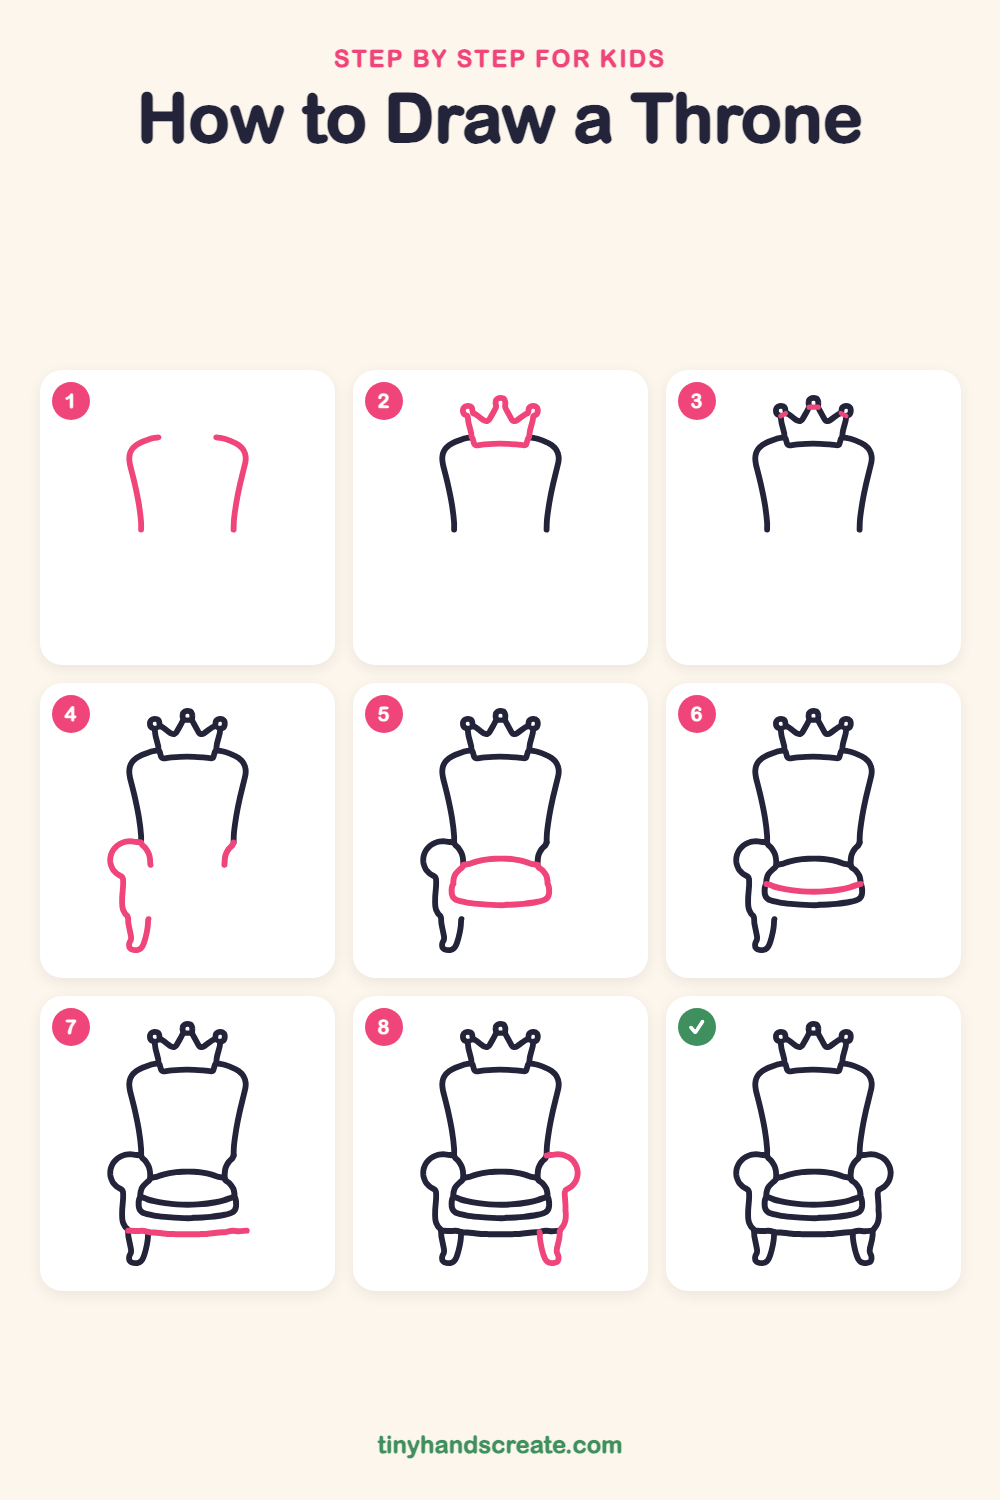
Step 1: Sides of the back
Draw two tall lines that lean slightly toward each other. Curve the top of each one inward, and leave a gap between them in the middle.
Step 2: The crown
In the gap at the top of the chair, draw a crown. Start with a wide bottom band, then zigzag up into three points, and put a little round ball on the tip of each point.
Step 3: Crown jewels
Draw a tiny dot inside each of the three balls on the crown. They look like little jewels.
Step 4: Left armrest and leg
On the left, draw a round scroll for the armrest that touches the side of the chair. Draw a line down from it, and finish with a little curved foot at the bottom. Add a short curved line on the right side, just below the back.
Step 5: The seat cushion
Between the arms, draw a wide, rounded shape for the cushion. Start at the top edge, curve down each side, and join the sides with a gently curved line along the bottom.
Step 6: Cushion stripe
Draw a gently curved line across the front of the cushion, from one side to the other. It shows the cushion is thick and puffy.
Step 7: The chair base
Draw a long, almost straight line across the bottom of the chair, from the left foot to the right side.
Step 8: Right armrest and leg
On the right, draw a round scroll for the armrest, starting at the short line from before. Draw a line down from it, and finish with a curved foot at the bottom to match the left one.
All done!
Go over your lines with a marker, then color it in.
Finished your throne? Keep the pencils out and learn how to draw a unicorn or how to draw a dragon next.
Tips for drawing a throne
- Draw the two sides of the tall back lightly first so you can see how far apart they should be. Lean them in a little near the top so the chair looks tall and grand.
- The crown is the trickiest part. Draw the bottom band first, then zigzag up and down to make three points, and finish each point with a small ball.
- Make the two armrest scrolls about the same size. Draw the left one, then look across and match it with the right one, so the chair looks balanced.
Free throne coloring page
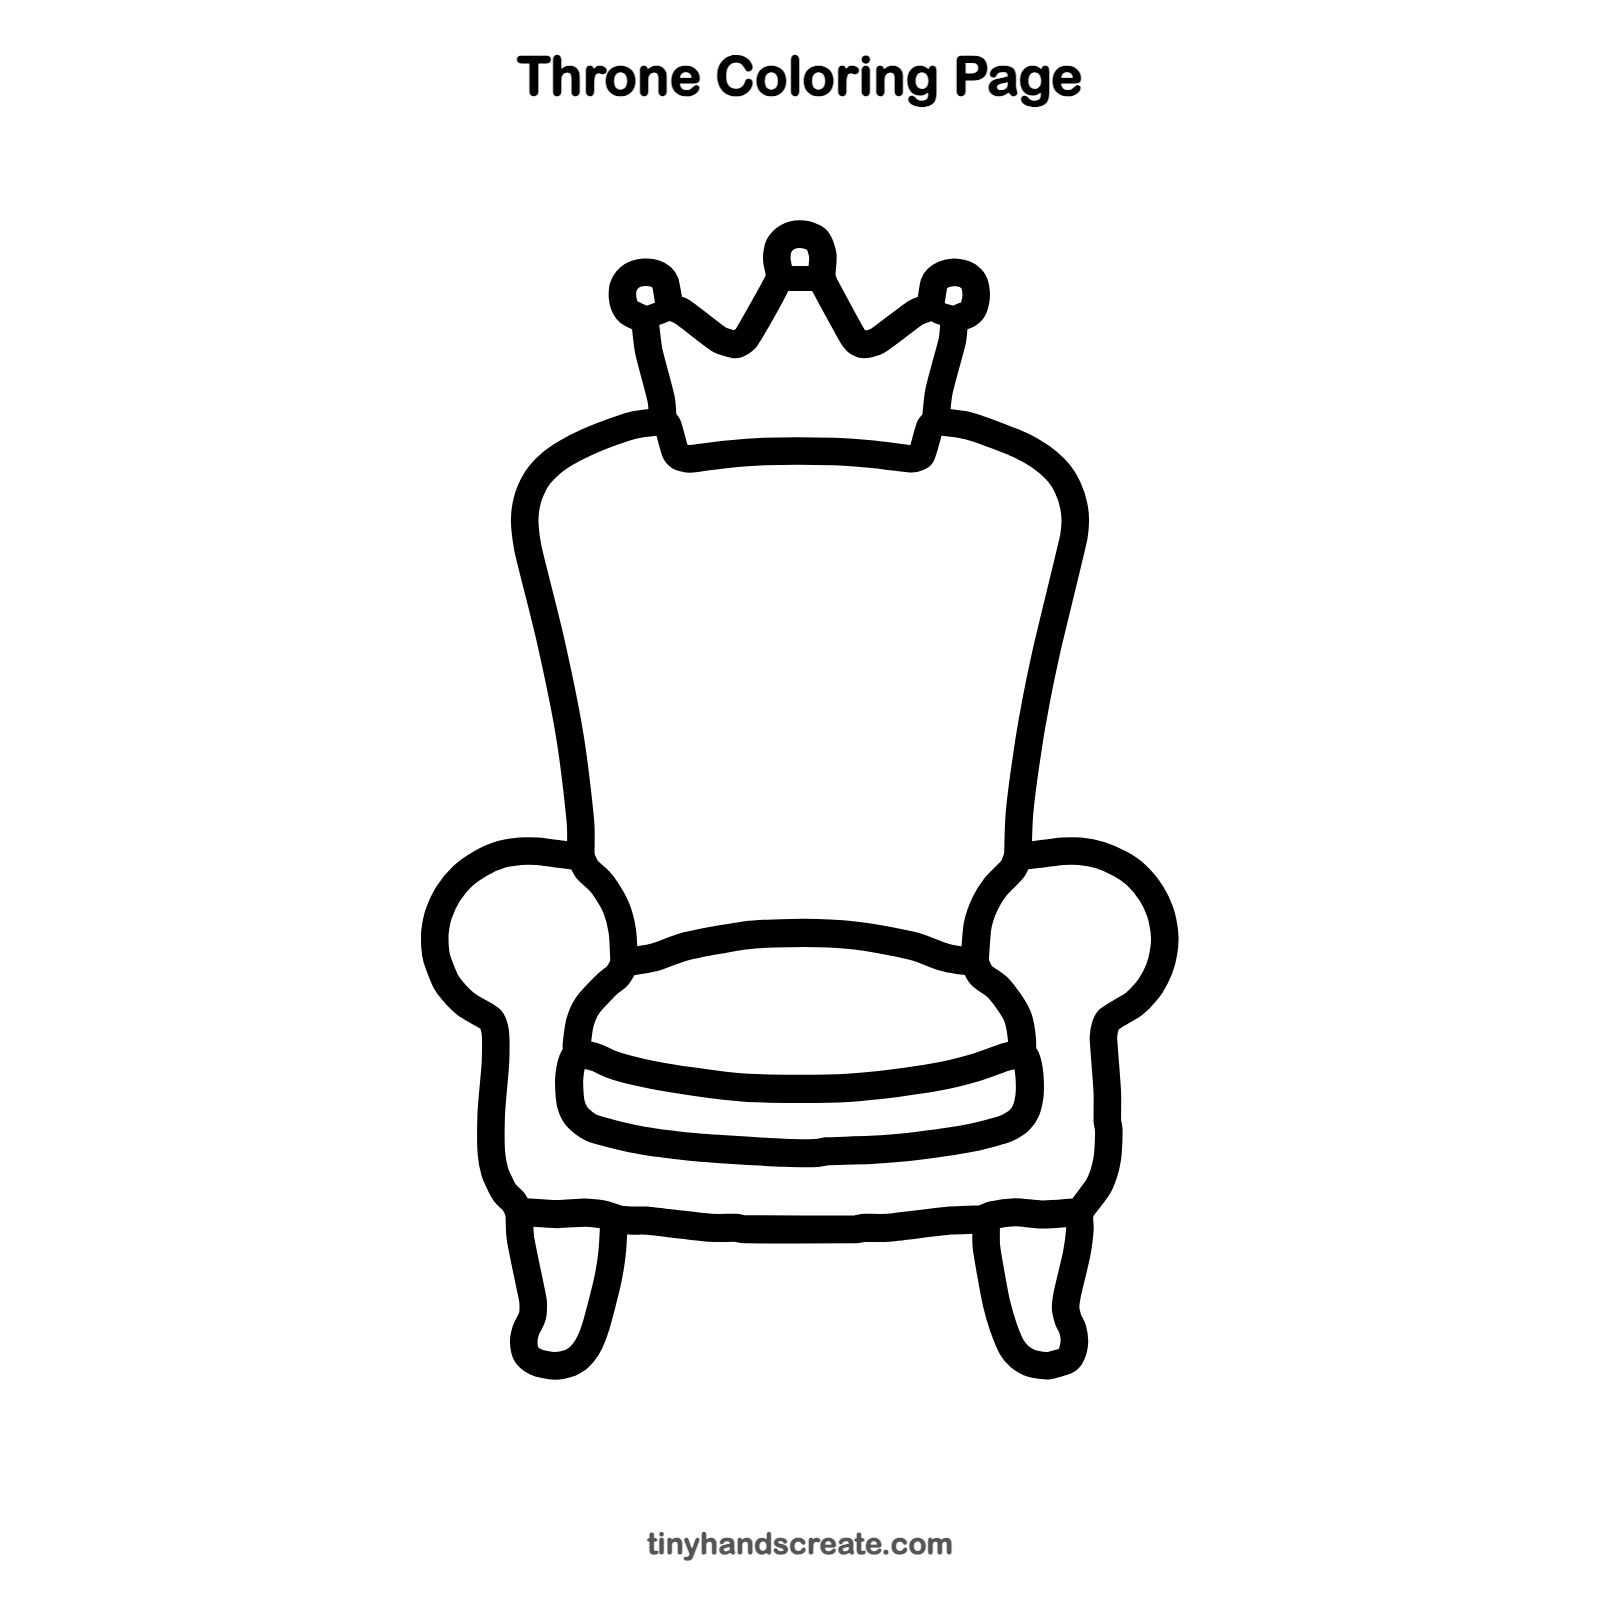
Want to go straight to coloring? Open this throne coloring page at full size and print it. It is the same drawing you just learned, with clean lines ready for crayons or markers.
How to color your throne drawing
Try gold for the crown, deep red or purple for the chair, and a lighter shade for the cushion. For a creative twist, color it in your favorite animal's colors, or draw a tiny royal cat sitting on it.
Throne fun fact for kids
The word throne comes from the ancient Greek word thronos, which means a seat or chair.
Questions about drawing a throne
What shapes do I need to draw a throne?
You need two tall curved lines for the back, a zigzag crown with three small balls, two round scrolls for the armrests, and a rounded shape for the cushion.
How do I make my throne look fancier?
Add a pattern like stars or swirls on the tall back, and color the crown gold. Coloring the chair deep red also makes it look royal.
How do I draw a crown that looks even?
Start with a flat band across the bottom, then mark three dots for the tips before you draw the zigzag. Joining the dots keeps the points evenly spaced.