How to Draw House Plants on a Shelf (Easy Step by Step)
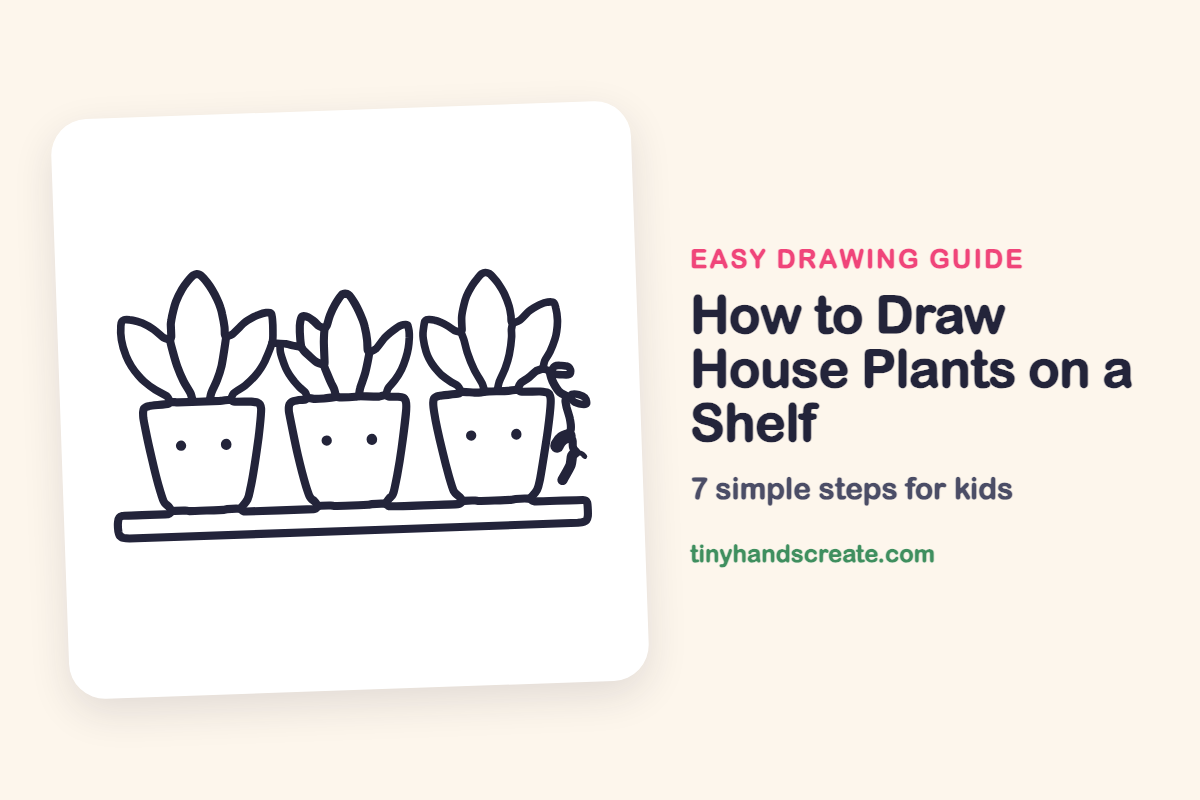
Three cheerful pots in a row make this drawing feel cozy. It is built from simple shapes: cup-shaped pots, pointy ovals for leaves, a long rectangle for the shelf, and two tiny dots for each face.
- Easy
- 15 minutes
- 7 steps
You need: paper, a pencil, an eraser, and crayons or markers for coloring.
Start drawing
In this article (7 sections)
How to draw house plants on a shelf step by step
How to Draw House Plants on a Shelf · tinyhandscreate.com
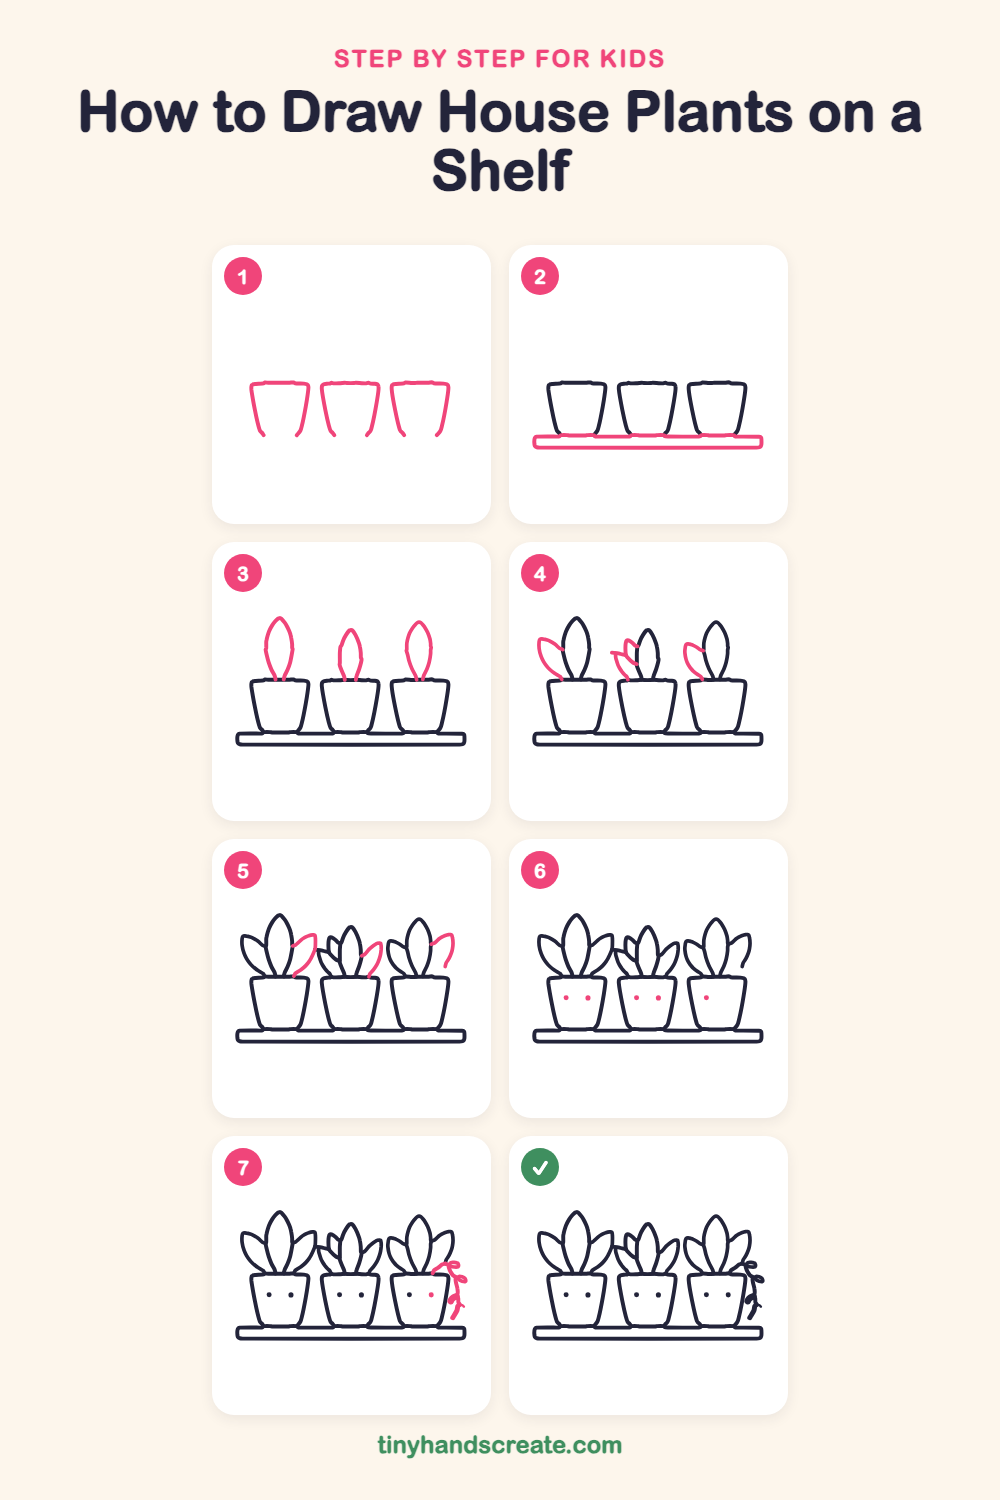
Step 1: Three flower pots
Draw three flower pots in a row. For each one, draw only the two slanted sides, a little wider at the top and narrower at the bottom, with a small gap between the pots. Leave the top and bottom open for now.
Step 2: The shelf
Under the pots, draw a long, skinny rectangle with rounded corners. This closes the bottom of each pot, so they sit right on top of the shelf.
Step 3: Tall middle leaves
Above each pot, draw one tall leaf shaped like a pointy oval. Start at the top of the pot, curve up to a point, then come back down to the pot on the other side.
Step 4: Small side leaves
On the left of each plant, draw a smaller leaf that leans out to the left, starting at the top of the pot. On the middle plant, add one more tiny leaf tucked beside the tall leaf.
Step 5: Right side leaves
Now draw one curved leaf on the right of each plant. Start at the tall leaf and curve outward and down toward the pot. The leaves on the first and middle plants swoop down to the pot, and the last one stays shorter.
Step 6: Dot eyes
Give the pots faces. Draw two small dots for eyes near the middle of the first and middle pots, side by side with some space between them. Draw only a single dot on the last pot for now.
Step 7: The curly vine
On the last pot, add the second dot to finish its pair of eyes. Then, on the right side of that pot, draw a thin vine that hangs down from the leaves, with little curls and tiny leaves along it.
All done!
Go over your lines with a marker, then color it in.
Finished your house plants on a shelf? Keep the pencils out and learn how to draw a mushroom or how to draw a sunflower next.
Tips for drawing house plants on a shelf
- Draw each pot a little wider at the top than at the bottom. Slightly slanted sides make a pot look real.
- Leaves are the trickiest part. Draw a curved line up to a point, then curve back down the other side, like a stretched-out almond.
- Make the eye dots the same height on every pot, and keep them far enough apart so the faces look friendly and not squished.
Free house plants on a shelf coloring page
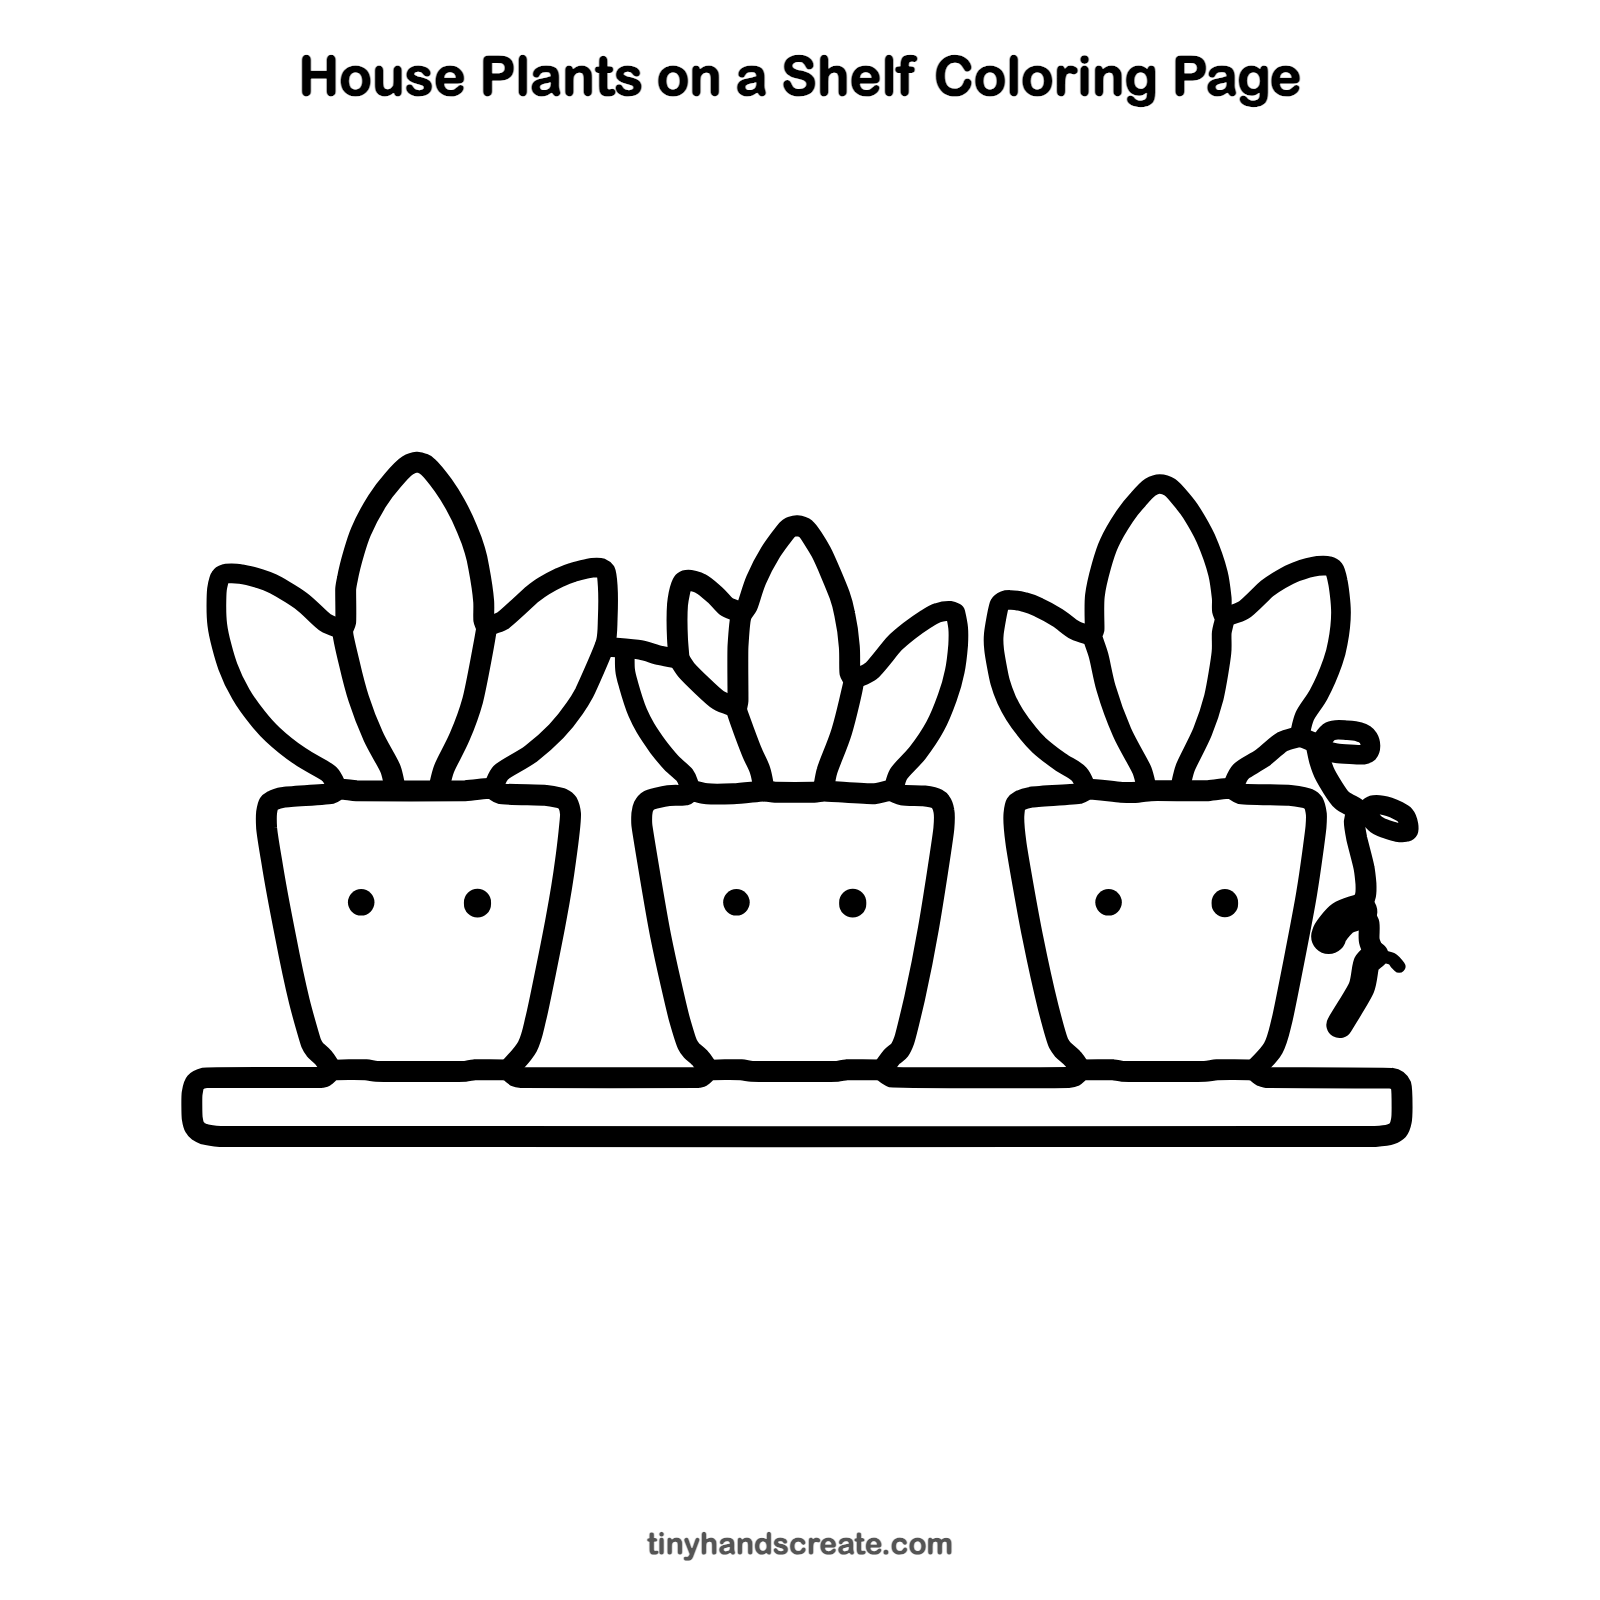
Want to go straight to coloring? Open this house plants on a shelf coloring page at full size and print it. It is the same drawing you just learned, with clean lines ready for crayons or markers.
How to color your house plants on a shelf drawing
Try green leaves in different shades, and pots in warm colors like orange, pink, and yellow. The little vine on the right can be a lighter green.
House plants on a shelf fun fact for kids
Succulents are plants that store water in their thick leaves, so they can go a long time between drinks.
Questions about drawing house plants on a shelf
What shapes do I need to draw house plants?
You need a cup shape for each pot, pointy ovals for the leaves, and a long rectangle for the shelf. Small dots make the eyes.
How do I make my plant pots look cuter?
Add two little dot eyes on each pot. Using different colors for each pot also gives them their own personality.
How do I draw leaves that look natural?
Start each leaf at the top of the pot and curve upward to a point. Let some lean left and some lean right so the plant looks full.