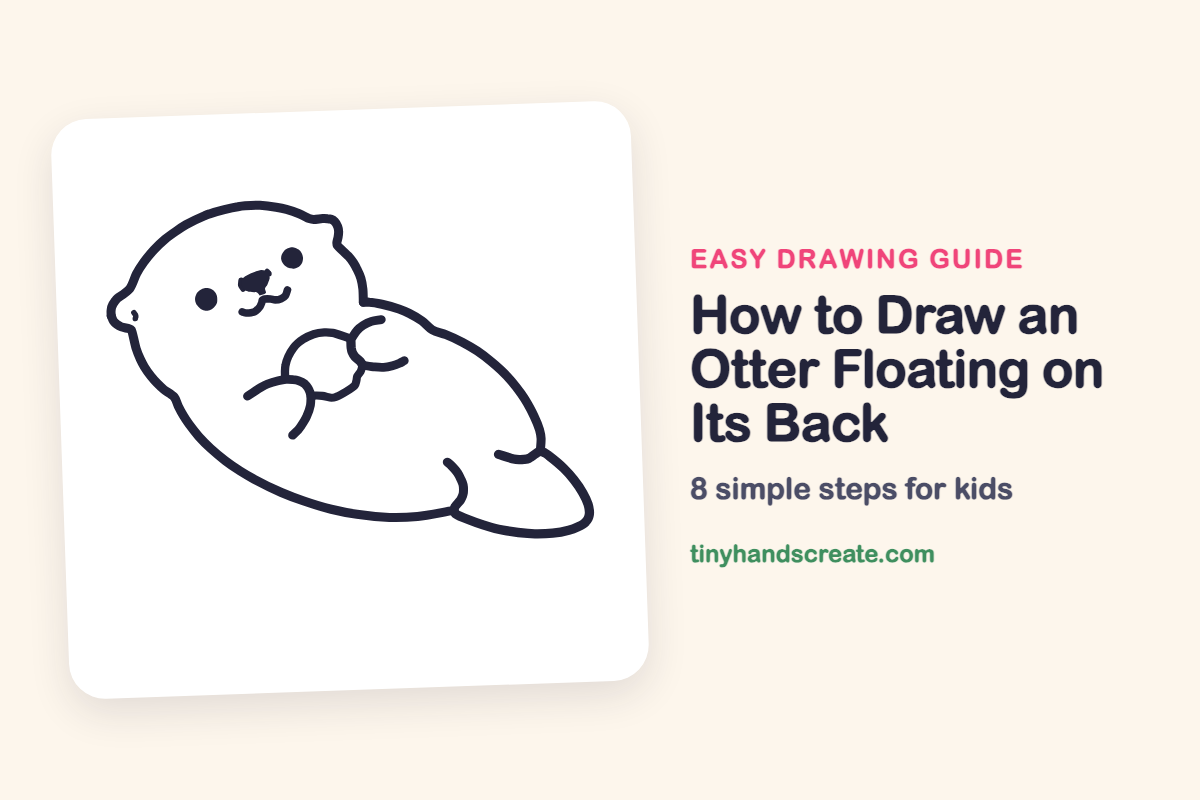
How to Draw an Otter Floating on Its Back (Easy Step by Step)
A sea otter floating on its back looks relaxed and happy, which makes it a fun drawing for kids. It is built from simple shapes: a round head, a plump bean-shaped body, a pointed tail and a few curvy lines for the paws. Once you know the shapes, you can make your otter look sleepy or silly.
- Easy
- 12 minutes
- 8 steps
You need: paper, a pencil, an eraser, and crayons or markers for coloring.
Start drawing


In this article (7 sections)
- How to draw an otter floating on its back step by step
- Tips for drawing an otter floating on its back
- Free otter floating on its back coloring page
- How to color your otter floating on its back drawing
- Otter floating on its back fun fact for kids
- Questions about drawing an otter floating on its back
- More easy animal drawings
How to draw an otter floating on its back step by step
How to Draw an Otter Floating on Its Back · tinyhandscreate.com
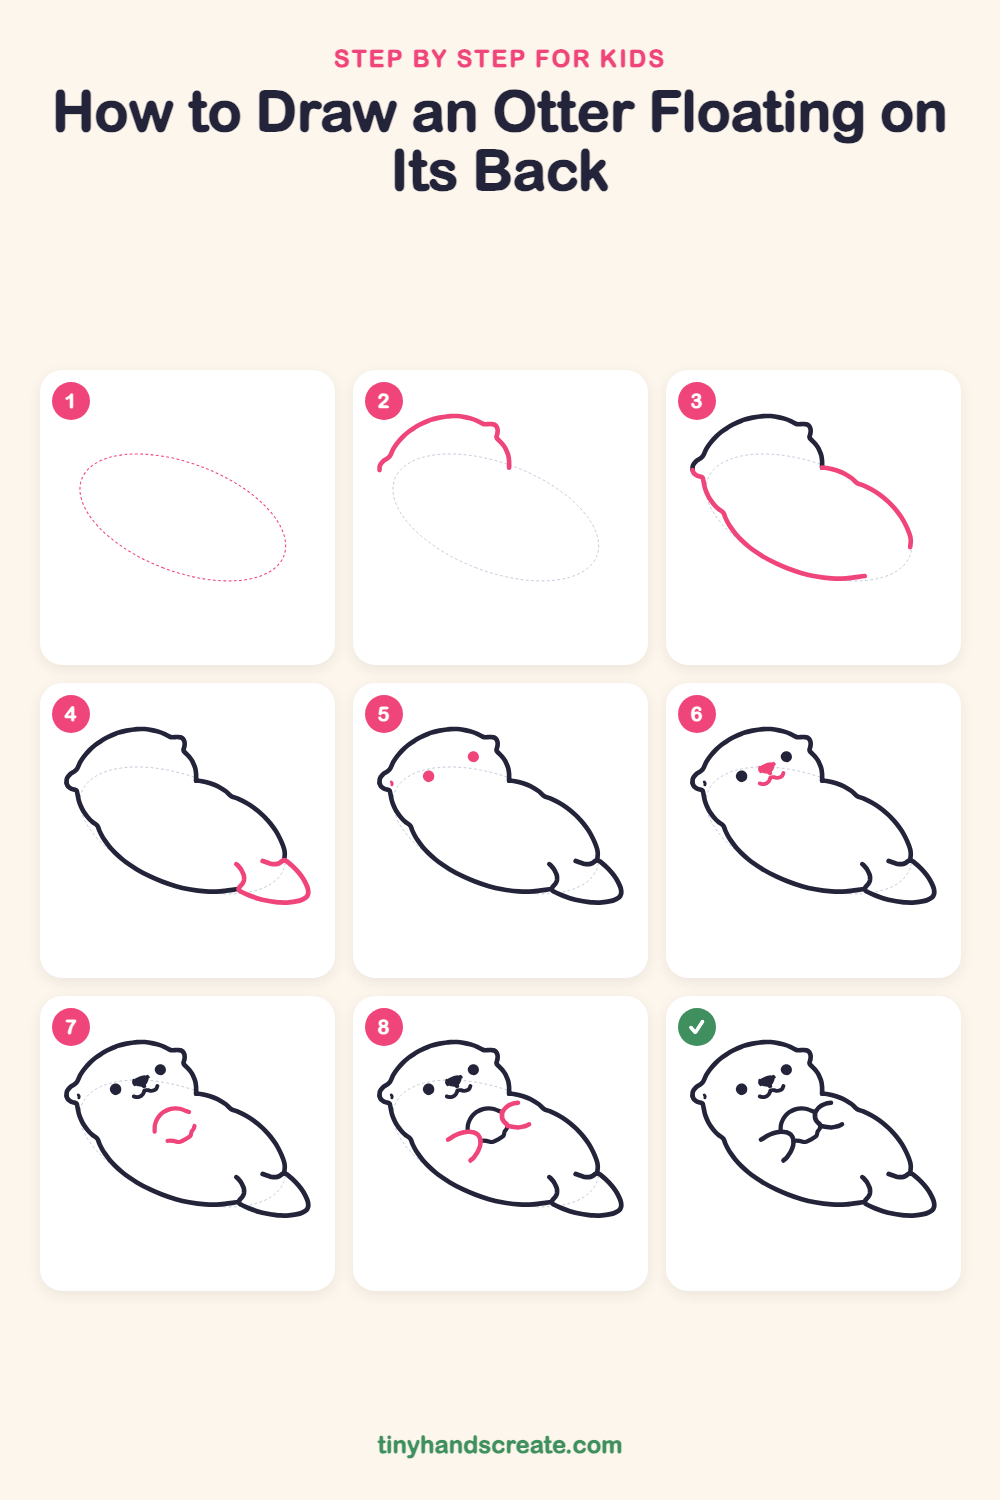
Step 1: Guide shapes
Lightly sketch this oval. It only shows where the big parts go, so press softly. You will erase it at the end.
Step 2: Top of the head
Start at the left and draw a curved line up and over, like the top of a big round head. Add a small bump near the right end for one ear and a little tip at the left end for the other ear.
Step 3: Back and belly
From the right side of the head, draw a long curved back line swooping down to the right. Then start at the left ear and draw the belly line curving down and around to meet it near the bottom, making a plump bean-shaped body.
Step 4: Tail and back foot
At the bottom right, draw a pointed, leaf-shaped tail that connects to the body. Add a short curve beside it for the back foot, and a tiny curved line at the top of the tail.
Step 5: Eyes and ear dot
Draw two small solid circles for the eyes on the face, one a little higher than the other. Add a tiny dot on the left ear.
Step 6: Nose and smile
Draw a small rounded triangle for the nose below and between the eyes. Under it, add a short curvy line for a happy little smile.
Step 7: Start of the treasure
On the upper tummy, draw a curved arc like the top and side of a round shell or pebble. Leave the bottom open for now.
Step 8: Paws and arm
Draw two small curved lines with a hook at the end to the right of the treasure for the paw holding it. Then add a swooping arm line on the left, with a short curved line coming down from it.
All done!
Erase the guide shapes, go over your lines, then color it in.
Finished your otter floating on its back? Keep the pencils out and learn how to draw a fox or how to draw a hedgehog next.
Tips for drawing an otter floating on its back
- Start with the top of the head, then draw the back and belly lines in one smooth sweep each. Go slowly and keep your lines light.
- Draw the round treasure and the paws after the body is done. Keep the treasure small so it fits on the tummy.
- Place the eyes apart and the nose just below and between them. A small smile under the nose is what makes the otter look sweet.
Free otter floating on its back coloring page
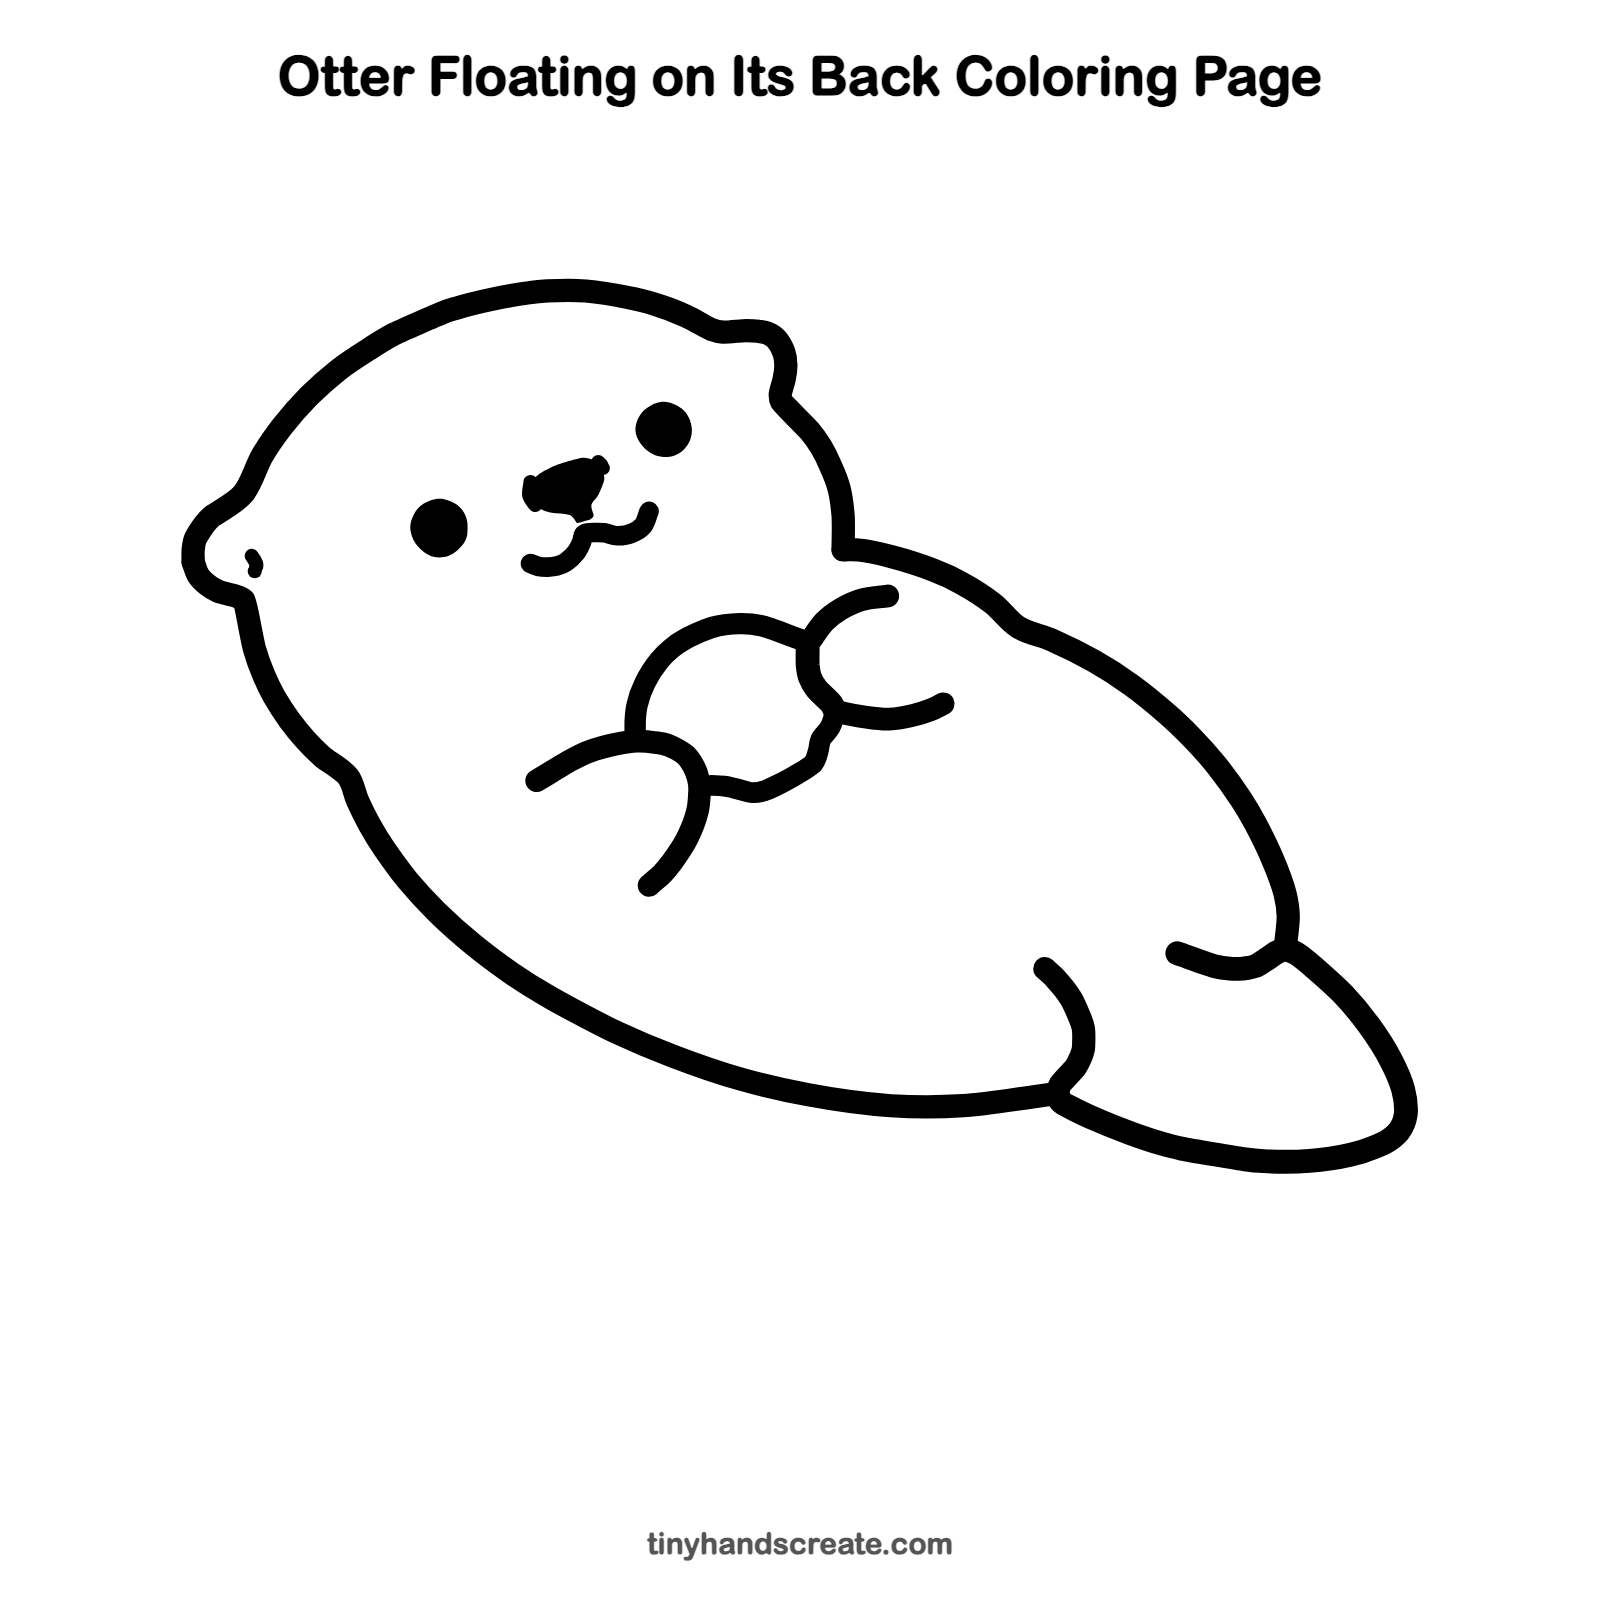
Want to go straight to coloring? Open this otter floating on its back coloring page at full size and print it. It is the same drawing you just learned, with clean lines ready for crayons or markers.
How to color your otter floating on its back drawing
Color the otter warm brown with a lighter cream face and tummy, and make the water around it light blue. For a creative twist, give your otter a tiny scarf, or turn the round treasure into a sparkly pearl.
Otter floating on its back fun fact for kids
Sea otters sometimes hold hands while they sleep on the water so they do not drift apart. A group of otters floating together is called a raft.
Questions about drawing an otter floating on its back
What shapes do I need to draw an otter?
You need a round shape for the head, a long bean shape for the body, and a pointed leaf shape for the tail. The paws and treasure are small curves and a round circle.
How do I make my otter look cuter?
Draw the eyes small and wide apart, and add a little smile under the nose. A round head and a plump tummy help too.
Why is the otter floating on its back?
Sea otters really do float on their backs to rest, eat and sleep. Drawing it that way shows off the tummy and the paws holding a treasure.