How to Draw Frosty the Snowman (Easy Step by Step)
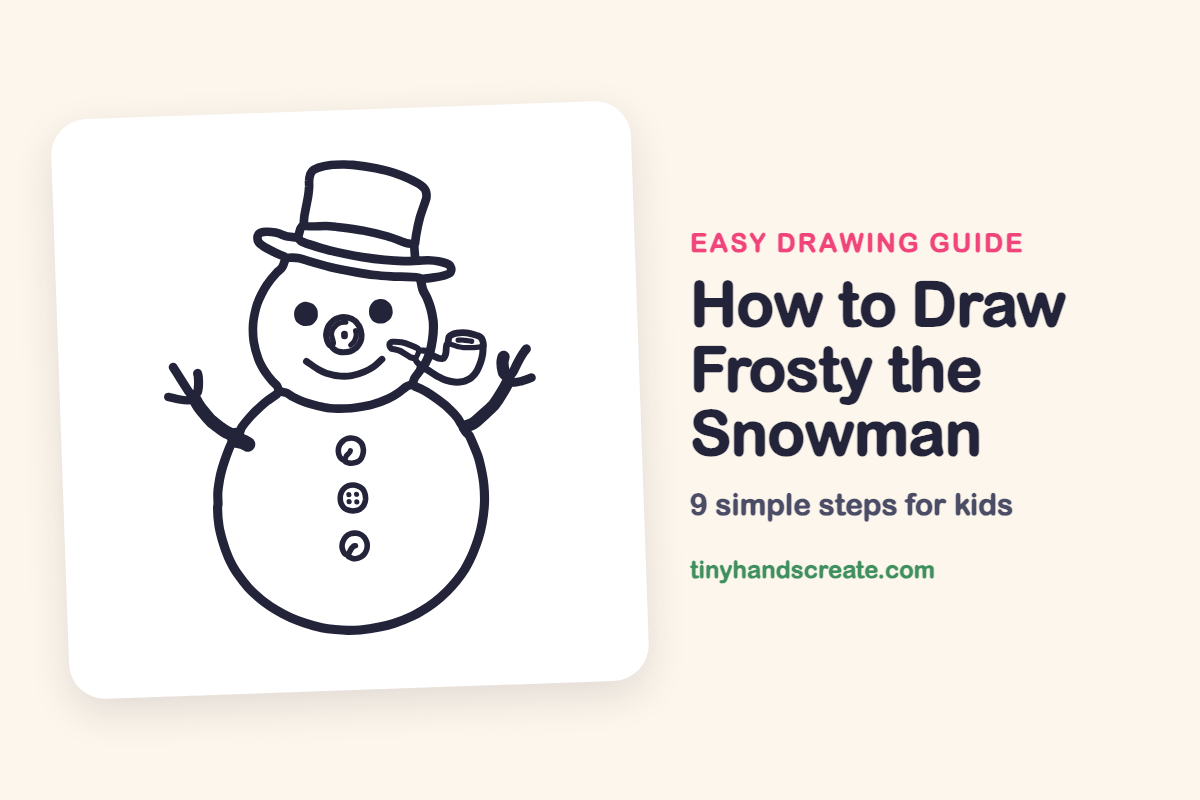
Frosty is one of the friendliest characters you can draw, and he is built almost entirely from circles. A big round body, a smaller head, and a tall hat make his shape. Add a button nose, a pipe, twig arms, and three coat buttons, and he is ready to wave hello.
- Easy
- 15 minutes
- 9 steps
You need: paper, a pencil, an eraser, and crayons or markers for coloring.
Start drawingIn this article (7 sections)
How to draw Frosty the Snowman step by step
How to Draw Frosty the Snowman · tinyhandscreate.com
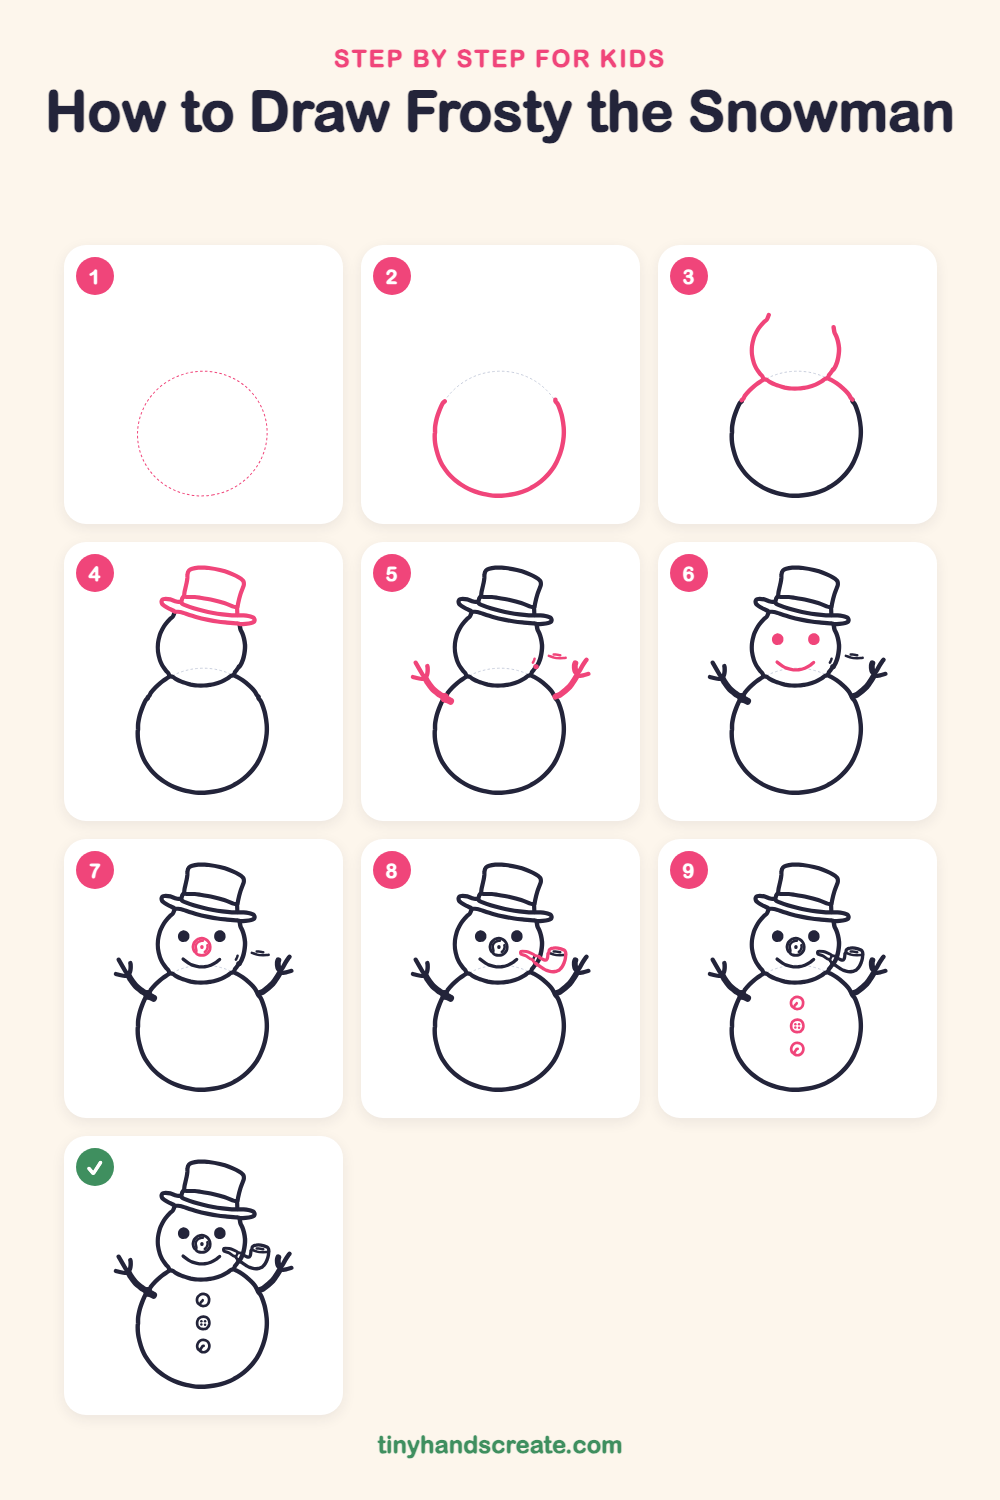
Step 1: Guide shapes
Lightly sketch this oval. It only shows where the big parts go, so press softly. You will erase it at the end.
Step 2: Body bowl curve
Start near the top left of the big guide circle and draw a curve down around the bottom and up to the top right, like a big bowl. Leave the top open for now, because the head will sit there.
Step 3: Head and shoulders
Draw a smaller round head shape above the body, a curve that makes the cheeks and chin but stays open at the top. Then add two short curves that finish the top of the body on each side, so the head sits on the body.
Step 4: The top hat
Draw a tall box with a slightly curved top for the hat, then a long, flat oval around its bottom for the brim. Let the brim sit across the top of the head so it closes the open top.
Step 5: Twig arms
Draw a bendy stick coming out from each side of the body and reaching up and outward. At the end of each stick, add two or three short little twigs like fingers.
Step 6: Eyes and smile
Fill in two round dots for the eyes, spaced apart on the face. Under them, draw a happy curved smile that looks like a bowl.
Step 7: The button nose
Between the eyes and above the smile, draw a small circle for a round button nose. Add a tiny curl inside it.
Step 8: The corncob pipe
On the right side of the face, draw a small curved stem that starts near the smile. At its far end, draw a little bowl shape with a flat oval on top.
Step 9: Three coat buttons
Draw three small circles in a row down the middle of the body. Add a little curl inside the top and bottom buttons, and four tiny holes in the middle one.
All done!
Erase the guide shapes, go over your lines, then color it in.
Finished your Frosty the Snowman? Keep the pencils out and learn how to draw Grogu (Baby Yoda) from The Mandalorian or how to draw Hello Kitty next.
Tips for drawing Frosty the Snowman
- Draw the body curve first and leave the top open. The head and the hat will finish that space, so you do not need to close it yourself.
- The pipe is the trickiest part. Start with the small curved stem, then add the little bowl at the end, and keep it small so it does not crowd the smile.
- For the twig arms, draw the long stick first and add the short twigs at the end. Make each twig a different length so the arms look more natural.
Free Frosty the Snowman coloring page
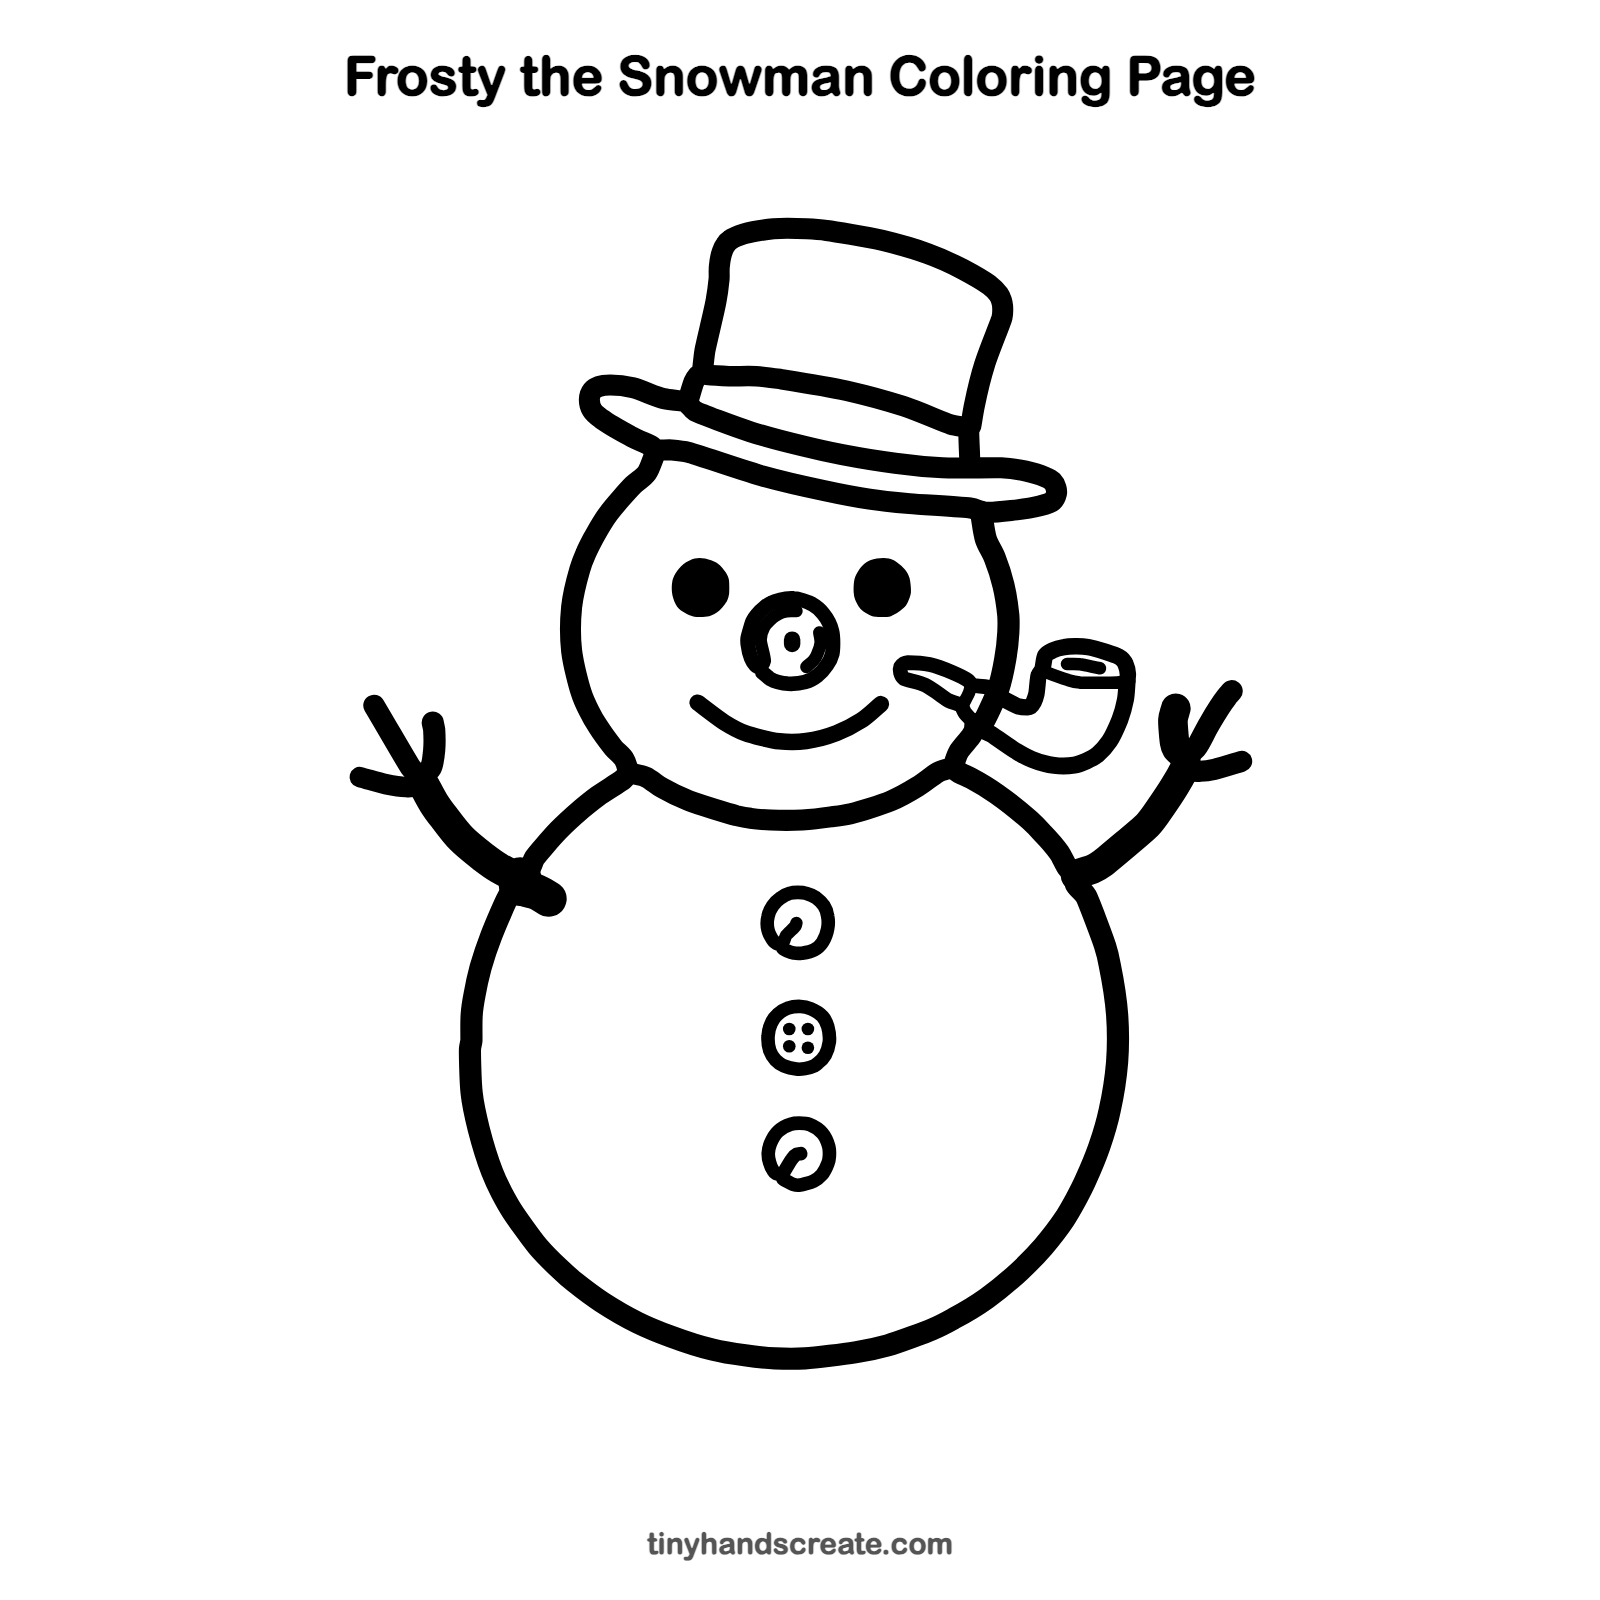
Want to go straight to coloring? Open this Frosty the Snowman coloring page at full size and print it. It is the same drawing you just learned, with clean lines ready for crayons or markers.
How to color your Frosty the Snowman drawing
Leave Frosty mostly white or pale blue so he looks snowy, then use black for the hat and eyes and orange or red for the nose and buttons. Try a brown pipe and brown twig arms, and a snowy blue sky behind him.
Frosty the Snowman fun fact for kids
The song "Frosty the Snowman" was first recorded by Gene Autry in 1950. It became one of the most famous winter songs in the United States.
Questions about drawing Frosty the Snowman
What shapes do I need to draw Frosty the Snowman?
You need a big round curve for the body and a smaller one for the head. A tall box and a flat oval make the hat. Small circles make the nose and buttons, and a few curved lines make the arms, smile, and pipe.
How do I make my snowman look cuter?
Spread the eyes apart and add a wide, curved smile and a round button nose. Keep the pipe small so the face stays friendly.
How do I draw a snowman's hat so it sits on his head?
Draw the head with its top open, then draw the hat so the brim crosses the open top. That way the head and the hat meet without any lines crossing through the hat.
More easy character drawings
 How to Draw Grogu (Baby Yoda) From The Mandalorian
 How to Draw Hello Kitty
 How to Draw Kevin the Minion
 How to Draw Minnie Mouse
 How to Draw a Snail
 How to Draw a Mole
See all easy character drawings or browse every easy drawing guide for kids.
This is an unofficial fan-art drawing guide. Frosty the Snowman and related names are trademarks of Rankin/Bass (NBCUniversal). Tiny Hands Create is not affiliated with or endorsed by Rankin/Bass (NBCUniversal).