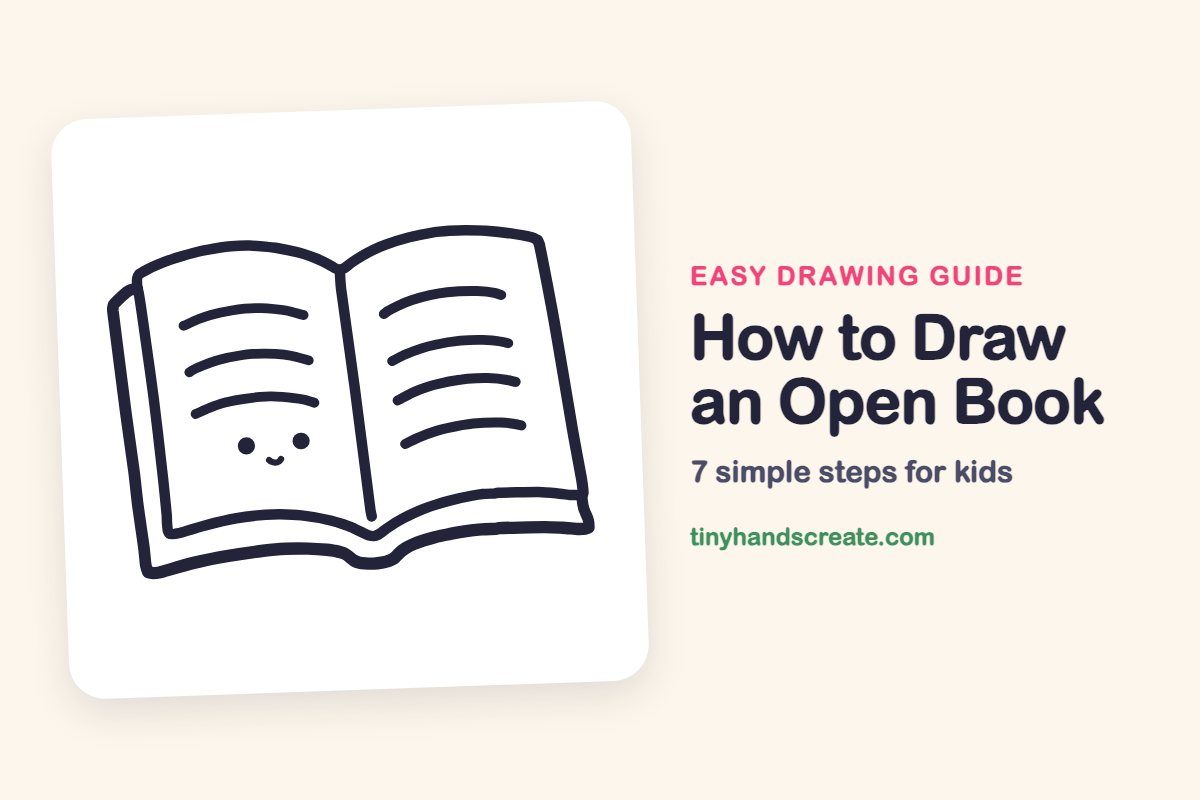
How to Draw an Open Book (Easy Step by Step)
An open book is a friendly drawing made from curved lines, long straight lines, and a few dots. You start with two page tops that meet in the middle, then add the cover and rows of curved text lines. A tiny face makes this book look like it is happy to be read.
- Easy
- 10 minutes
- 7 steps
You need: paper, a pencil, an eraser, and crayons or markers for coloring.
Start drawing


In this article (7 sections)
How to draw an open book step by step
How to Draw an Open Book · tinyhandscreate.com
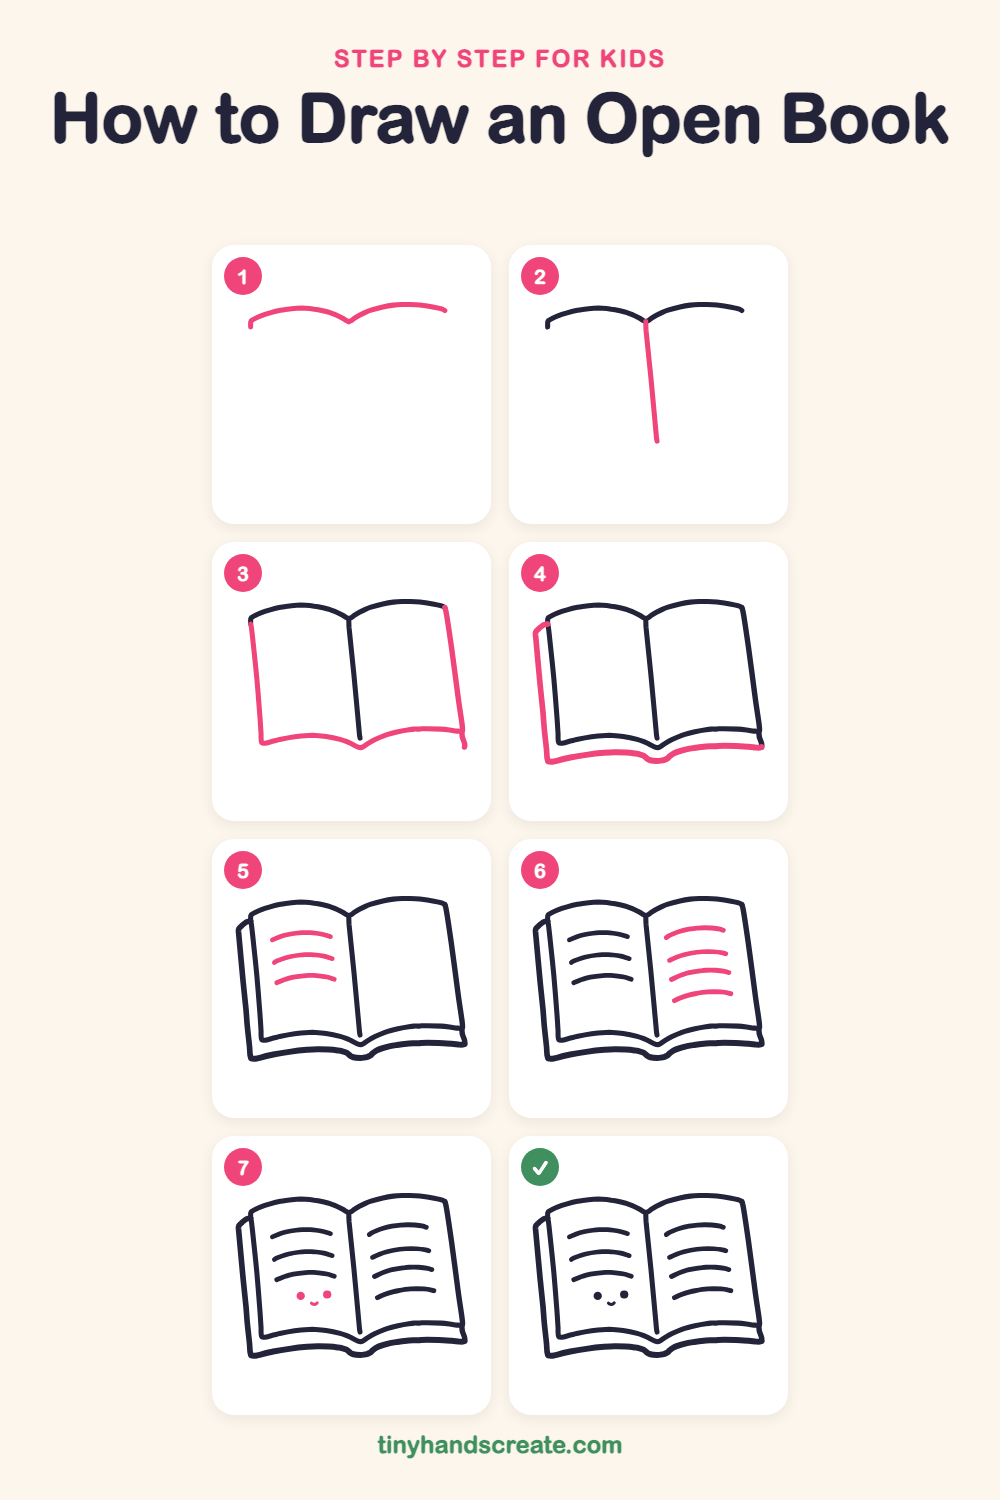
Step 1: Top of the pages
Draw a gentle hill-shaped curve for the top of the left page. Then draw a second curve that starts at the same middle point and slopes up and over to the right.
Step 2: The middle fold
Start where the two curves meet and draw a long, slightly slanted line straight down. This is the spine fold in the middle of the book.
Step 3: Page edges
Draw the left edge of the left page going down from the top curve. Then draw a wavy line along the bottom that dips into a little V at the fold and rises on the right side. Finish with the long right edge of the right page.
Step 4: The book cover
Draw a tall line down the far left side, starting with a small slanted corner at the top. Then draw a wavy line under the pages, with a little bump in the middle, that reaches all the way to the right corner.
Step 5: Left page lines
Inside the left page, draw three curved lines stacked like smiling rainbows. Each one is a little shorter or longer, like lines of words.
Step 6: Right page lines
On the right page, draw four curved lines in a stack, matching the curve of the lines on the left. Leave a little space between each one.
Step 7: A happy face
Under the left page lines, draw two small round dots for eyes. Add a tiny curved smile between and just below them.
All done!
Go over your lines with a marker, then color it in.
Finished your open book? Keep the pencils out and learn how to draw a rocket or how to draw a shooting star next.
Tips for drawing an open book
- Start with the two page tops that meet in a little V, then draw the middle fold down from that point. Keep the fold a little slanted.
- The text lines look best when they curve the same way as the page top. Try drawing each one in a single slow stroke.
- Make the cover line sit just below the page edge, with a small gap between them, so the pages look thick.
Free open book coloring page
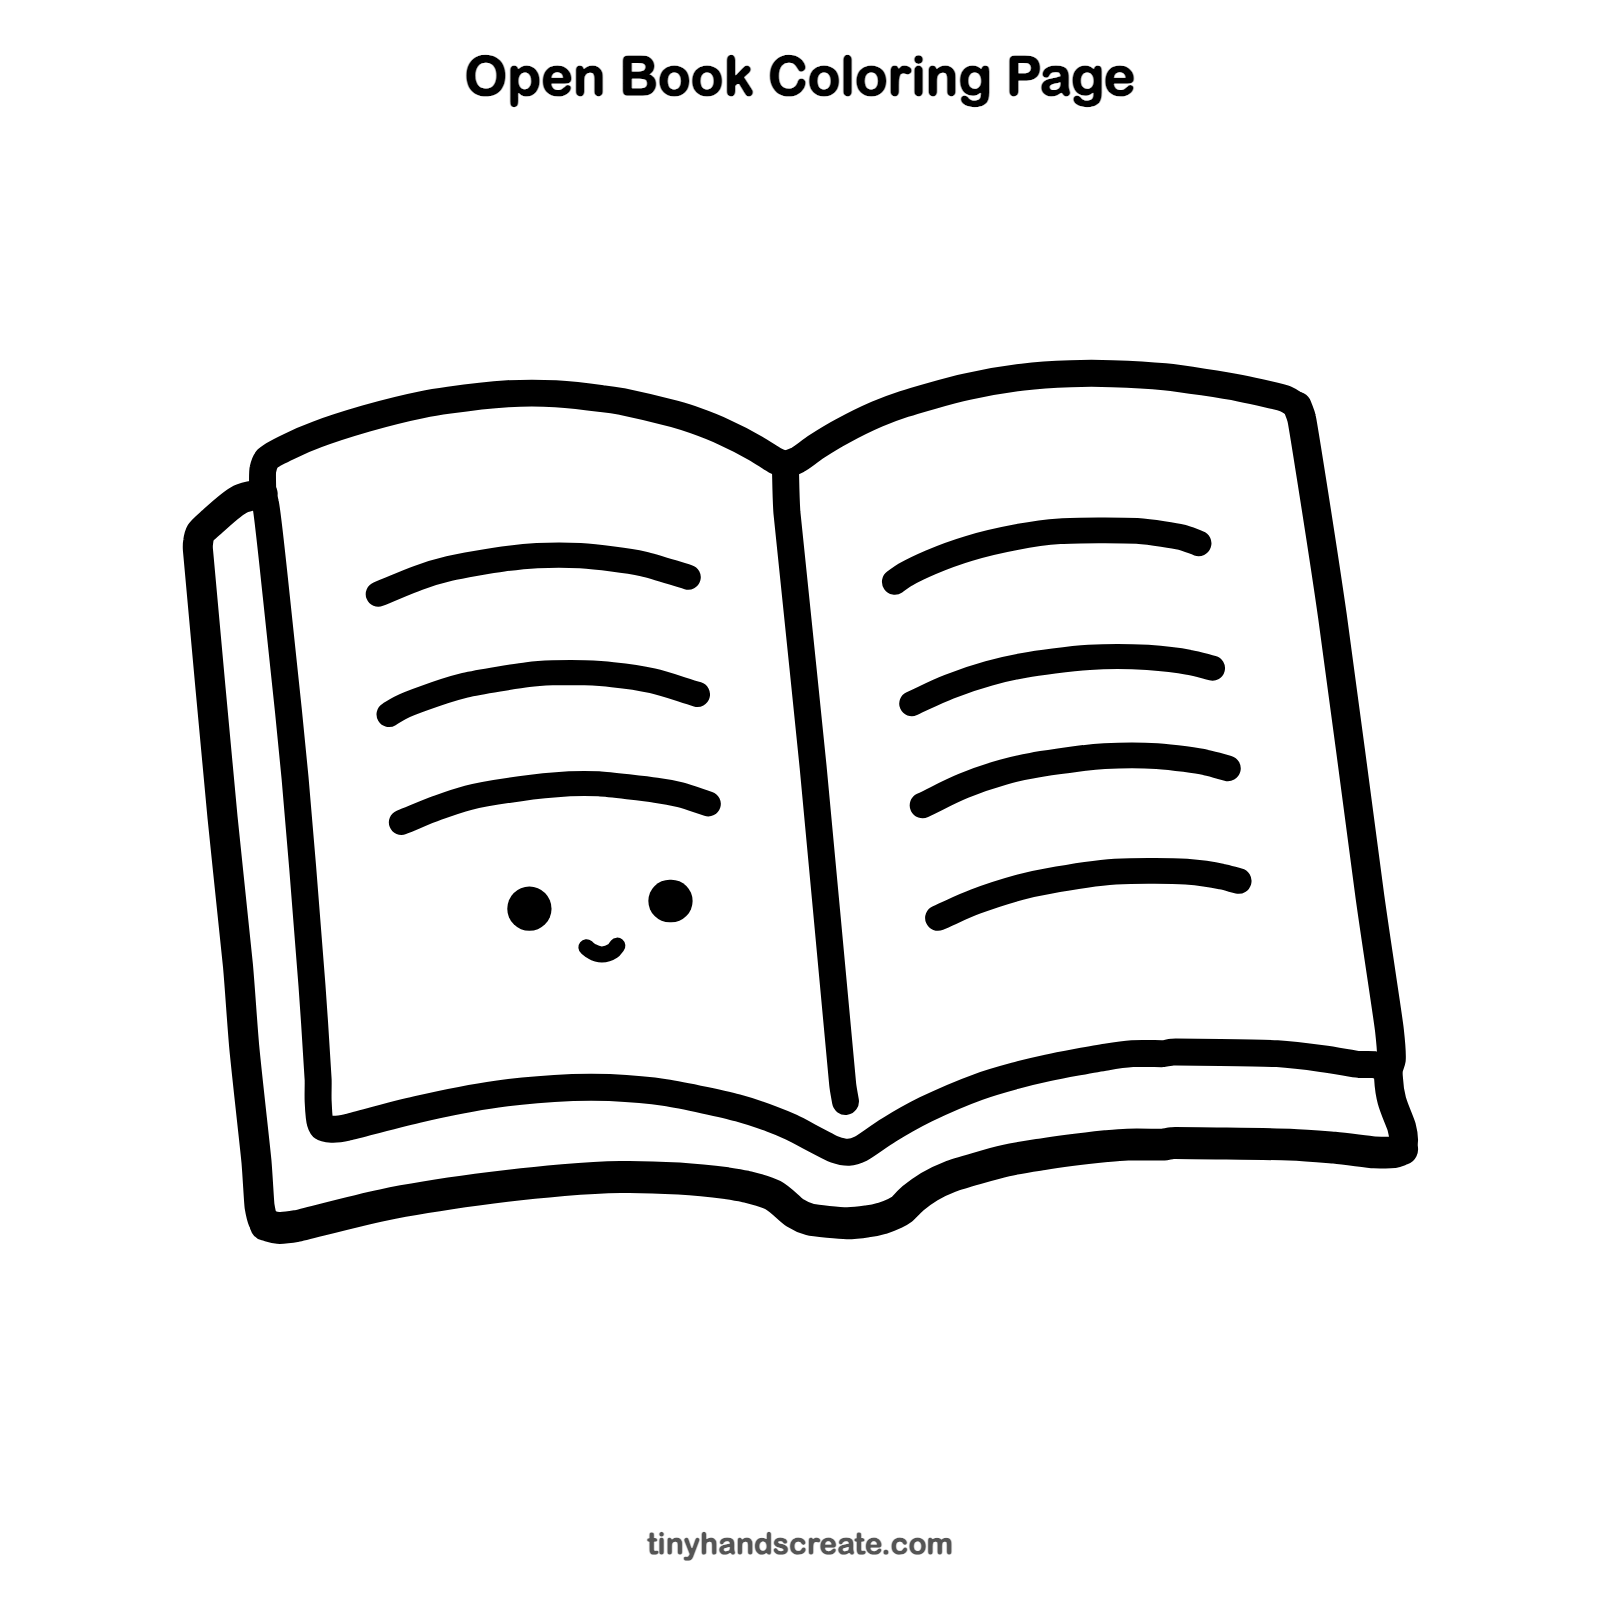
Want to go straight to coloring? Open this open book coloring page at full size and print it. It is the same drawing you just learned, with clean lines ready for crayons or markers.
How to color your open book drawing
Try a warm red or blue cover with cream pages, and leave the text lines dark so they stand out. For a creative twist, color the left page lines in a rainbow of colors, like a book full of stories.
Open book fun fact for kids
The oldest known printed book with a date is the Diamond Sutra from China, made in the year 868. It was printed from carved wooden blocks and is a scroll, not a book with pages like ours.
Questions about drawing an open book
What shapes do I need to draw an open book?
You mostly need curved lines and long straight lines. The page tops are two gentle hills, the fold is a tall slanted line, and the text lines are small curved arcs.
How do I make my open book look cuter?
Add a small face with two round eyes and a tiny smile on the left page. You can also round all the corners and make the text lines thick and curvy.
How do I make the book look like it has thick pages?
Draw a second wavy line under the bottom page edge, close to it. The gap between the two lines looks like the stack of pages and the cover.