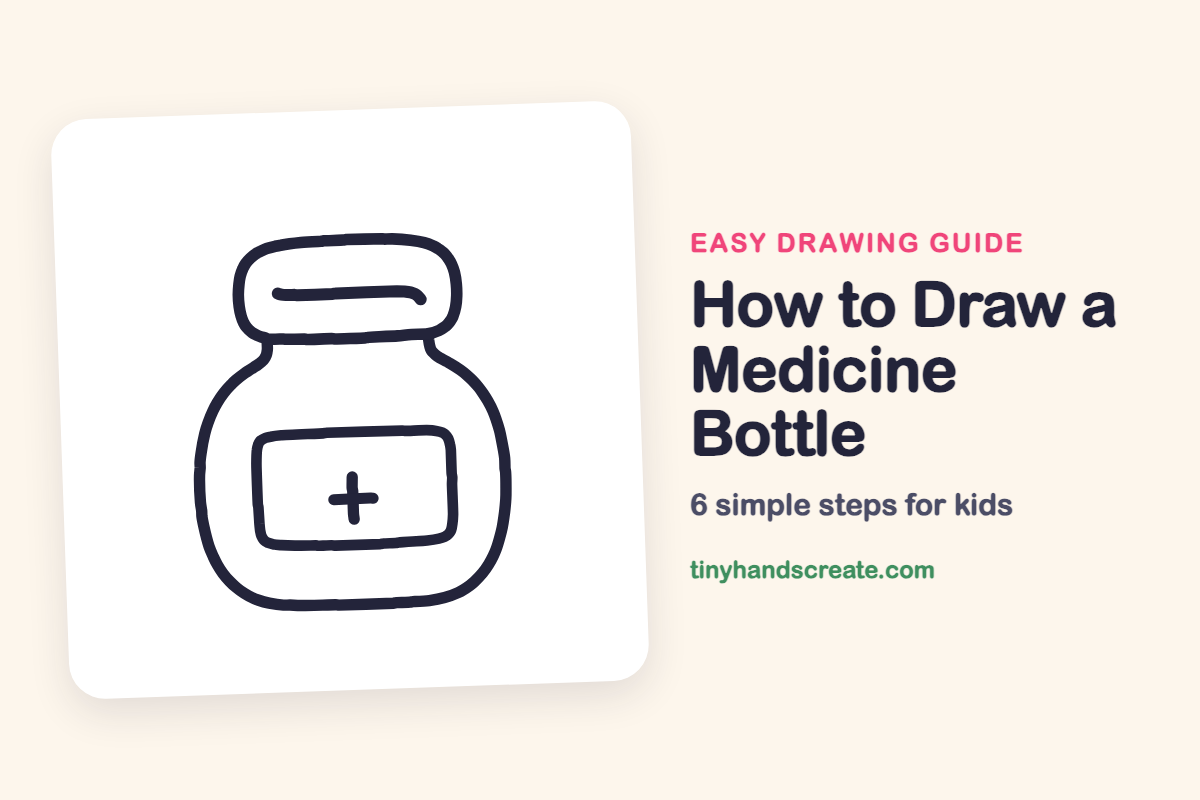
How to Draw a Medicine Bottle (Easy Step by Step)
A medicine bottle is a great first drawing because it is built from just a few friendly shapes: a round belly, a rounded rectangle for the cap, and a rectangle label with a plus sign. Each part is big and simple, so kids can finish it and feel proud. Once you know the steps, you can make a whole shelf of bottles in different sizes.
- Easy
- 8 minutes
- 6 steps
You need: paper, a pencil, an eraser, and crayons or markers for coloring.
Start drawing


In this article (7 sections)
How to draw a medicine bottle step by step
How to Draw a Medicine Bottle · tinyhandscreate.com
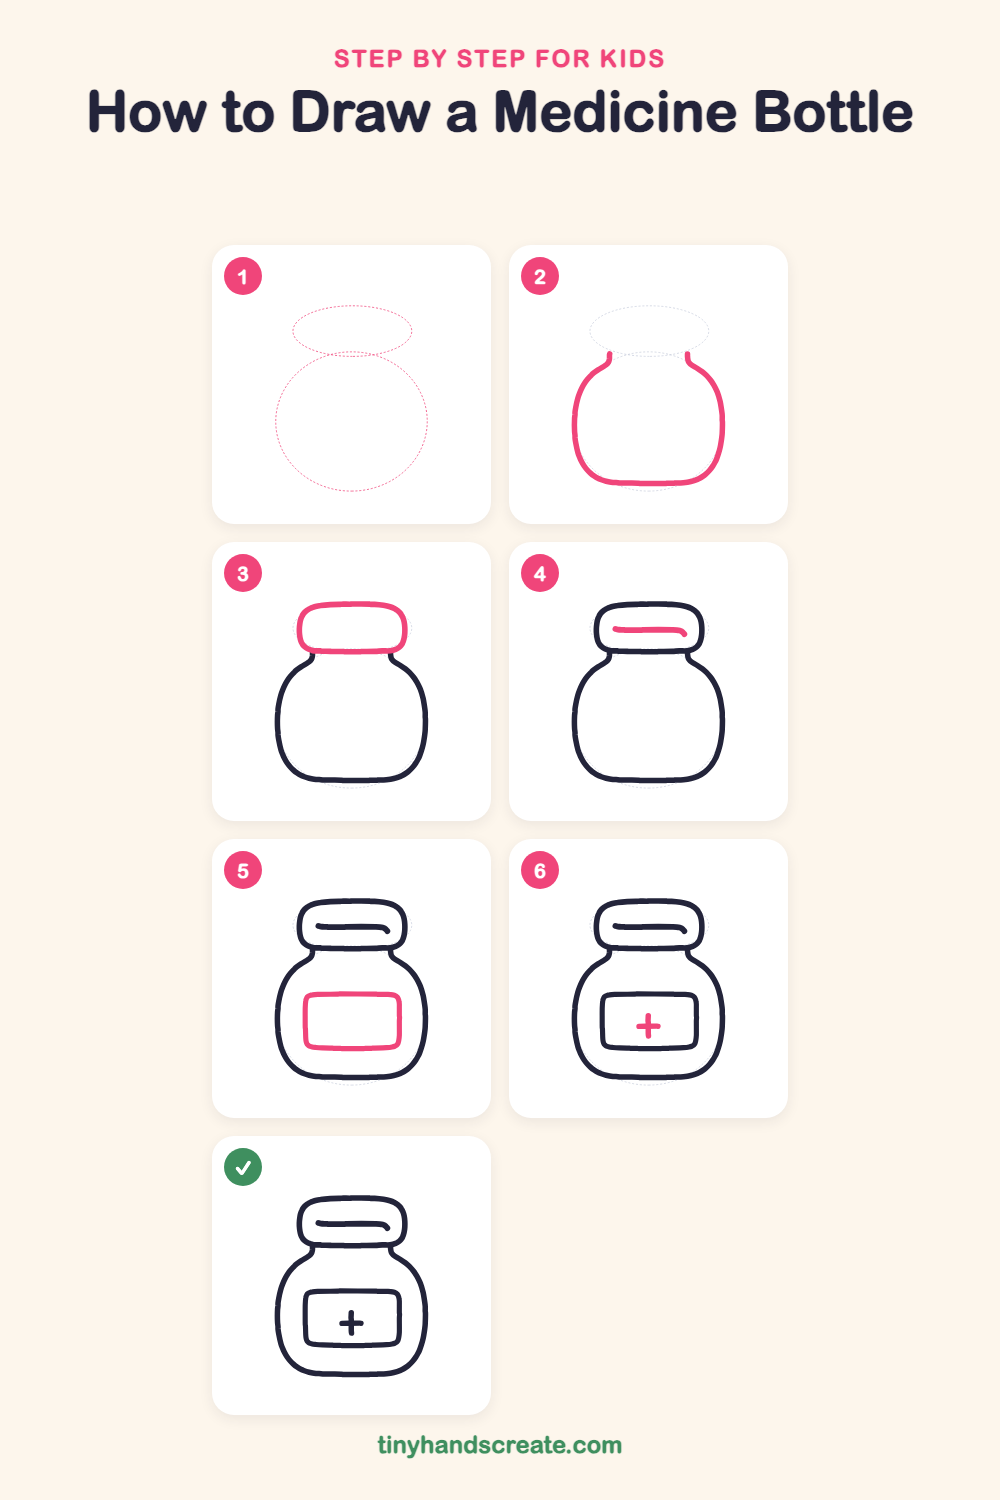
Step 1: Guide shapes
Lightly sketch these 2 ovals. They only show where the big parts go, so press softly. You will erase them at the end.
Step 2: The bottle body
Start at the left side of the neck and draw a short line down, then curve out into a big, round belly. Keep going around the bottom with a flat, gently curved base, and curve back up the right side to a short neck line at the top.
Step 3: The cap
On top of the neck, draw a wide rounded rectangle for the cap. Let its bottom edge sit across the two short neck lines so the cap rests on the bottle.
Step 4: The cap shine
Inside the cap, near the top, draw one long, smooth line from left to right. Give it a tiny curl downward at the right end.
Step 5: The label
On the belly of the bottle, draw a wide rectangle with softly rounded corners. Make it fill most of the space across the middle, with a little room on each side.
Step 6: The plus sign
In the middle of the label, draw a short line going up and down. Then cross it with a short line going side to side to make a plus.
All done!
Erase the guide shapes, go over your lines, then color it in.
Finished your medicine bottle? Keep the pencils out and learn how to draw a rocket or how to draw a shooting star next.
Tips for drawing a medicine bottle
- Draw the round body first and make it wide, so the cap has a good spot to sit on top.
- The cap should be narrower than the widest part of the bottle, so the bottle curves in toward the neck on both sides.
- For the plus sign, draw the up-and-down line first and cross it in the middle of the label so both arms are the same length.
Free medicine bottle coloring page
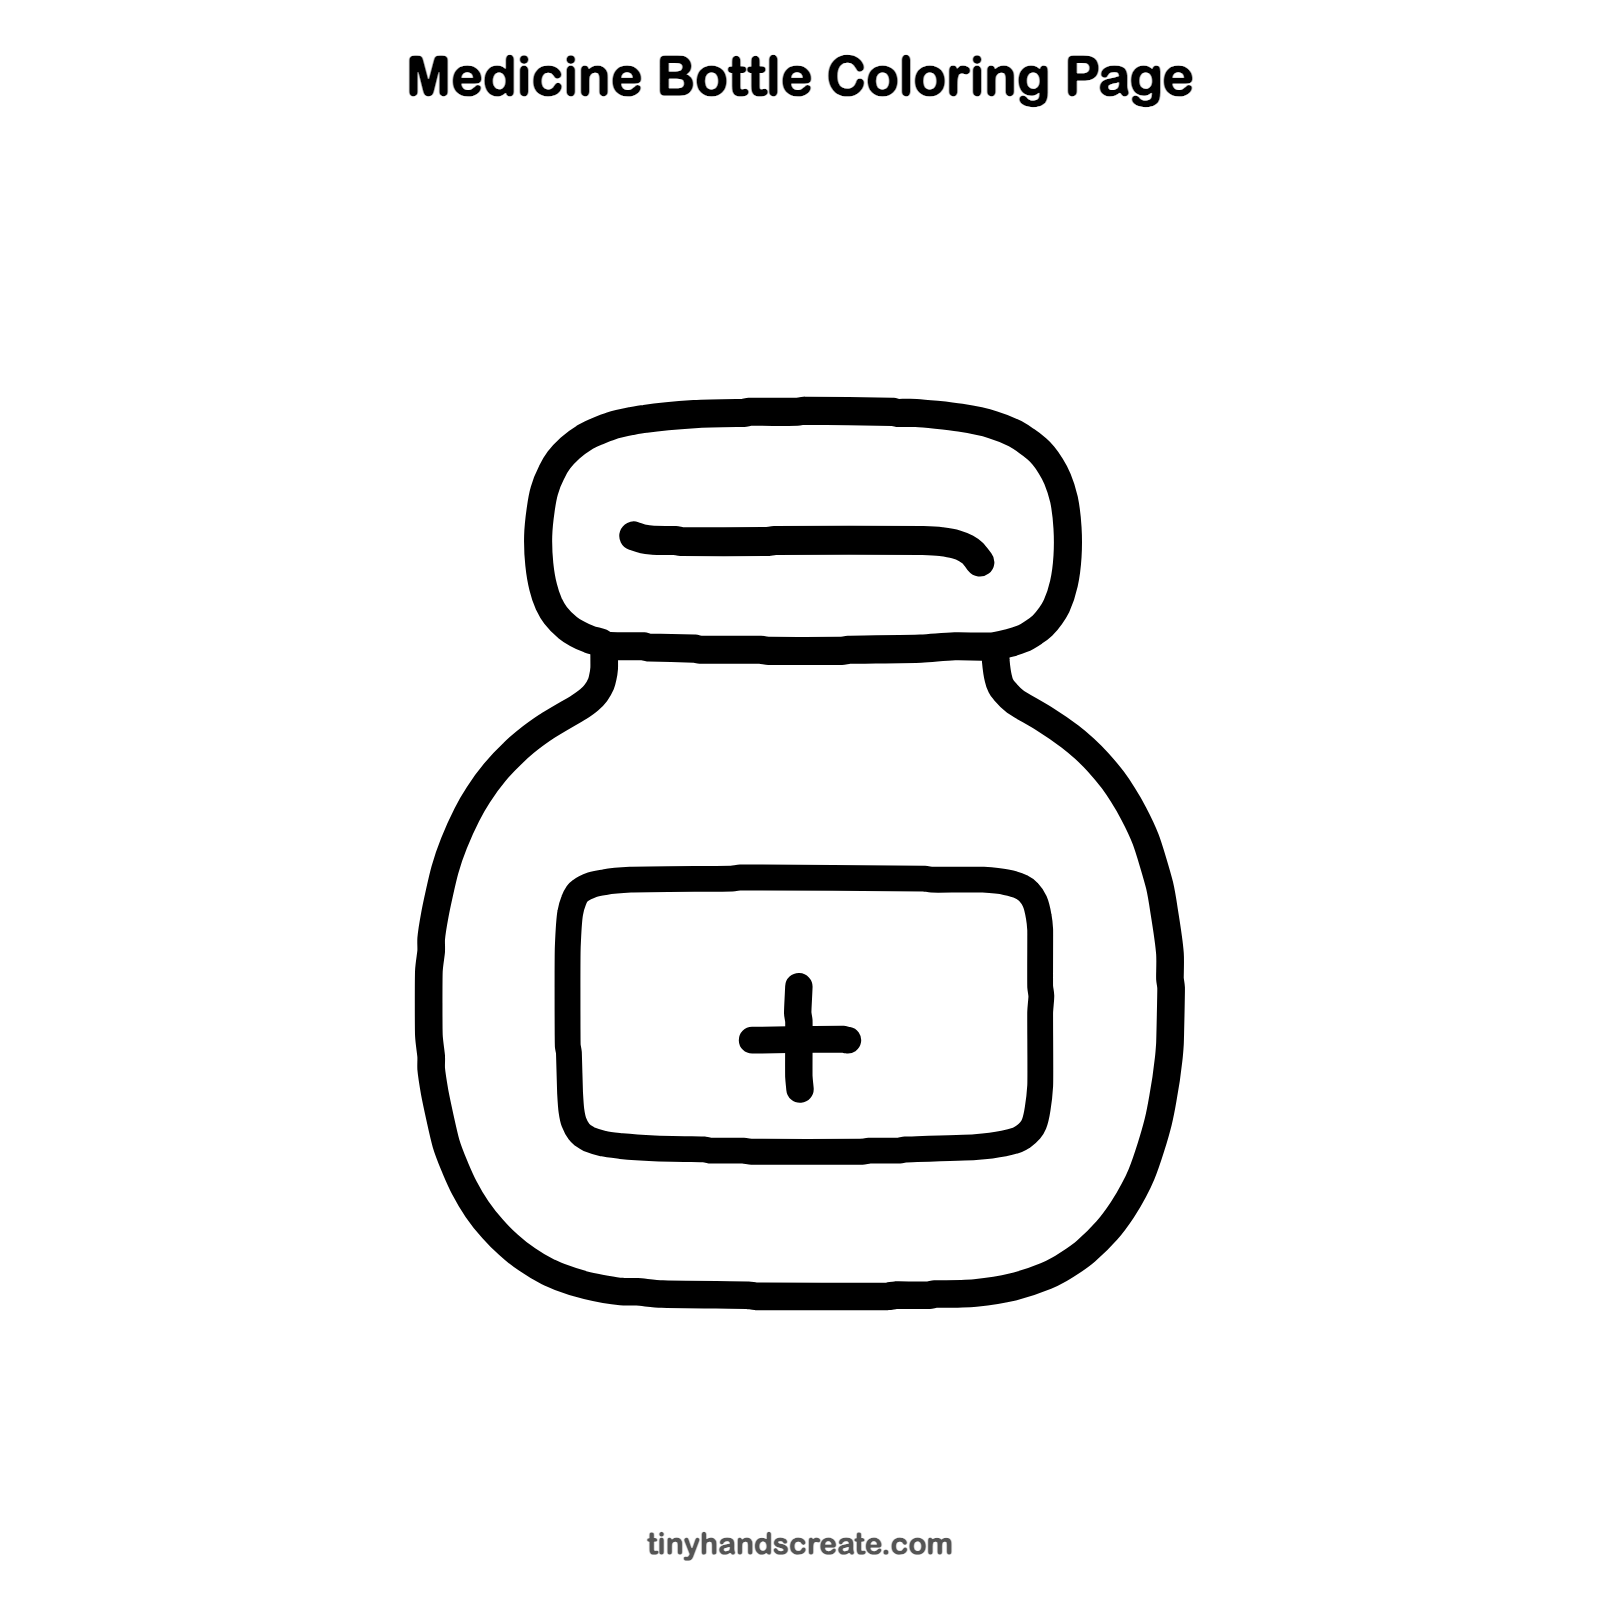
Want to go straight to coloring? Open this medicine bottle coloring page at full size and print it. It is the same drawing you just learned, with clean lines ready for crayons or markers.
How to color your medicine bottle drawing
Try a warm orange or amber for the bottle, a bright blue cap, and a white label with a red plus. For a creative twist, color the label with a fun pattern.
Medicine bottle fun fact for kids
Many medicine bottles are made of amber (orange-brown) glass because it blocks a lot of light, and strong light can break down some medicines.
Questions about drawing a medicine bottle
What shapes do I need to draw a medicine bottle?
You need a big rounded shape for the body, a rounded rectangle for the cap, and a wide rectangle for the label. A plus sign goes in the middle of the label.
How do I make my medicine bottle look more real?
Add a shine line inside the cap and keep the label centered on the bottle. A ruler is not needed, since slightly wobbly lines look friendly.
How long does it take to draw a medicine bottle?
Most kids finish in about 5 to 10 minutes. It has only five steps, so it is quick and easy to repeat.