How to Draw a Watering Can (Easy Step by Step)
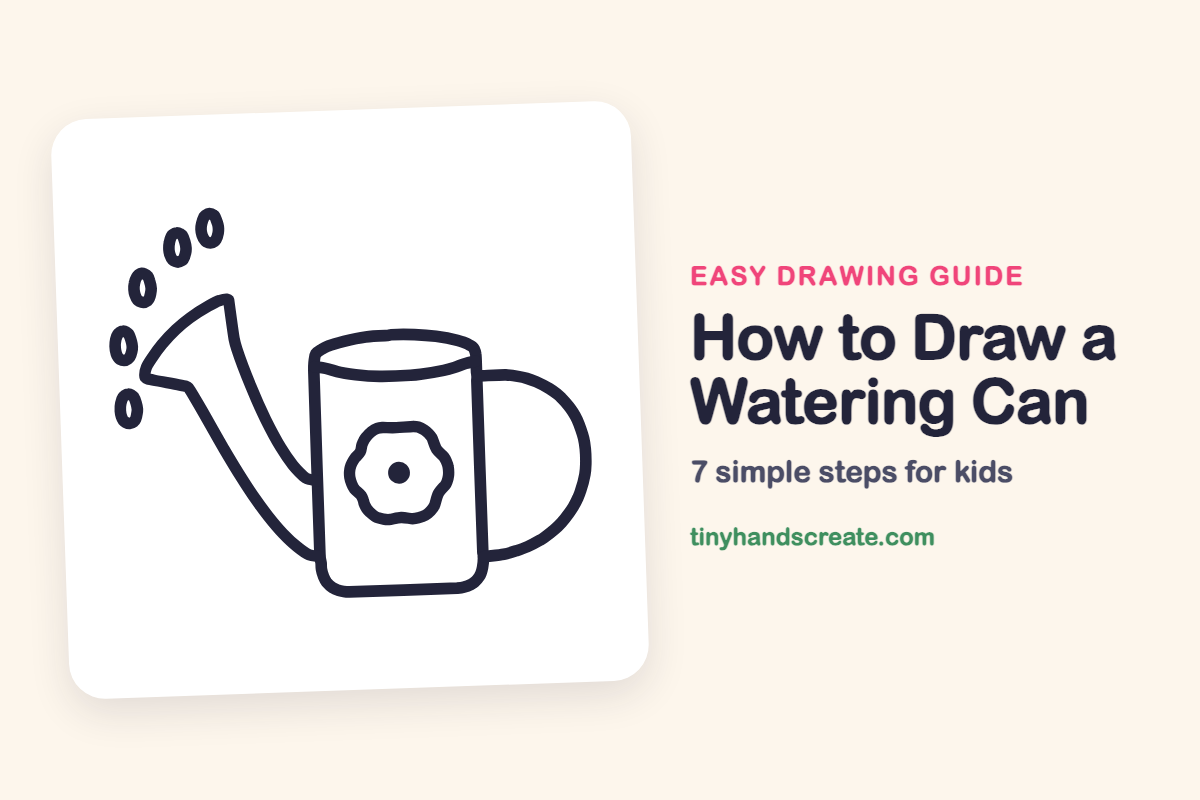
A watering can is a cheerful drawing because it looks like it is hard at work. It is built from a tall rounded rectangle, a D-shaped handle, a long curved spout, and a puffy flower. Once you see those simple shapes, it is easy to put the whole can together.
- Easy
- 12 minutes
- 7 steps
You need: paper, a pencil, an eraser, and crayons or markers for coloring.
Start drawingIn this article (7 sections)
How to draw a watering can step by step
How to Draw a Watering Can · tinyhandscreate.com
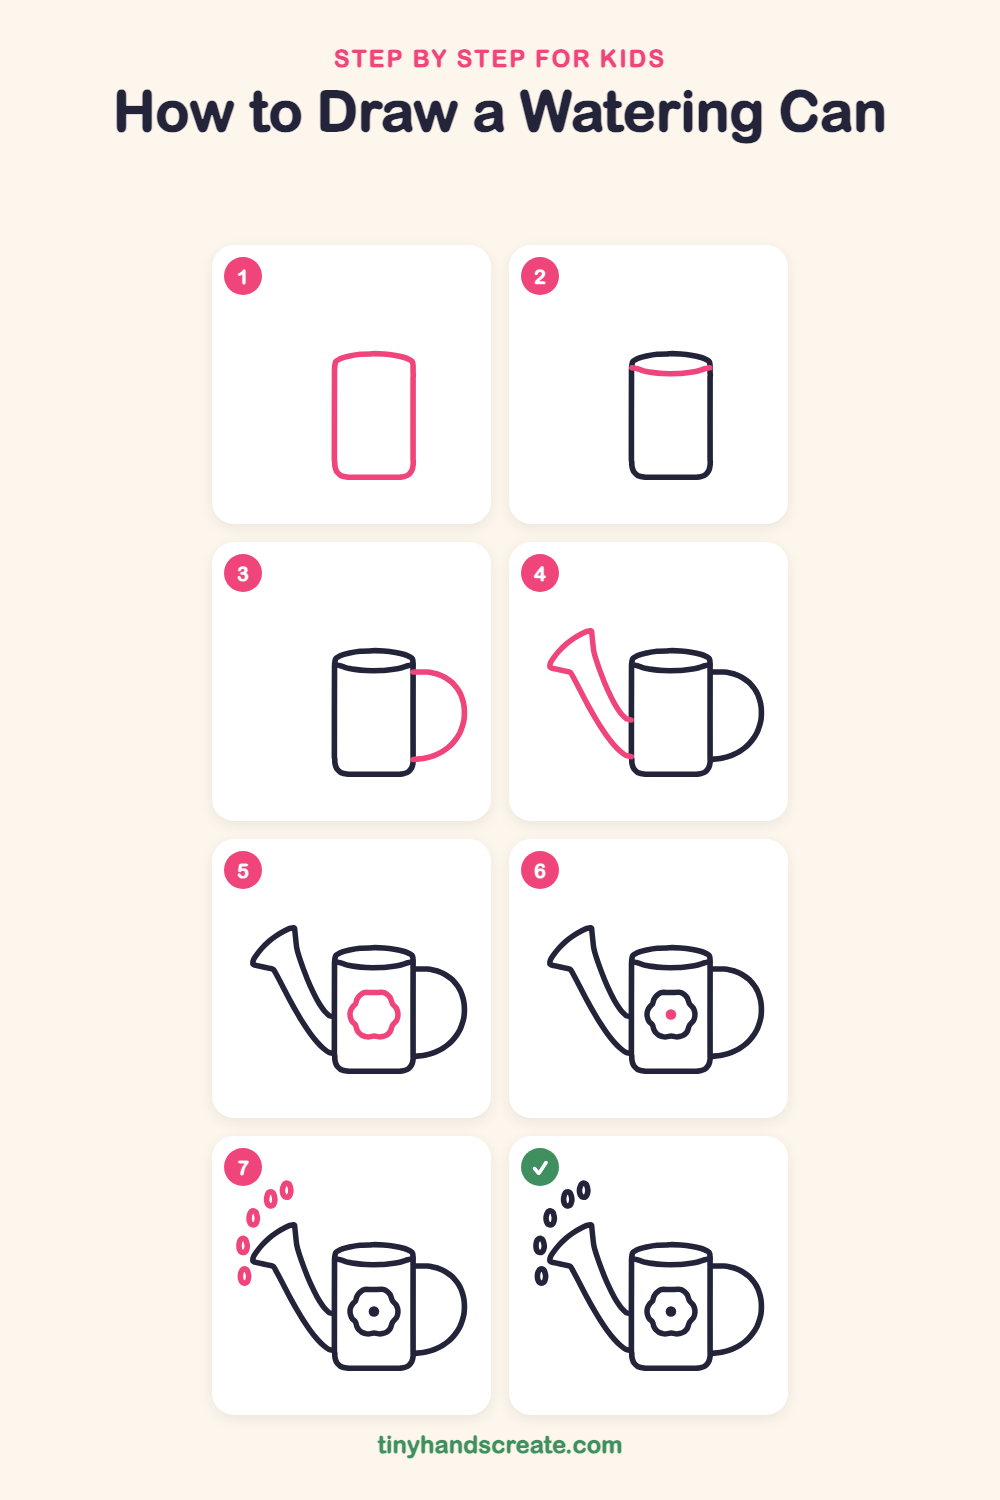
Step 1: The can body
Draw a tall rounded rectangle for the main part of the can. Make the bottom corners round and the top just a little curved.
Step 2: The top opening
Near the top of the can, draw a curved line that sags like a smile from one side to the other. With the top edge, it makes the oval opening where the water goes in.
Step 3: The handle
On the right side, draw a big curve like the letter D. Start at the upper right of the can, bow out to the right, and come back to the can near the bottom.
Step 4: The long spout
On the left side, draw two curved lines that start on the can, one higher and one lower, and sweep up and to the left. Let them spread apart and join in a wide, open tip at the end.
Step 5: The flower
In the middle of the can, draw a wavy circle with round bumps all around it, like a puffy cloud. This makes a flower with round petals.
Step 6: The flower center
Fill the middle of the flower with a small round dot. Press your pencil down and color it in.
Step 7: Water drops
Draw a few small ovals in an arc above and beside the spout, as if water is splashing out. Draw a tiny oval inside each one.
All done!
Go over your lines with a marker, then color it in.
Finished your watering can? Keep the pencils out and learn how to draw a bunny or how to draw a chick next.
Tips for drawing a watering can
- Draw the can body first and keep the sides fairly straight. The spout and handle both attach to it, so a clear body makes them easier to place.
- The spout is the trickiest part. Start with the lower line on the can, sweep it up and to the left, then add the upper line so the tube opens wider at the tip.
- Draw the flower as a wavy circle with bumps around the outside. Keep the bumps about the same size so the petals look even.
Free watering can coloring page
Want to go straight to coloring? Open this watering can coloring page at full size and print it. It is the same drawing you just learned, with clean lines ready for crayons or markers.
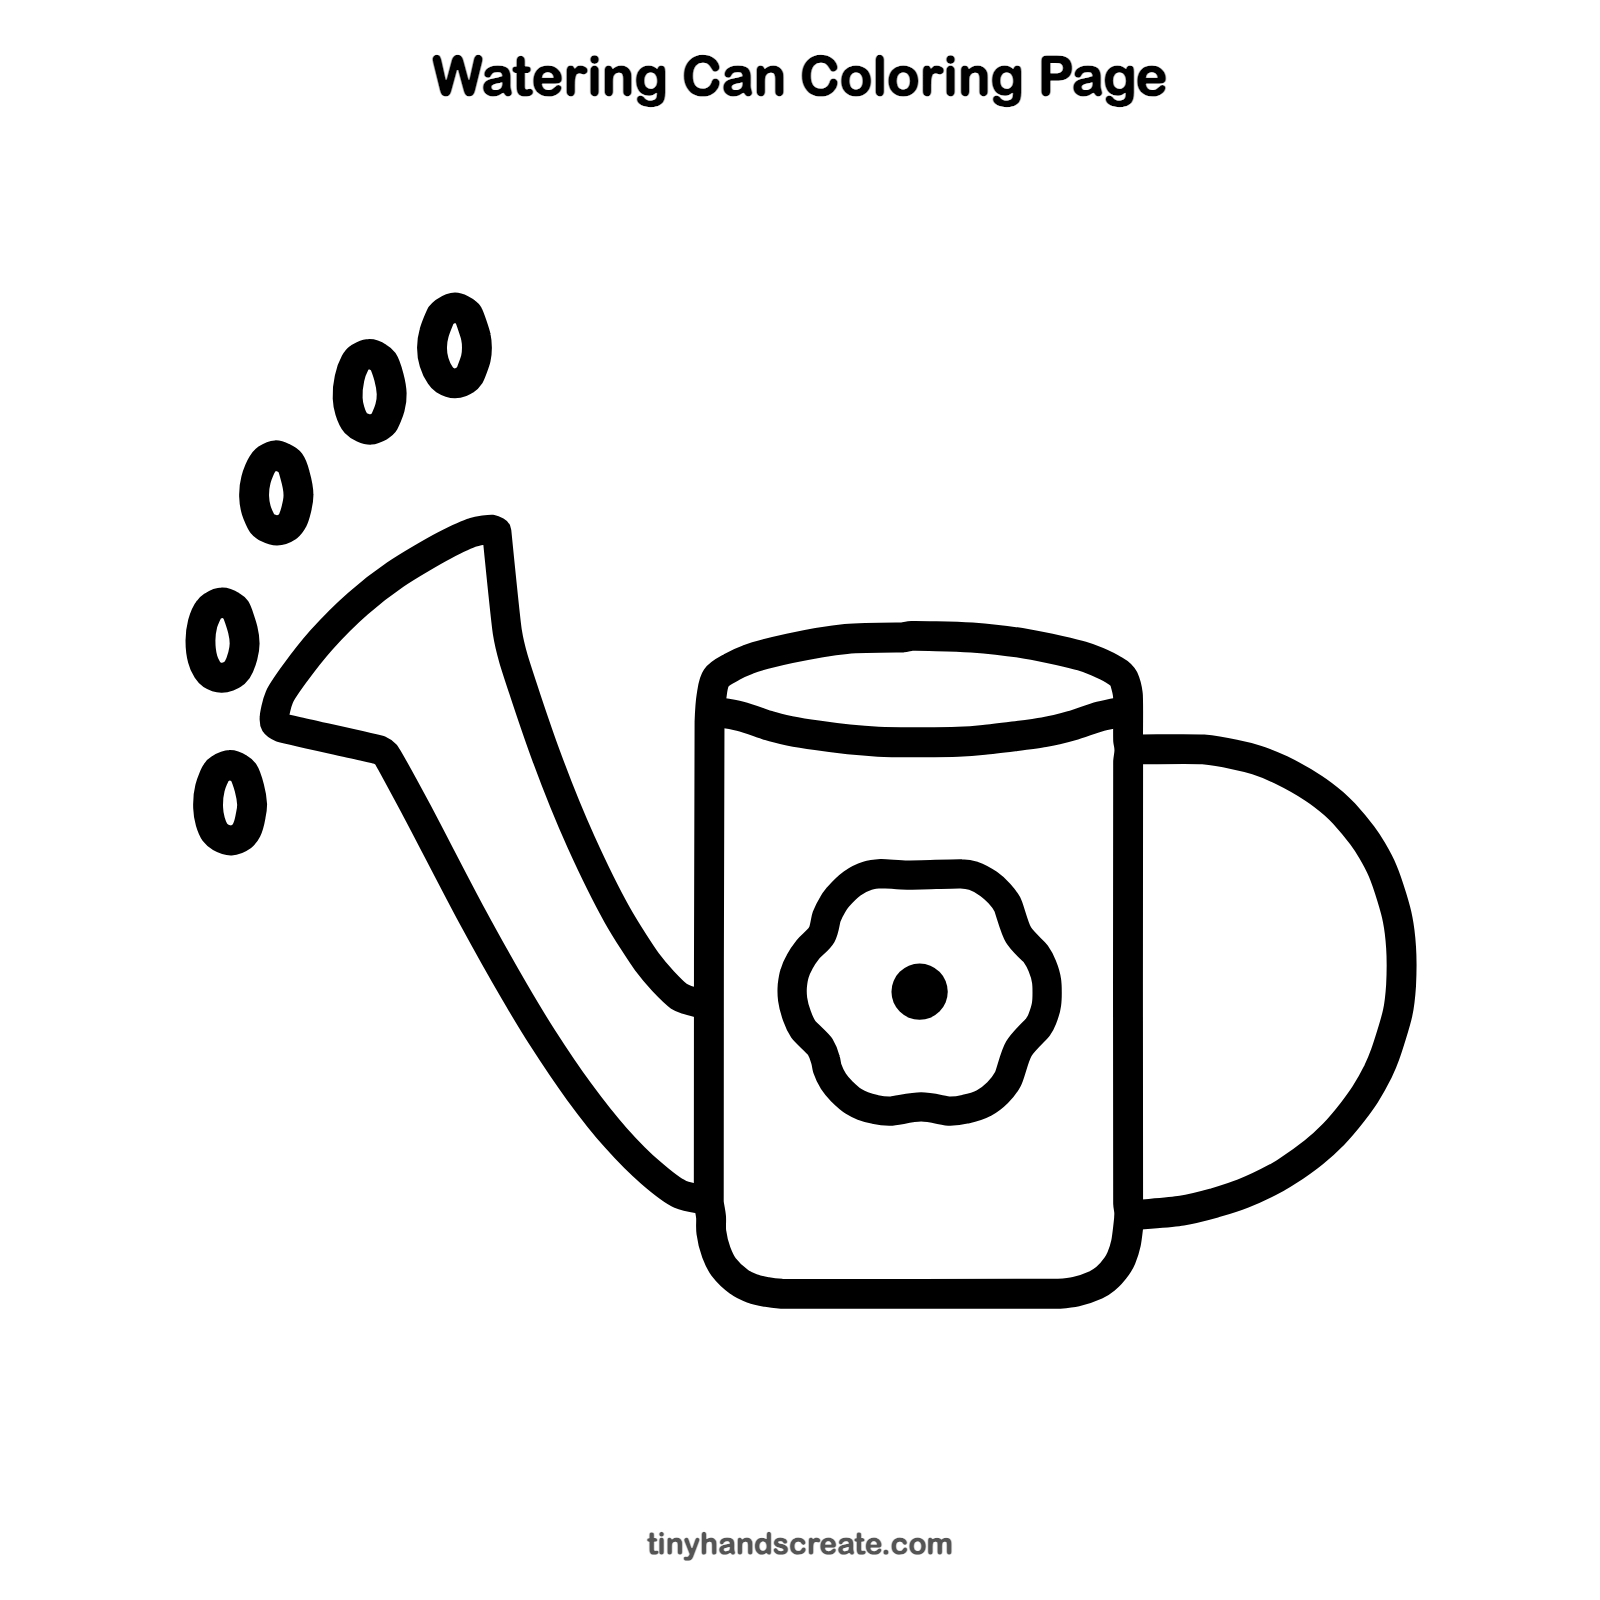
How to color your watering can drawing
Try a bright blue, green, or red can with a yellow or pink flower and blue water drops. For a twist, give each drop a different color so the water looks like a rainbow.
Watering can fun fact for kids
Plants take in water through their roots, so a watering can works best when the water goes on the soil. Many watering cans have a part called a rose on the end of the spout. It has lots of tiny holes that turn one stream into a gentle shower.
Questions about drawing a watering can
What shapes do I need to draw a watering can?
You need a tall rounded rectangle for the body, a curved D shape for the handle, and two long curved lines for the spout. Add a bumpy circle for the flower and small ovals for the drops.
How do I draw the spout so it looks right?
Start with two lines on the side of the can, one higher and one lower. Sweep both up and to the left so they spread apart, then join them at the tip to make a wide opening.
How do I make my watering can look cuter?
Add a big flower in the middle with a dot in the center, and draw plenty of water drops near the spout. Round all the corners to keep it friendly.