How to Draw a Santa Cookie (Easy Step by Step)
This post contains affiliate links. As an Amazon Associate I earn from qualifying purchases.
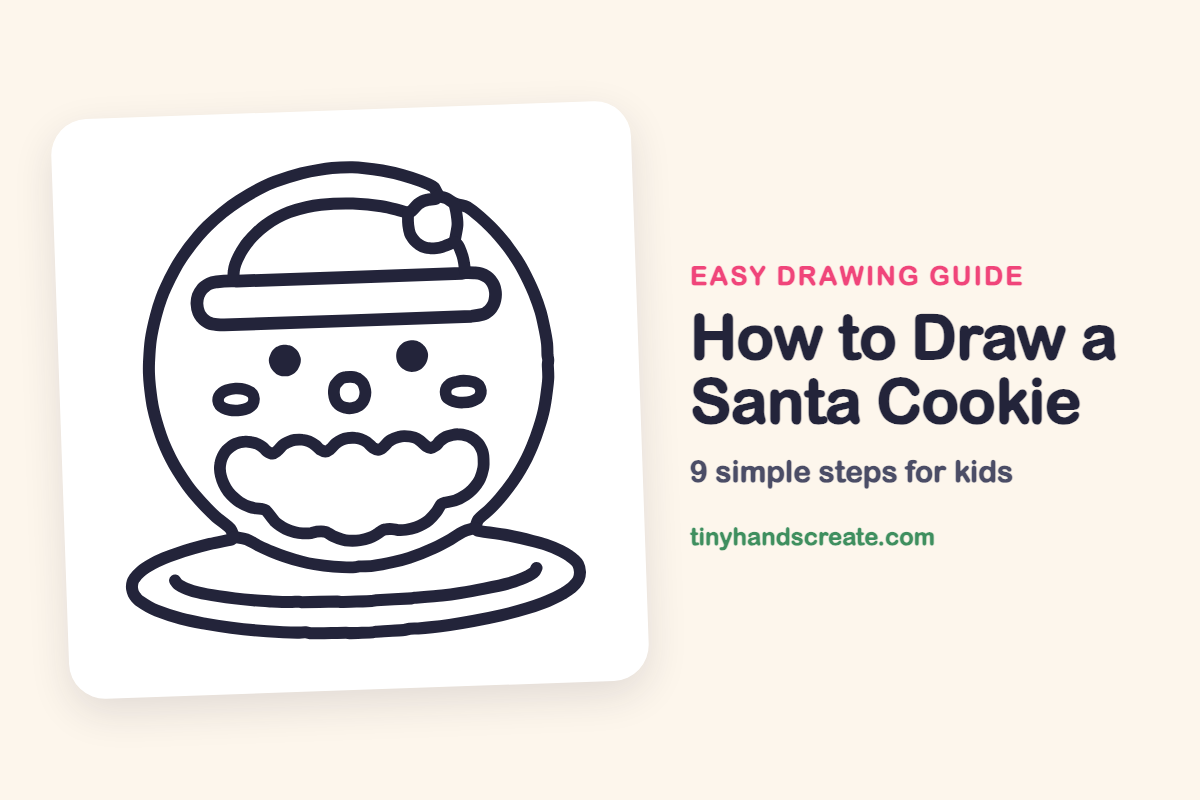
A Santa cookie is a happy round face with a floppy hat and a big fluffy beard. It is built from circles, ovals and wavy lines, so it is a great first holiday drawing. Every part is simple, and the cute face comes together quickly.
- Easy
- 12 minutes
- 9 steps
You need: paper, a pencil, an eraser, and crayons or markers for coloring.
Start drawing
In this article (7 sections)
How to draw a Santa cookie step by step
How to Draw a Santa Cookie · tinyhandscreate.com
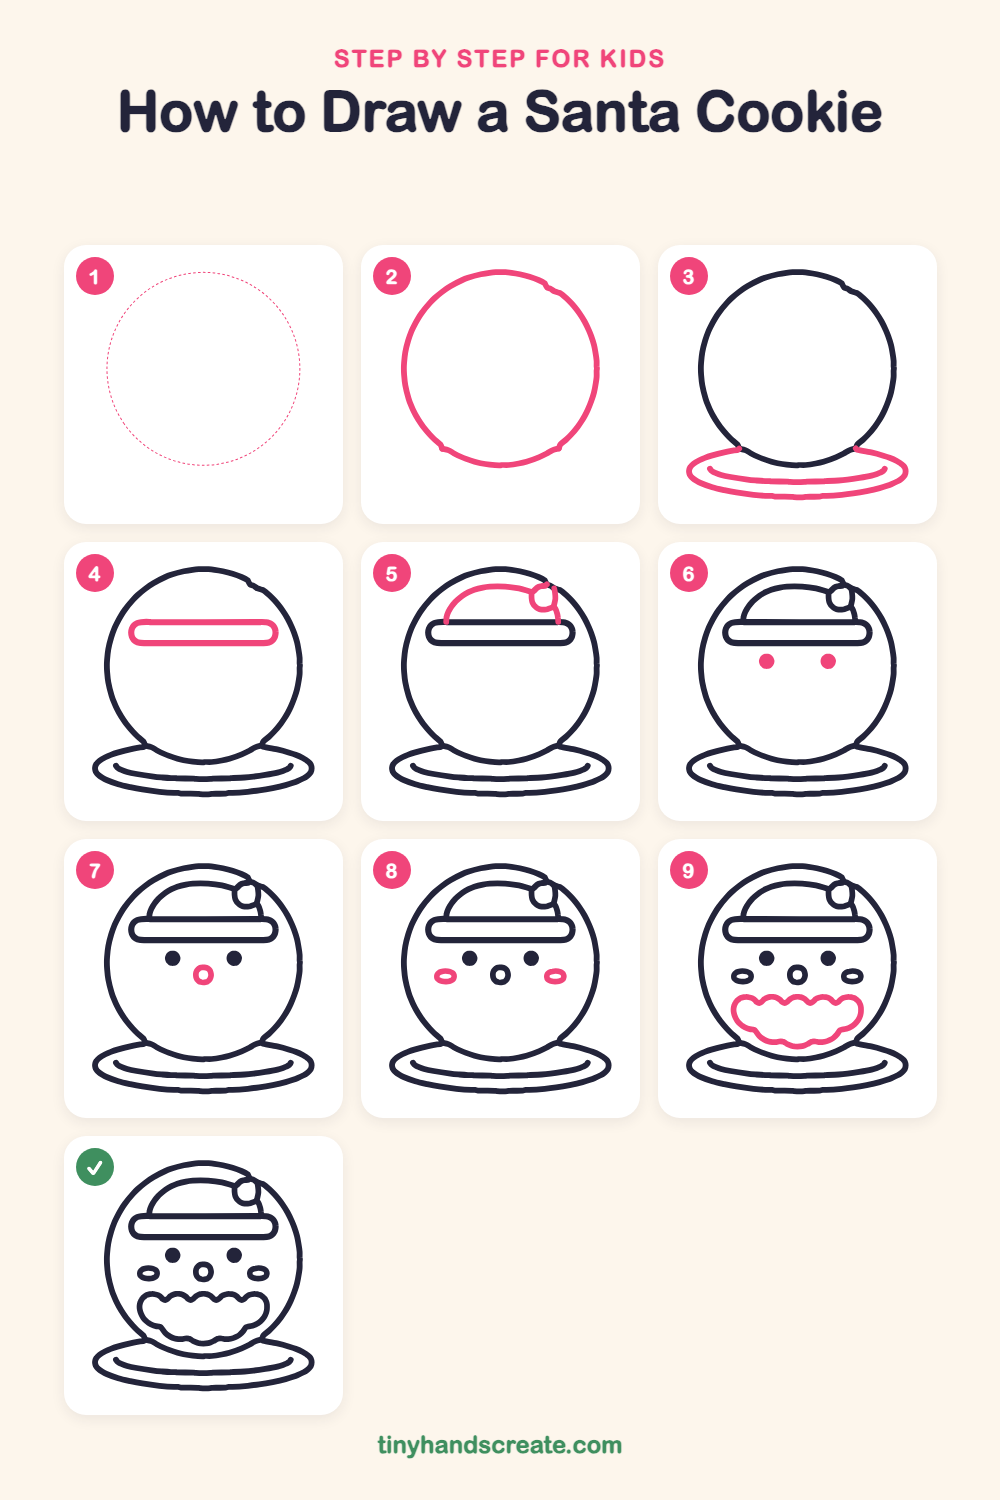
Step 1: Guide shapes
Lightly sketch this oval. It only shows where the big parts go, so press softly. You will erase it at the end.
Step 2: The round cookie
Draw a big circle in the middle of your paper. Make it nearly as tall as the page, but leave a little room at the bottom for a plate.
Step 3: The plate
Draw a wide, flat oval under the cookie so the cookie looks like it is sitting on it. Then add a curved line inside the oval, close to the front edge, for the rim of the plate.
Step 4: The hat band
Near the top of the cookie, draw a long rectangle with round corners, like a fat sausage lying on its side. It stretches across the cookie like a headband.
Step 5: Hat top and pom-pom
On top of the band, draw a curved line like a hill, starting and ending on the band. Add a small circle at the right side of the hill for the fluffy pom-pom.
Step 6: The two eyes
Below the hat band, draw two small dots, one on the left and one on the right. Color them in so they are nice and dark.
Step 7: The round nose
Between the eyes and a little lower, draw a small circle for the nose.
Step 8: Rosy cheeks
Draw a small oval on each side of the nose, a bit lower than the eyes. Keep the ovals small and flat, like little pillows.
Step 9: The fluffy beard
Under the nose, start with a bumpy wavy line, like a row of little hills. Then curve down both sides and join them with a wavy line along the bottom to make a cloud-shaped beard.
All done!
Erase the guide shapes, go over your lines, then color it in.
Finished your Santa cookie? Keep the pencils out and learn how to draw a Christmas pickle ornament or how to draw a kid catching snowflakes next.
Tips for drawing a Santa cookie
- Draw the big circle lightly first. If it looks wobbly, a gentle second try is fine, since cookies are never perfectly round.
- Draw the beard last and take it slowly. Make the bumps along the top about the same size so it looks like soft fluff.
- Leave some space between the hat band and the eyes. If the eyes sit too close to the hat, the face looks squished.
Free Santa cookie coloring page
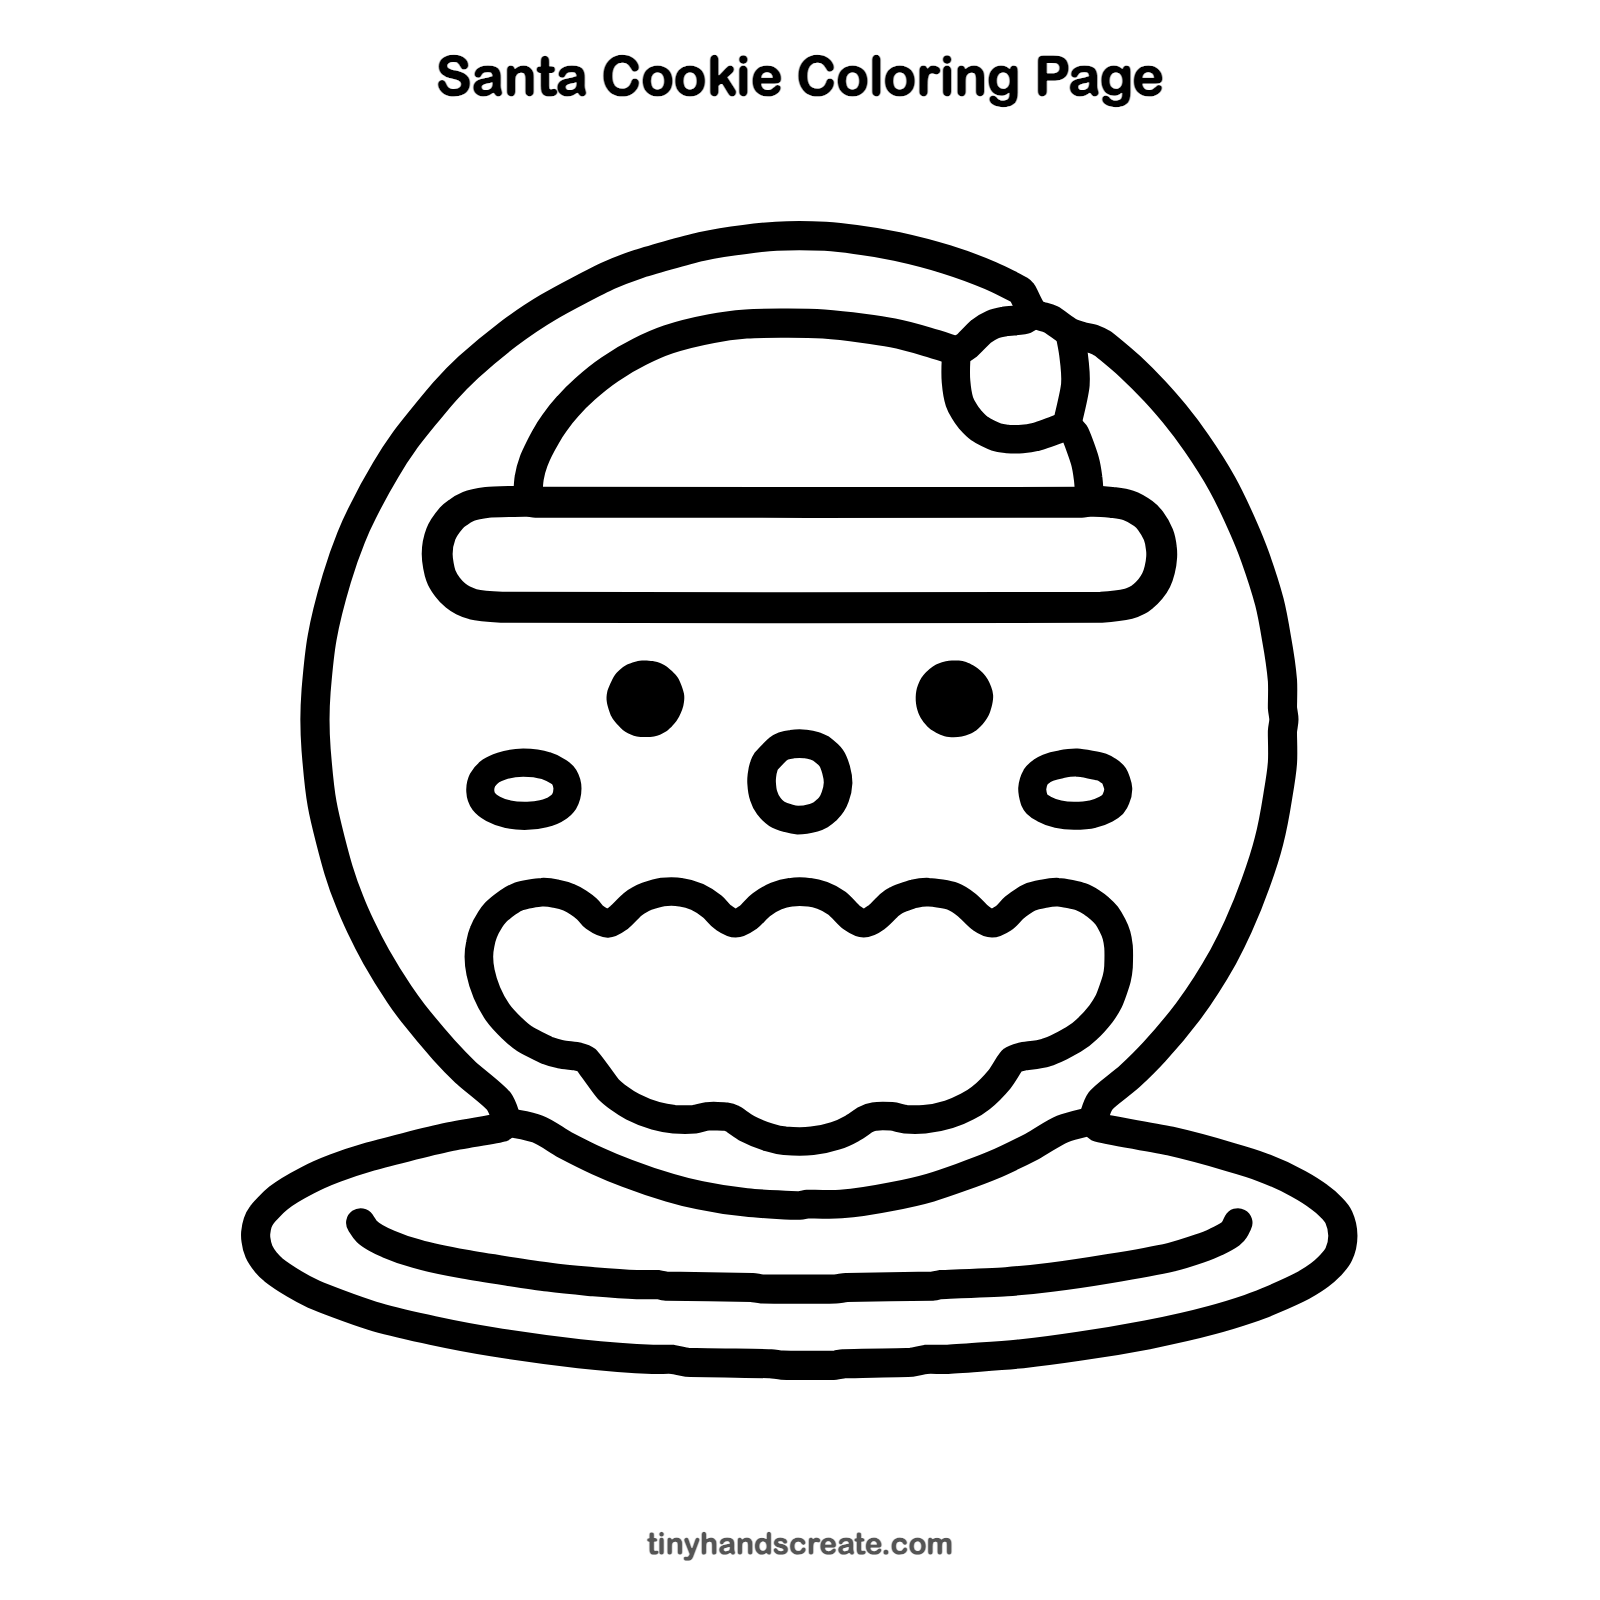
Want to go straight to coloring? Open this Santa cookie coloring page at full size and print it. It is the same drawing you just learned, with clean lines ready for crayons or markers.
How to color your Santa cookie drawing
Color the hat red, the band and pom-pom white, the beard white or light gray, and the cheeks pink, with a tan or golden cookie face. For a creative twist, add sprinkles or icing dots all over the cookie.
Santa cookie fun fact for kids
The name Santa Claus comes from Sinterklaas, the Dutch name for Saint Nicholas.
Questions about drawing a Santa cookie
What shapes do I need to draw a Santa cookie?
You need one big circle, a flat oval for the plate, a rounded rectangle for the hat band, and a few small circles and ovals for the face. The beard is a wavy cloud shape.
How do I make my Santa cookie look cuter?
Put the eyes wide apart and keep them small and round. Add pink cheeks and a small round nose, and make the beard big and puffy.
How do I draw the fluffy beard?
Start with a row of small bumps across the top. Then curve down each side and finish with more bumps along the bottom, like a puffy cloud.