How to Draw a Saiga Antelope (Easy Step by Step)
Learn to draw a cute saiga antelope using simple shapes like a large bean for its head and curves for its features. This easy step-by-step guide is perfect for first-time artists.
- Start your saiga antelope drawing with a large bean shape for its head.
- Form its body using a simple rounded back.
- Add small curves for the horns, ears, hooves, and tail.
- Follow this friendly guide even if you're a first-time artist.
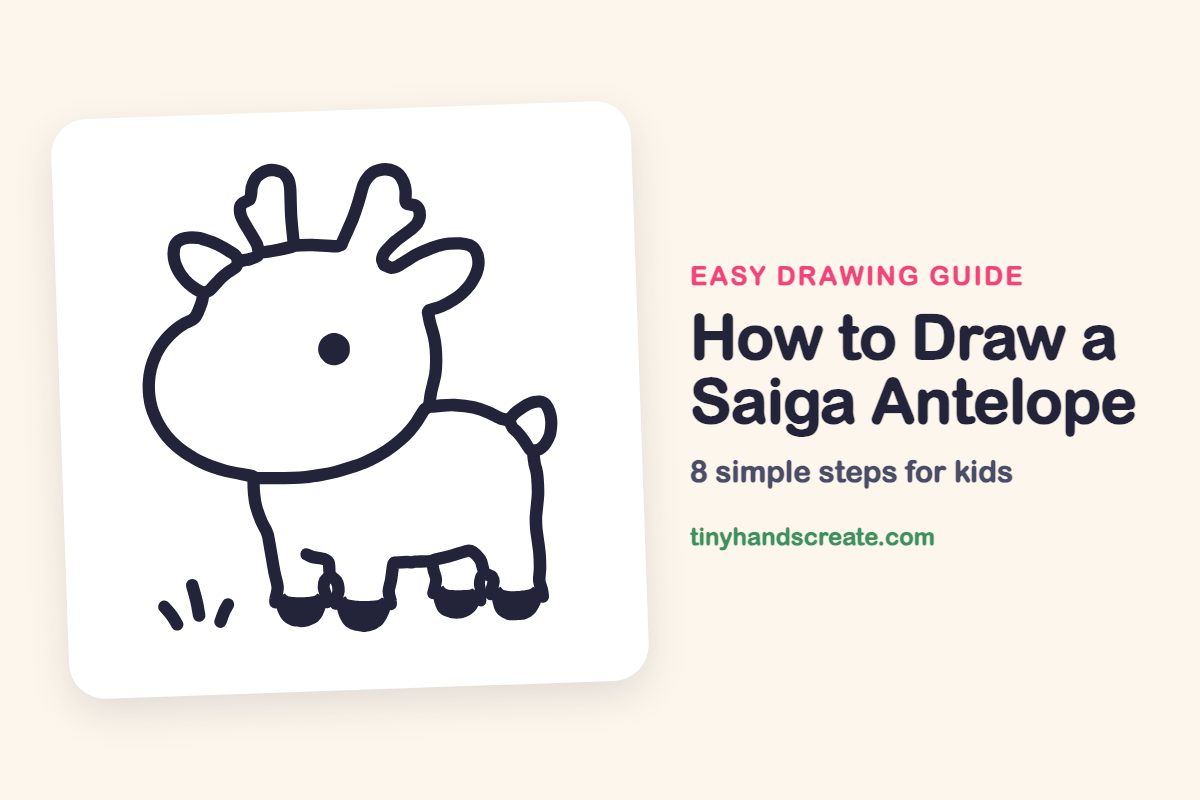
This little saiga antelope is cute because of its big, round head and tiny stubby legs. You only need a few simple shapes: one large bean shape for the head, a rounded back, and small curves for the horns, ears, hooves, and tail. It is a friendly drawing that works well for first-time artists.
- Easy
- 10 minutes
- 8 steps
You need: paper, a pencil, an eraser, and crayons or markers for coloring.
Start drawing


In this article (7 sections)
How to draw a saiga antelope step by step
How to Draw a Saiga Antelope · tinyhandscreate.com
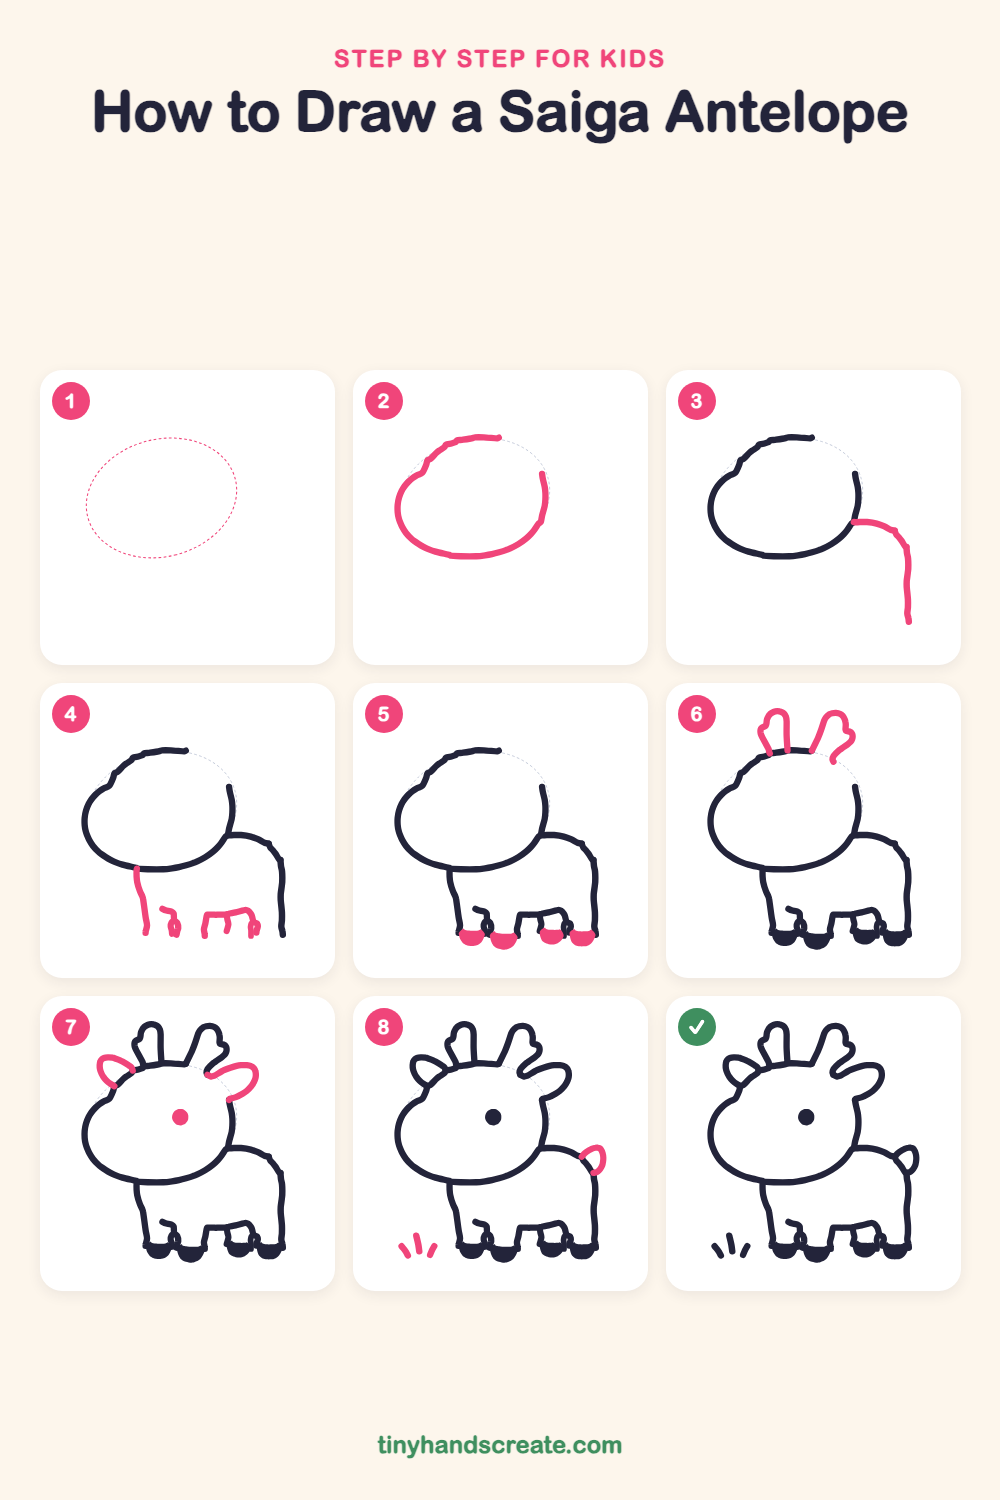
Step 1: Guide shapes
Lightly sketch this oval. It only shows where the big parts go, so press softly. You will erase it at the end.
Step 2: The big head
Draw a large, wide shape like a bean or a potato for the head. Start at the top, curve down and around the bottom, and stop at the right side, leaving a small gap at the top right.
Step 3: Back and rump
Start at the right side of the head, where it curves in. Draw a line that bends over the top of the back, then goes straight down the rump.
Step 4: Legs and belly
Draw the front leg straight down from under the chin. Then draw a short bumpy line for the belly and the back legs, with small stubby legs going down from it.
Step 5: Little hooves
At the bottom of each leg, draw a small bowl shape and fill it in for a hoof. Make all four about the same size so your saiga stands steady.
Step 6: Two horns
On top of the head, draw two tall, bumpy horn shapes like long fingers with a small knob on the side. They lean away from each other a little.
Step 7: Ears and eye
Draw a leaf-shaped ear on each side of the head, pointing outward. Then fill in one round dot for the eye, in the middle of the face.
Step 8: Tail and grass
Add a tiny curved tail like a small loop on the rump. Finish with three short grass lines on the ground at the left, beside the front hooves.
All done!
Erase the guide shapes, go over your lines, then color it in.
Finished your saiga antelope? Keep the pencils out and learn how to draw a fox or how to draw a hedgehog next.
Tips for drawing a saiga antelope
- Draw the head first and make it big. Leave space below it, because it is easy to run out of paper for the legs.
- The bumpy horns are the trickiest part. Draw a long, thin finger shape first, then add the small knob on the side.
- Keep the legs short and the hooves round. If a leg comes out crooked, add the hoof anyway and it will still look cute.
Free saiga antelope coloring page
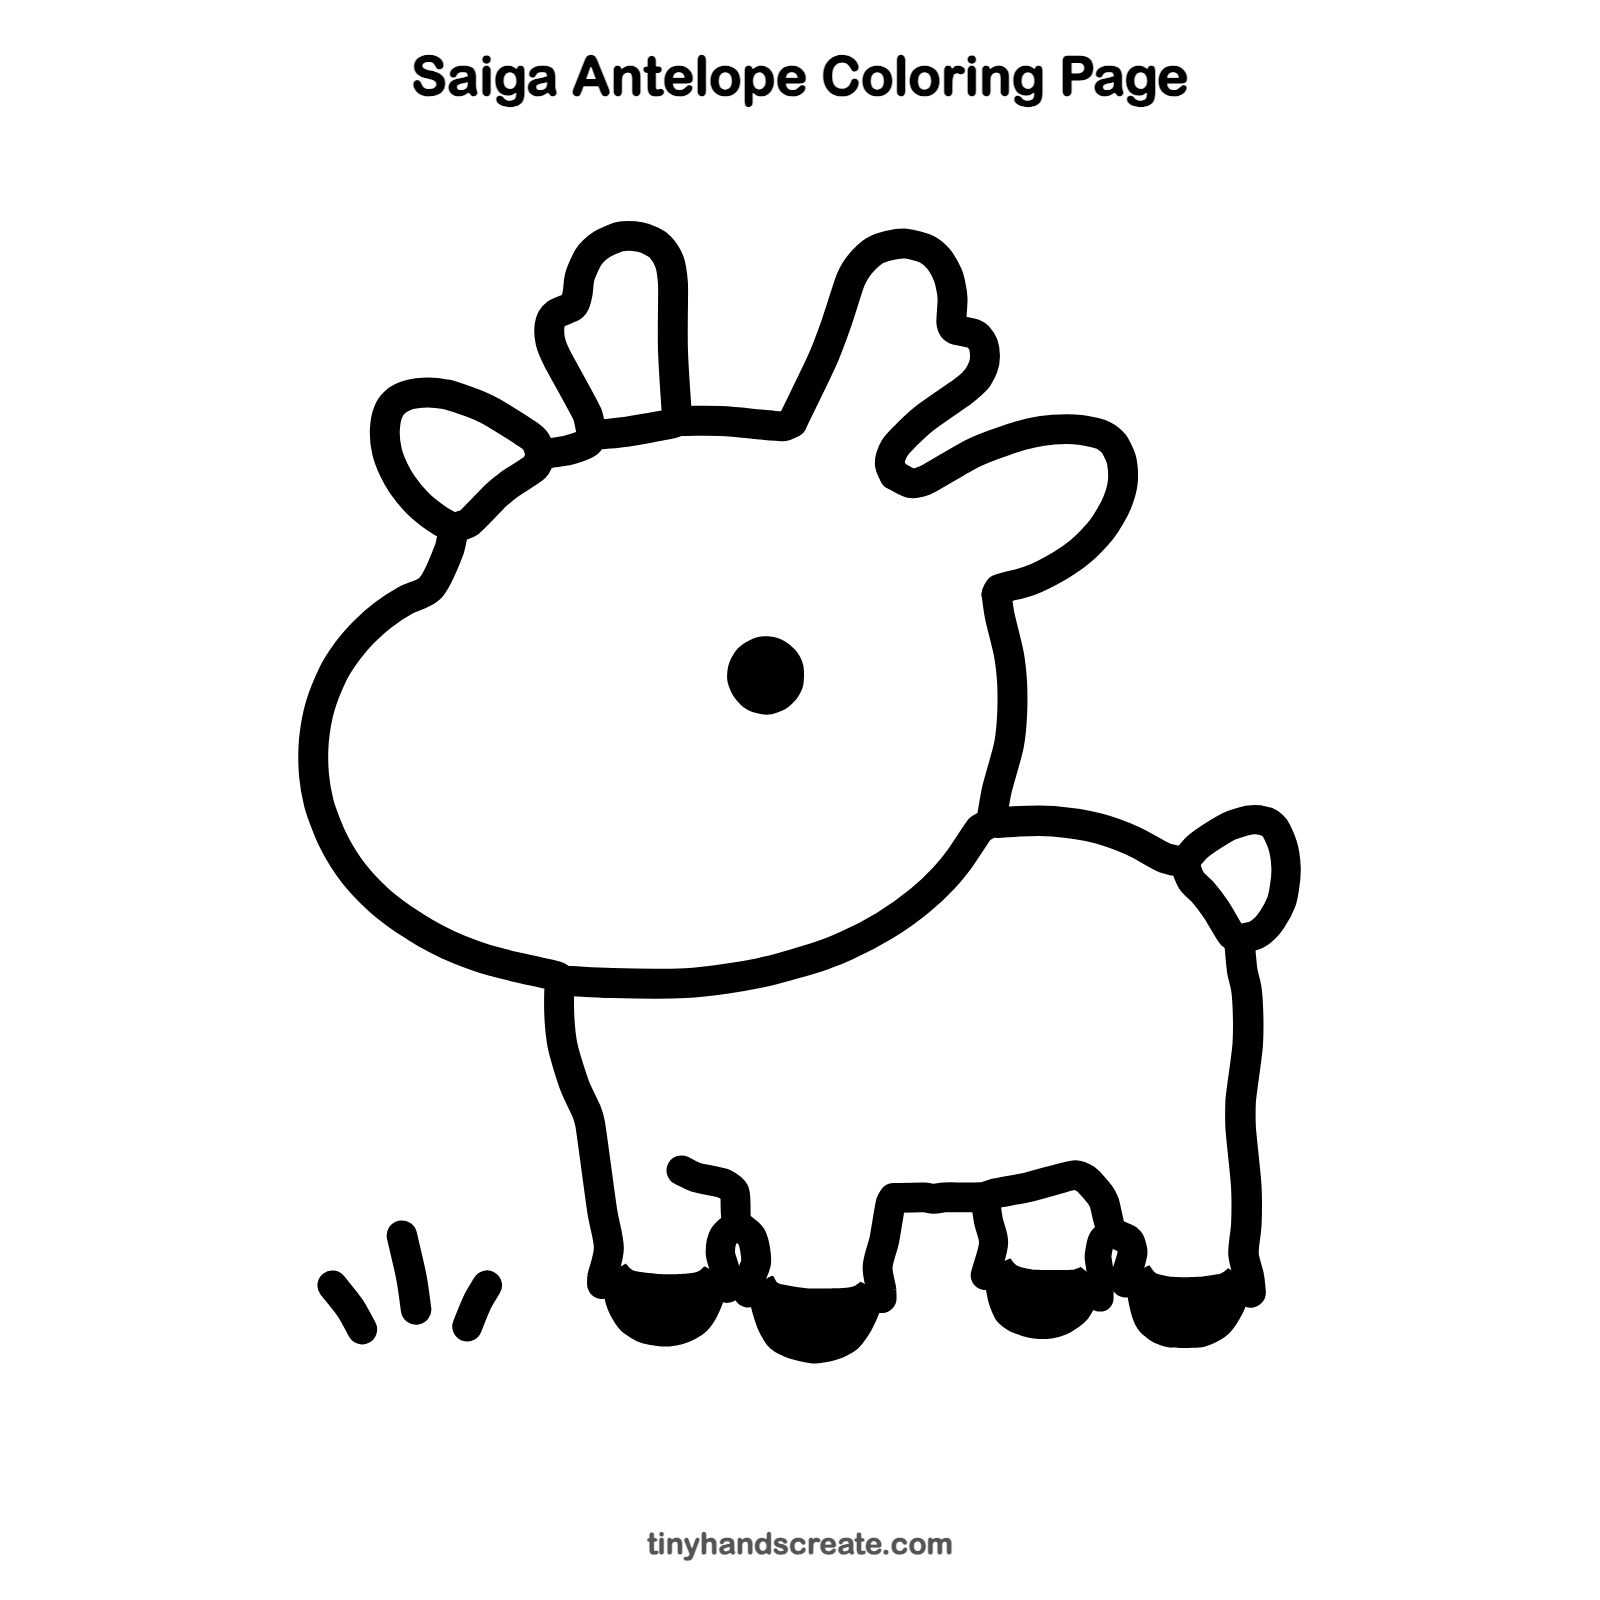
Want to go straight to coloring? Open this saiga antelope coloring page at full size and print it. It is the same drawing you just learned, with clean lines ready for crayons or markers.
How to color your saiga antelope drawing
Try warm sandy tan for the body, with a lighter cream for the face and belly, and dark brown for the hooves and horns. For a creative twist, color the grass in rainbow stripes.
Saiga antelope fun fact for kids
Saiga antelopes have a big, soft, bendy nose that hangs over their mouths. It warms up cold air and filters out dust before the air gets to their lungs. They live on the wide, grassy plains of Central Asia.
Questions about drawing a saiga antelope
What shapes do I need to draw a saiga antelope?
You need one big bean shape for the head, a curved line for the back, and little curves for the horns, ears, legs, hooves, and tail. Draw the biggest shapes first and add the small ones last.
How do I make my saiga look cuter?
Make the head extra big and the legs extra short. Put the round eye dot in the middle of the face, and draw the hooves as little filled bowls.
Is this drawing hard for a beginner?
No, it is a good first drawing. The only tricky part is the bumpy horns, and they can be drawn slowly with simple curves.