How to Draw a Rock Climber (Easy Step by Step)
This post contains affiliate links. As an Amazon Associate I earn from qualifying purchases.
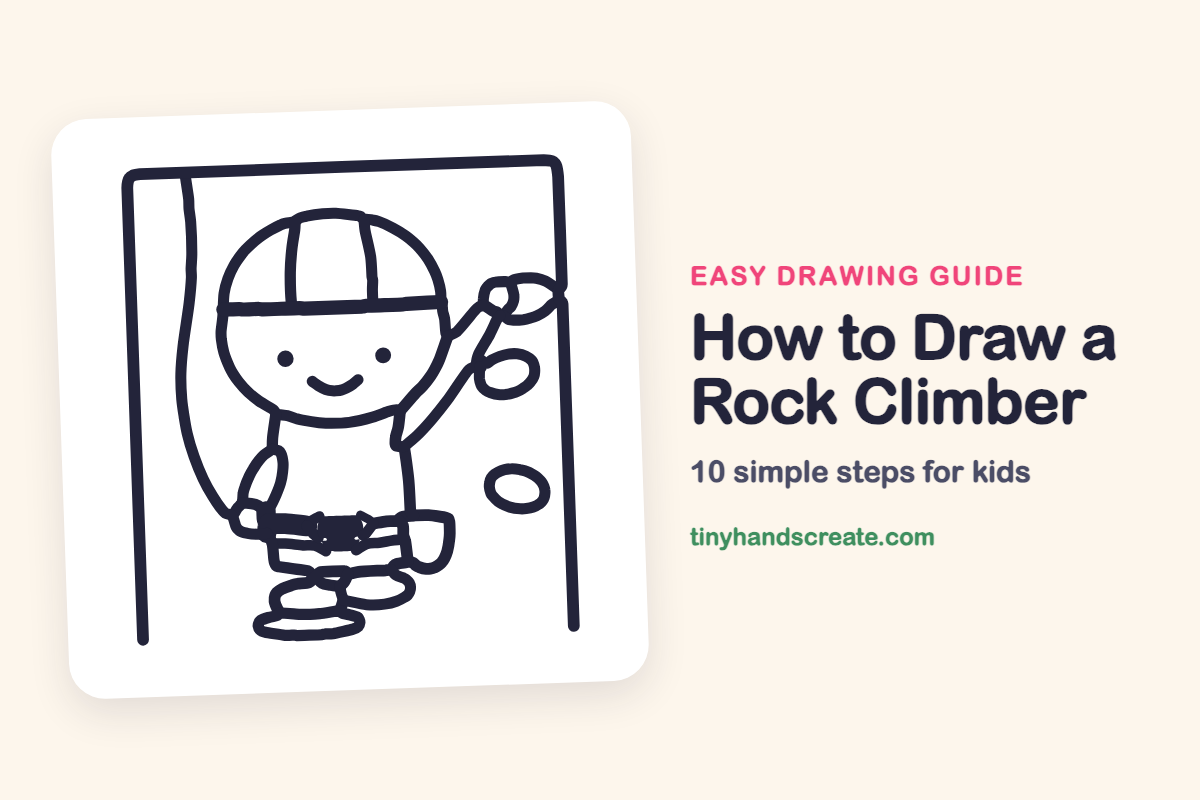
This little rock climber is built from simple shapes: a big circle for the head, a rounded shirt for the body, flat ovals for the feet, and two ovals for the climbing holds. One arm reaches up toward the wall, which gives the drawing a feeling of action even though every line is easy. It is a nice one for kids who like to draw people and stories.
- Medium
- 15 minutes
- 10 steps
You need: paper, a pencil, an eraser, and crayons or markers for coloring.
Start drawing

In this article (7 sections)
How to draw a rock climber step by step
How to Draw a Rock Climber · tinyhandscreate.com
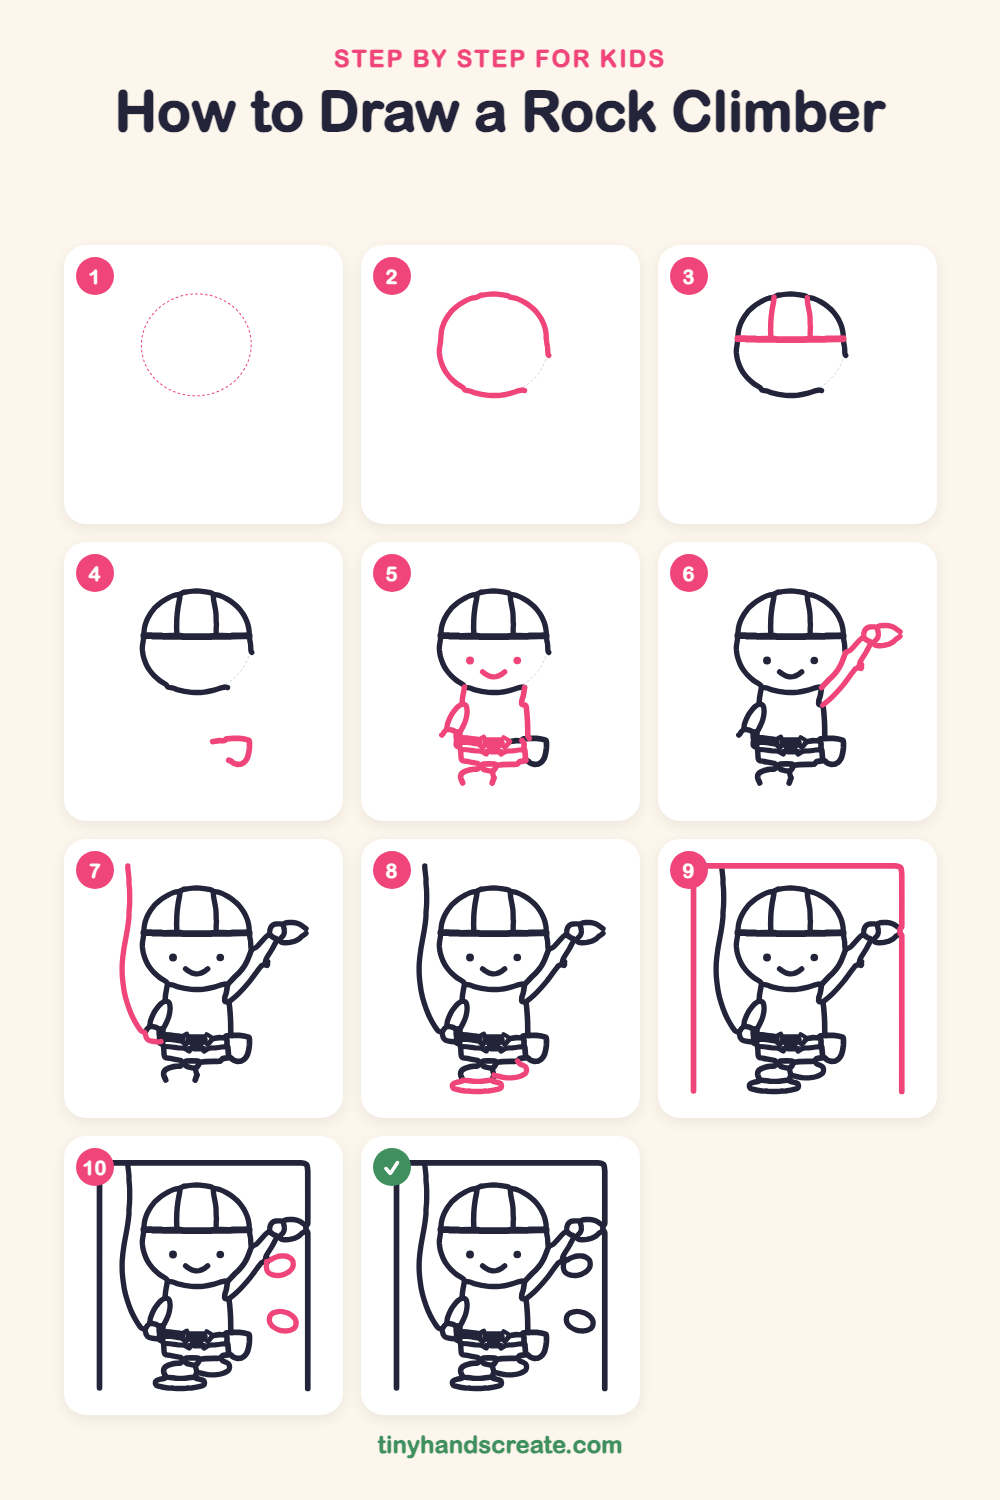
Step 1: Guide shapes
Lightly sketch this oval. It only shows where the big parts go, so press softly. You will erase it at the end.
Step 2: Head outline
Start with a big circle for the head, a little wider than it is tall. Leave a small gap on the lower right, and keep your lines light so it is easy to fix.
Step 3: Helmet band and stripes
Draw a straight line across the head, a bit above the middle, for the edge of the helmet. Then add two curved lines from the top of the helmet down to that band.
Step 4: Gear pouch
Off to the lower right of the head, draw a small pouch. Start with a short flat line, then curve down and around like a little cup.
Step 5: Face and body
Under the helmet band, add two small dots for eyes and a curvy smile. Then draw a rounded shirt under the head, a bent arm on the left side, and a wide belt with the shorts below it.
Step 6: Raised arm and hand
Draw the raised arm as two long lines going up from the right side of the shirt. Close the end with a round hand.
Step 7: The rope
Start high on the left and draw one long wavy line down the left side of the climber. Curve it in at the bottom so it reaches the belt.
Step 8: Feet
Draw two flat ovals at the bottom, under the shorts, for the climber's feet. Let them overlap a little.
Step 9: The climbing wall
Draw a tall line down the left side and another down the right side, joined by a line across the top, to make a frame for the wall.
Step 10: Climbing holds
Add two lumpy ovals on the right side of the wall for the places to grab. Make one a little bigger than the other.
All done!
Erase the guide shapes, go over your lines, then color it in.
Finished your rock climber? Keep the pencils out and learn how to draw a lacrosse player or how to draw a pickleball player next.
Tips for drawing a rock climber
- Draw the head circle first and keep it light, then add the helmet band so the stripes line up neatly.
- The raised arm is the trickiest part. Draw two long lines that run side by side, then close the end with a round hand.
- Make the rope one long, slow curve. Try tracing it in the air with your finger before you draw it.
Free rock climber coloring page
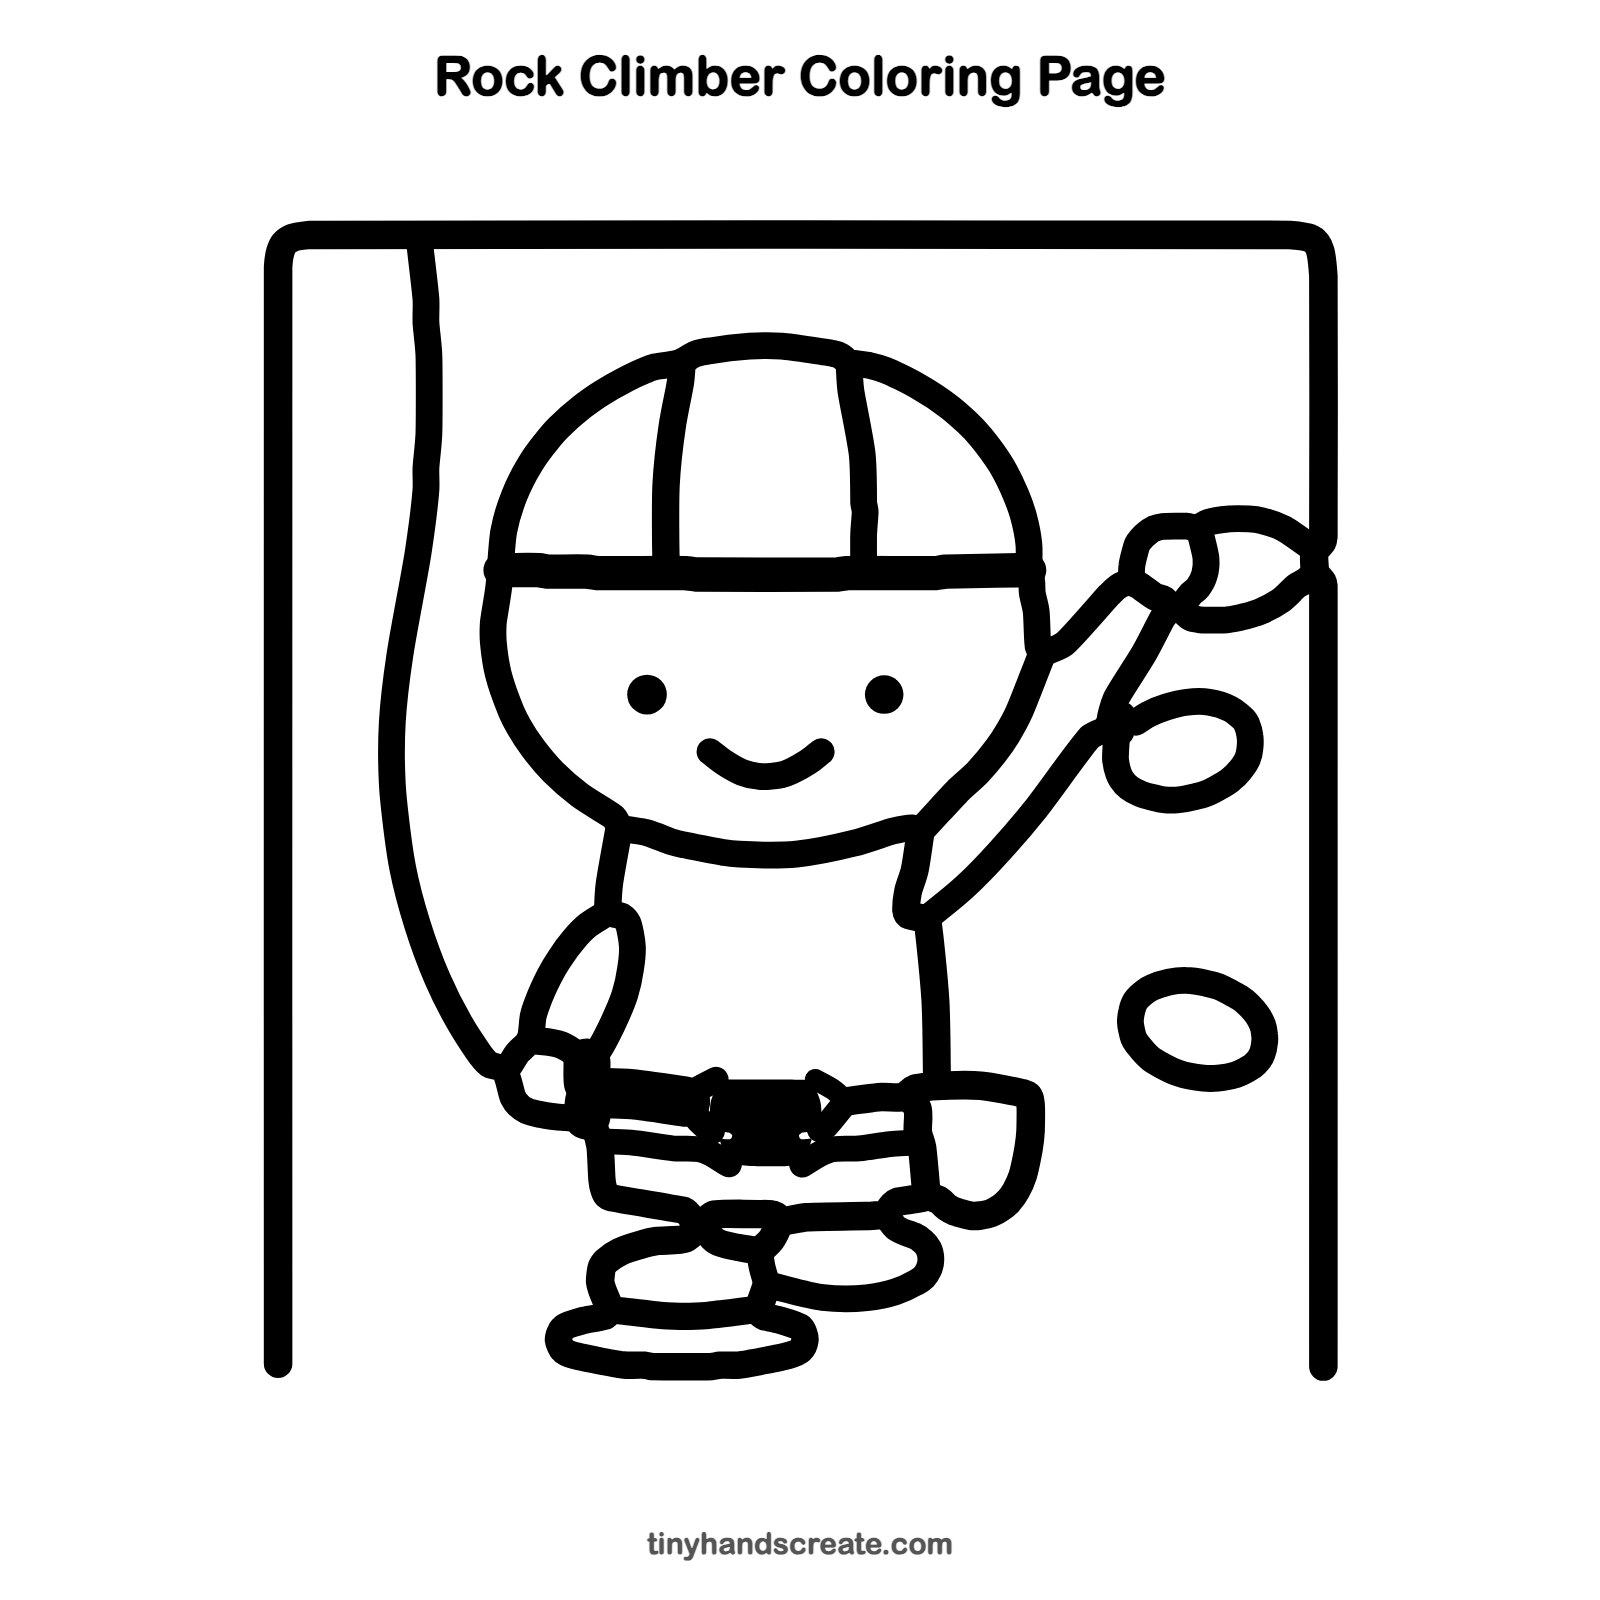
Want to go straight to coloring? Open this rock climber coloring page at full size and print it. It is the same drawing you just learned, with clean lines ready for crayons or markers.
How to color your rock climber drawing
Try a bright red or yellow helmet, a blue shirt, and a different color for each climbing hold. Gray or brown for the wall frame makes it look like rock.
Rock climber fun fact for kids
Sport climbing became part of the Olympic Games for the first time at Tokyo 2020, which was held in 2021.
Questions about drawing a rock climber
What shapes do I need to draw a rock climber?
You need a circle for the head, a rounded shape for the shirt, flat ovals for the feet, and two ovals for the climbing holds. Long curved lines make the arm and the rope.
How do I make my rock climber look like they are climbing?
Draw one arm stretched up toward the holds and bend the other arm at the side. The rope and the wall frame around the climber help tell the story.
How do I draw the helmet?
Draw a straight band across the top part of the head circle. Then add two curved lines from the top down to the band to make the stripes.