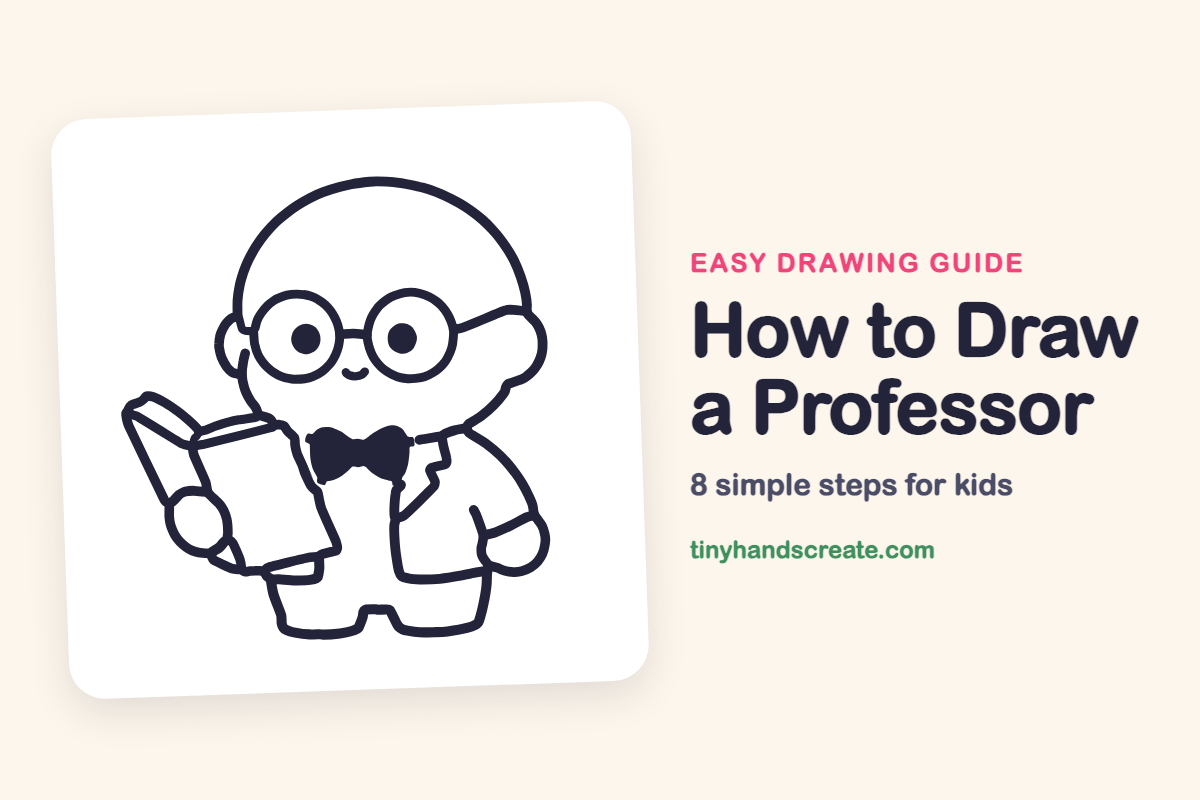
How to Draw a Professor (Easy Step by Step)
This little professor is built from circles and rounded shapes, so it is a friendly drawing for beginners. A big dome head, two round glasses, and an open book give the character its smart, curious look. It is also a great way to practice drawing shapes that sit next to each other.
- Medium
- 15 minutes
- 8 steps
You need: paper, a pencil, an eraser, and crayons or markers for coloring.
Start drawing


In this article (7 sections)
How to draw a professor step by step
How to Draw a Professor · tinyhandscreate.com
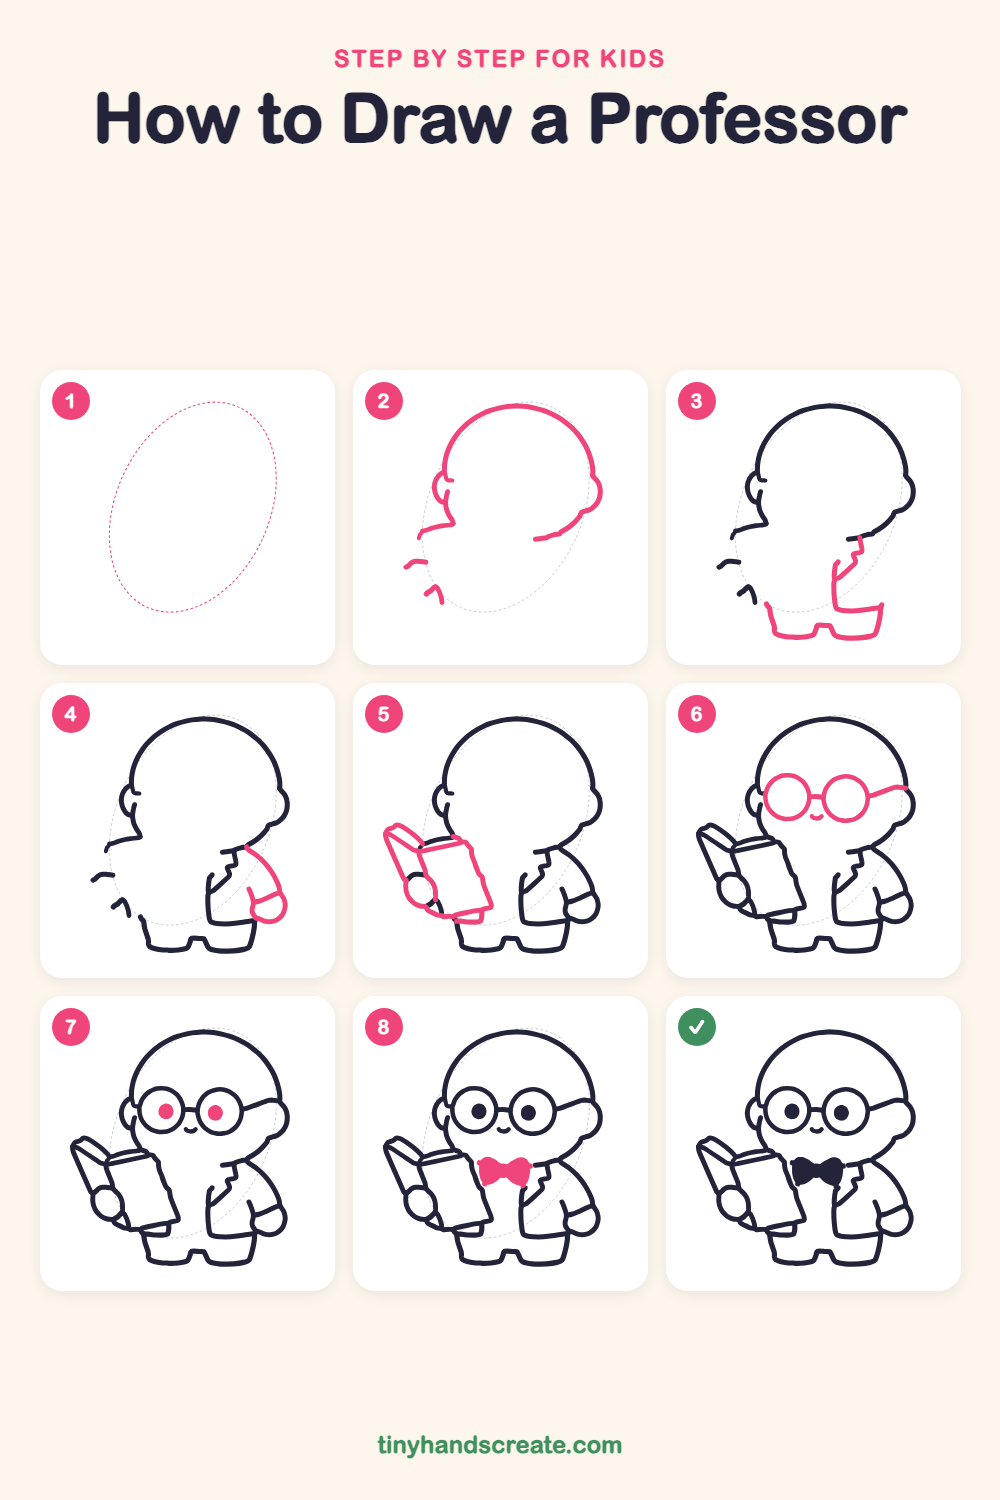
Step 1: Guide shapes
Lightly sketch this oval. It only shows where the big parts go, so press softly. You will erase it at the end.
Step 2: Dome head and ears
Draw a big dome shape for the top of the head. Add a small bump for an ear on each side, then a few short curved lines on the left and right for the cheeks and chin.
Step 3: Coat edge and feet
On the right side of the body, draw a short zigzag line going down for the edge of the coat. Then draw the bottom of the body with two rounded feet and a little gap between them.
Step 4: The arm and hand
On the right side, draw a curved sleeve that starts at the shoulder and ends in a small round hand.
Step 5: The open book
On the left, draw a tilted book. Start with a tall slanted box for the cover, then add the top edge and the page on the front. Draw a small circle at the bottom for the hand holding it.
Step 6: Glasses and smile
Draw two big circles on the face for glasses and join them with a short bridge line. Add an arm that curves back toward the ear, then draw a tiny curved smile under the bridge.
Step 7: Dot eyes
Fill the middle of each glasses circle with one solid round dot for an eye.
Step 8: The bow tie
Under the chin, draw two little triangles that touch point to point, with a small knot in the middle. Fill the whole bow tie in solid.
All done!
Erase the guide shapes, go over your lines, then color it in.
Finished your professor? Keep the pencils out and learn how to draw a rocket or how to draw a shooting star next.
Tips for drawing a professor
- Draw the glasses circles lightly first, and try to make both about the same size. If one comes out bigger, just make the other one match.
- The book is the trickiest part. Start with the tilted cover, then add the top edge and the front page one line at a time so they stay straight.
- Draw the small hand circle at the bottom of the book last, so you can see where it should hold the cover.
Free professor coloring page
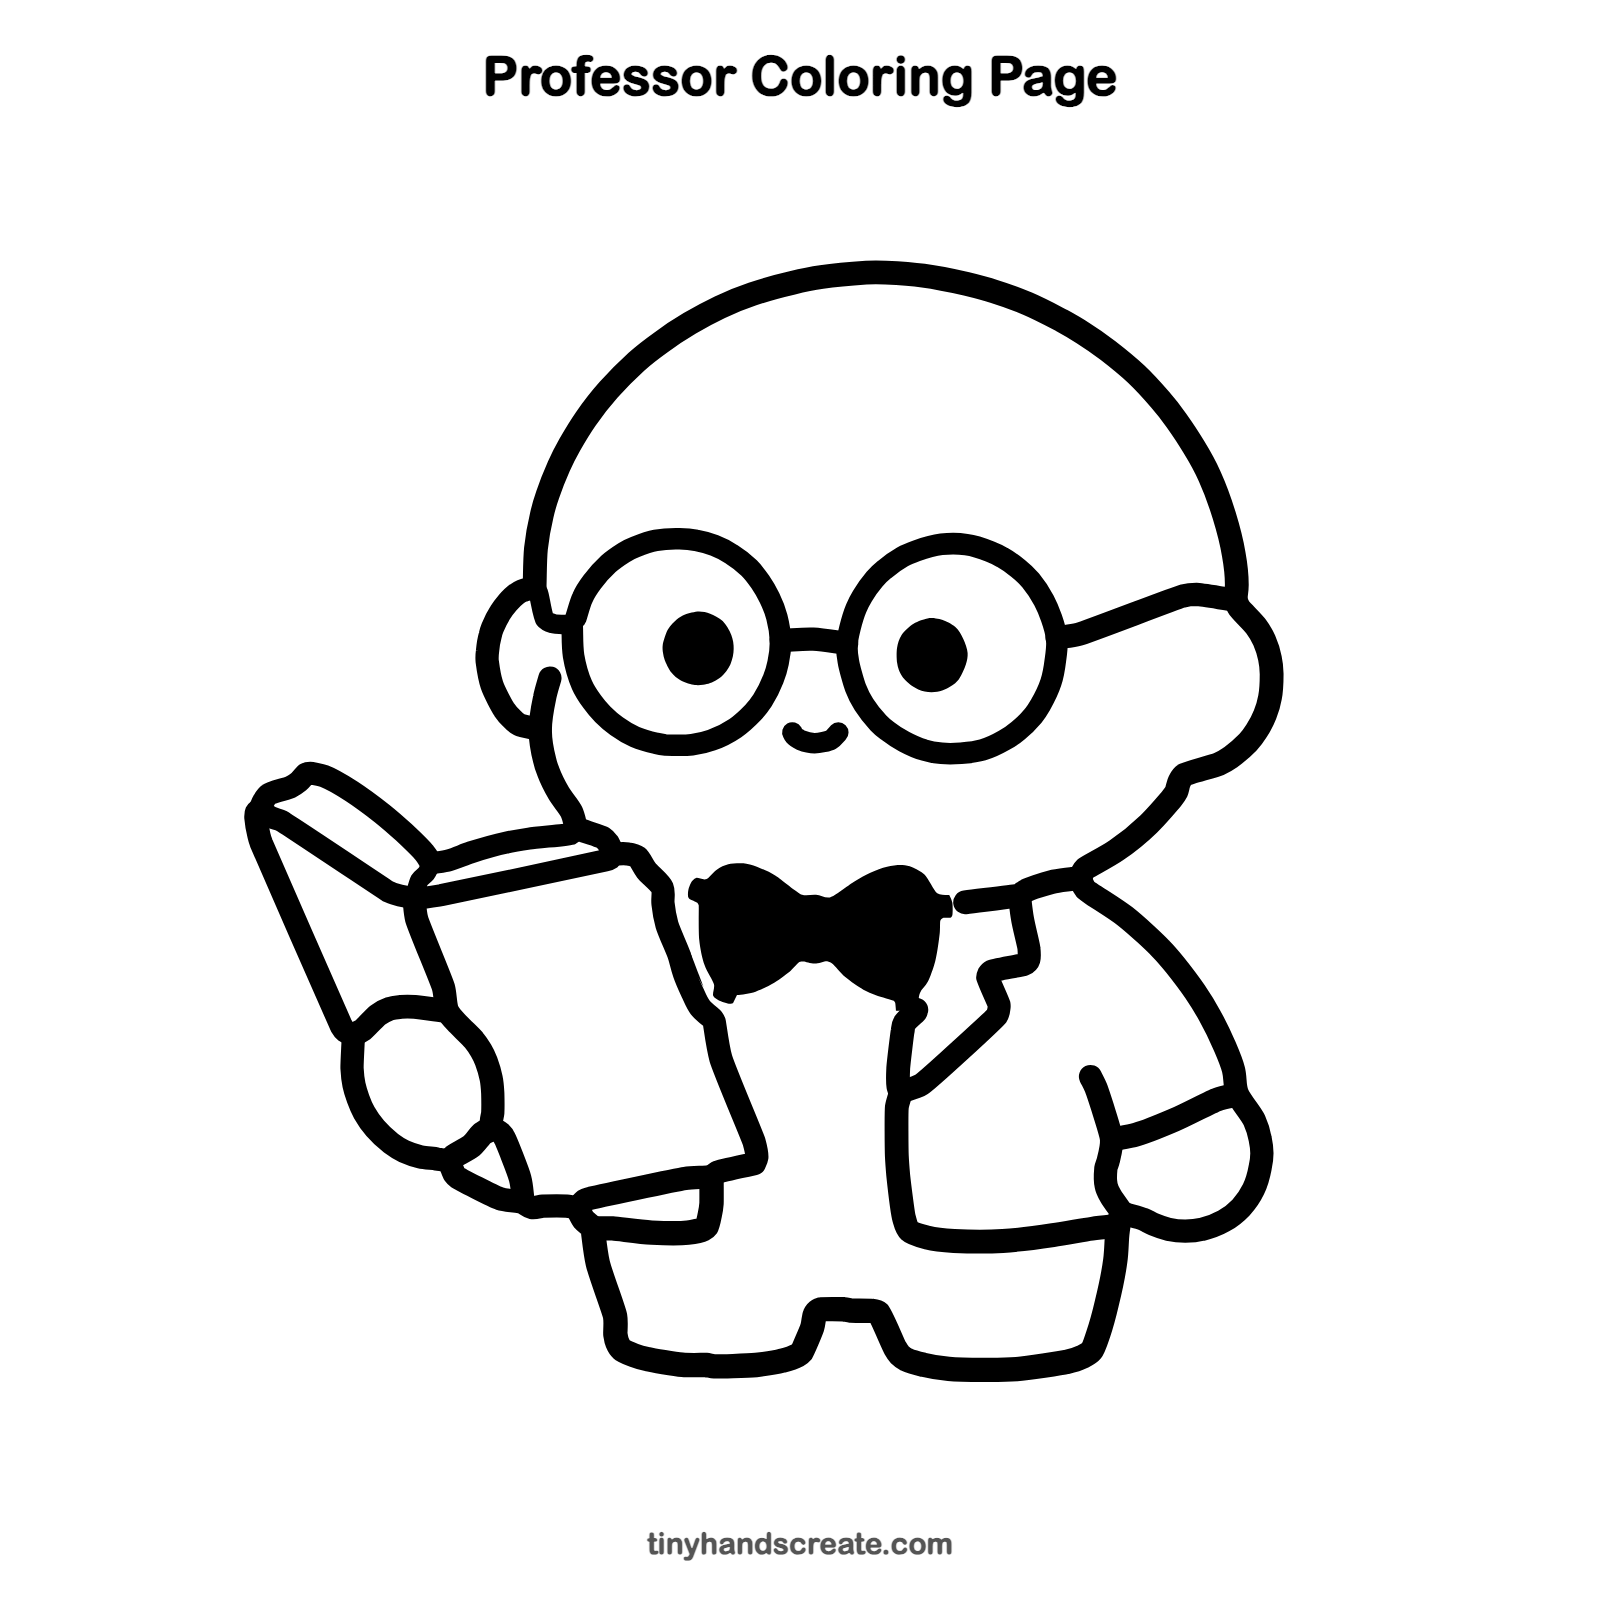
Want to go straight to coloring? Open this professor coloring page at full size and print it. It is the same drawing you just learned, with clean lines ready for crayons or markers.
How to color your professor drawing
Try a sky-blue bow tie, a white coat, and a book with a bright red cover. For a creative twist, add tiny stars to the book cover to show the professor is reading about space.
Professor fun fact for kids
Eyeglasses were first made in Italy around the year 1286, more than 700 years ago.
Questions about drawing a professor
What shapes do I need to draw a professor?
You need a big dome for the head, two circles for the glasses, a rounded shape for the body, and a tilted box for the book. A small bow tie shape finishes it.
How do I make my professor look cuter?
Make the head extra big and the body small and round. Add a tiny smile and big round glasses with simple dot eyes.
How do I draw the glasses so they look even?
Draw one circle first, then draw the second circle right next to it at the same height. A short bridge line in the middle joins them.