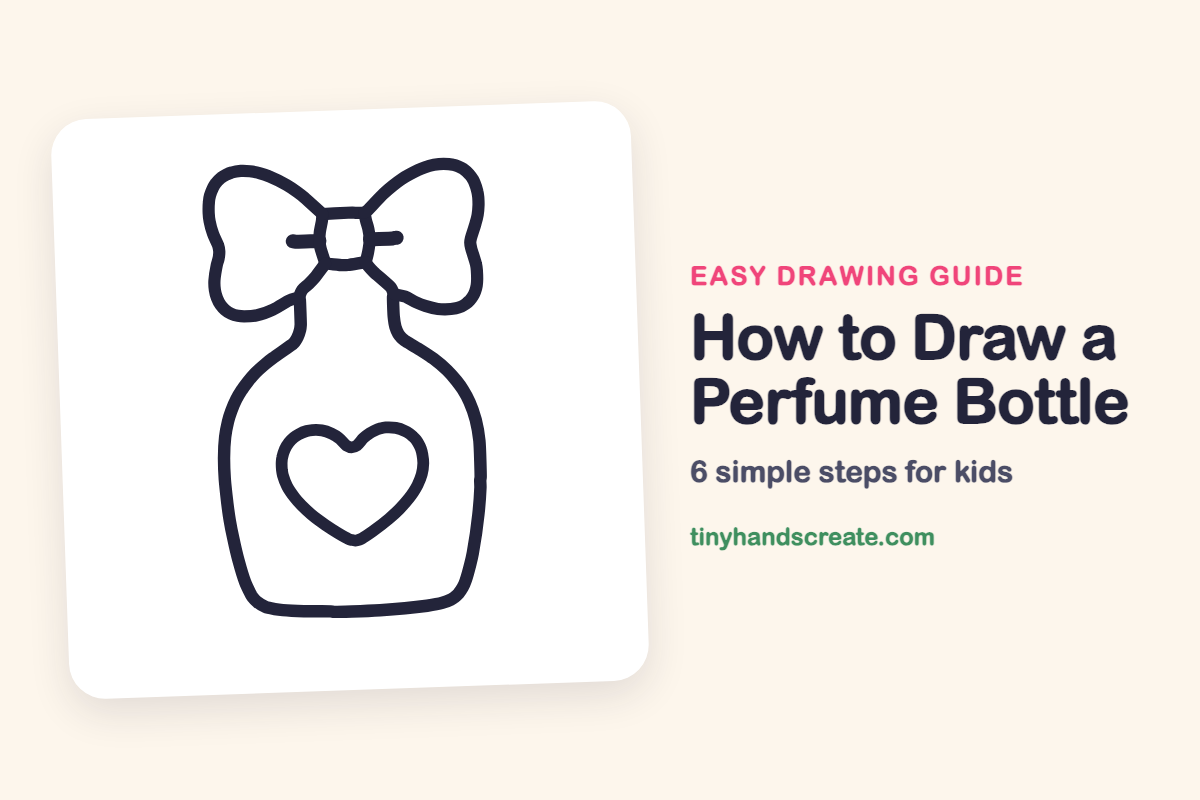
How to Draw a Perfume Bottle (Easy Step by Step)
You can easily draw a fun perfume bottle by combining simple shapes like a rounded bottle, a small square, two loops, and a heart, allowing you to create a whole collection.
- Start your perfume bottle drawing with a rounded bottle shape.
- Add a small rounded square for the bottle's top.
- Incorporate two puffy loops and a heart for decorative details.
- Use these core shapes to create a variety of perfume bottles.
This post contains affiliate links. As an Amazon Associate I earn from qualifying purchases.
A perfume bottle is a fun drawing because it mixes soft curves with a cute bow and a heart. It is built from a rounded bottle shape, a small rounded square, two puffy loops, and a heart. Once you know those shapes, you can make a whole shelf of bottles.
- Easy
- 10 minutes
- 6 steps
You need: paper, a pencil, an eraser, and crayons or markers for coloring.
Start drawing


In this article (7 sections)
How to draw a perfume bottle step by step
How to Draw a Perfume Bottle · tinyhandscreate.com
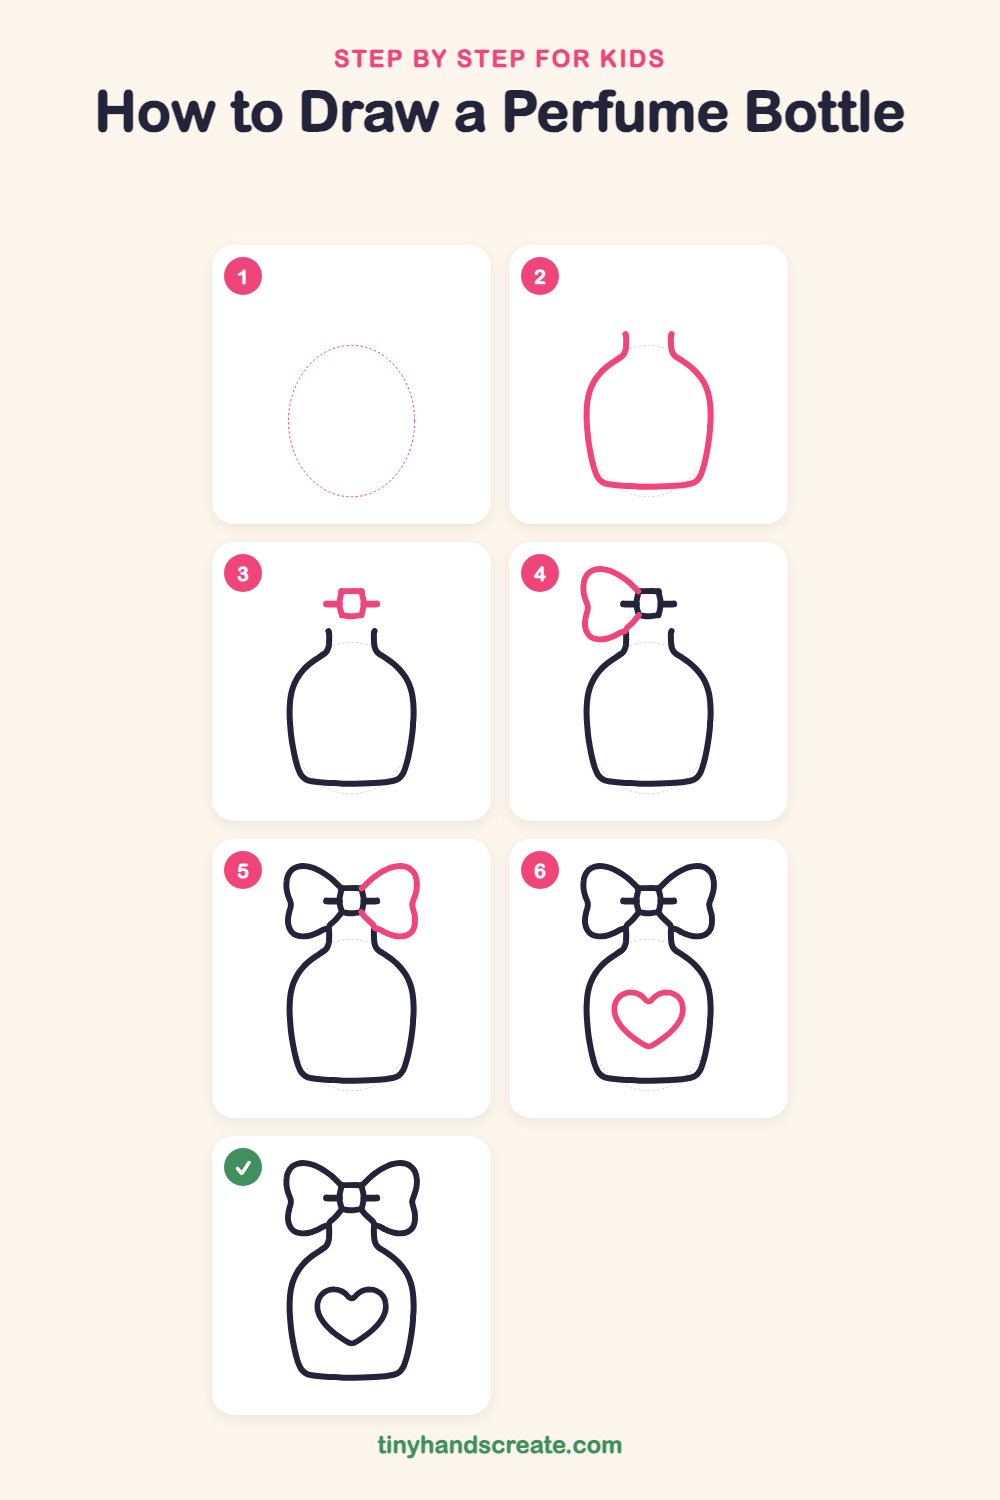
Step 1: Guide shapes
Lightly sketch this oval. It only shows where the big parts go, so press softly. You will erase it at the end.
Step 2: The bottle
Draw two short, straight lines side by side for a skinny neck. Let each line curve out into a wide shoulder, then go straight down the sides and join them with a flat, rounded bottom.
Step 3: The bow knot
Above the neck, draw a small rounded square for the knot of the bow. Add a short straight line sticking out from the left side and another from the right side.
Step 4: The left bow loop
Start at the top left corner of the knot and draw a big curve up and out, like a puffy wing. Make a small dip on the far left side, then curve back in and finish at the bottom left corner of the knot.
Step 5: The right bow loop
Do the same on the other side. Start at the top right corner of the knot, draw a big puffy wing with a small dip on the right edge, and curve back to the bottom right corner of the knot so both loops match.
Step 6: The heart
In the middle of the bottle, draw a heart. Make two round bumps at the top that meet in a little dip, then slide down both sides to a soft point at the bottom.
All done!
Erase the guide shapes, go over your lines, then color it in.
Finished your perfume bottle? Keep the pencils out and learn how to draw a rocket or how to draw a shooting star next.
Tips for drawing a perfume bottle
- Draw the bottle first and keep the neck narrow. If the neck is too wide, the bow will look too big for the bottle.
- Make the two bow loops look like twins. Start both at the corners of the knot and check that they are about the same size.
- Draw the heart last and aim for the middle of the bottle. Practice the two top bumps first, then connect them down to the point.
Free perfume bottle coloring page
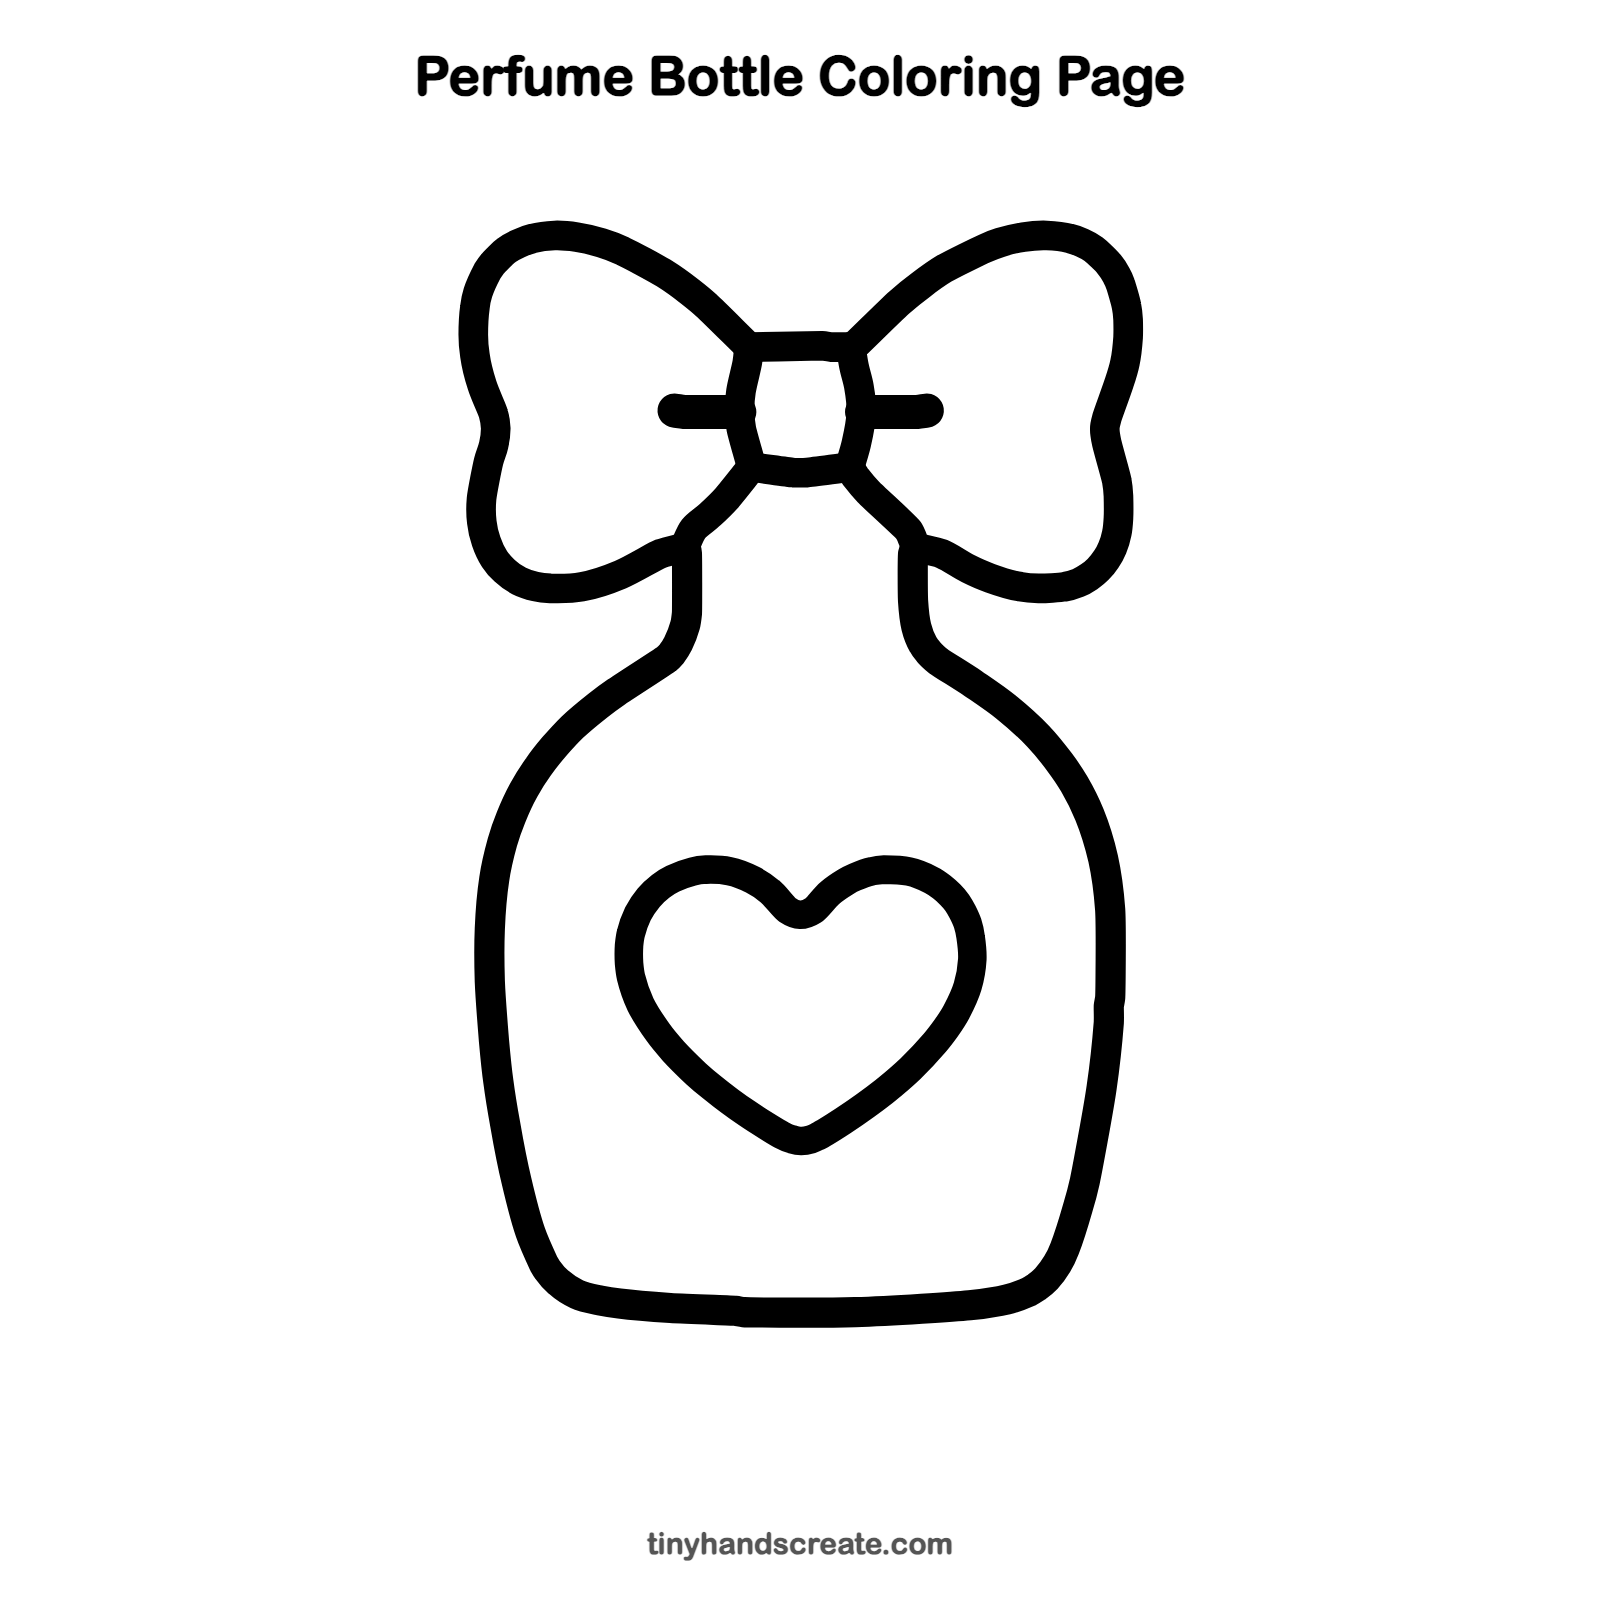
Want to go straight to coloring? Open this perfume bottle coloring page at full size and print it. It is the same drawing you just learned, with clean lines ready for crayons or markers.
How to color your perfume bottle drawing
Try pink or purple for the bottle and a bright color like yellow or red for the bow. For a creative twist, color the heart with sparkles or tiny dots, or give the bow stripes.
Perfume bottle fun fact for kids
The word perfume comes from the Latin words per fumum, which mean through smoke, because the first perfumes were made by burning scented woods and resins.
Questions about drawing a perfume bottle
What shapes do I need to draw a perfume bottle?
You need a rounded bottle shape with a skinny neck, a small rounded square for the knot, two big puffy loops for the bow, and a heart. Each one is easy on its own.
How do I make my perfume bottle look fancy?
Color the heart with sparkles or add a pattern of dots and stars on the bottle. You can also draw a bigger bow or make the loops extra puffy.
How do I draw a bow that looks even on both sides?
Draw one loop, then copy it on the other side starting from the same knot. Compare the heights and widths, and adjust the second loop until it matches.