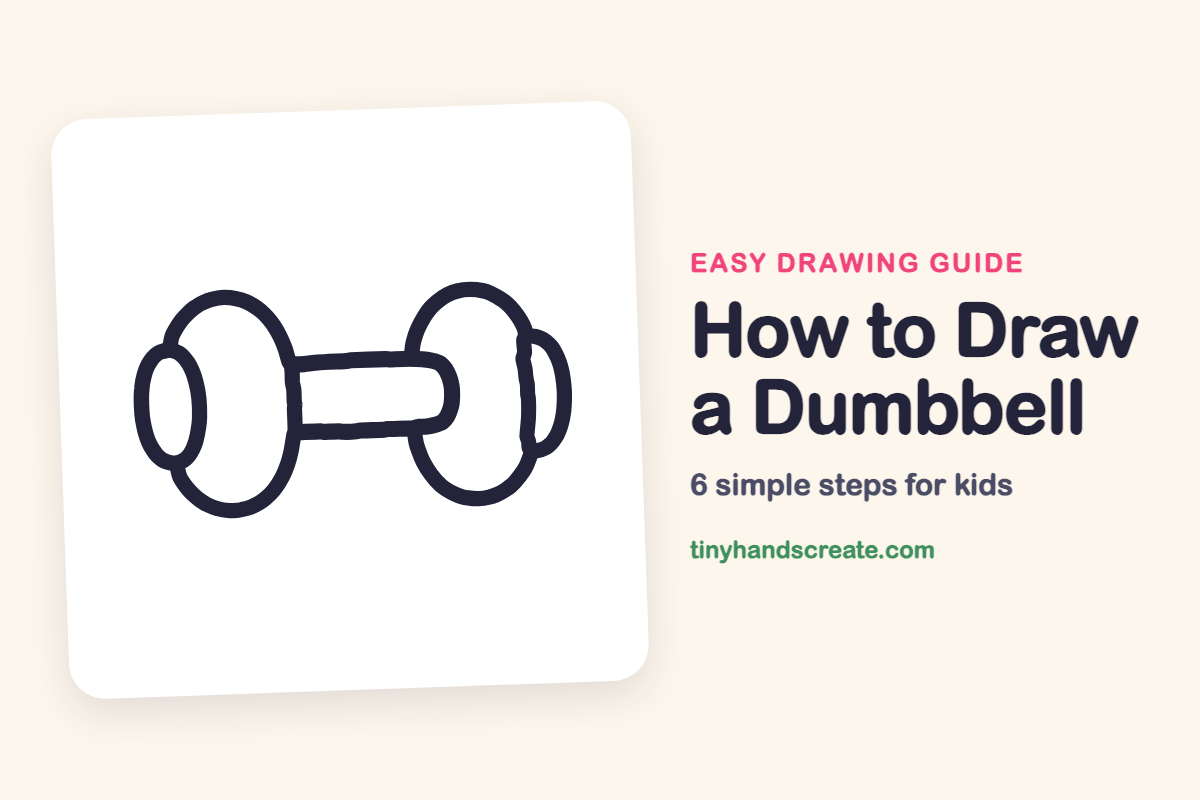
How to Draw a Dumbbell (Easy Step by Step)
Learn to draw a dumbbell using simple shapes like ovals and a rounded tube. This step-by-step guide breaks down the process into drawing weights, a handle, and end caps, making it an easy first drawing project.
- Understand a dumbbell is just ovals and a bar.
- Draw two large ovals to form the weights.
- Create the handle using a rounded tube shape.
- Add small shapes for the dumbbell's end caps.
- Use this guide for an easy first drawing project.
This post contains affiliate links. As an Amazon Associate I earn from qualifying purchases.
A dumbbell looks tricky, but it is really just ovals joined by a bar. You will draw two big ovals for the weights, a rounded tube for the handle, and two small shapes for the end caps. It is a good first drawing because every part is a simple shape.
- Easy
- 10 minutes
- 6 steps
You need: paper, a pencil, an eraser, and crayons or markers for coloring.
Start drawing


In this article (7 sections)
How to draw a dumbbell step by step
How to Draw a Dumbbell · tinyhandscreate.com
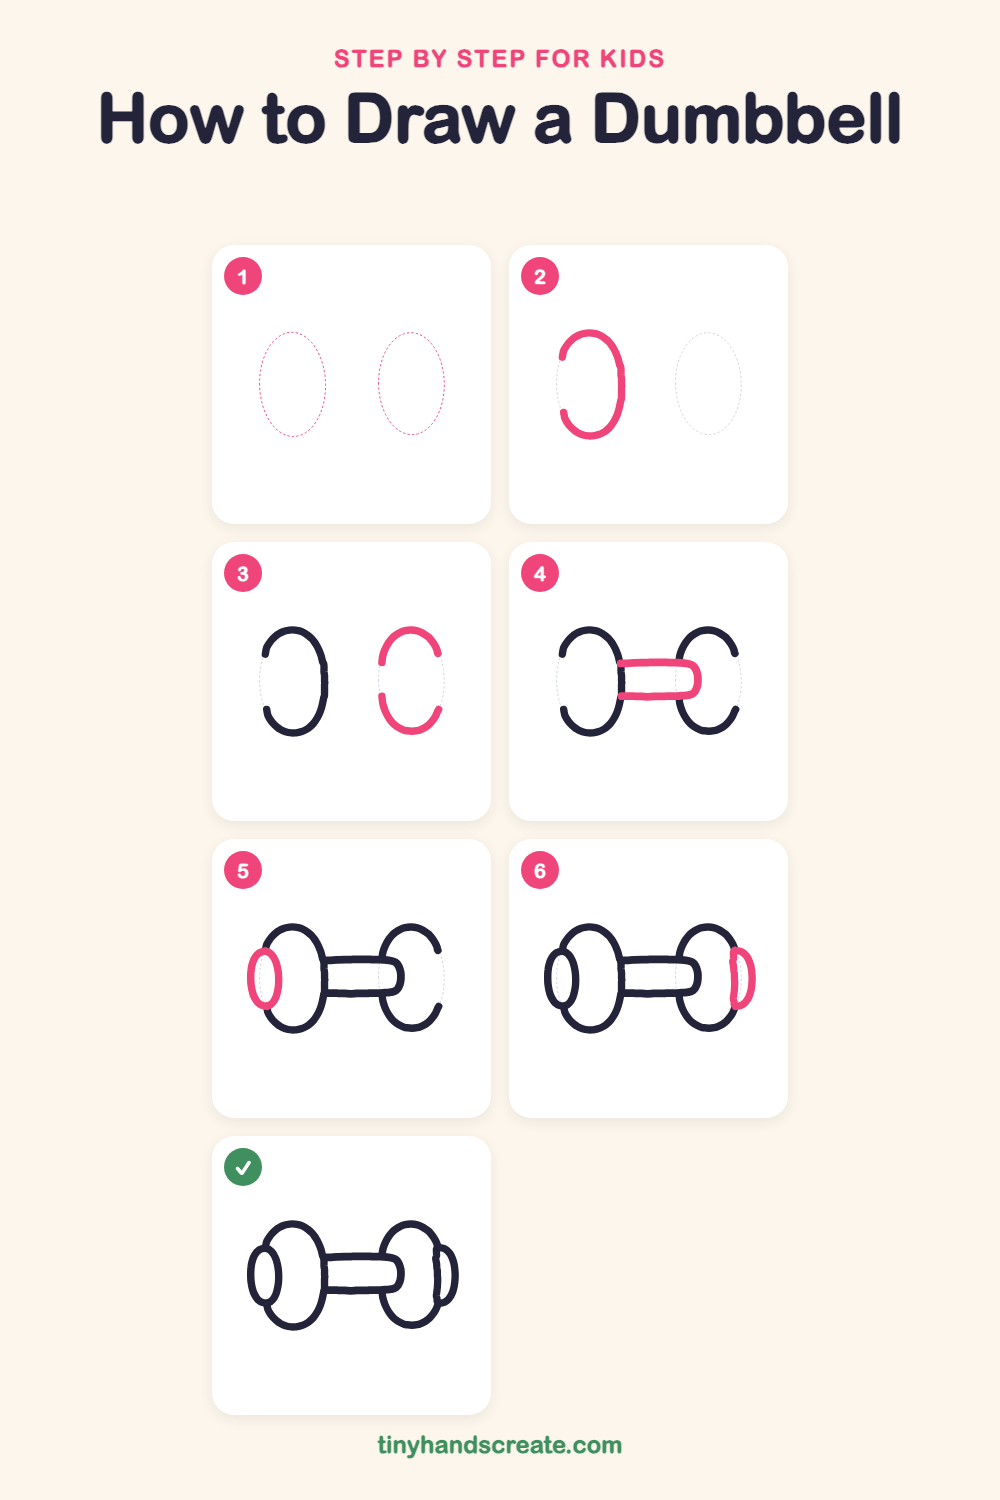
Step 1: Guide shapes
Lightly sketch these 2 ovals. They only show where the big parts go, so press softly. You will erase them at the end.
Step 2: The left weight
Draw a big tall oval on the left side, like an egg standing up. This is the heavy weight plate.
Step 3: The right weight
On the right side, draw another big tall oval the same size as the first one. Leave a gap between the two ovals for the handle.
Step 4: The handle bar
Draw two straight lines from the right edge of the left oval across the gap, one near the top and one near the bottom. Let them go a little way into the right oval and close that end with a rounded curve, so the bar looks like a fat tube.
Step 5: The left end cap
On the far left, draw a small tall oval that overlaps the edge of the big oval. This is the end of the dumbbell.
Step 6: The right end cap
On the far right, draw a curved line that bows outward, starting and ending on the edge of the big oval. Then draw a short straight line down its inner side to close it into a D shape.
All done!
Erase the guide shapes, go over your lines, then color it in.
Finished your dumbbell? Keep the pencils out and learn how to draw a rocket or how to draw a shooting star next.
Tips for drawing a dumbbell
- Make the two big ovals about the same height. Sketch the first one lightly, then compare the second one to it before you press harder.
- Keep the two handle lines straight and the same distance apart. A ruler or the edge of a book can help you check.
- Draw the small end caps last, so they sit on top of the big ovals and look like they are in front.
Free dumbbell coloring page
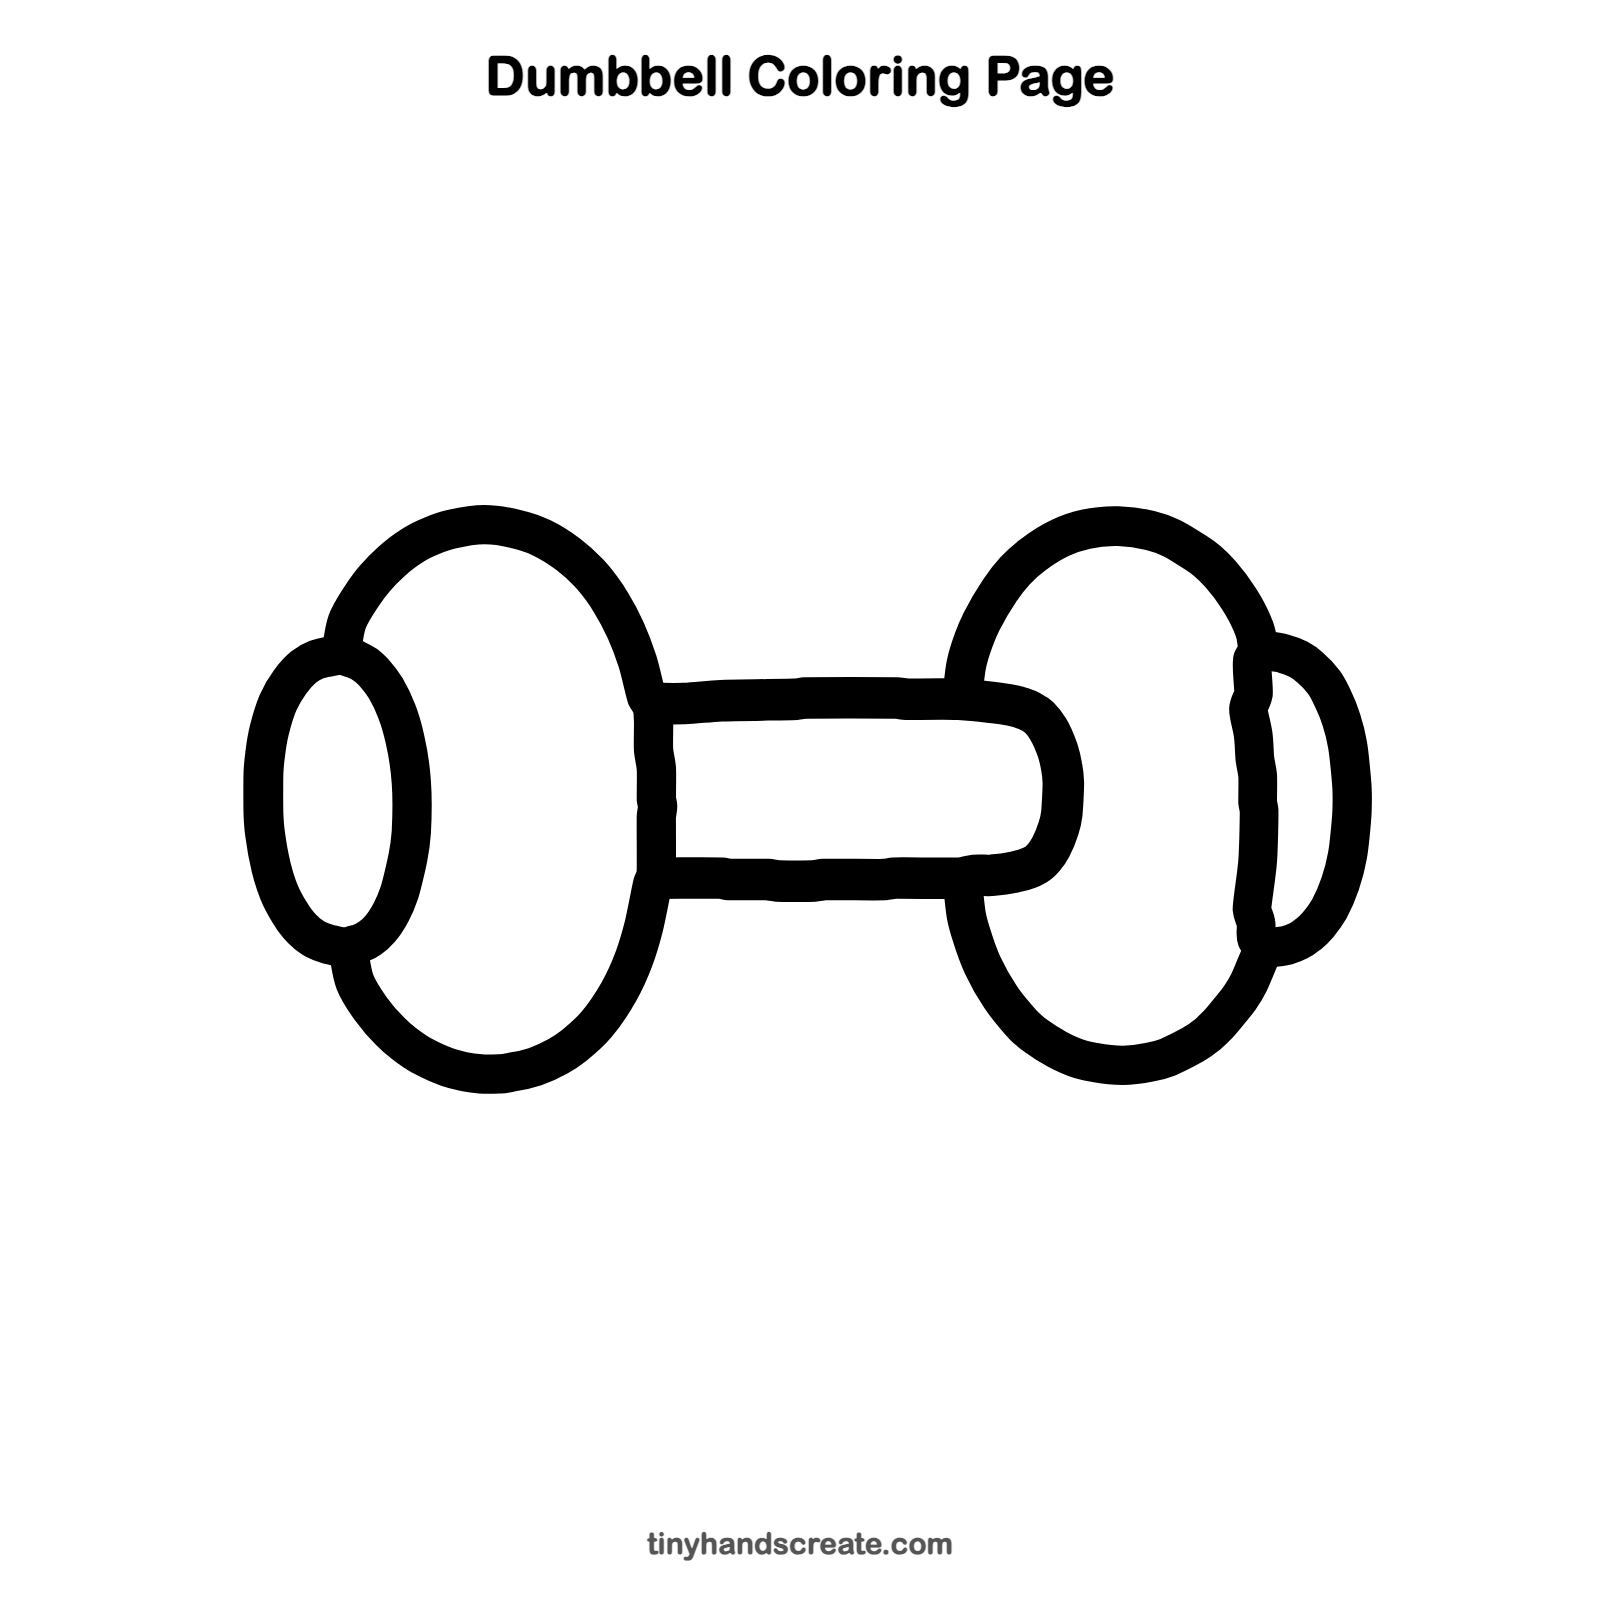
Want to go straight to coloring? Open this dumbbell coloring page at full size and print it. It is the same drawing you just learned, with clean lines ready for crayons or markers.
How to color your dumbbell drawing
Try gray or silver for a real metal look, or pick bright colors for the weights, like blue and green. For a creative twist, color the left weight and the right weight in different colors and give your dumbbell a name.
Dumbbell fun fact for kids
The word dumbbell comes from "dumb," an old word for silent. Long ago, people exercised by swinging heavy church-style bells with the clapper removed, so the bell made no sound.
Questions about drawing a dumbbell
What shapes do I need to draw a dumbbell?
You need two big ovals for the weights, a long rounded tube for the handle, and two small end caps, one oval and one D shape. Everything else is just where those shapes overlap.
How do I make my dumbbell look round and not flat?
Draw the small end cap so it overlaps the edge of the big oval. That overlap makes it look like the weight has some thickness.
Why does my dumbbell look lopsided?
The two big ovals may be different sizes. Sketch both lightly first, check that they match, and then trace over them with a darker line.