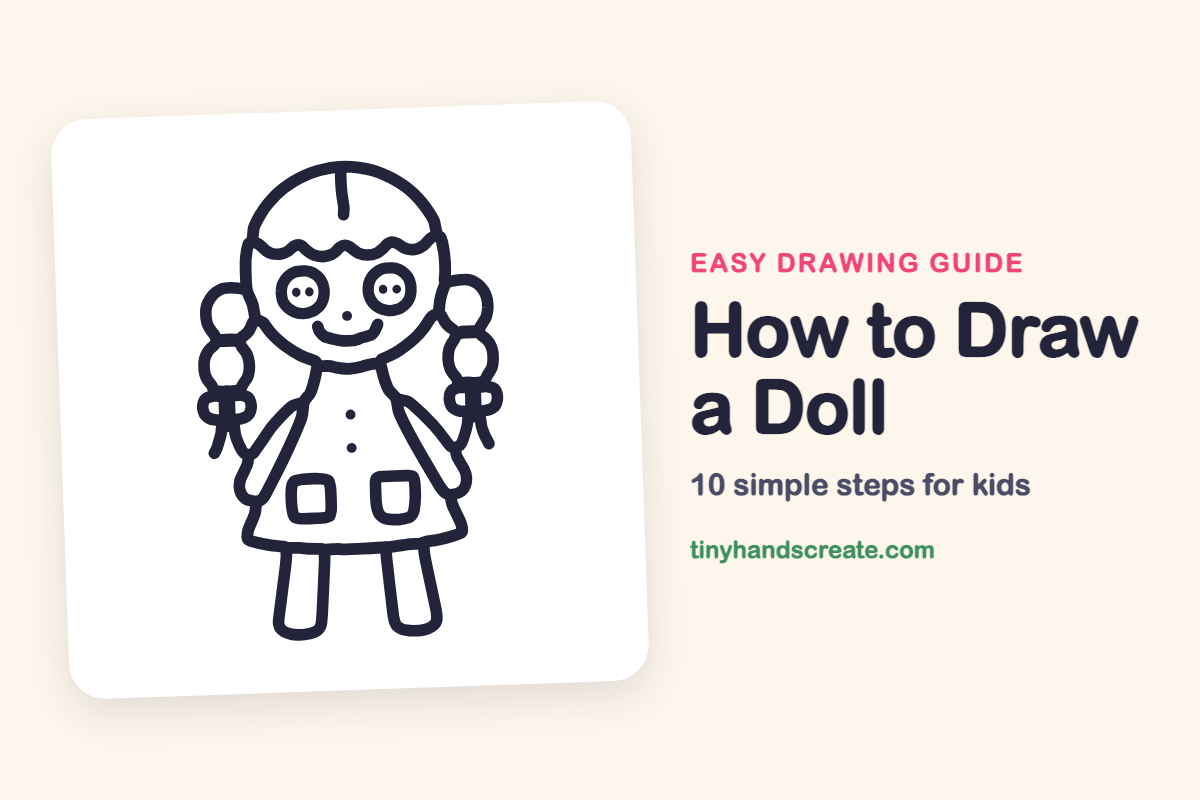
How to Draw a Doll (Easy Step by Step)
A doll is a friendly drawing to try because almost everything is a circle, a rectangle, or a triangle. You build the head from a big circle, the dress from a triangle, and the braids from stacked circles. Once you know those shapes, you can make a doll that looks like anyone you like.
- Easy
- 12 minutes
- 10 steps
You need: paper, a pencil, an eraser, and crayons or markers for coloring.
Start drawingIn this article (7 sections)
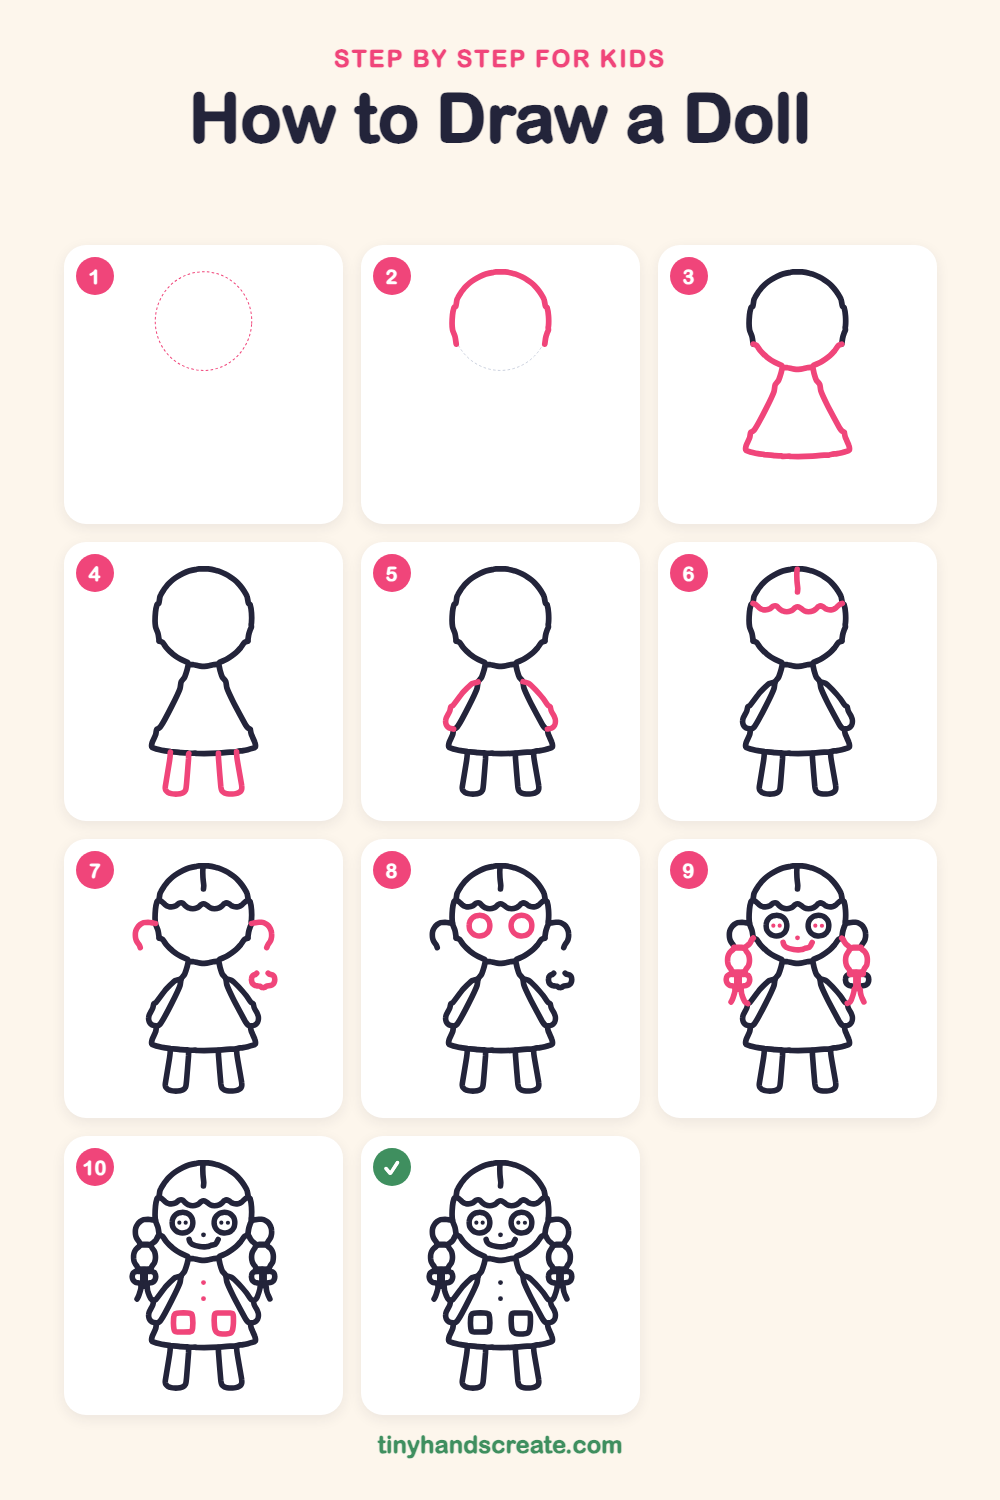
How to draw a doll step by step
How to Draw a Doll · tinyhandscreate.com
Step 1: Guide shapes
Lightly sketch this oval. It only shows where the big parts go, so press softly. You will erase it at the end.
Step 2: Top of the head
Near the top of the page, draw a curved line like an upside-down U for the top and sides of the doll's head. Leave the bottom open for now and leave plenty of room underneath for the body.
Step 3: Chin and dress
Finish the head by curving a line across the bottom for the chin. Then draw two straight lines sloping outward from under the chin like a triangle, and close the bottom with a gently curved hem.
Step 4: The legs
Under the dress, draw two long, skinny rectangles with rounded bottoms for the legs. Leave a small gap between them.
Step 5: The arms
Draw a long, curved sausage shape on each side of the dress, starting at the shoulder and ending in a rounded hand near the hem.
Step 6: Bangs and part
Inside the top of the head, draw a wavy line like a little row of hills for the bangs. Add one short straight line going up from the bangs to the top of the head for the hair part.
Step 7: Hair loops
On each side of the head, draw a curved hook that starts at the head and swoops outward and down. Near the right side, add a small loop for the start of a hair bow.
Step 8: Big round eyes
Draw two big circles in the middle of the face, side by side, under the bangs. Leave them empty for now.
Step 9: Eyes, nose, smile, braids
Add two tiny dots inside each eye circle, a small dot for the nose between the eyes, and a wide curved smile underneath. Then, on each side of the head, draw two stacked circles for a braid and finish each braid with a small bow and two little tails.
Step 10: Buttons and pockets
Draw two little dots in a column down the middle of the dress for buttons. Then draw a square with rounded corners on each side near the bottom for pockets.
All done!
Erase the guide shapes, go over your lines, then color it in.
Finished your doll? Keep the pencils out and learn how to draw a magnifying glass or how to draw an hourglass next.
Tips for drawing a doll
- Draw the head carefully and take your time, because the hair and face all go on it. A light oval sketch helps you get it round.
- The braids are the trickiest part. Draw two stacked circles on each side of the head, and let them touch.
- Make the two eyes the same size by drawing the left one, then putting the right one at the same height on the other side of the nose.
Free doll coloring page
Want to go straight to coloring? Open this doll coloring page at full size and print it. It is the same drawing you just learned, with clean lines ready for crayons or markers.
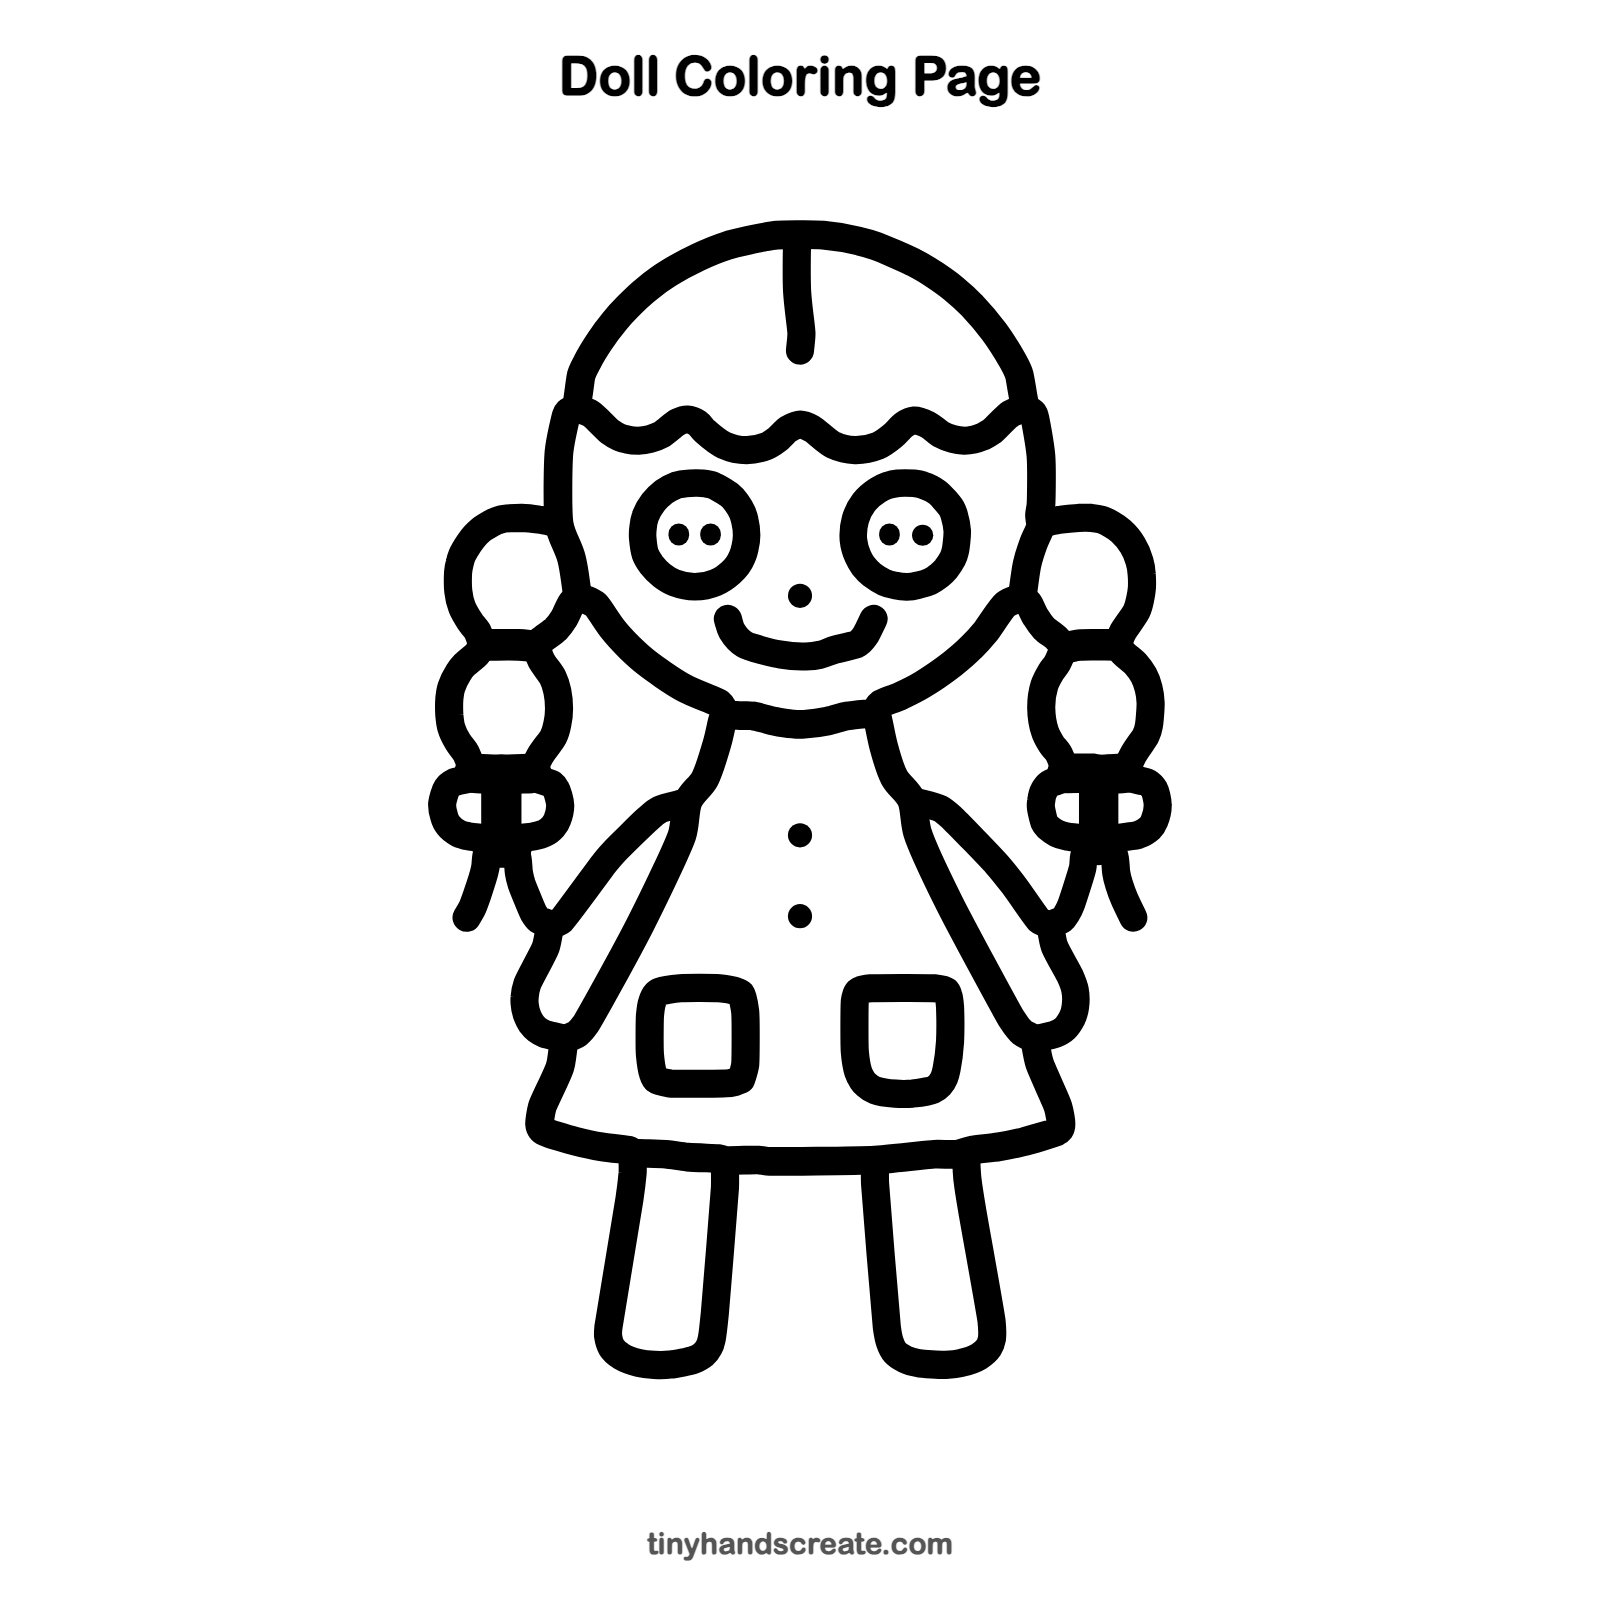
How to color your doll drawing
Try yellow or brown hair, a bright dress, and rosy cheeks. For a creative twist, give your doll a patchwork dress with a different pattern on each pocket.
Doll fun fact for kids
Dolls are among the oldest toys in the world. Children played with dolls made of wood, clay, and rags in ancient Egypt, Greece, and Rome thousands of years ago.
Questions about drawing a doll
What shapes do I need to draw a doll?
You need a big circle for the head, a triangle for the dress, and rectangles for the legs. Small circles make the eyes and braids, and little dots make the buttons.
How do I make my doll look cuter?
Draw the eyes extra big and round with little dots inside. Add a wide smile and two bows on the braids.
How do I draw doll hair?
Draw wavy bangs across the forehead and a short line for the part. Then add a braid made of two stacked circles on each side of the head.