How to Draw a Toy Car (Easy Step by Step)
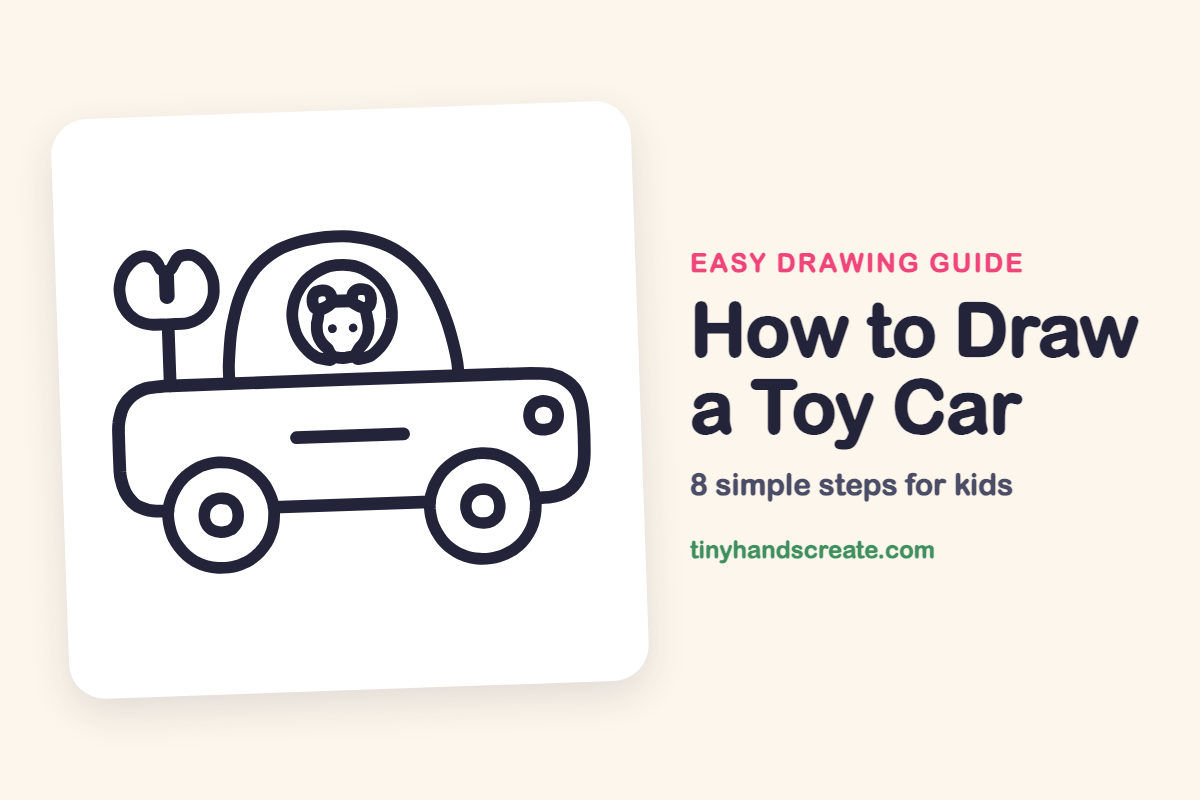
A toy car is a fun first drawing because it is made almost entirely from circles and rounded lines. This one has a little bear driver and a wind-up key on the back. Once you can draw a rounded body and a few circles, you can build the whole car.
- Easy
- 12 minutes
- 8 steps
You need: paper, a pencil, an eraser, and crayons or markers for coloring.
Start drawingIn this article (7 sections)
How to draw a toy car step by step
How to Draw a Toy Car · tinyhandscreate.com
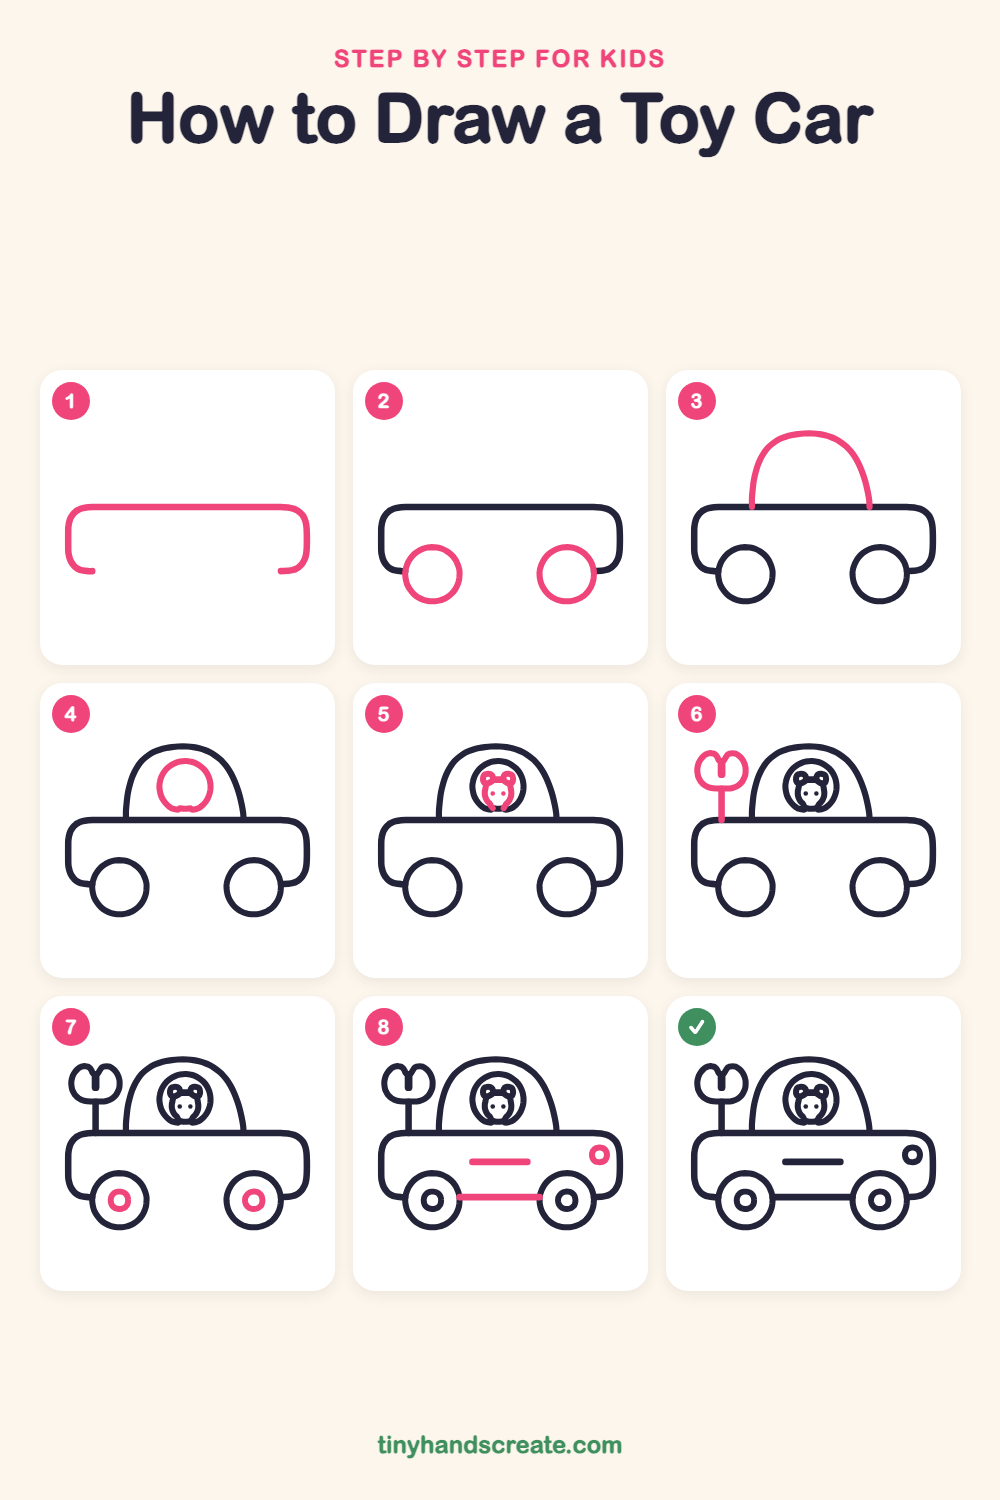
Step 1: The car body
Draw a long line across the top with rounded corners. At each end, curve it down and curl the end inward a little, like an upside-down bowl that is open at the bottom.
Step 2: Two big wheels
Draw two big circles at the bottom of the car, one near the left end and one near the right. Let the top of each circle tuck up into the body.
Step 3: The dome roof
On top of the body, draw a tall curved arch like a rainbow. Start on the top line of the body, go up and over, then come back down to the top line again.
Step 4: The round window
Inside the dome, draw a circle for a window. Keep it near the top of the dome with a little space around it.
Step 5: The bear driver
Inside the window, draw a small round bear face with two tiny round ears on top. Add two little dots for eyes in the middle of the face.
Step 6: The wind-up key
Behind the car, draw a short straight line going up from the body. At the top, draw a heart-like loop with a dip in the middle, and add a short line down into the dip.
Step 7: Wheel centers
Draw a small circle in the middle of each wheel. These are the hubs that make the wheels look real.
Step 8: Little details
Add a small circle near the front end for a headlight. Draw a short straight stripe on the side of the body, and a straight line between the wheels along the bottom.
All done!
Go over your lines with a marker, then color it in.
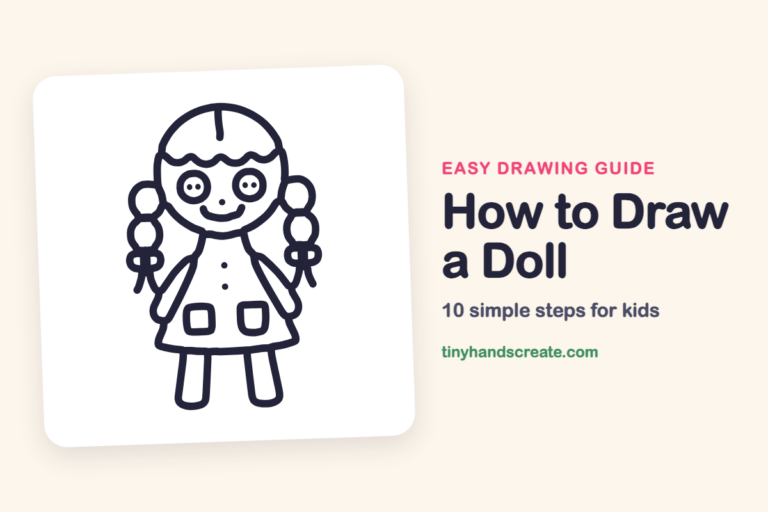
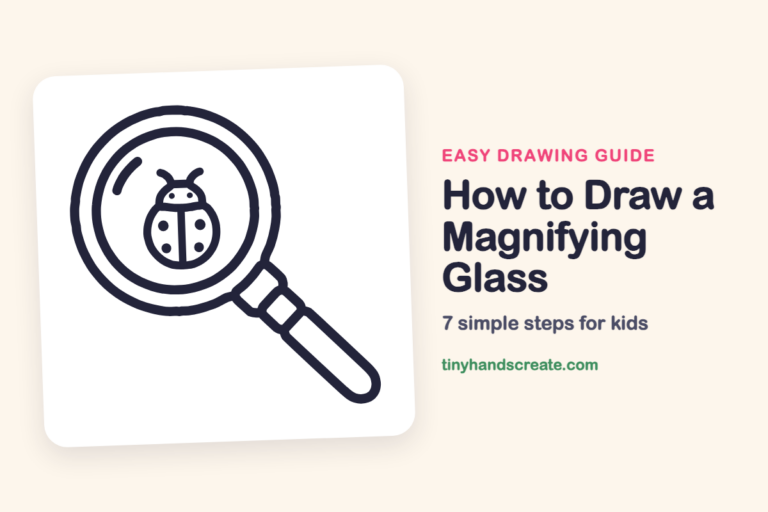
Finished your toy car? Keep the pencils out and learn how to draw a doll or how to draw a magnifying glass next.
Tips for drawing a toy car
- Draw the two wheels the same size. Trace around a coin or a bottle cap if your circles come out wobbly.
- Let the tops of the wheels tuck into the body a little. That makes the car look like it sits on its wheels instead of floating.
- Draw the key after the bear. Start with the short stem, then add the loop at the top with a dip in the middle so both bumps match.
Free toy car coloring page
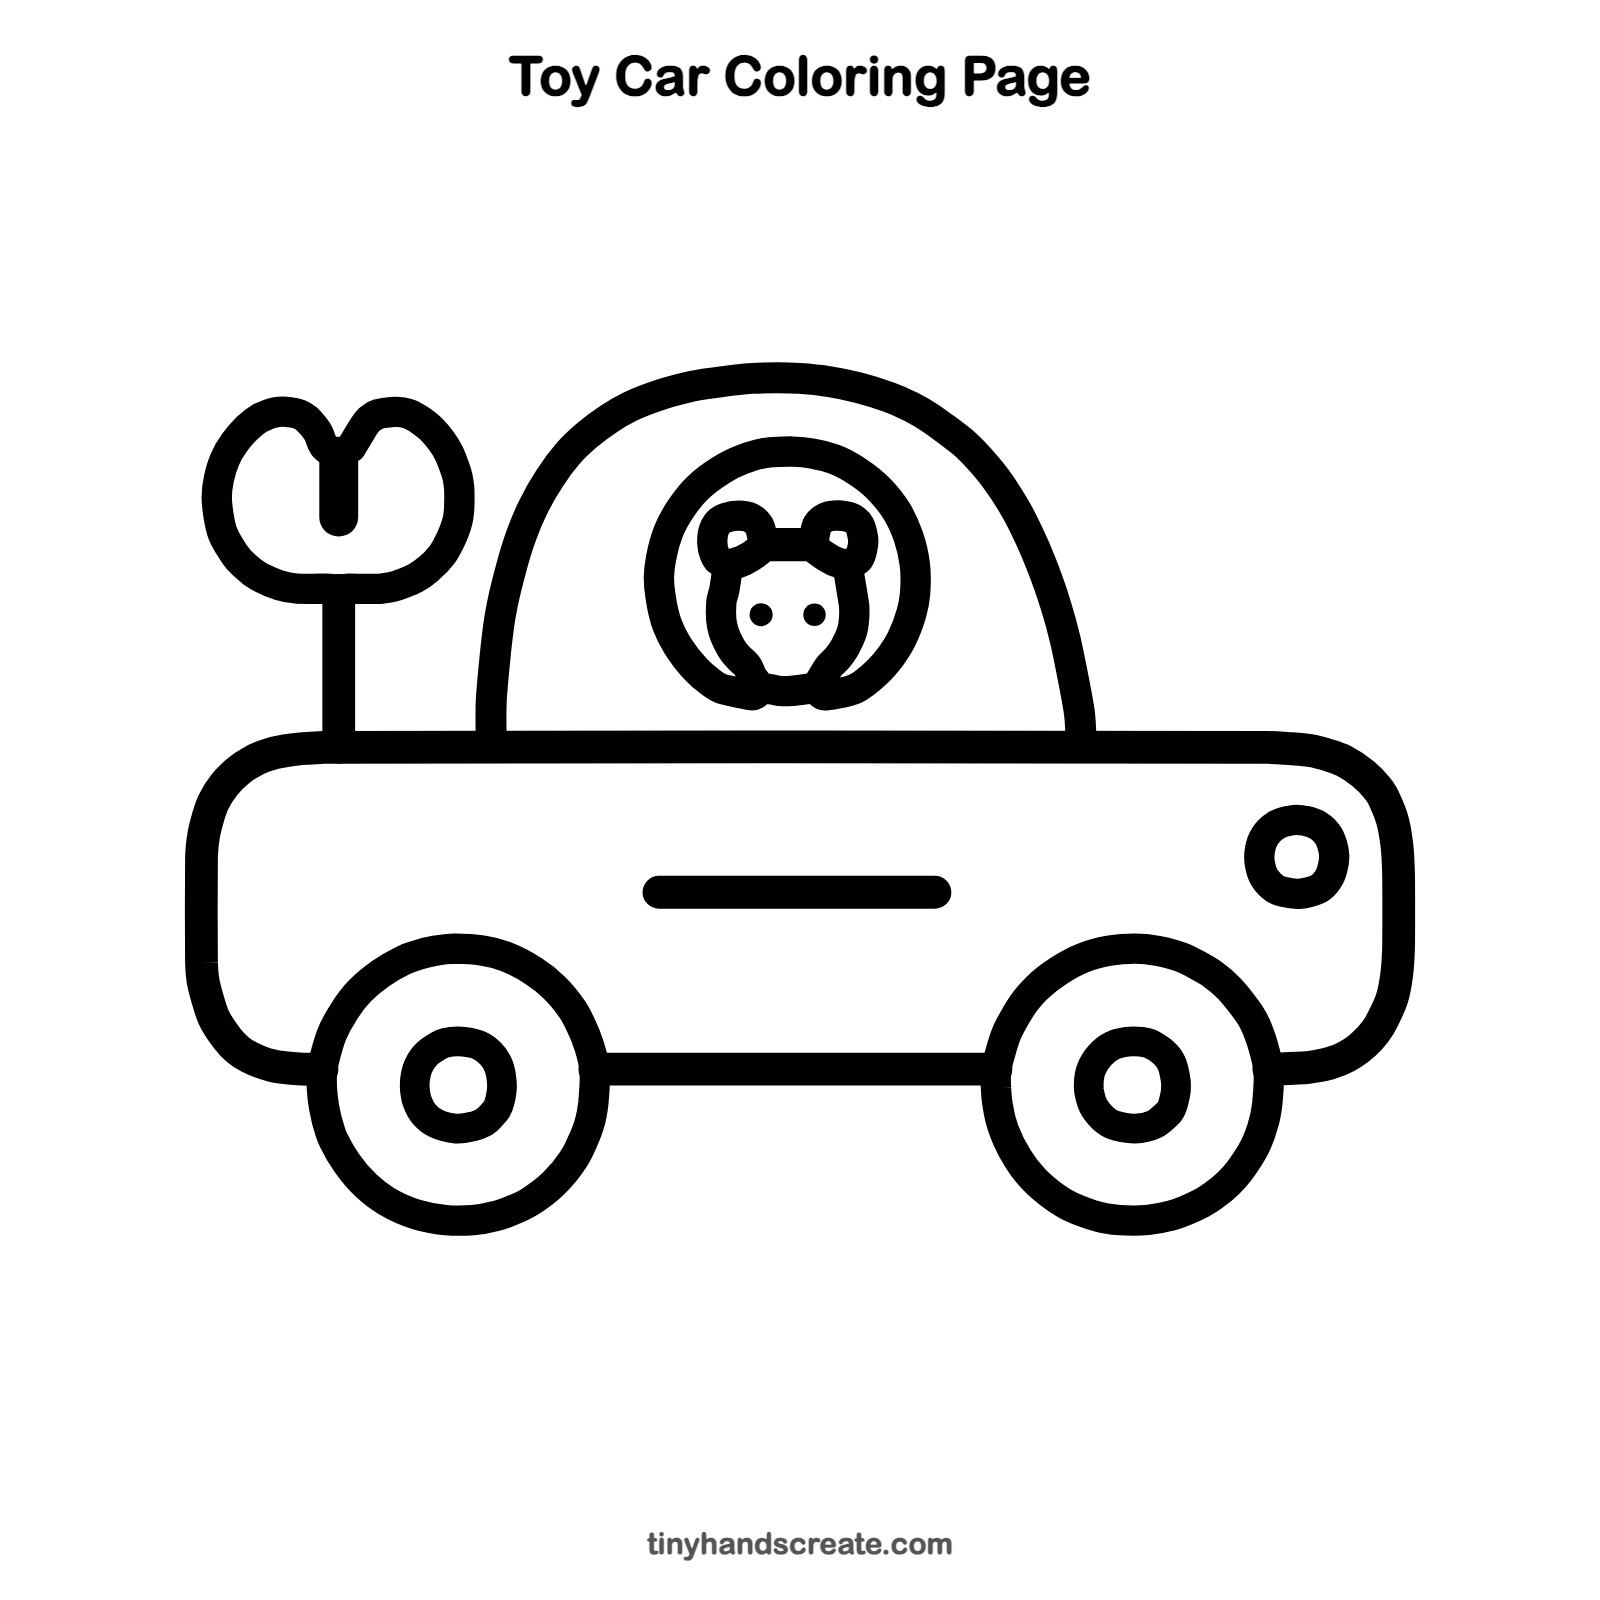
Want to go straight to coloring? Open this toy car coloring page at full size and print it. It is the same drawing you just learned, with clean lines ready for crayons or markers.
How to color your toy car drawing
Try a red or yellow body, a blue window, and a brown or pink bear. You could also color each wheel a different color, or make the stripe on the side a bright color.
Toy car fun fact for kids
Wind-up toys have a spring inside. Turning the key twists the spring tight, and when you let go, the spring slowly unwinds and turns the wheels so the toy moves along by itself.
Questions about drawing a toy car
What shapes do I need to draw a toy car?
You need a rounded body line, a tall arch for the roof, and circles for the wheels, window, and headlight. A few short lines finish the details.
How do I make my toy car look cuter?
Make the wheels big and the body round and chunky. A little bear driver in the window and a wind-up key on the back make it look like a real toy.
How do I draw a wind-up key?
Start with a short straight line going up from the car. At the top, draw a loop shaped like a heart or a tulip, then add a short line in the middle dip.