How to Draw a Coffee Grinder (Easy Step by Step)
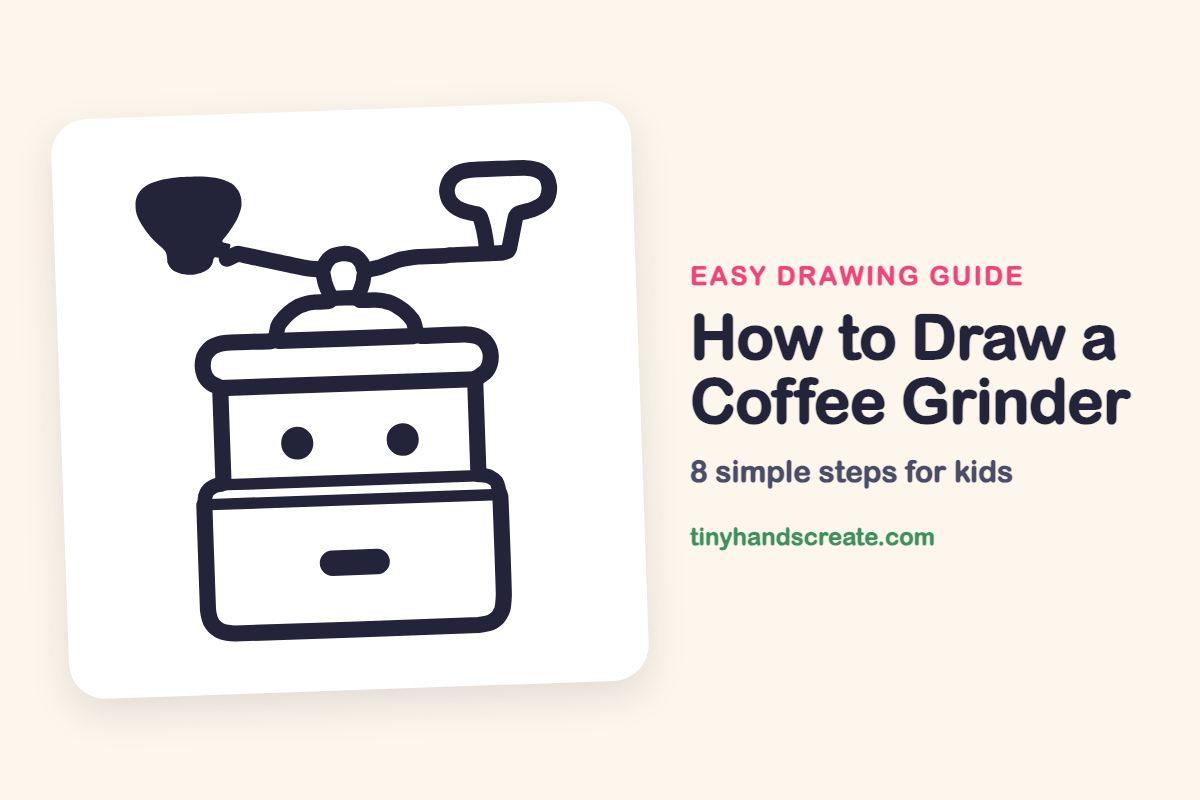
This article teaches you how to easily draw a coffee grinder using simple shapes like boxes, a half circle, and a bendy crank. You'll learn to transform it into a friendly robot face, making drawing fun for kids.
- Easily draw a coffee grinder using basic shapes like boxes and a half circle.
- Transform your coffee grinder drawing into a friendly robot face.
- Utilize straight lines, round shapes, and a solid cone for your design.
This post contains affiliate links. As an Amazon Associate I earn from qualifying purchases.
A coffee grinder is a simple machine built from boxes, a half circle, and a bendy crank. With two dots and a little mouth it turns into a friendly robot face, which makes it fun for kids to draw. You only need straight lines, round shapes, and one solid cone.
- Medium
- 15 minutes
- 8 steps
You need: paper, a pencil, an eraser, and crayons or markers for coloring.
Start drawing


In this article (7 sections)
How to draw a coffee grinder step by step
How to Draw a Coffee Grinder · tinyhandscreate.com
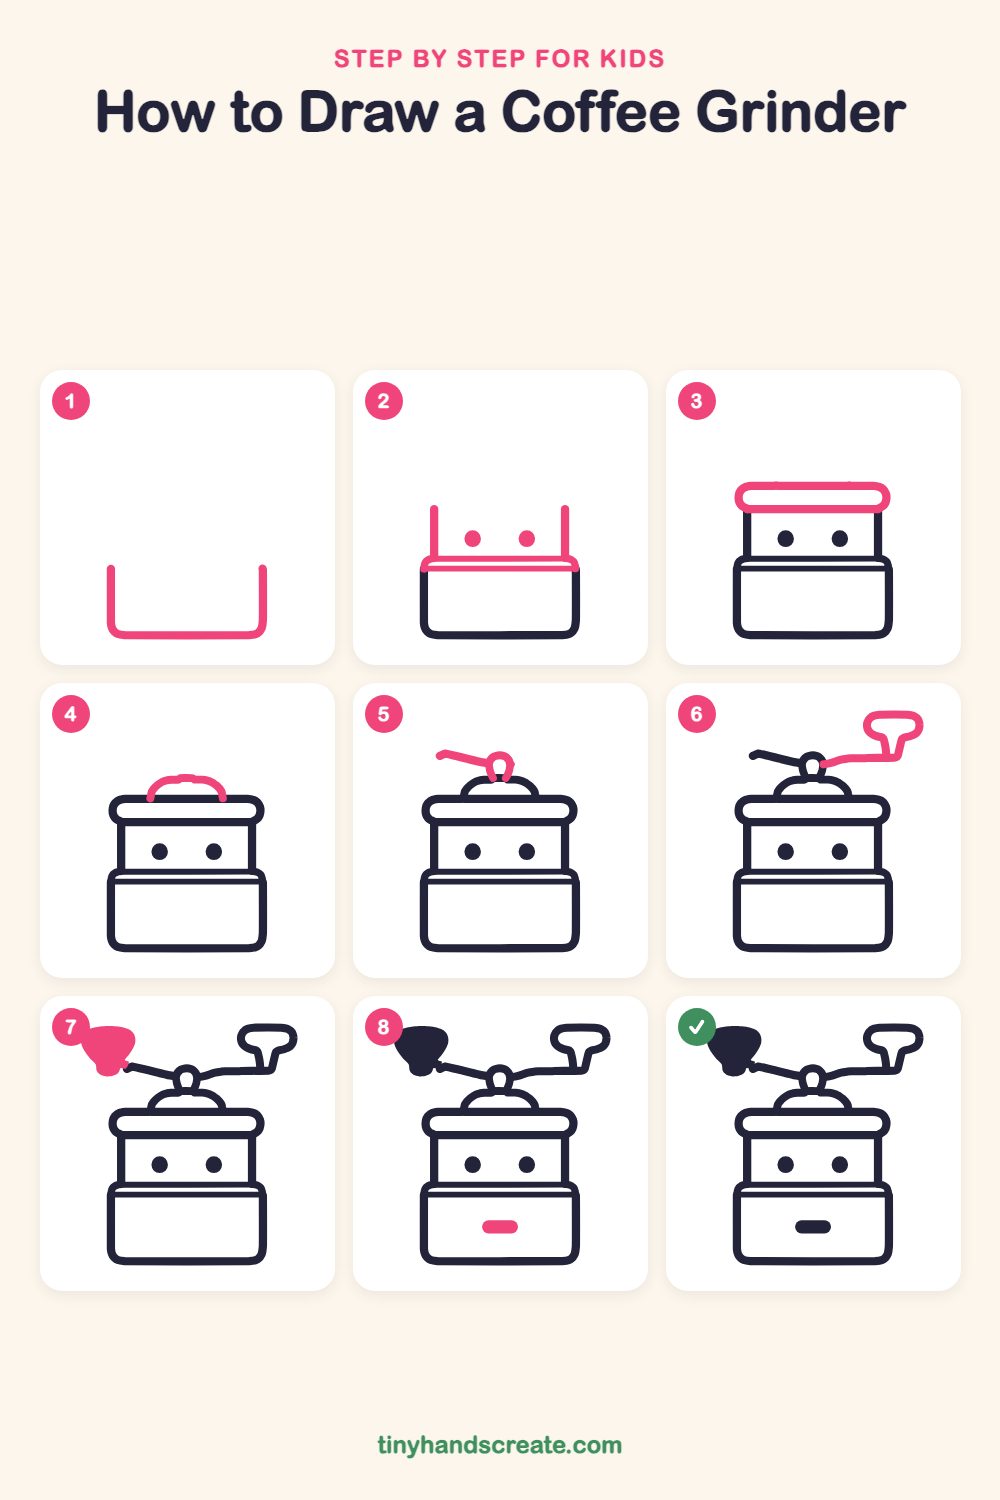
Step 1: The drawer
Start near the top left and draw a line down, curve around a rounded bottom corner, go straight across, then curve up the right side. It looks like a wide, open box.
Step 2: Box sides and eyes
Draw a flat line across the top of the drawer, then two short straight lines going up from its ends. Add two round dots between them for eyes.
Step 3: The wide lid
On top of the two tall lines, draw a wide, flat pill shape with round ends. It sticks out a little past the box on both sides.
Step 4: The dome
Draw a half circle bump on top of the lid, like a little hill. Start and end it on the lid's top edge.
Step 5: Hub and left arm
On top of the dome, draw a small loop shaped like a tiny ring. Then draw a long line going out to the left from the loop, tilting slightly up.
Step 6: The crank handle
From the right side of the loop, draw a long line going out to the right. At its end, draw a rounded flat knob shaped like a little T.
Step 7: The hopper bowl
At the end of the left line, draw a cone shape, wide at the top and narrow at the bottom, like an acorn cap. Fill it in solid.
Step 8: The mouth
In the middle of the bottom drawer, draw a short, rounded bar for a mouth.
All done!
Go over your lines with a marker, then color it in.
Finished your coffee grinder? Keep the pencils out and learn how to draw a rocket or how to draw a shooting star next.
Tips for drawing a coffee grinder
- Draw the drawer first, then the sides. The wide lid should stick out a little past the box, like a hat resting on top.
- Draw the crank arm in one slow, steady line from the small loop, then add the flat knob at the end.
- Use a ruler or the edge of a book for the long straight sides, then draw the round parts freehand.
Free coffee grinder coloring page
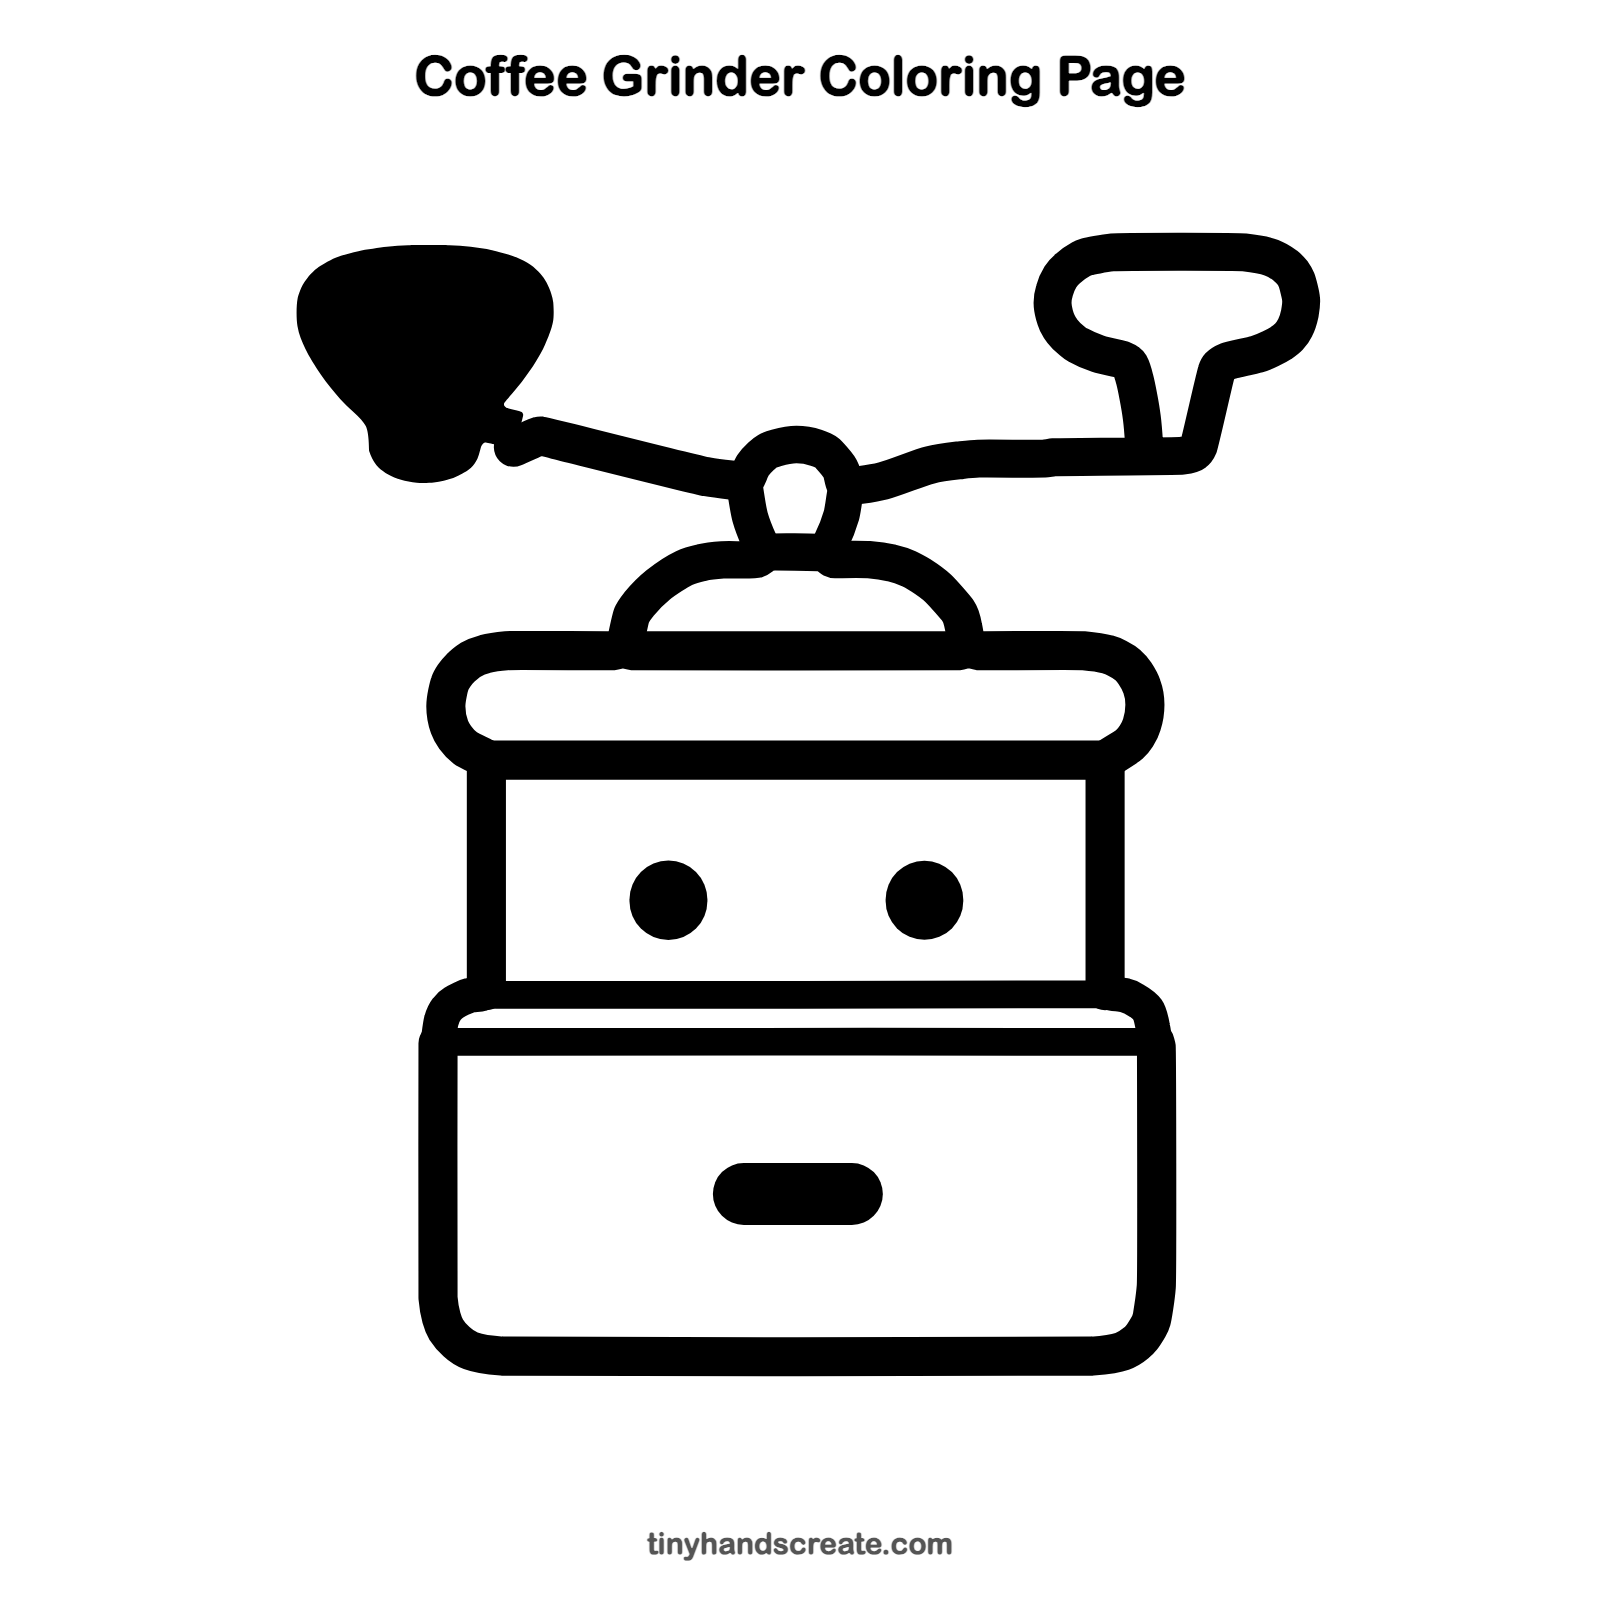
Want to go straight to coloring? Open this coffee grinder coloring page at full size and print it. It is the same drawing you just learned, with clean lines ready for crayons or markers.
How to color your coffee grinder drawing
Try warm browns and tans for the wood, and gray for the metal crank and the cone. For a creative twist, give the grinder rainbow stripes or draw coffee beans around it.
Coffee grinder fun fact for kids
A hand coffee grinder crushes coffee beans between two rough metal pieces called burrs. You turn the crank to spin them, and the ground coffee falls into the drawer below.
Questions about drawing a coffee grinder
What shapes do I need to draw a coffee grinder?
You need a wide open box for the drawer, two tall lines for the sides, a long pill shape for the lid, a half circle for the dome, and a small loop. The crank is a long line with a flat knob, and the hopper is a solid cone.
How do I make my coffee grinder look cuter?
Add two round eyes and a small mouth bar, like this drawing does. You can also add rosy cheeks or a tiny smile to give it a personality.
How do I draw the crank handle?
Start at the small loop on top and draw a long line that goes out to the right. Finish with a flat, rounded T-shaped knob at the end.