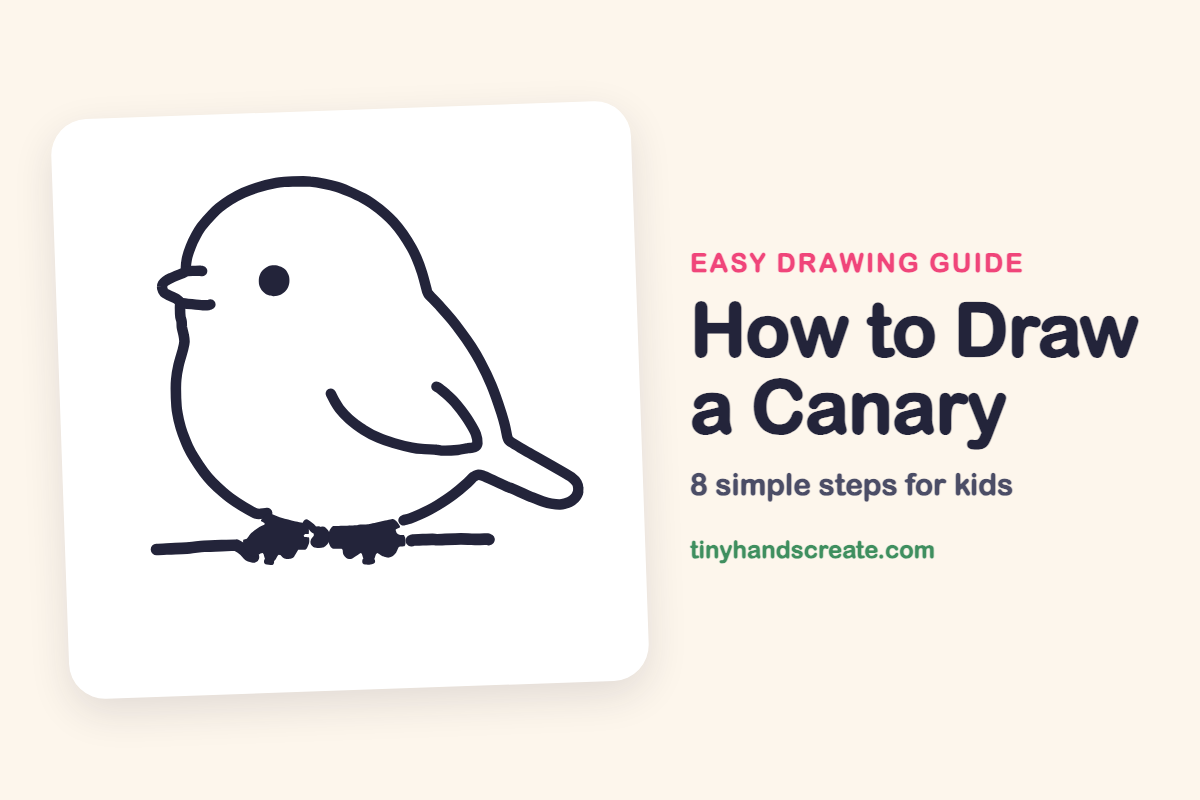
How to Draw a Canary (Easy Step by Step)
Learn to draw a canary easily by starting with a big round outline for its head and body, then adding a pointed beak, tail, and curved wing. This guide helps you master the basic shapes to draw this charming songbird.
- Begin your drawing with a single large round outline for the canary's head and body.
- Add a small pointed beak, a distinct pointed tail, and a curved wing to your bird.
- Understand the placement of each basic shape to easily replicate your canary drawing.
- Discover why the simple structure of a canary makes it an excellent first drawing project.
This post contains affiliate links. As an Amazon Associate I earn from qualifying purchases.
A canary is a tiny, plump songbird, and that makes it a great first drawing. It is built from one big round outline for the head and body, a small pointed beak, a pointed tail, and a curved wing. Once you know where each shape goes, you can draw it again and again.
- Easy
- 10 minutes
- 8 steps
You need: paper, a pencil, an eraser, and crayons or markers for coloring.
Start drawing


In this article (7 sections)
How to draw a canary step by step
How to Draw a Canary · tinyhandscreate.com
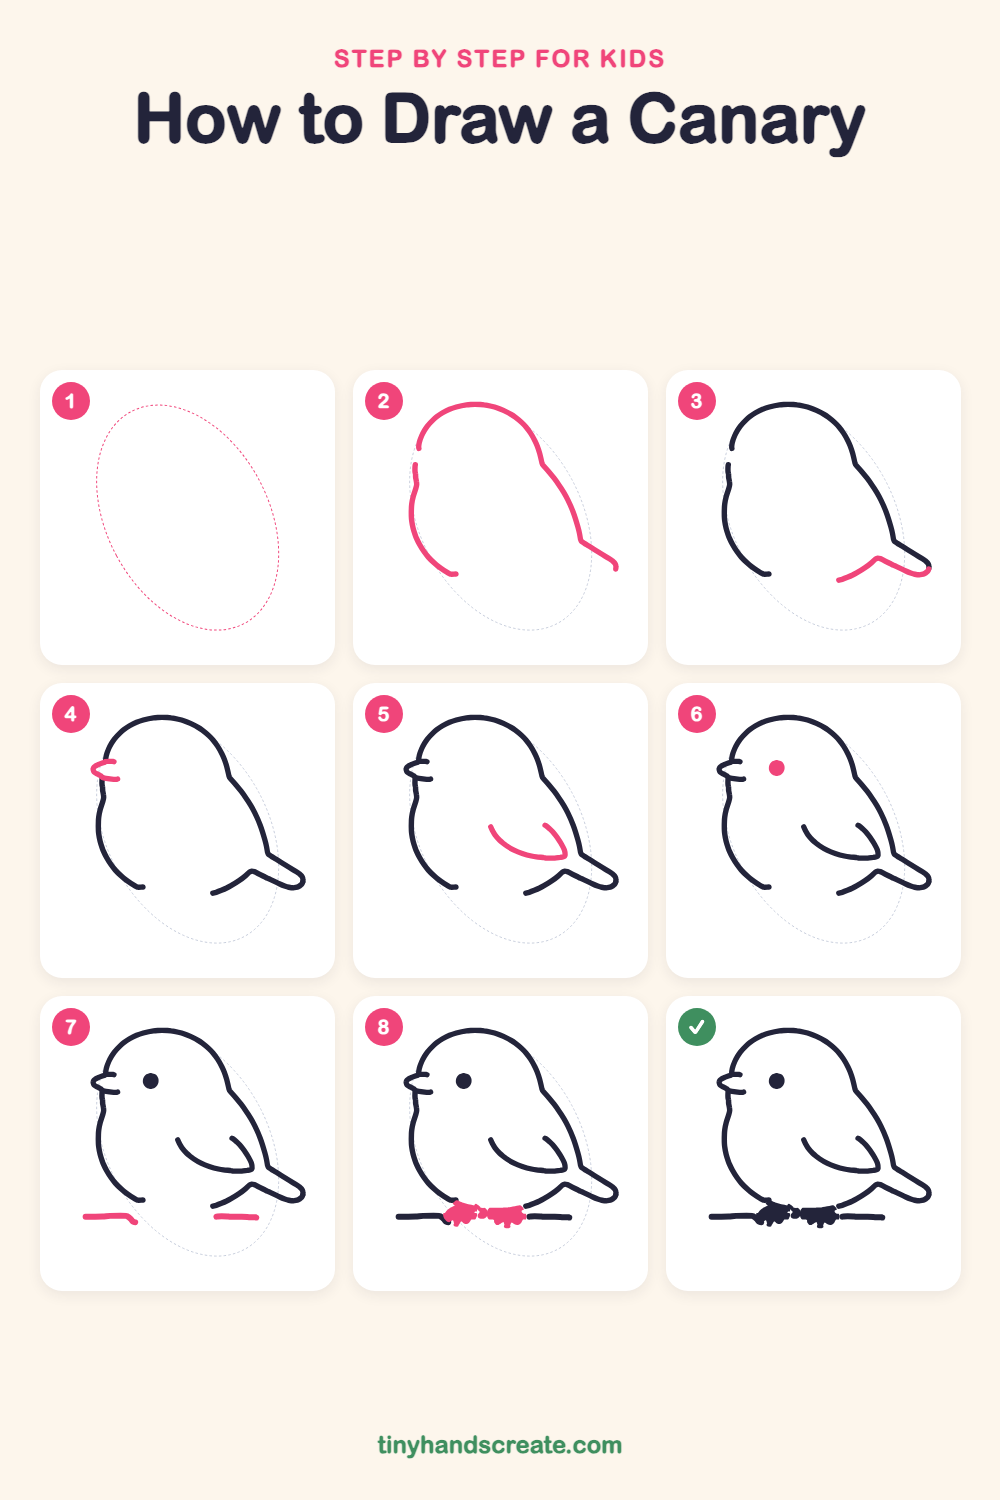
Step 1: Guide shapes
Lightly sketch this oval. It only shows where the big parts go, so press softly. You will erase it at the end.
Step 2: Head, back and belly
Start at the front of the head and draw a big curve up over the top, down the back, and out to the right where the tail will begin. Then draw the front of the body down the left side and round the belly, stopping at the bottom. Leave the lower side open.
Step 3: The tail
Near the lower right, start under the belly and draw a gentle curve that swoops out to a rounded tip. Make the tail point out to the right, joining the line from the back.
Step 4: The beak
On the left side of the head, draw a tiny open beak shaped like a sideways V. Make two short lines that meet at a point sticking out to the left.
Step 5: The wing
Inside the body, draw a curved line like a smile for the wing. Add a short curve that rises from its right end toward the tail.
Step 6: The eye
Behind the beak and a little above it, draw a small solid circle for the eye. Press a little harder so it is nice and dark.
Step 7: The branch
Under the bird, draw two short straight lines, one on the left and one on the right. Leave a gap in the middle where the feet will go.
Step 8: The feet
In the gap under the belly, draw two small scribbly feet that grip the branch. Fill the gap so the branch looks joined up.
All done!
Erase the guide shapes, go over your lines, then color it in.
Finished your canary? Keep the pencils out and learn how to draw a fox or how to draw a hedgehog next.
Tips for drawing a canary
- Sketch a light oval first, then trace over it with a darker line. A round shape is easier to get right when you can fix it.
- The tail is the trickiest part. Think of a long skinny shape that grows out of the back and ends in a rounded tip.
- Draw the feet last and keep them small. A little scribble under the belly is enough to look like they are holding on to the branch.
Free canary coloring page
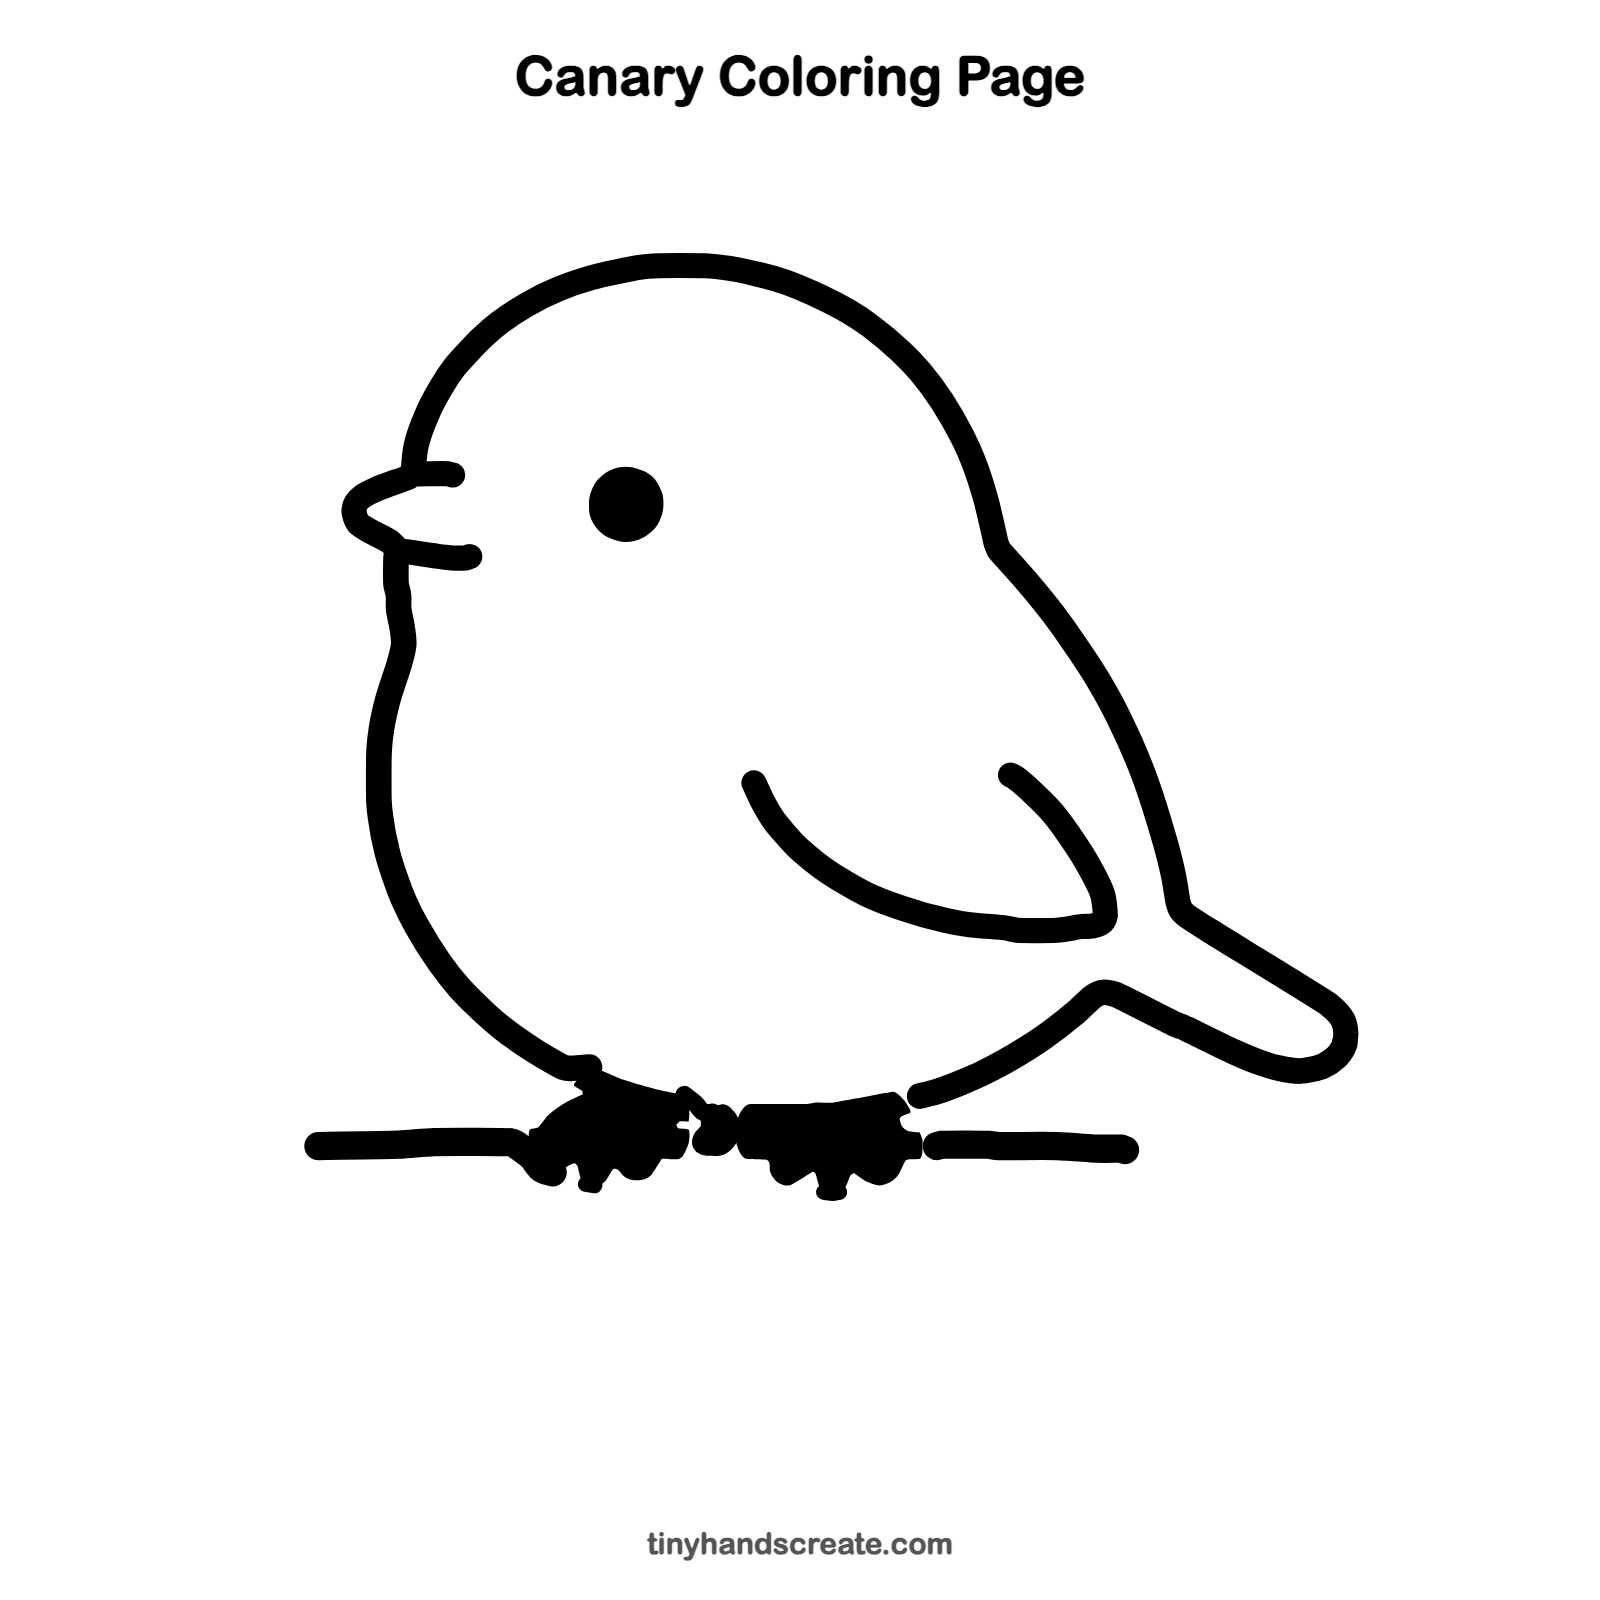
Want to go straight to coloring? Open this canary coloring page at full size and print it. It is the same drawing you just learned, with clean lines ready for crayons or markers.
How to color your canary drawing
Color the body a bright sunny yellow, the beak orange, and the branch brown. For a creative twist, give your canary a rainbow wing.
Canary fun fact for kids
Canaries are named after the Canary Islands, and male canaries are famous for their long, cheerful songs.
Questions about drawing a canary
What shapes do I need to draw a canary?
You need a big round outline for the head and body, a tiny V shape for the beak, a long pointed shape for the tail, and a curved line for the wing. A solid dot makes the eye.
How do I make my canary look cuter?
Make the body extra round and plump, and place the eye near the beak. A small beak and short little feet also help.
How do I draw a bird sitting on a branch?
Draw a straight line under the body with a gap in the middle, then add the feet in the gap so they touch the line on both sides. That makes it look like the bird is gripping the branch.