How to Draw a Guitarist (Easy Step by Step)
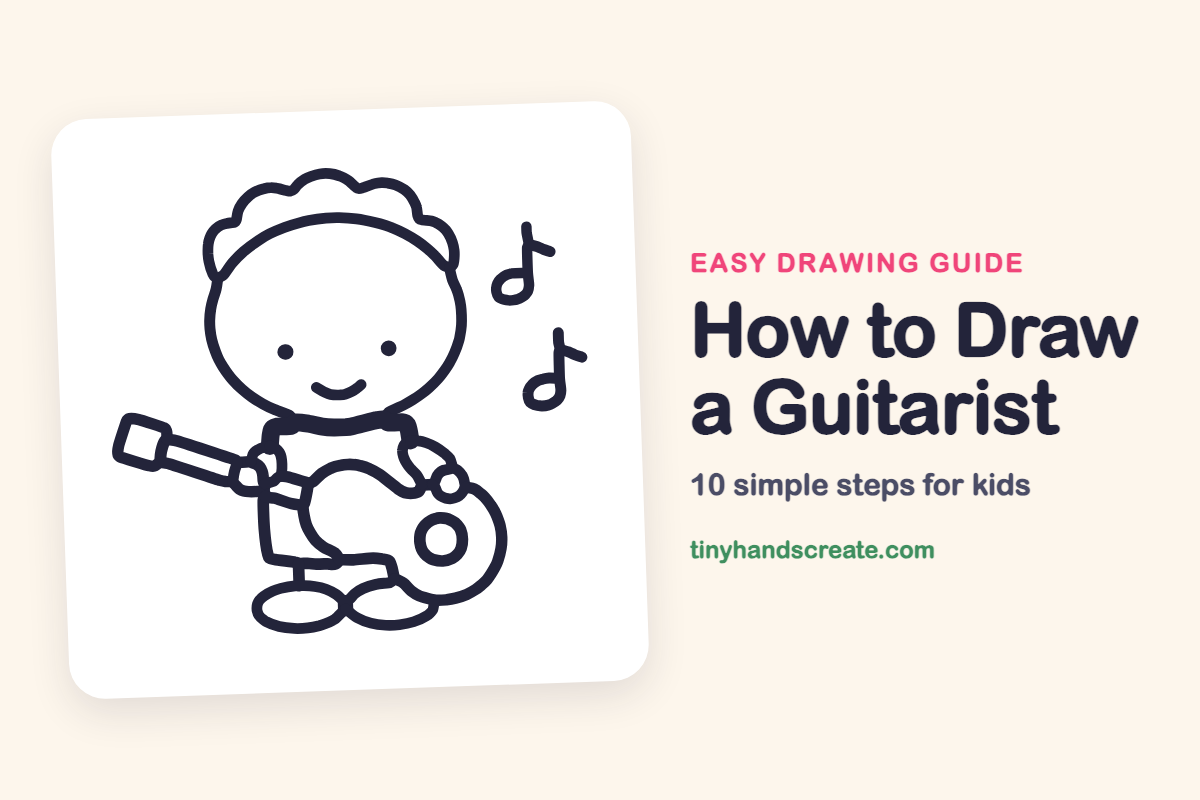
A guitarist is a cheerful drawing because it mixes a happy face with a musical instrument and floating notes. The whole picture is built from simple shapes: a round head with curly hair, a boxy shirt, a curvy guitar with a long neck, and a few ovals for feet and notes.
- Medium
- 15 minutes
- 10 steps
You need: paper, a pencil, an eraser, and crayons or markers for coloring.
Start drawingIn this article (7 sections)
How to draw a guitarist step by step
How to Draw a Guitarist · tinyhandscreate.com
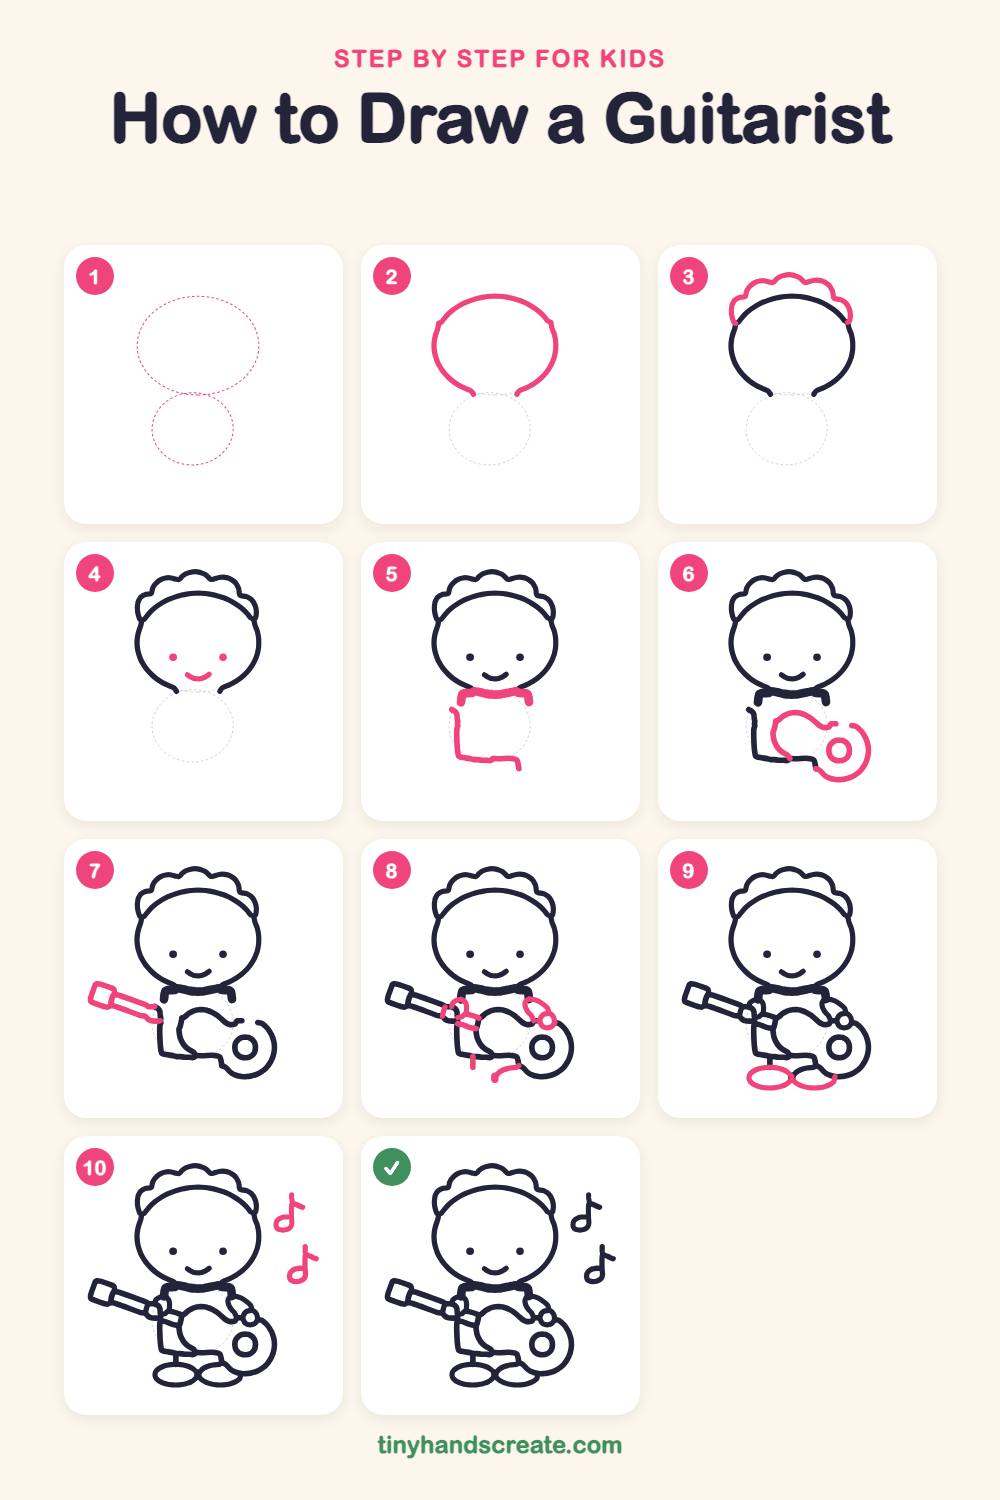
Step 1: Guide shapes
Lightly sketch these 2 ovals. They only show where the big parts go, so press softly. You will erase them at the end.
Step 2: Round head
Draw a big oval for the head, a little wider than it is tall. Leave a small gap at the bottom where the neck will be.
Step 3: Curly hair
Along the top of the head, draw a row of little bumps like a cloud. Start at one side of the head and bump your way over to the other side.
Step 4: Eyes and smile
Draw two small dots for eyes, halfway down the face. Then add a little curved smile between and below them.
Step 5: The shirt
Under the head, draw a bumpy collar line across the gap. Then bring two sides straight down from the collar and close the bottom with a flat line to make a boxy shirt.
Step 6: Guitar body
In front of the shirt, draw a curvy guitar shape with a small waist and a big round bottom on the right. Add a small circle inside the round part for the sound hole.
Step 7: Neck and headstock
From the guitar, draw two long straight lines going up to the left, like a skinny road. At the end, draw a small tilted rectangle for the top of the guitar.
Step 8: Hands on the guitar
Draw a small loop for a hand on the neck of the guitar, on the left. Then draw a curved arm with a small round hand on the guitar body, on the right.
Step 9: Two little feet
Under the shirt, draw two flat ovals side by side for the feet. Let the right one tuck up against the bottom of the guitar.
Step 10: Floating music notes
Next to the head, draw a small oval in the air with a tall straight line going up from it. Add a little flag at the top, then draw a second note a bit lower.
All done!
Erase the guide shapes, go over your lines, then color it in.
Finished your guitarist? Keep the pencils out and learn how to draw a house painter or how to draw a delivery driver next.
Tips for drawing a guitarist
- Draw the guitar after the shirt, then let its lines overlap the shirt so it looks like the guitar is held in front.
- The long neck is the trickiest part. Draw two lines that slope the same way so they stay side by side, like a skinny road.
- Keep the hands small. The right hand is a little circle on the guitar body, about the size of the sound hole.
Free guitarist coloring page
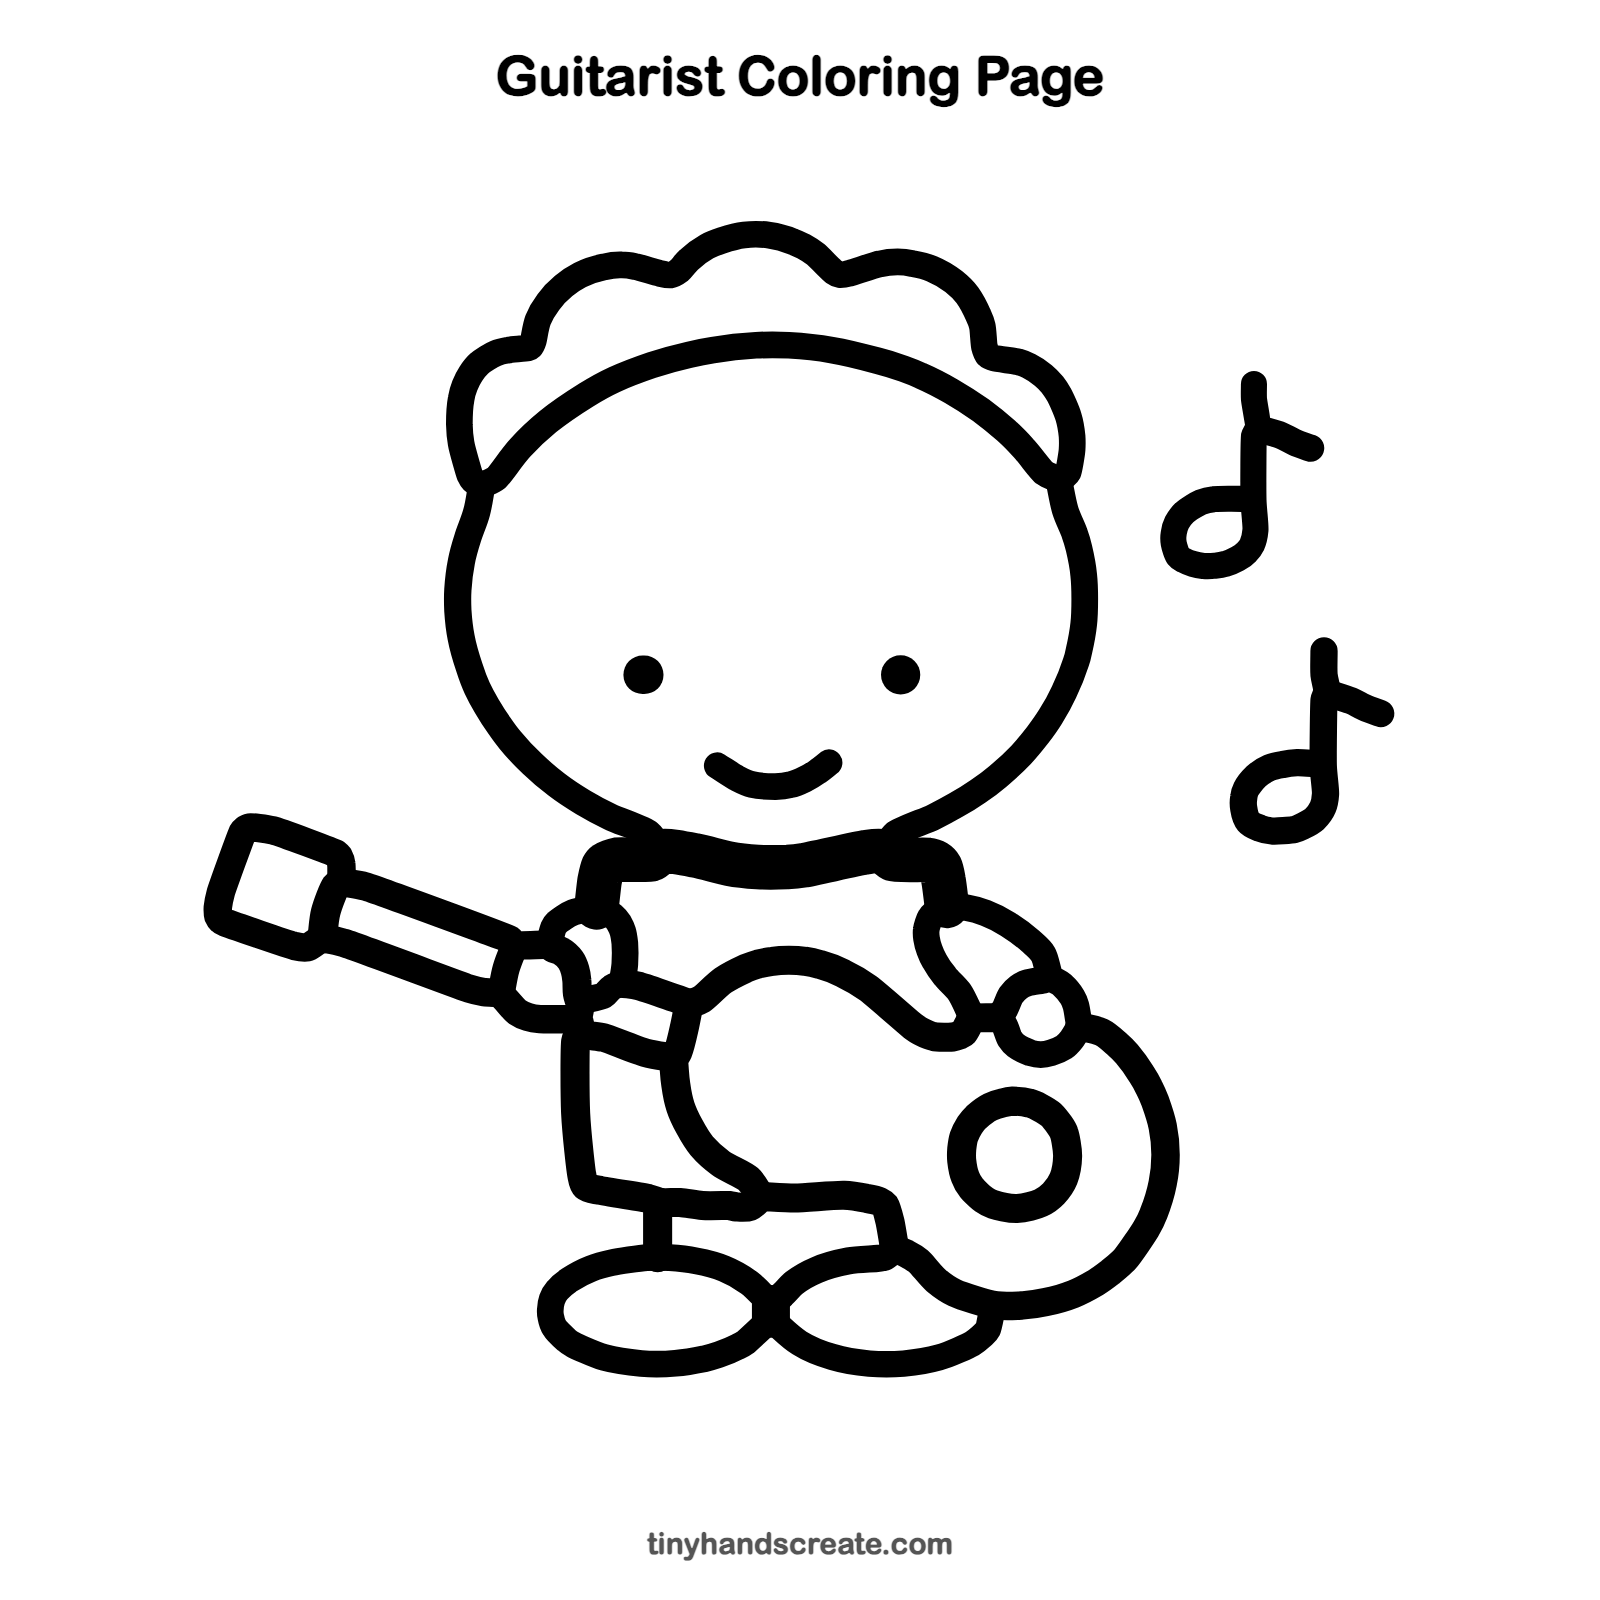
Want to go straight to coloring? Open this guitarist coloring page at full size and print it. It is the same drawing you just learned, with clean lines ready for crayons or markers.
How to color your guitarist drawing
Try a warm orange or brown guitar with a bright shirt, and give the hair a fun color like black or red. For a creative twist, color each music note a different color.
Guitarist fun fact for kids
Most guitars have six strings, and the hollow wooden body helps make the sound louder. When a string wiggles, the air inside the body wiggles too, and that is what you hear.
Questions about drawing a guitarist
What shapes do I need to draw a guitarist?
You need a big oval for the head, a rounded box for the shirt, and a curvy shape for the guitar. Small circles and ovals make the hands, feet, sound hole, and music notes.
How do I make the guitar look like it is being played?
Put one hand on the long neck and the other on the guitar body. Have the lines of the guitar overlap the shirt so it looks like it is held in front.
How do I make my guitarist look cuter?
Make the head extra big, keep the eyes small and wide apart, and add a curvy smile. Adding music notes floating nearby makes the player look happy and busy.