How to Draw a Viking (Easy Step by Step)
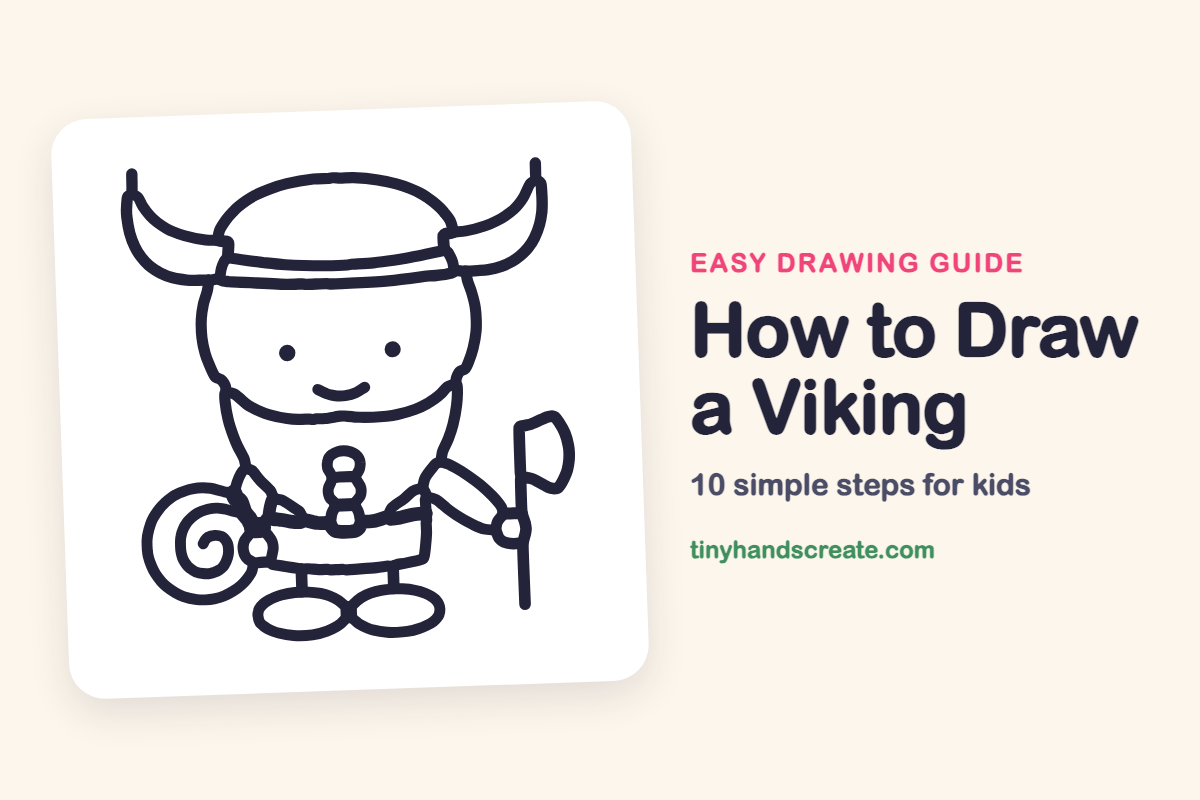
This little viking is built from friendly shapes: a round face, a dome helmet, curved horns, a long beard, and ovals for the feet. The spiral shield and the axe give it a bit of adventure, but each part is simple to draw on its own. Take it one step at a time and the whole viking comes together.
- Medium
- 15 minutes
- 10 steps
You need: paper, a pencil, an eraser, and crayons or markers for coloring.
Start drawingIn this article (7 sections)
How to draw a viking step by step
How to Draw a Viking · tinyhandscreate.com
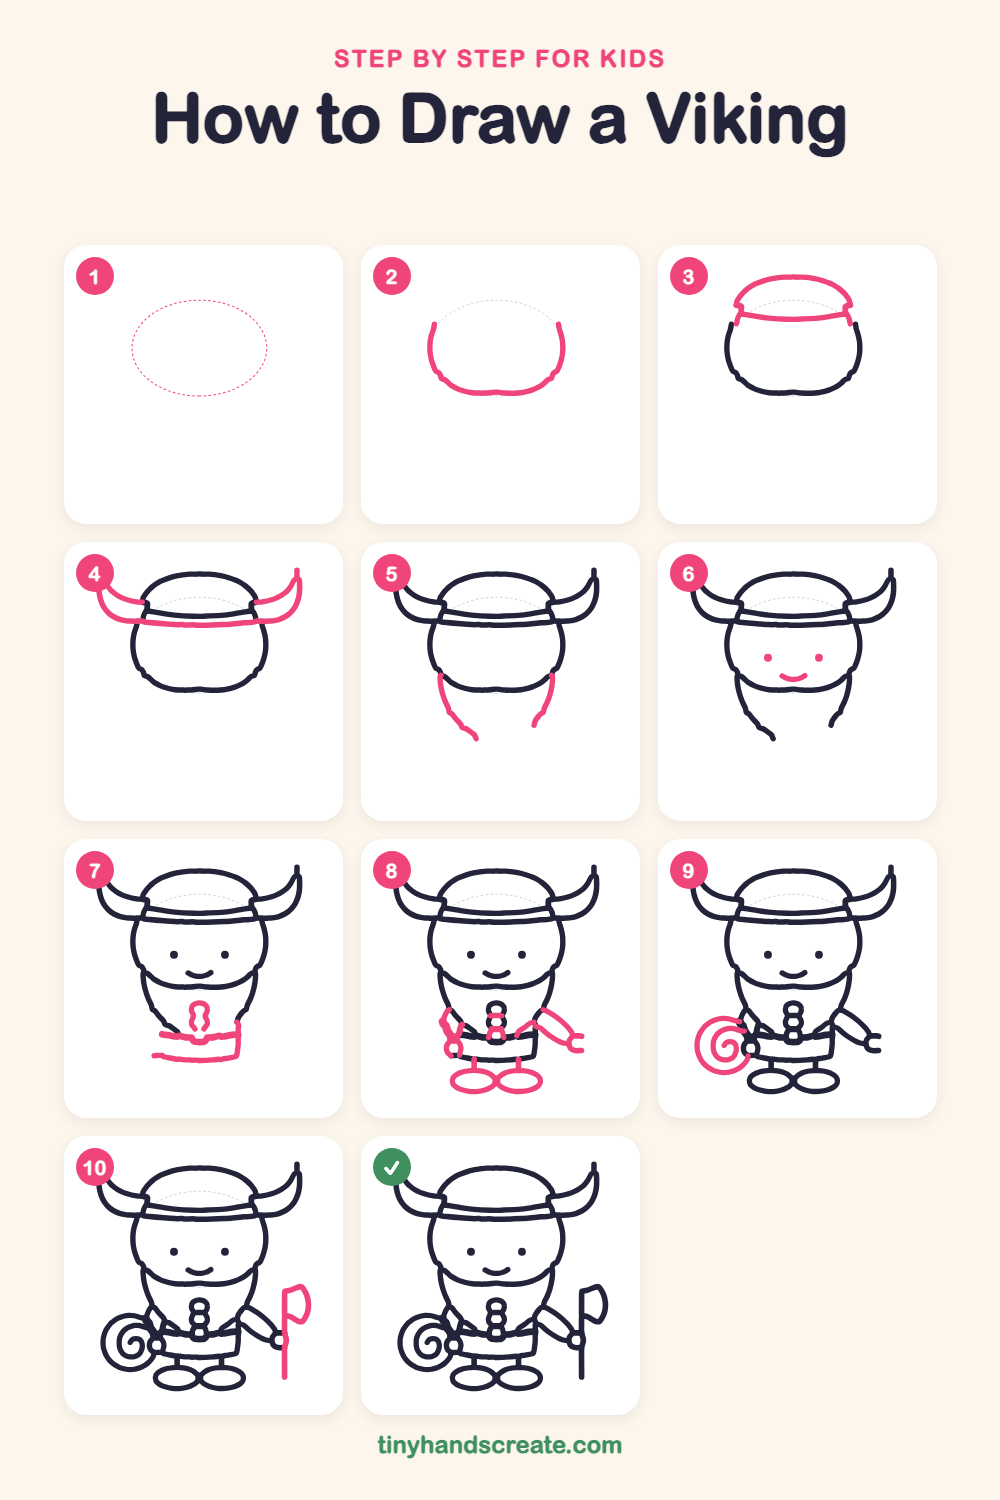
Step 1: Guide shapes
Lightly sketch this oval. It only shows where the big parts go, so press softly. You will erase it at the end.
Step 2: Round face curve
Start with the oval guide and trace its lower part. Draw a wide, round U shape like a bowl, leaving the top open for the helmet.
Step 3: The helmet
Draw a dome like half a circle over the open top of the face. Add a curved band under the dome, with its ends meeting the sides of the face.
Step 4: The two horns
On each side of the helmet, draw a curved horn that sweeps out and up to a pointy tip, like a banana. Then draw a long line running across under both horns.
Step 5: The long beard
Under the face, draw two curved lines that start at the sides of the chin and hang down. Let them end in little wavy points to make the beard.
Step 6: Eyes and smile
Add two small round dots for eyes, side by side in the middle of the face. Draw a short curved smile below them, like a little bowl.
Step 7: Belt and buttons
Draw a flat belt across the bottom of the beard, with a small buckle in the middle. Above the buckle, stack two or three tiny rounded shapes for buttons.
Step 8: Arms, legs and feet
Draw an arm on each side of the body, ending in a little hook for the hand. Under the belt, add two short legs and two flat ovals for the feet.
Step 9: The round shield
Next to the left hand, draw a big spiral for the shield. Start in the middle and curl outward in a round shape.
Step 10: The axe
Draw a long straight pole starting at the right hand and going down to the ground. At the top, add a flag-shaped axe blade with a notch in its side.
All done!
Erase the guide shapes, go over your lines, then color it in.
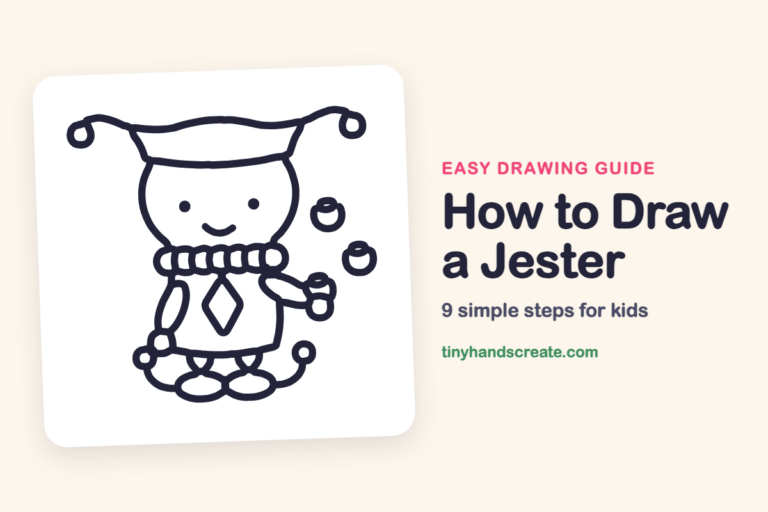
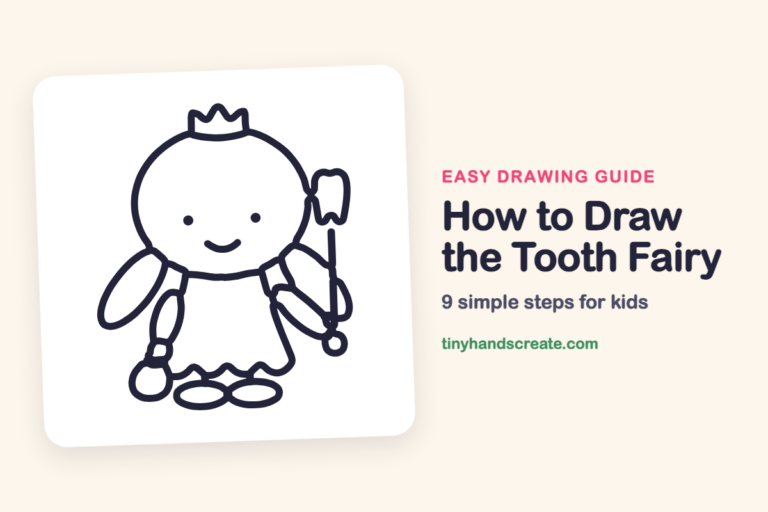
Finished your viking? Keep the pencils out and learn how to draw a jester or how to draw the tooth fairy next.
Tips for drawing a viking
- Start with a light oval for the head, then trace its bottom as a round bowl shape. The helmet then sits neatly on top.
- Draw both horns so they curve out the same way. Try making one horn, then copy its height and tip on the other side.
- For the shield spiral, start in the center and curl outward slowly. If it gets wobbly, that just makes it look hand-painted.
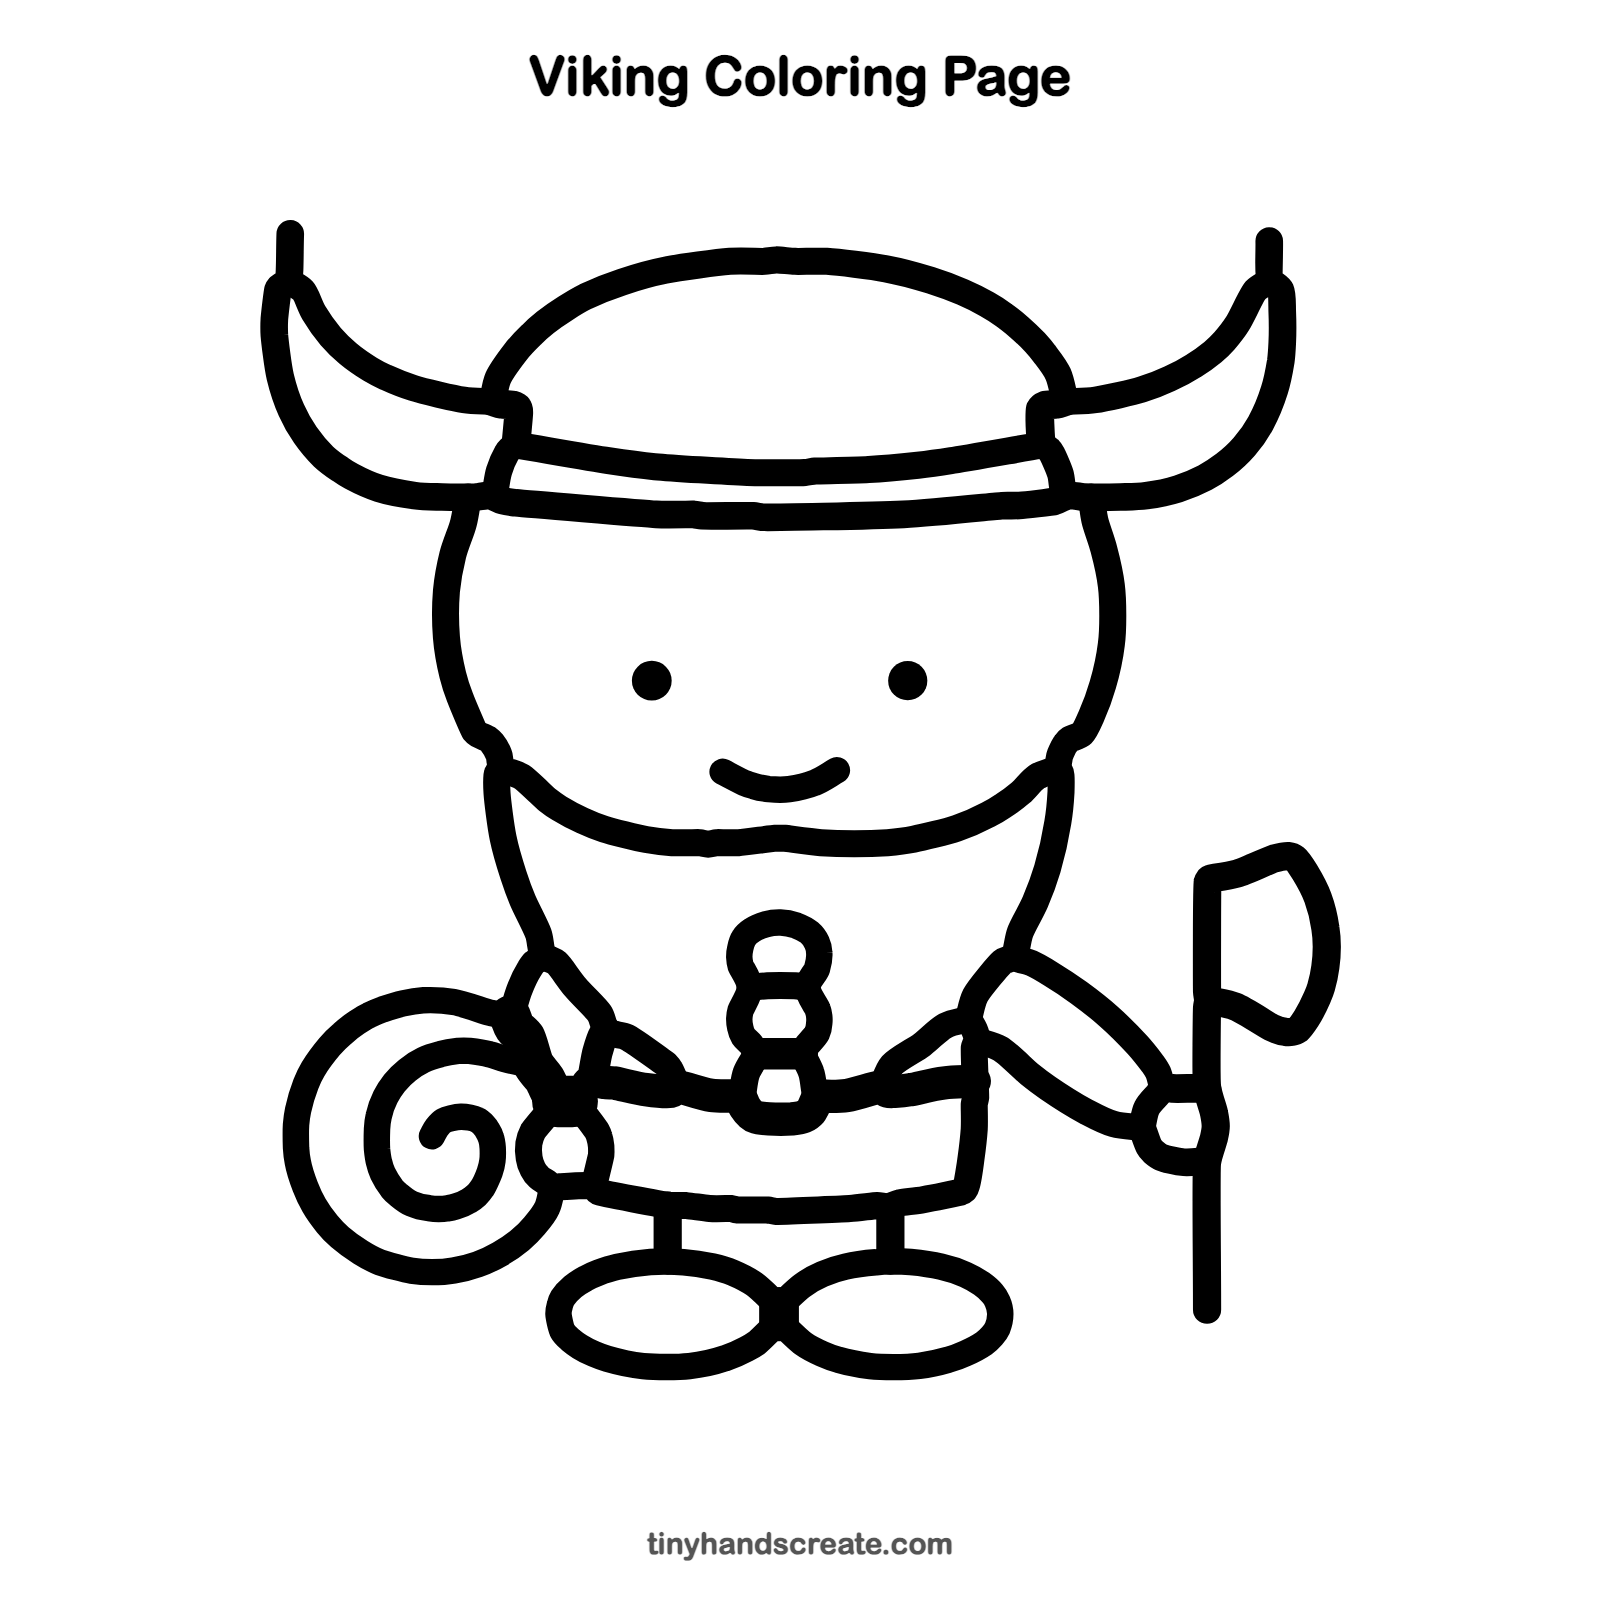
Free viking coloring page
Want to go straight to coloring? Open this viking coloring page at full size and print it. It is the same drawing you just learned, with clean lines ready for crayons or markers.
How to color your viking drawing
Try a gray helmet, golden horns, and a bright orange beard with a blue tunic. For a creative twist, give the shield a rainbow spiral instead of one color.
Viking fun fact for kids
Real Viking helmets did not have horns. Most were plain metal caps, and the horned helmet idea came from costumes in stage plays hundreds of years later.
Questions about drawing a viking
What shapes do I need to draw a viking?
You need a round U shape for the face, a dome for the helmet, and ovals for the feet. Add curved lines for the horns and beard, a spiral for the shield, and a long straight line for the axe pole.
How do I make my viking look friendlier?
Keep the eyes as simple round dots and give the mouth a small, curved smile. Soft, rounded shapes everywhere make the viking feel cheerful instead of fierce.
Did Vikings really wear horned helmets?
No, they did not. Horned helmets come from old costume designs, but they are a fun and classic way to draw a viking.