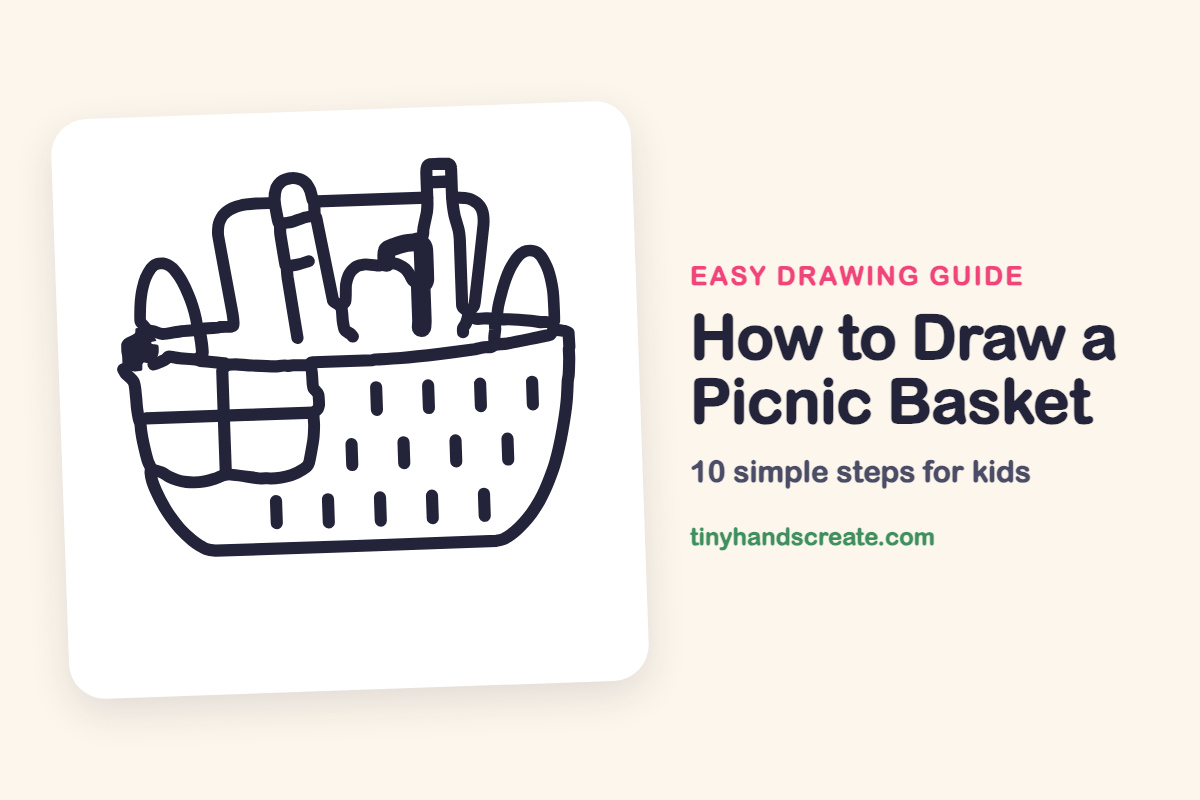
How to Draw a Picnic Basket (Easy Step by Step)
A picnic basket is a happy thing to draw because it holds so many different foods. It is built from a wide bowl shape, a box shape behind it, two bread loaves, a long baguette, a bottle and an apple. You can add your own snacks once you know the steps.
- Medium
- 20 minutes
- 10 steps
You need: paper, a pencil, an eraser, and crayons or markers for coloring.
Start drawingIn this article (7 sections)
How to draw a picnic basket step by step
How to Draw a Picnic Basket · tinyhandscreate.com
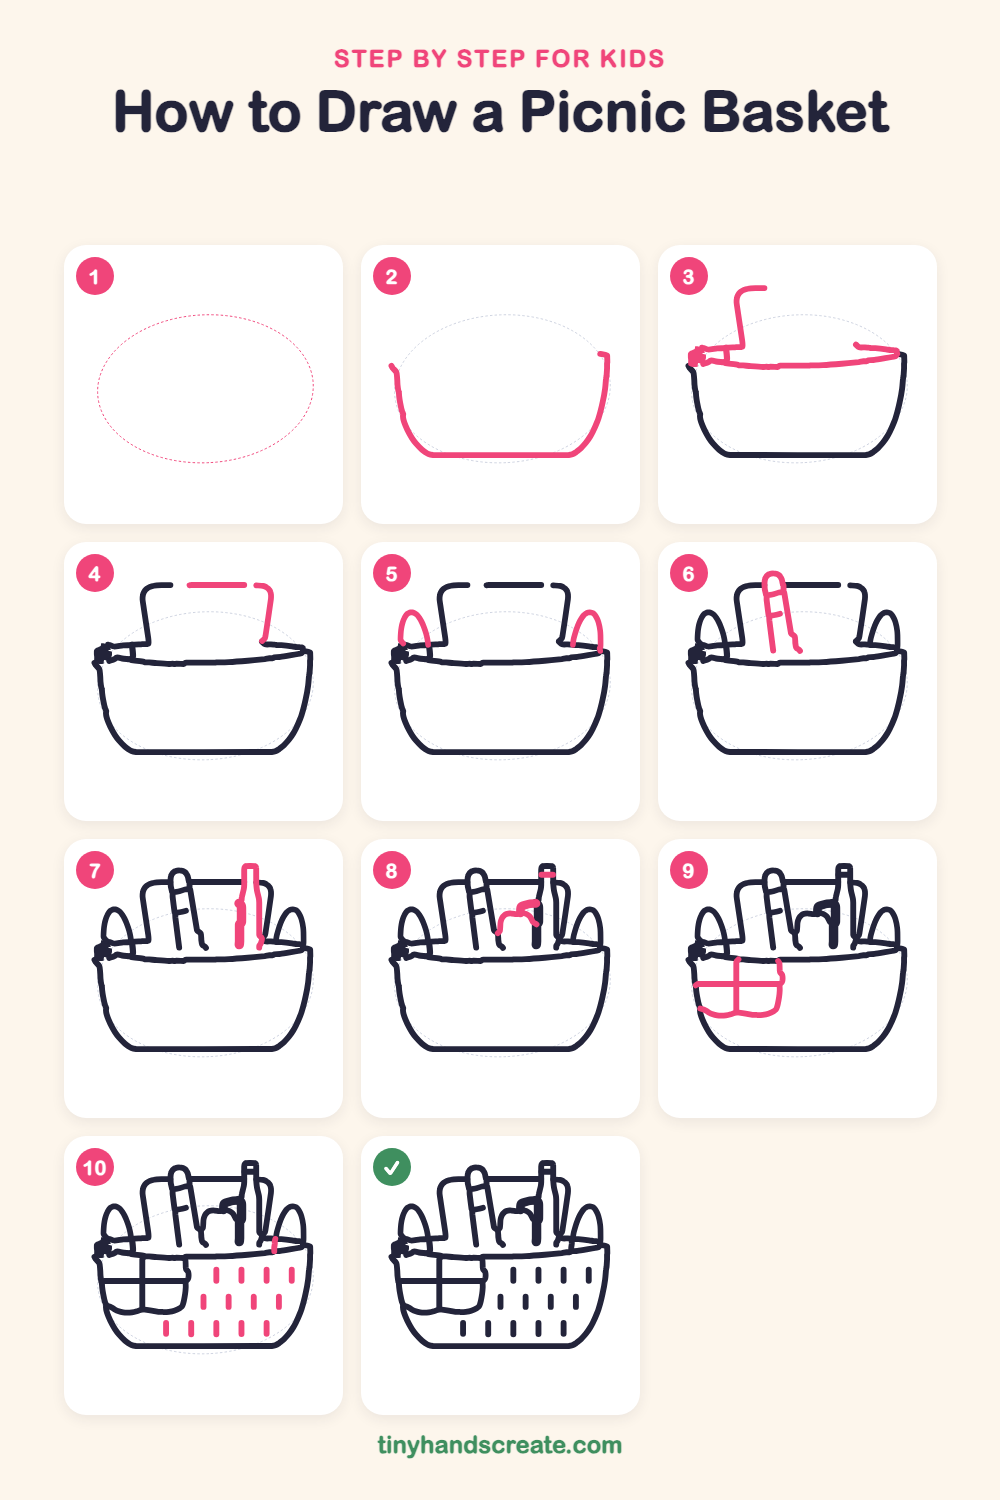
Step 1: Guide shapes
Lightly sketch this oval. It only shows where the big parts go, so press softly. You will erase it at the end.
Step 2: The basket bowl
Draw a big wide bowl shape, like a smile with flat ends. Start at the top left, curve down to a long flat line for the bottom, then curve up to the top right.
Step 3: Rim and left flap
Draw a gently curved line across the top of the bowl for the rim, with a small bump at its left end. Then draw the left side of a box behind the basket: a line going up from the rim, turning right at the top with a rounded corner.
Step 4: Top of the back flap
Finish the box behind the basket. Draw a flat line across the top, then a rounded corner and a line going down on the right side to meet the rim.
Step 5: Two bread loaves
Draw a tall rounded arch on each side of the basket, like a little hill. Let the bottom ends of each arch sit on the rim.
Step 6: The long baguette
Draw a long, skinny shape with a rounded top that leans a little, like a stretched-out tube. Add two short lines across it for the bread cuts.
Step 7: The bottle
Draw a tall, narrow bottle on the right with a long neck. Put a little rectangle on top for the cap and add a short line across the neck.
Step 8: The apple
In front of the bottle, draw a rounded, bumpy shape that sits on the rim, like the top of an apple. Add a short curved stem on its right side.
Step 9: The napkin
On the front left, draw a rounded square shape for the napkin. Add one line across and one line down the middle to make a plus sign, and give the bottom edge a wavy line.
Step 10: The weaving marks
Fill the right side of the basket with short, straight up-and-down dashes. Space them out in rows, and slide each row over a little so they zigzag.
All done!
Erase the guide shapes, go over your lines, then color it in.
Finished your picnic basket? Keep the pencils out and learn how to draw a canoe or how to draw a sleeping bag next.
Tips for drawing a picnic basket
- Start with the bowl and keep it nice and wide, so there is room for everything to peek out of the top.
- The baguette and the bottle are both tall, so draw them with light lines first and check that they do not touch each other.
- For the weaving dashes, make each one about the same length and shift every row sideways, so the pattern looks woven.
Free picnic basket coloring page
Want to go straight to coloring? Open this picnic basket coloring page at full size and print it. It is the same drawing you just learned, with clean lines ready for crayons or markers.
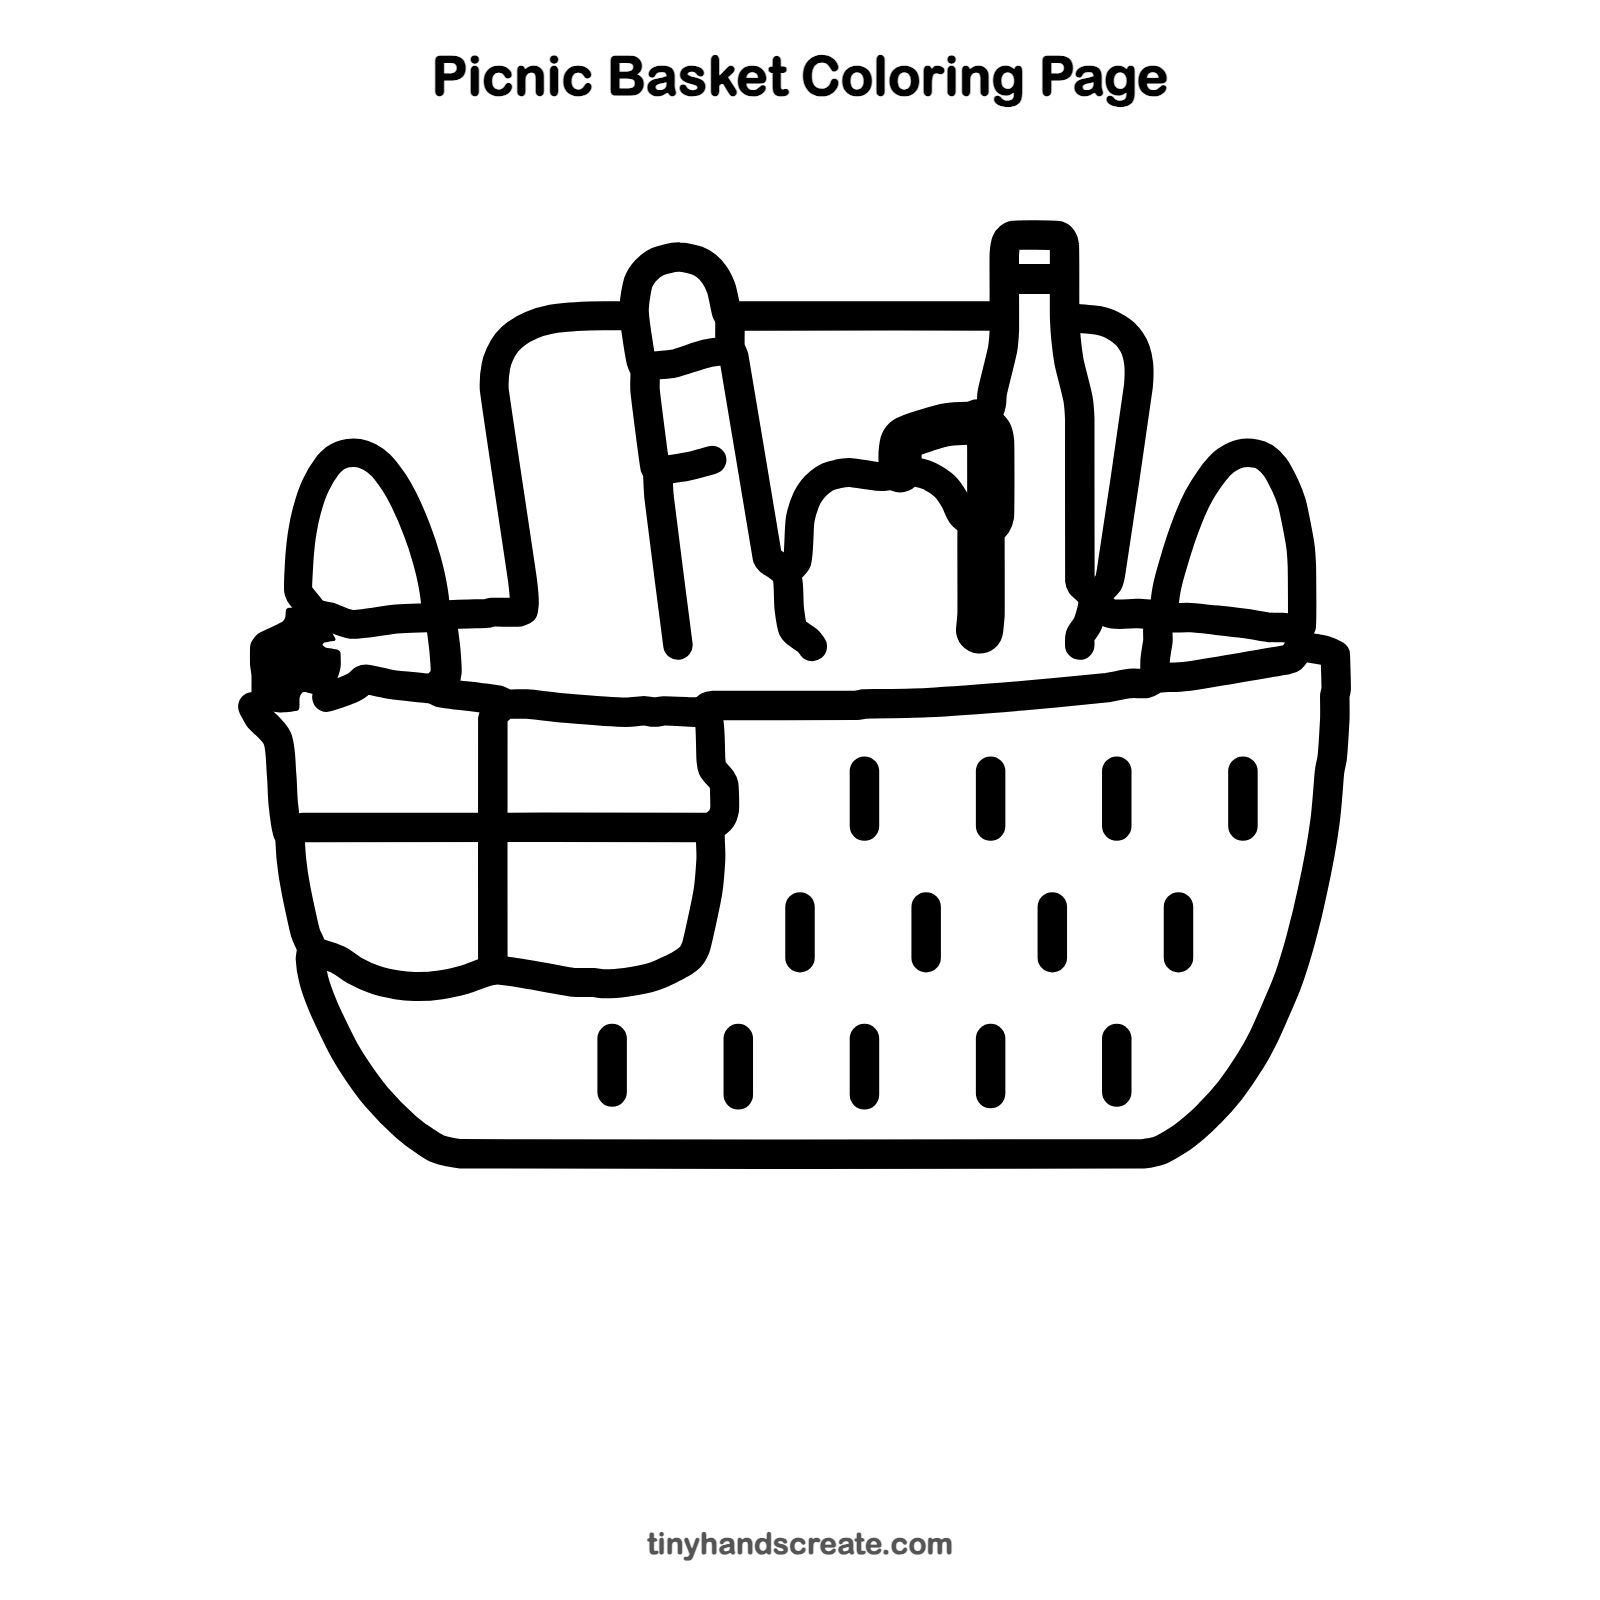
How to color your picnic basket drawing
Try golden brown for the basket and bread, red or green for the apple, and a red and white check for the napkin. For a creative twist, draw a tiny ant carrying a crumb along the rim.
Picnic basket fun fact for kids
The word picnic comes from the French word pique-nique, which was used in the 1600s.
Questions about drawing a picnic basket
What shapes do I need to draw a picnic basket?
You need a wide bowl shape, a box shape for the back, rounded arches and tubes for the bread, a tall bottle, and a rounded apple. Short lines make the weaving.
How do I make my picnic basket look full?
Let the foods peek out over the rim and overlap each other, so some parts are hidden behind others. Add extra items like a sandwich if you like.
How can I draw the basket weave pattern?
Draw short straight lines in rows, and shift each row a little to the side. You do not need to draw every line perfectly for it to look woven.