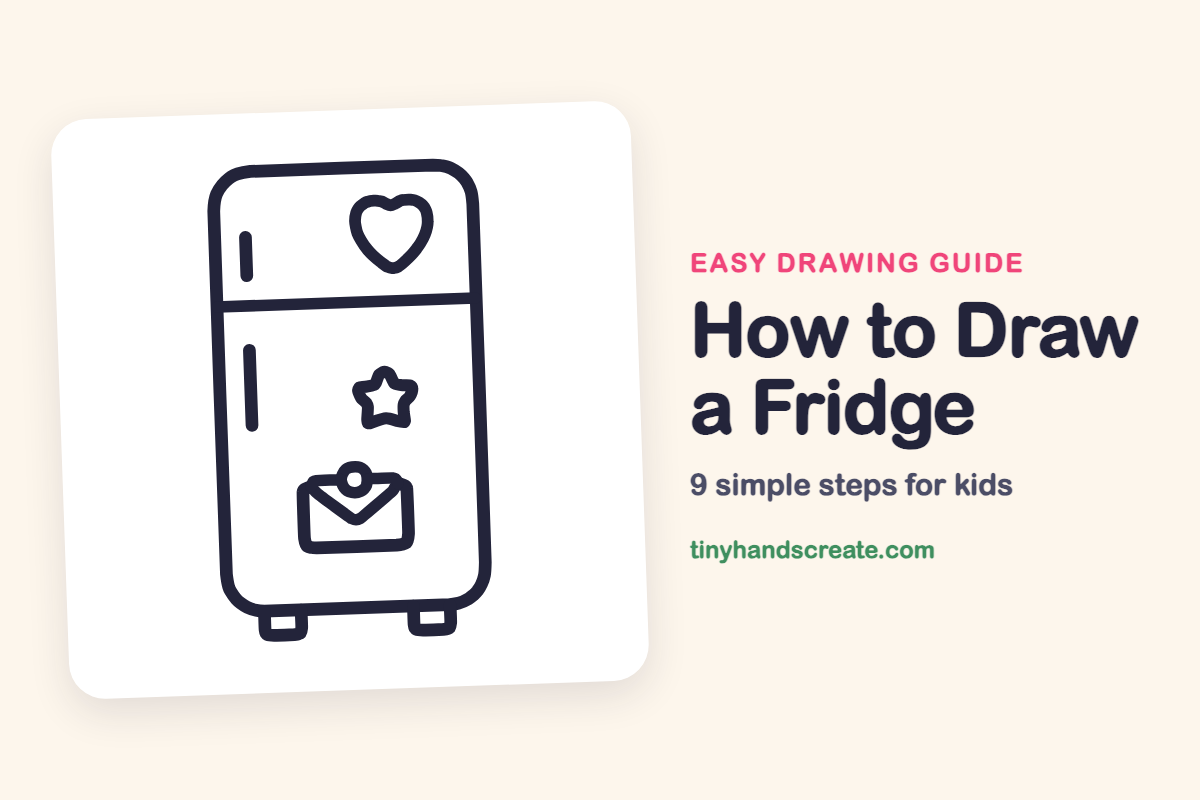
How to Draw a Fridge (Easy Step by Step)
A fridge is a great first drawing because it is mostly straight lines and rounded rectangles. Once the big box is done, you get to decorate it with a heart, a star, and a pinned envelope, just like the fridge in your kitchen. Every part is a simple shape you already know.
- Easy
- 10 minutes
- 9 steps
You need: paper, a pencil, an eraser, and crayons or markers for coloring.
Start drawingIn this article (7 sections)
How to draw a fridge step by step
How to Draw a Fridge · tinyhandscreate.com
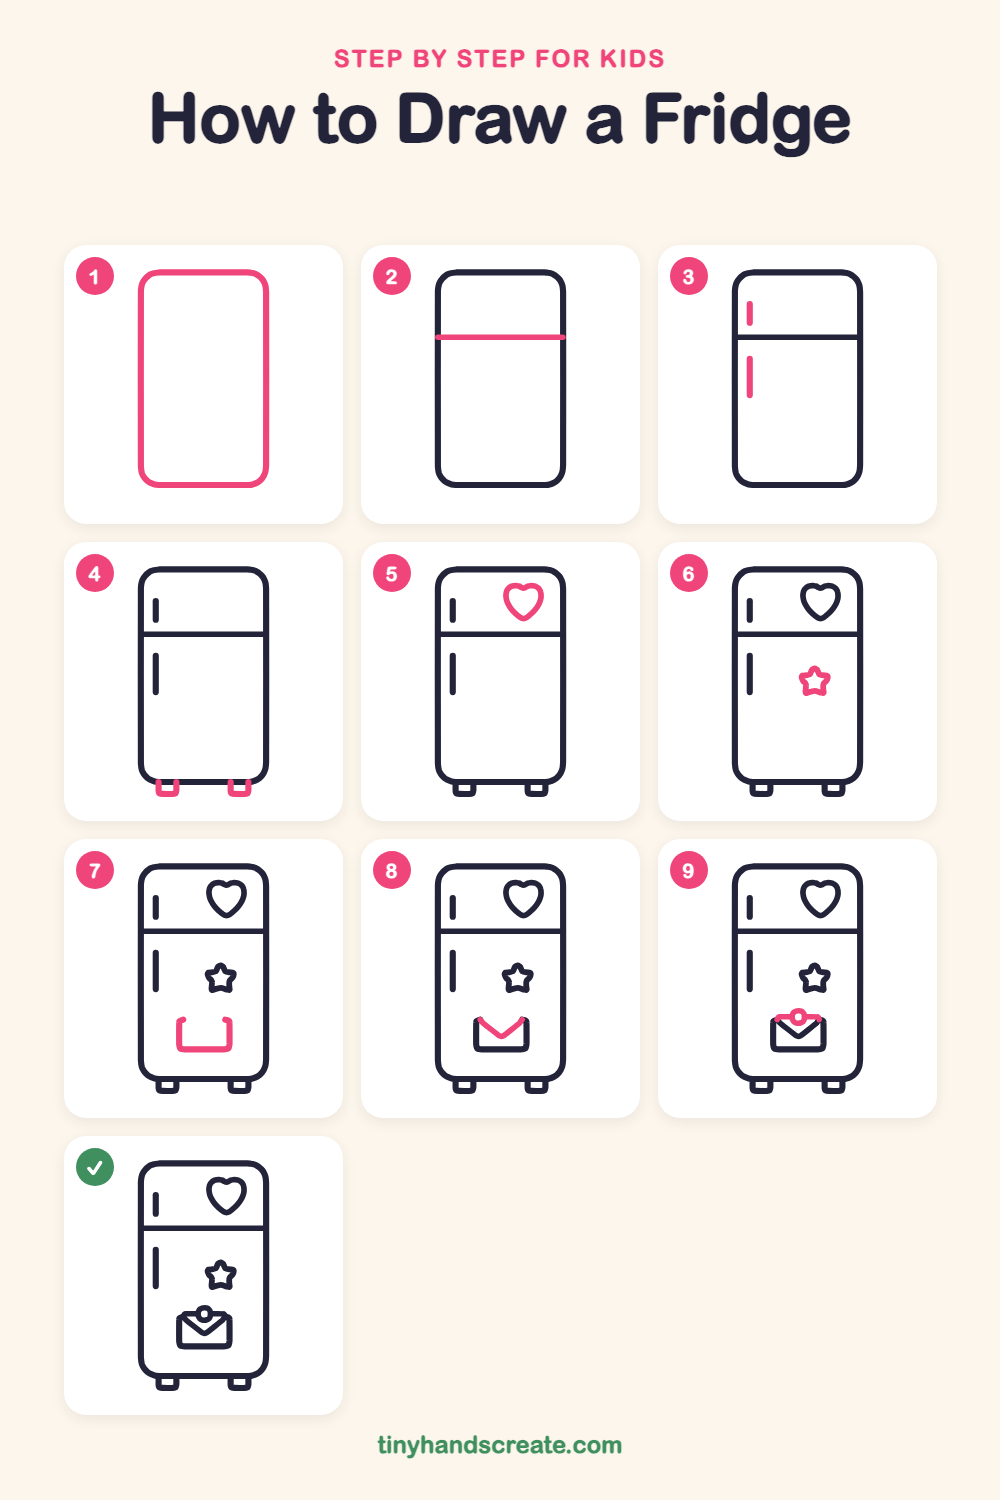
Step 1: The fridge body
Draw a tall rectangle with nicely rounded corners, like a big phone standing up. Leave a little room at the bottom for the feet.
Step 2: The freezer line
Draw a straight line across the fridge, about one third of the way down, from the left side to the right side. This splits the freezer from the main door.
Step 3: The door handles
Draw a short, thin stick on the left side of the freezer door. Then draw a longer stick on the left side of the big door below it.
Step 4: The two feet
At the bottom, draw two little squares with no top, like upside-down bridges, one near each corner. Their open tops connect to the bottom of the fridge.
Step 5: The heart magnet
On the right side of the freezer door, draw two small bumps next to each other. Then bring both sides down to a point to make a heart.
Step 6: The star magnet
On the big door, draw a small star with five points. Start at the top point and zigzag around, keeping the points a little rounded.
Step 7: The note's sides and bottom
Below the star, draw a wide shape like a box with no lid. Go down, across, and back up, and leave the top open for now.
Step 8: The envelope flap
Draw a V shape that starts at one top corner of the box, dips down to the middle, and goes back up to the other top corner. Now it looks like an envelope.
Step 9: The pin on top
Draw a small circle at the top middle of the envelope. Add a short line on each side of it along the top edge, so the note looks pinned in place.
All done!
Go over your lines with a marker, then color it in.
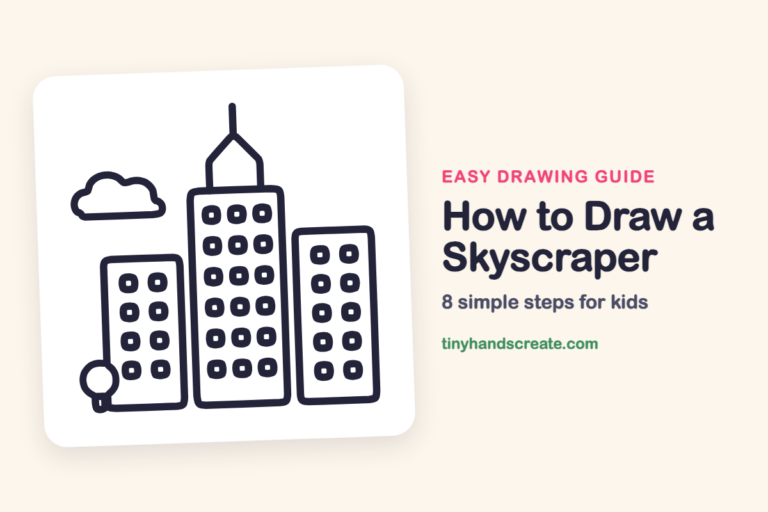
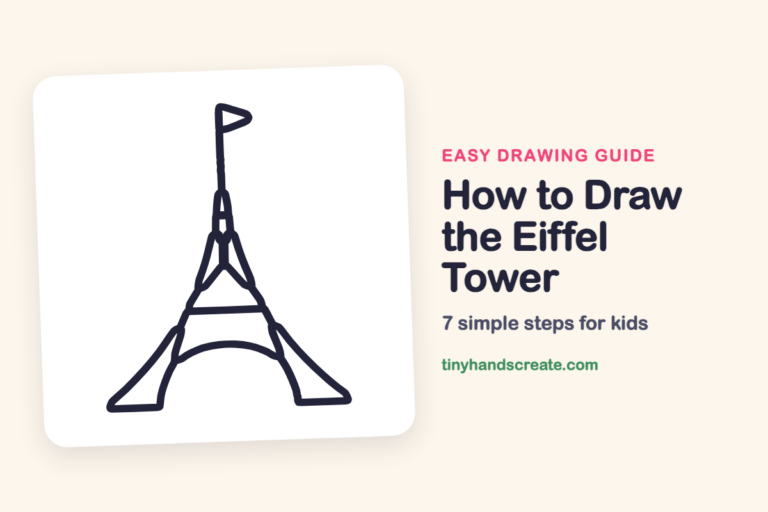
Finished your fridge? Keep the pencils out and learn how to draw a skyscraper or how to draw the Eiffel Tower next.
Tips for drawing a fridge
- Draw the fridge body lightly first and make it a little less than twice as tall as it is wide. Rounded corners are easier if you curve your hand a little before the line turns.
- Put the freezer line about one third of the way down, not in the middle. A line that is too high or too low is the quickest way to make the fridge look different.
- Draw the sides and bottom of the envelope before the V flap, and keep the V pointing to the middle. The small pin circle goes on last, at the top middle of the envelope.
Free fridge coloring page
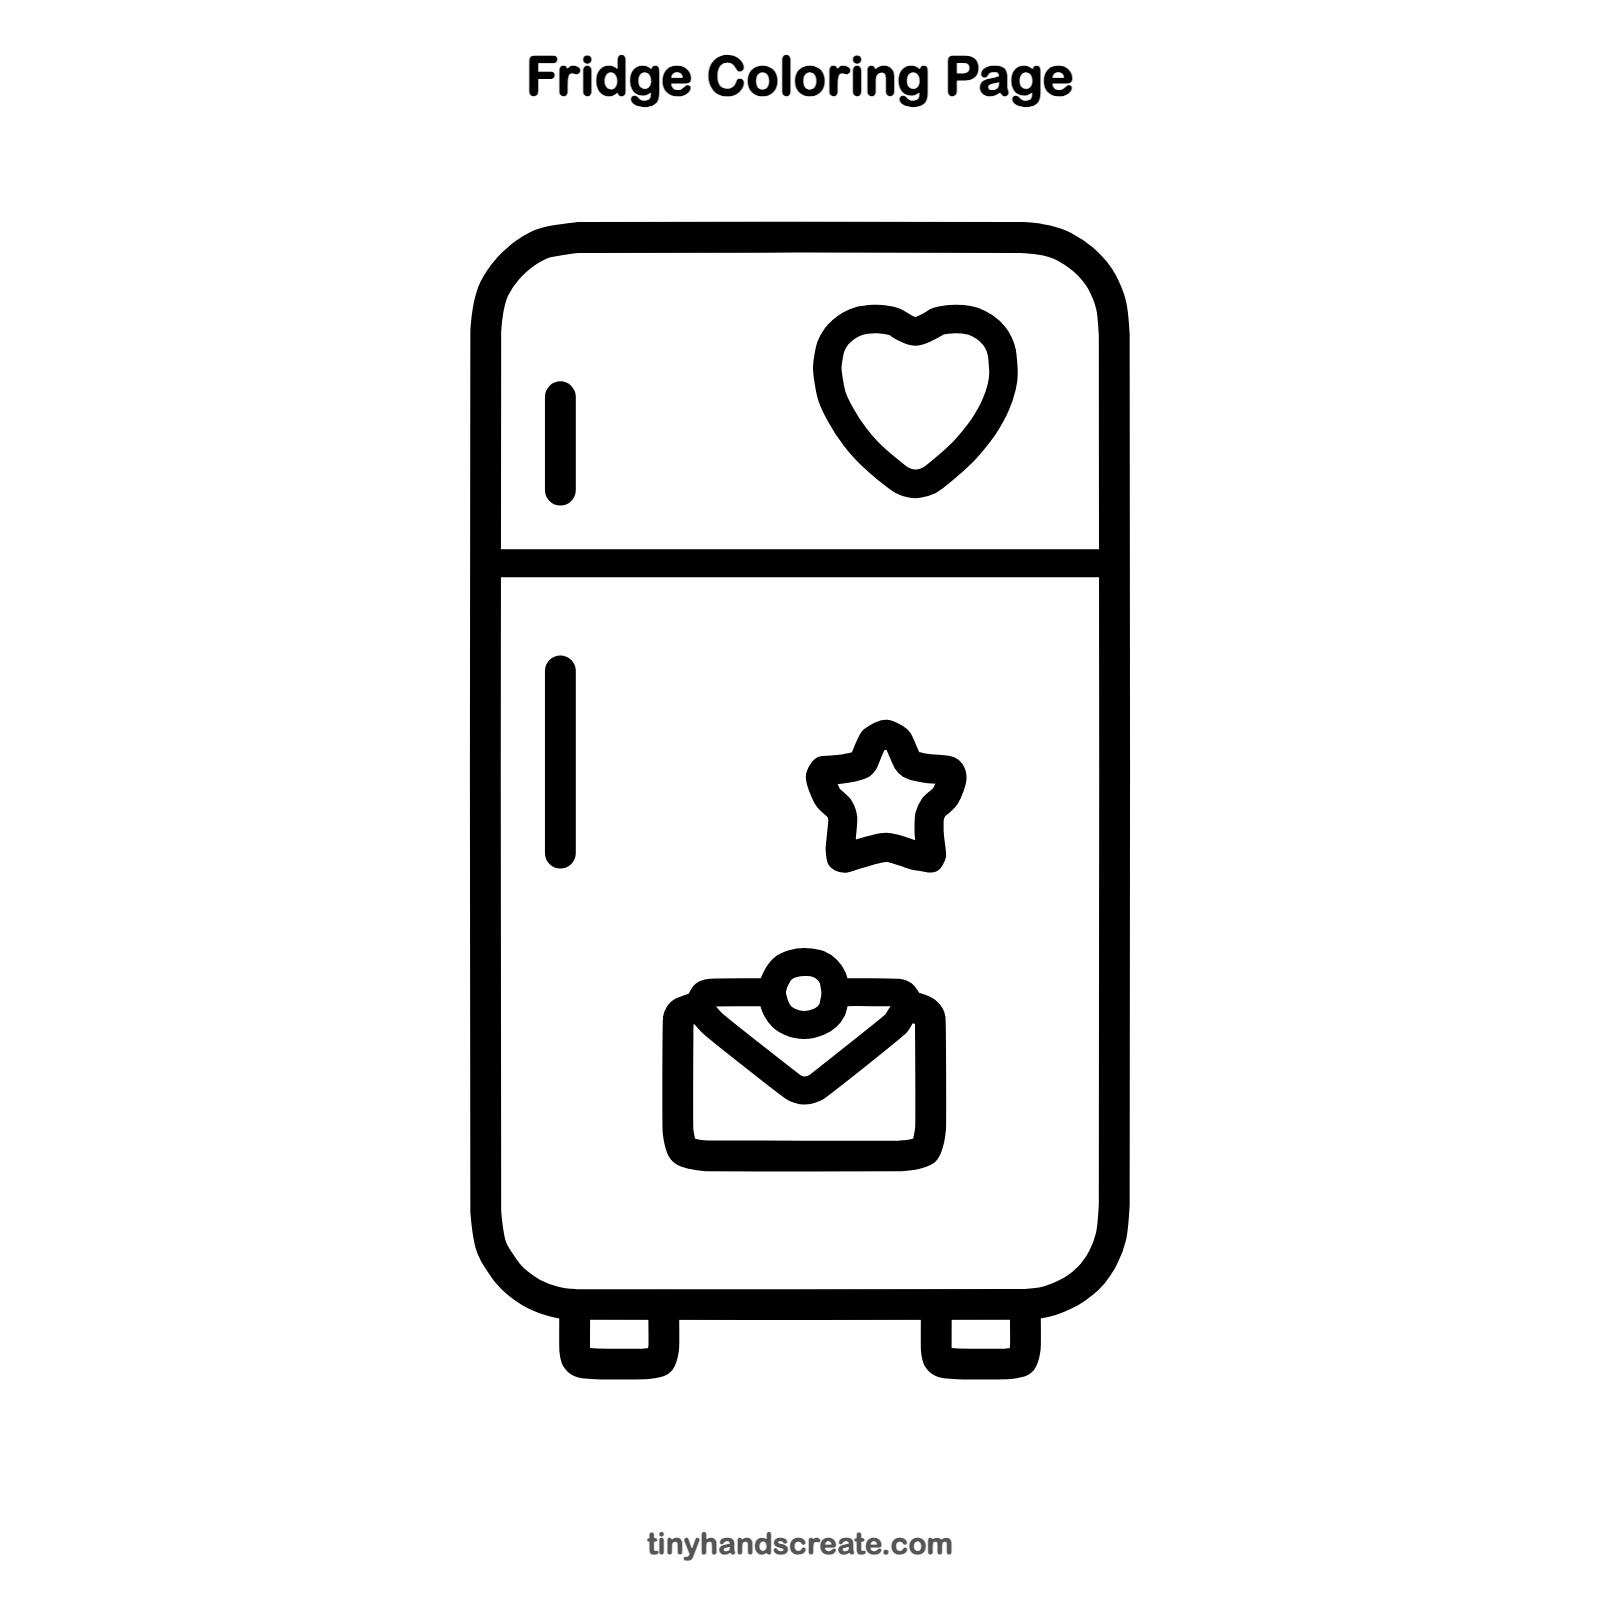
Want to go straight to coloring? Open this fridge coloring page at full size and print it. It is the same drawing you just learned, with clean lines ready for crayons or markers.
How to color your fridge drawing
Try a classic white, mint green, or baby blue fridge, with a red heart and a yellow star. For a creative twist, color the envelope like a letter from someone special.
Fridge fun fact for kids
A refrigerator keeps food cold by moving heat from inside the fridge to the outside. That is why the back or bottom of a fridge can feel warm.
Questions about drawing a fridge
What shapes do I need to draw a fridge?
You need a tall rounded rectangle for the body, a long line for the freezer split, and two thin sticks for handles. Two little open squares make the feet. A heart, a star, a box with a V, and a small circle make the magnets and the envelope.
How do I make my fridge look cuter?
Round the corners more and add magnets in your favorite shapes, like a heart or star. You can also color it in a bright pastel such as pink or mint.
How do I draw a straight line without a ruler?
Pick the spot where the line should end, look at it, and move your pencil toward it in one smooth motion. If it wobbles, that is fine, because a hand-drawn fridge has charm.