How to Draw a Loaf of Bread (Easy Step by Step)
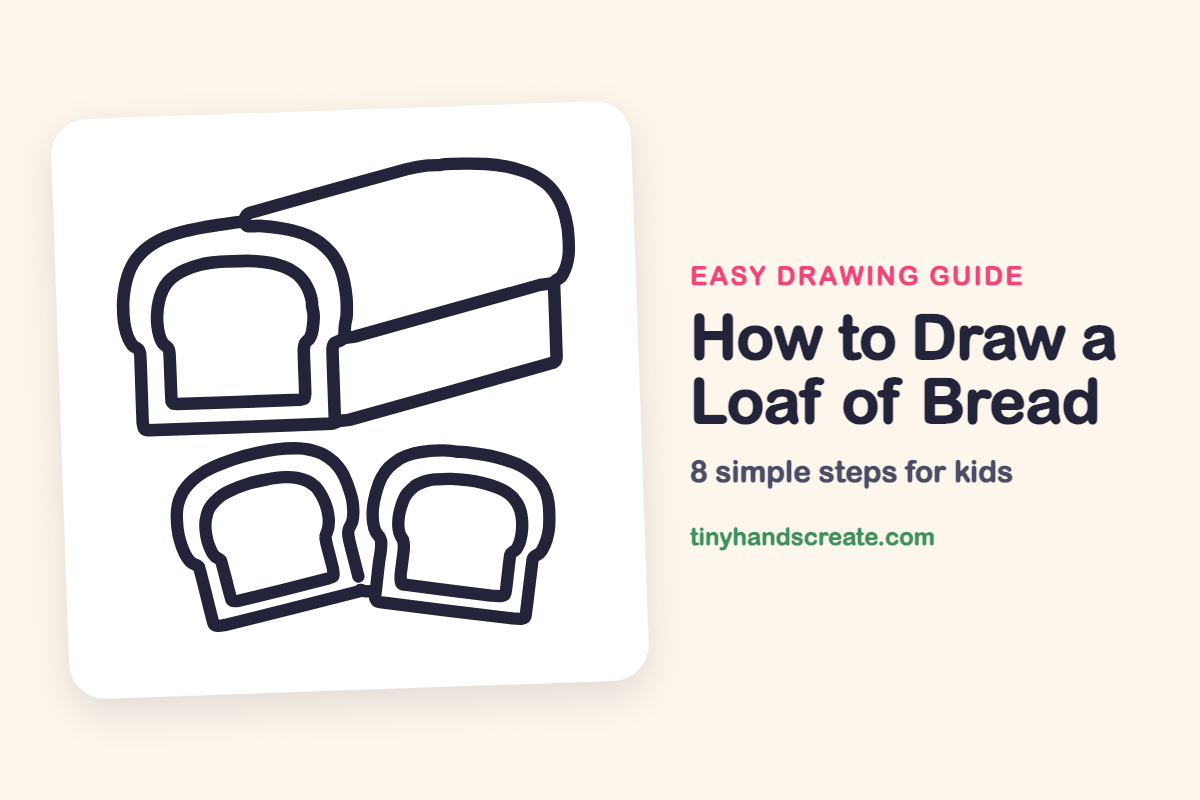
A loaf of bread with two slices set out in front is a friendly, everyday picture to draw. It is built from a bread-slice shape, long straight lines, and one repeating slice outline. Once you can draw one slice, you can draw them all.
- Medium
- 15 minutes
- 8 steps
You need: paper, a pencil, an eraser, and crayons or markers for coloring.
Start drawingIn this article (7 sections)
How to draw a loaf of bread step by step
How to Draw a Loaf of Bread · tinyhandscreate.com
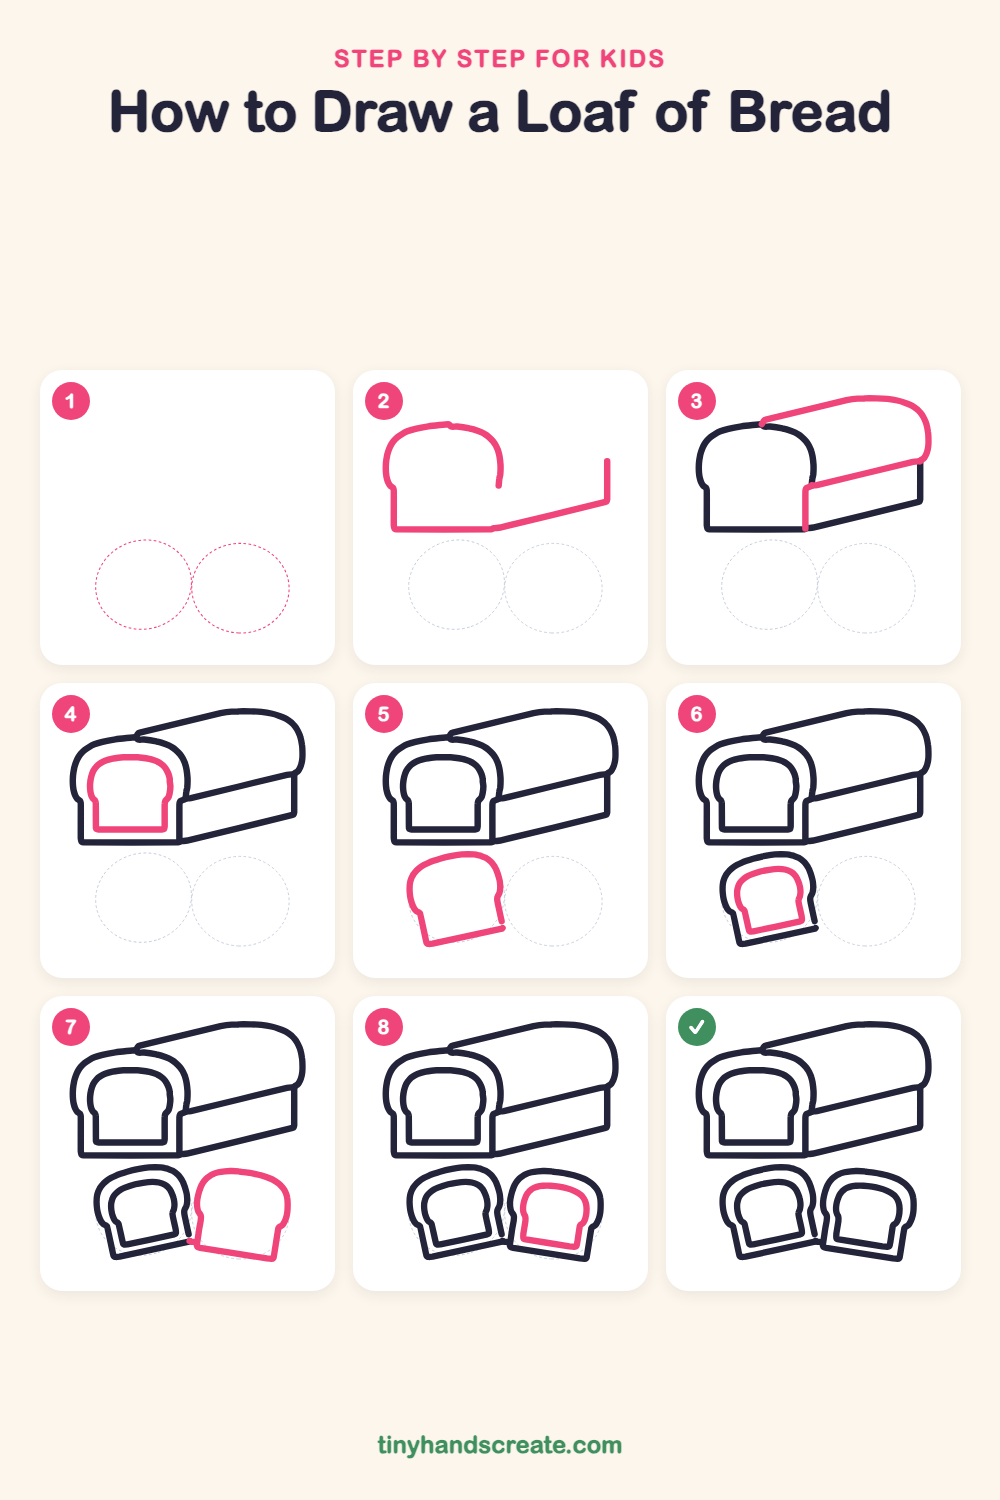
Step 1: Guide shapes
Lightly sketch these 2 ovals. They only show where the big parts go, so press softly. You will erase them at the end.
Step 2: Front and base lines
Draw the front of the loaf like a slice of bread: a rounded top, a little dip on the left, and a straight line down to a flat bottom. Then keep the bottom line going right, slanting up a little, and finish with a short line straight up at the far end.
Step 3: The long loaf top
Start at the top of the front shape and draw a long slanted line to the right. Curve it around the far end, then bring a slanted line back down and left to meet the front shape, and add a short straight line down the front corner.
Step 4: Inner slice shape
Inside the front shape, draw a smaller bread-slice shape with a round top and two little dips on the sides. Leave an even gap all around so the crust looks the same thickness.
Step 5: First slice crust
Below the loaf, draw a tilted slice of bread with a rounded top, little dips on the sides, and a slanted flat bottom. Make it a bit wider than you think, so there is room for the inside.
Step 6: First slice inside
Draw a smaller slice shape inside the first slice, following the same curves. Keep a narrow, even gap so it looks like a crust.
Step 7: Second slice crust
Next to the first slice, draw another tilted slice with a round top, side dips, and a flat bottom. Let it lean the other way and nearly touch the first one.
Step 8: Second slice inside
Finish by drawing a smaller slice shape inside the second slice, following its curves. Keep the same gap as before.
All done!
Erase the guide shapes, go over your lines, then color it in.
Finished your loaf of bread? Keep the pencils out and learn how to draw a coffee cup or how to draw a smoothie next.
Tips for drawing a loaf of bread
- Draw the slice shape once, lightly, then copy it. The front of the loaf and the two loose slices all use the same round-top shape.
- The long slanted lines on the loaf top are the trickiest part. Keep your eyes on where the line will end, and draw slowly in one smooth stroke.
- For the crust, keep the same gap between the outer and inner lines all the way around. Look at the gap, not the lines, as you go.
Free loaf of bread coloring page
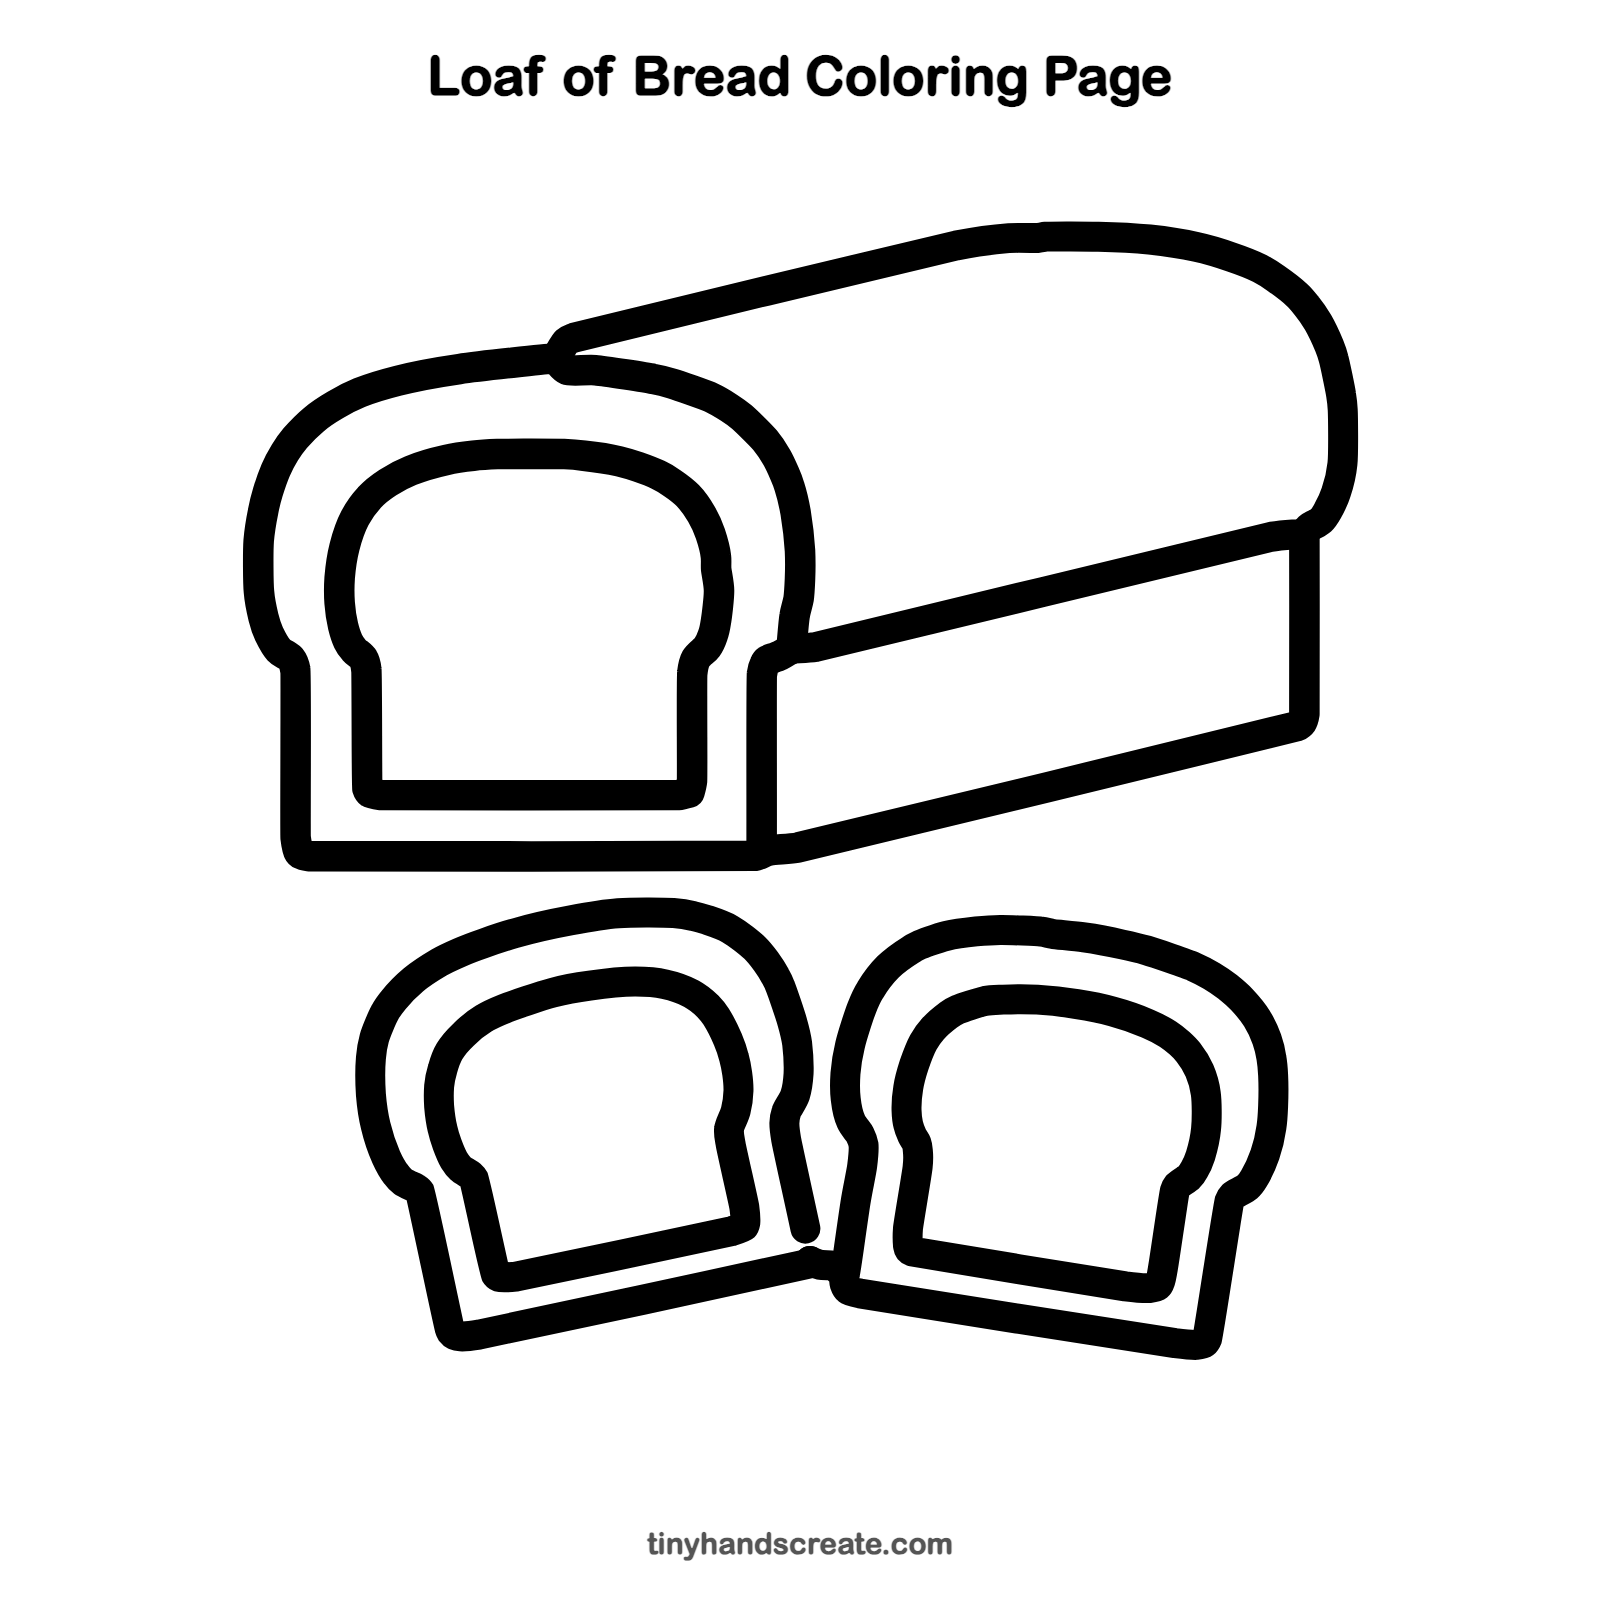
Want to go straight to coloring? Open this loaf of bread coloring page at full size and print it. It is the same drawing you just learned, with clean lines ready for crayons or markers.
How to color your loaf of bread drawing
Color the crust golden brown and the inside of each slice a pale cream or light yellow. For a creative twist, add a pat of butter or a swirl of jam on one slice.
Loaf of bread fun fact for kids
Bread rises because yeast eats sugar in the dough and makes tiny bubbles of carbon dioxide gas, which get trapped and puff the dough up.
Questions about drawing a loaf of bread
What shapes do I need to draw a loaf of bread?
You need a bread-slice shape with a round top for the front, plus long slanted lines for the loaf. The two loose slices use the same slice shape.
How do I make the slices look like real bread?
Draw a second, smaller slice shape inside the first one. The gap between the two lines makes the crust.
How do I draw the loaf in 3D?
Draw the front slice shape first, then add long slanted lines going back to the right. Those lines make the loaf look long.