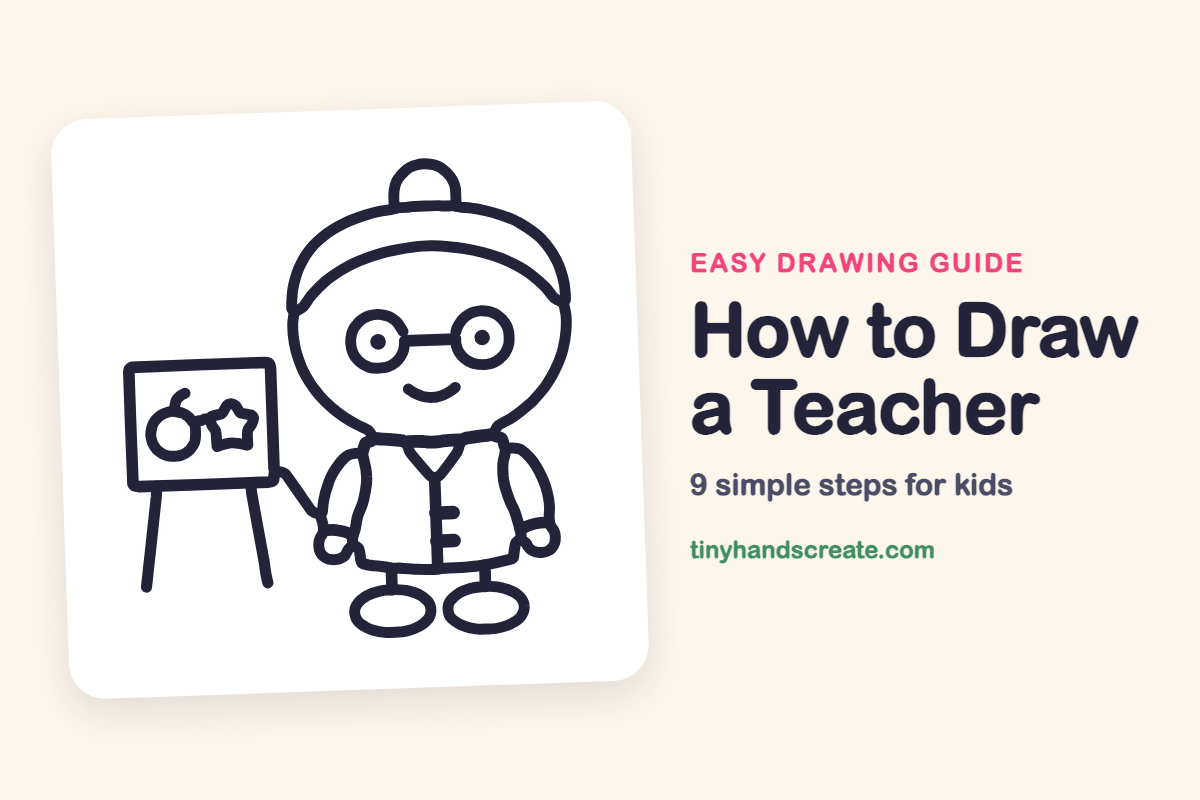
How to Draw a Teacher (Easy Step by Step)
A teacher standing by an easel is a friendly drawing made mostly from circles, ovals and straight lines. You will build a round head with a hat, a boxy vest, and a board with a tiny apple and star on it. It is a great way to practice joining simple shapes into a character.
- Easy
- 15 minutes
- 9 steps
You need: paper, a pencil, an eraser, and crayons or markers for coloring.
Start drawingIn this article (7 sections)
How to draw a teacher step by step
How to Draw a Teacher · tinyhandscreate.com
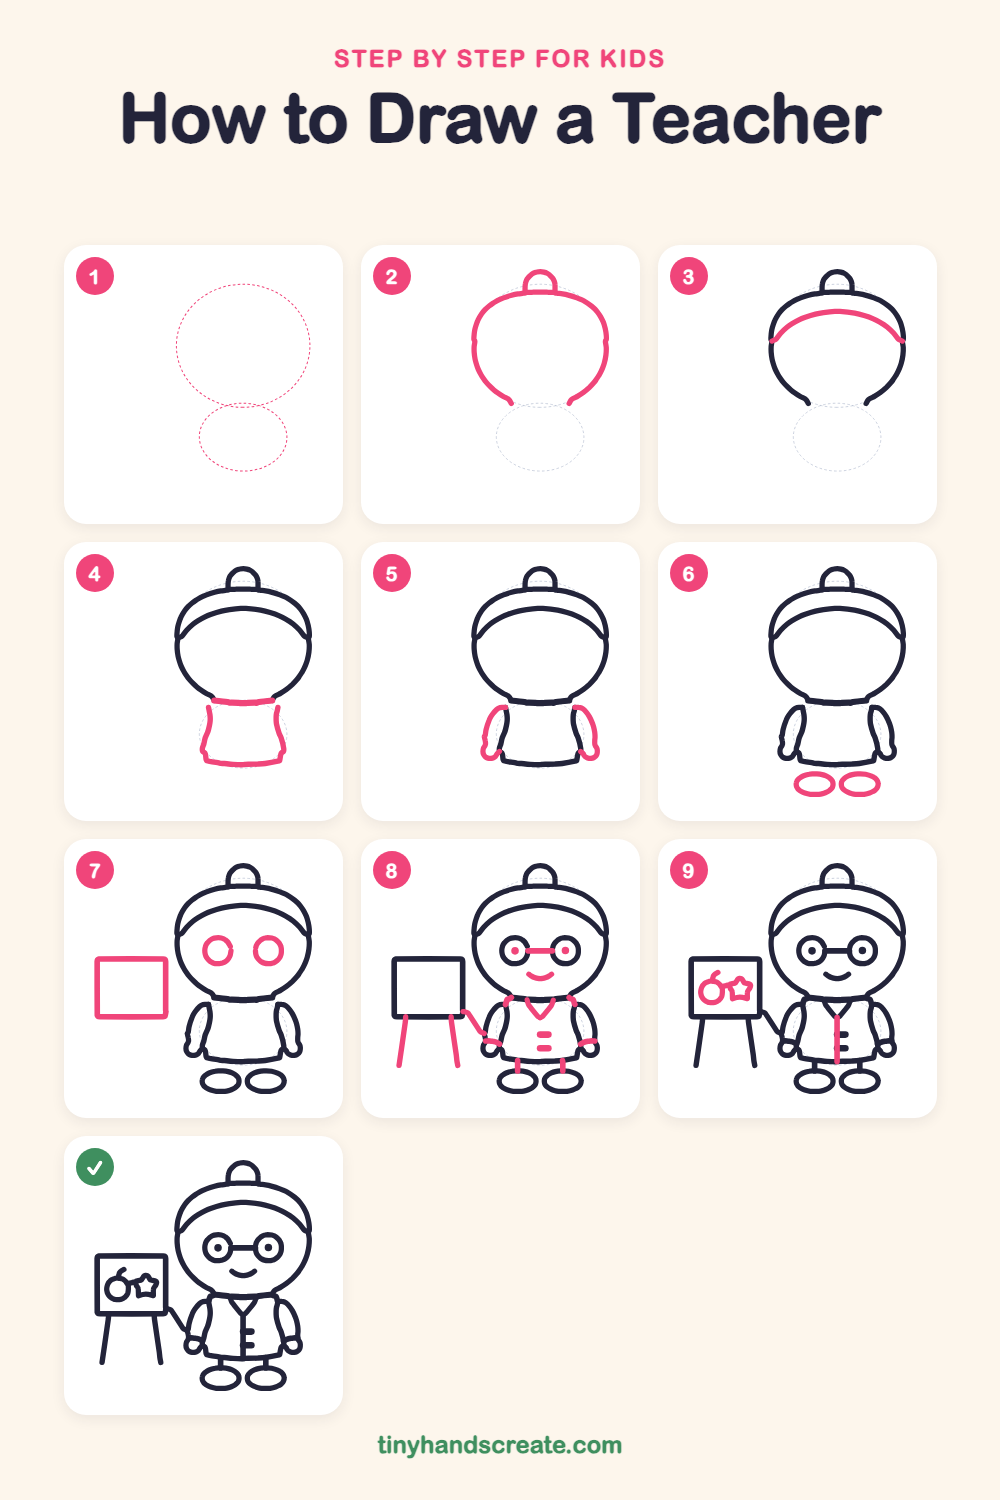
Step 1: Guide shapes
Lightly sketch these 2 ovals. They only show where the big parts go, so press softly. You will erase them at the end.
Step 2: Head and hat knob
Draw a big rounded head shape, a little wider than tall, and leave the bottom open for the neck. Add a small half circle bump on top, like a bun or a hat knob.
Step 3: The hat band
Draw a curved line across the upper part of the head, from one side to the other, to make the band of the hat.
Step 4: Neck and vest body
Draw a short line across the bottom of the head for the neck. Under it, draw a box with slightly curved sides and a gently curved bottom for the body.
Step 5: Arms and hands
Draw a long bent oval on each side of the body for the arms. Round off the bottom of each arm to make a little hand.
Step 6: Two shoes
Draw a wide oval under each side of the body for the shoes. Leave a small gap between them.
Step 7: Glasses circles and board
Draw two small circles side by side on the face for the glasses. To the left of the teacher, draw a square rectangle for the board.
Step 8: Face, easel and collar
Join the glasses with a short line, add a dot in each circle for eyes, and draw a curved smile below. Draw two slanted legs under the board and a bent line from the board to the teacher's hand. Add a V collar, two small round buttons, and two tiny leg lines above the shoes.
Step 9: Apple, star and vest line
Inside the board, draw a small circle with a curved stem for an apple, and a star next to it. Then draw a straight line down the middle of the vest.
All done!
Erase the guide shapes, go over your lines, then color it in.
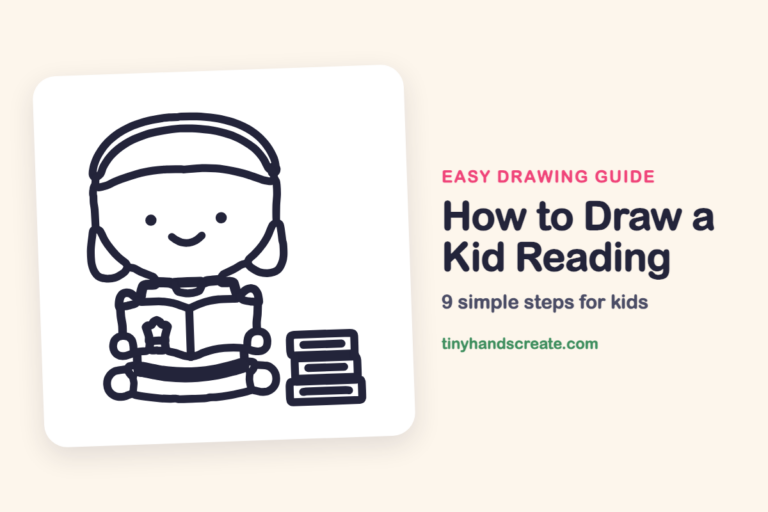
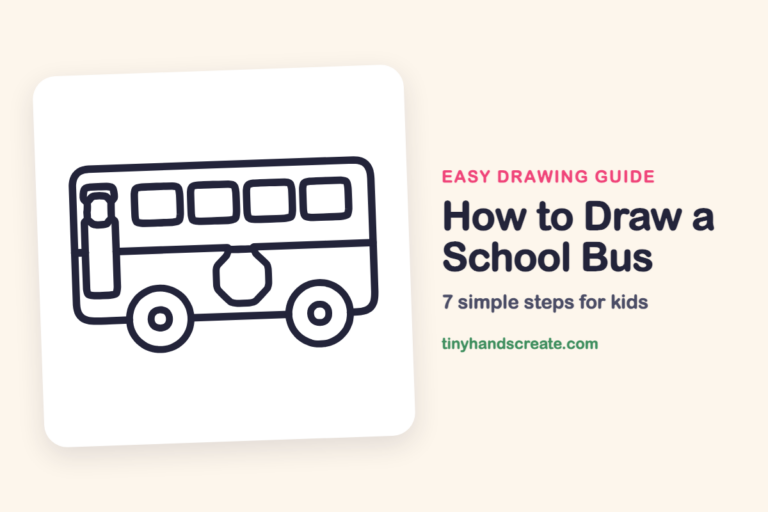
Finished your teacher? Keep the pencils out and learn how to draw a kid reading or how to draw a school bus next.
Tips for drawing a teacher
- Draw the big head first and leave room underneath, so the vest and shoes fit on the page.
- Glasses are the trickiest part, so make the two circles the same size and connect them with a short straight line.
- Draw the easel board lightly as a rectangle first so the apple and star have space inside.
Free teacher coloring page
Want to go straight to coloring? Open this teacher coloring page at full size and print it. It is the same drawing you just learned, with clean lines ready for crayons or markers.
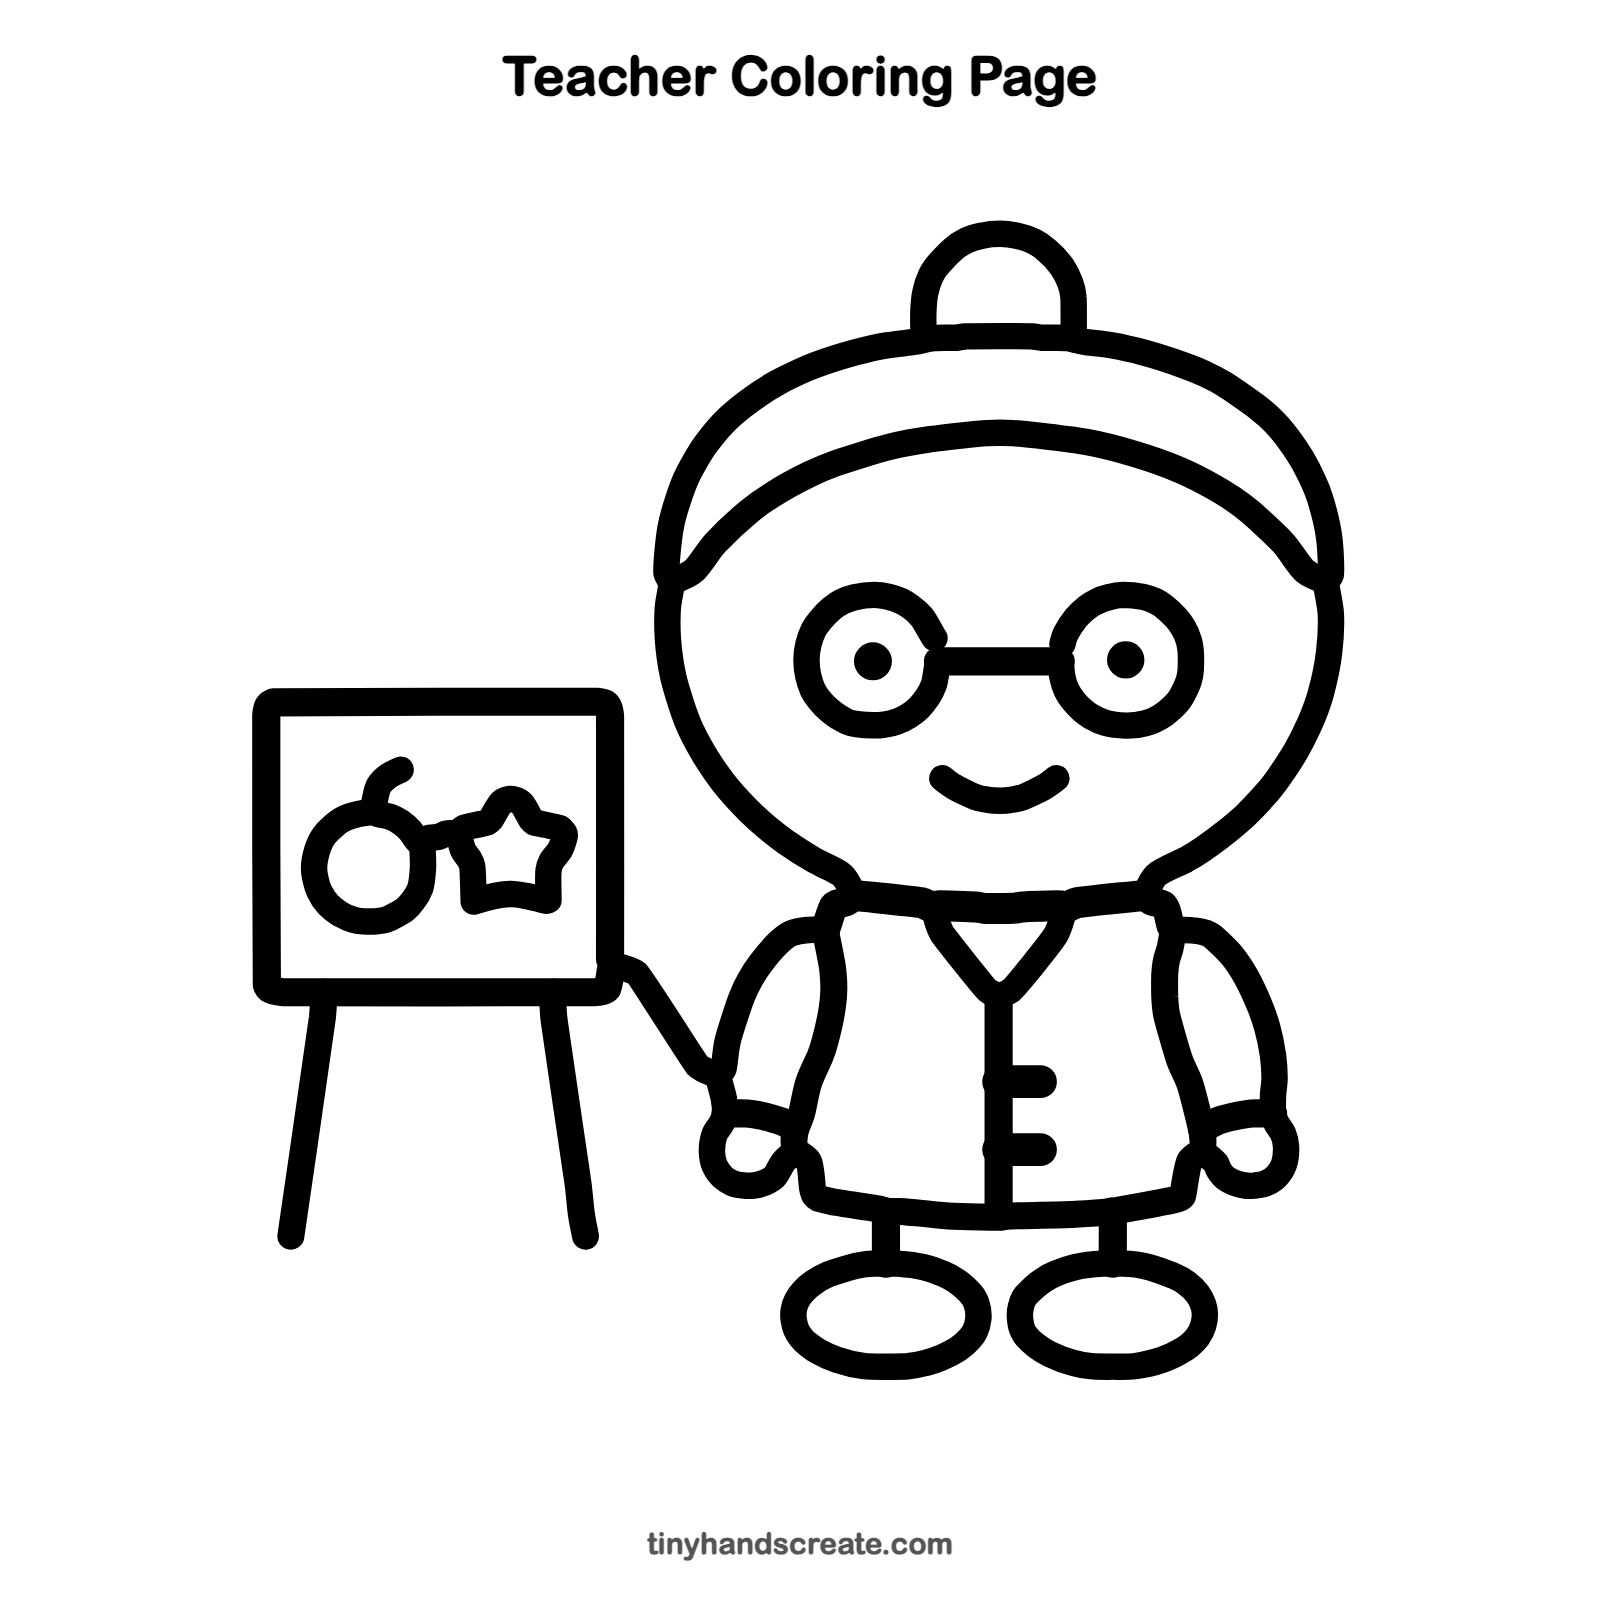
How to color your teacher drawing
Try a red apple, a yellow star, a green vest and a brown easel. For a creative twist, draw your own favorite shape on the board instead of the apple.
Teacher fun fact for kids
Teachers have used blackboards in classrooms for over 200 years, and before that many students wrote on small slates they carried to school.
Questions about drawing a teacher
What shapes do I need to draw a teacher?
You need a rounded shape for the head, circles for the glasses, ovals for the arms and shoes, and rectangles for the vest and the easel board.
How do I make my teacher look friendlier?
Draw a wide curved smile and a dot in each glasses circle for eyes. A little curve at each end of the smile makes it extra warm.
How do I draw the easel board straight?
Start with four light lines in a rectangle, using the edge of a book if you like, and then trace over them. Draw the legs slanting a little outward.