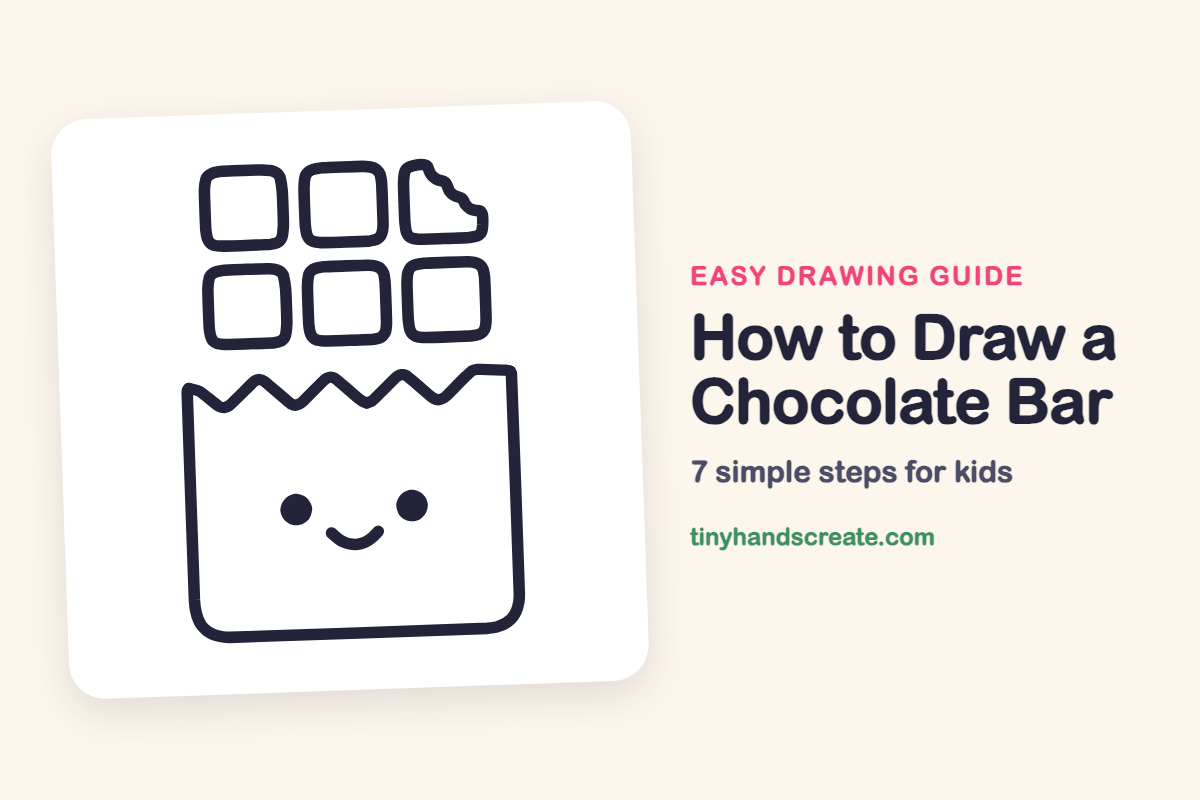
How to Draw a Chocolate Bar (Easy Step by Step)
A smiling chocolate bar is a sweet first drawing because it is made almost entirely of squares. You will also draw a zigzag for the torn wrapper, two dots for eyes, and a curve for the smile. The bite taken out of one square makes it feel like a real treat.
- Easy
- 10 minutes
- 7 steps
You need: paper, a pencil, an eraser, and crayons or markers for coloring.
Start drawingIn this article (7 sections)
How to draw a chocolate bar step by step
How to Draw a Chocolate Bar · tinyhandscreate.com
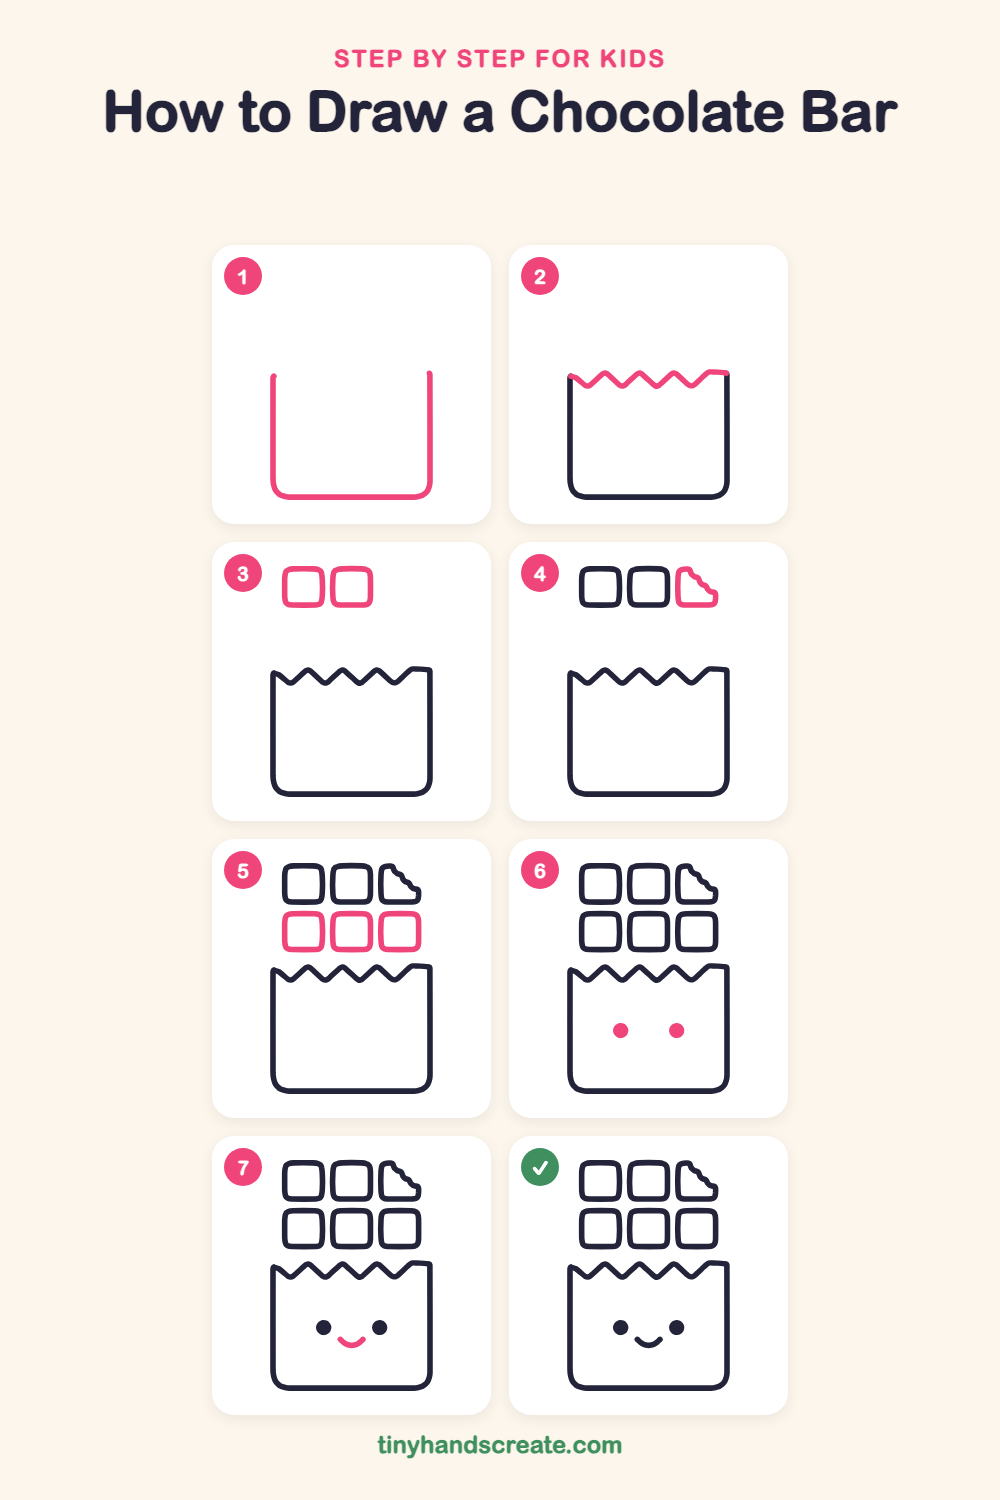
Step 1: The wrapper sides
Draw a line down from the left, curve around the bottom corner, go across the bottom, curve up the other corner and finish with a line up the right side. It looks like a big letter U with the top left open.
Step 2: Zigzag torn edge
Starting at the top of the left side, draw a zigzag line of pointy mountains across to the right side. At the far right, end with a short flat line that meets the right side.
Step 3: Two top squares
Above the wrapper, draw two squares with soft rounded corners side by side. Leave a small gap between them.
Step 4: The bitten square
Next to the two squares, draw a third square. On its top right corner, draw three little bumpy scoops to look like a bite was taken.
Step 5: Bottom row of squares
Under the top row, draw three more rounded squares in a line. Make them the same size as the ones above so they match.
Step 6: The eyes
In the middle of the wrapper, draw two round dots side by side. Color them in so they are solid black.
Step 7: The smile
Between and a little below the eyes, draw a small curved line like a tiny bowl. Now your chocolate bar is smiling.
All done!
Go over your lines with a marker, then color it in.
Finished your chocolate bar? Keep the pencils out and learn how to draw a candy jar or how to draw a bowl of spaghetti next.
Tips for drawing a chocolate bar
- Draw all six squares the same size by making the top row first, then lining up the bottom row right under it.
- The zigzag is the trickiest part. Make light dots for the peaks first, then connect them with straight lines.
- For the bite, draw three small bumps in a row along the corner, like a tiny wave, instead of one big curve.
Free chocolate bar coloring page
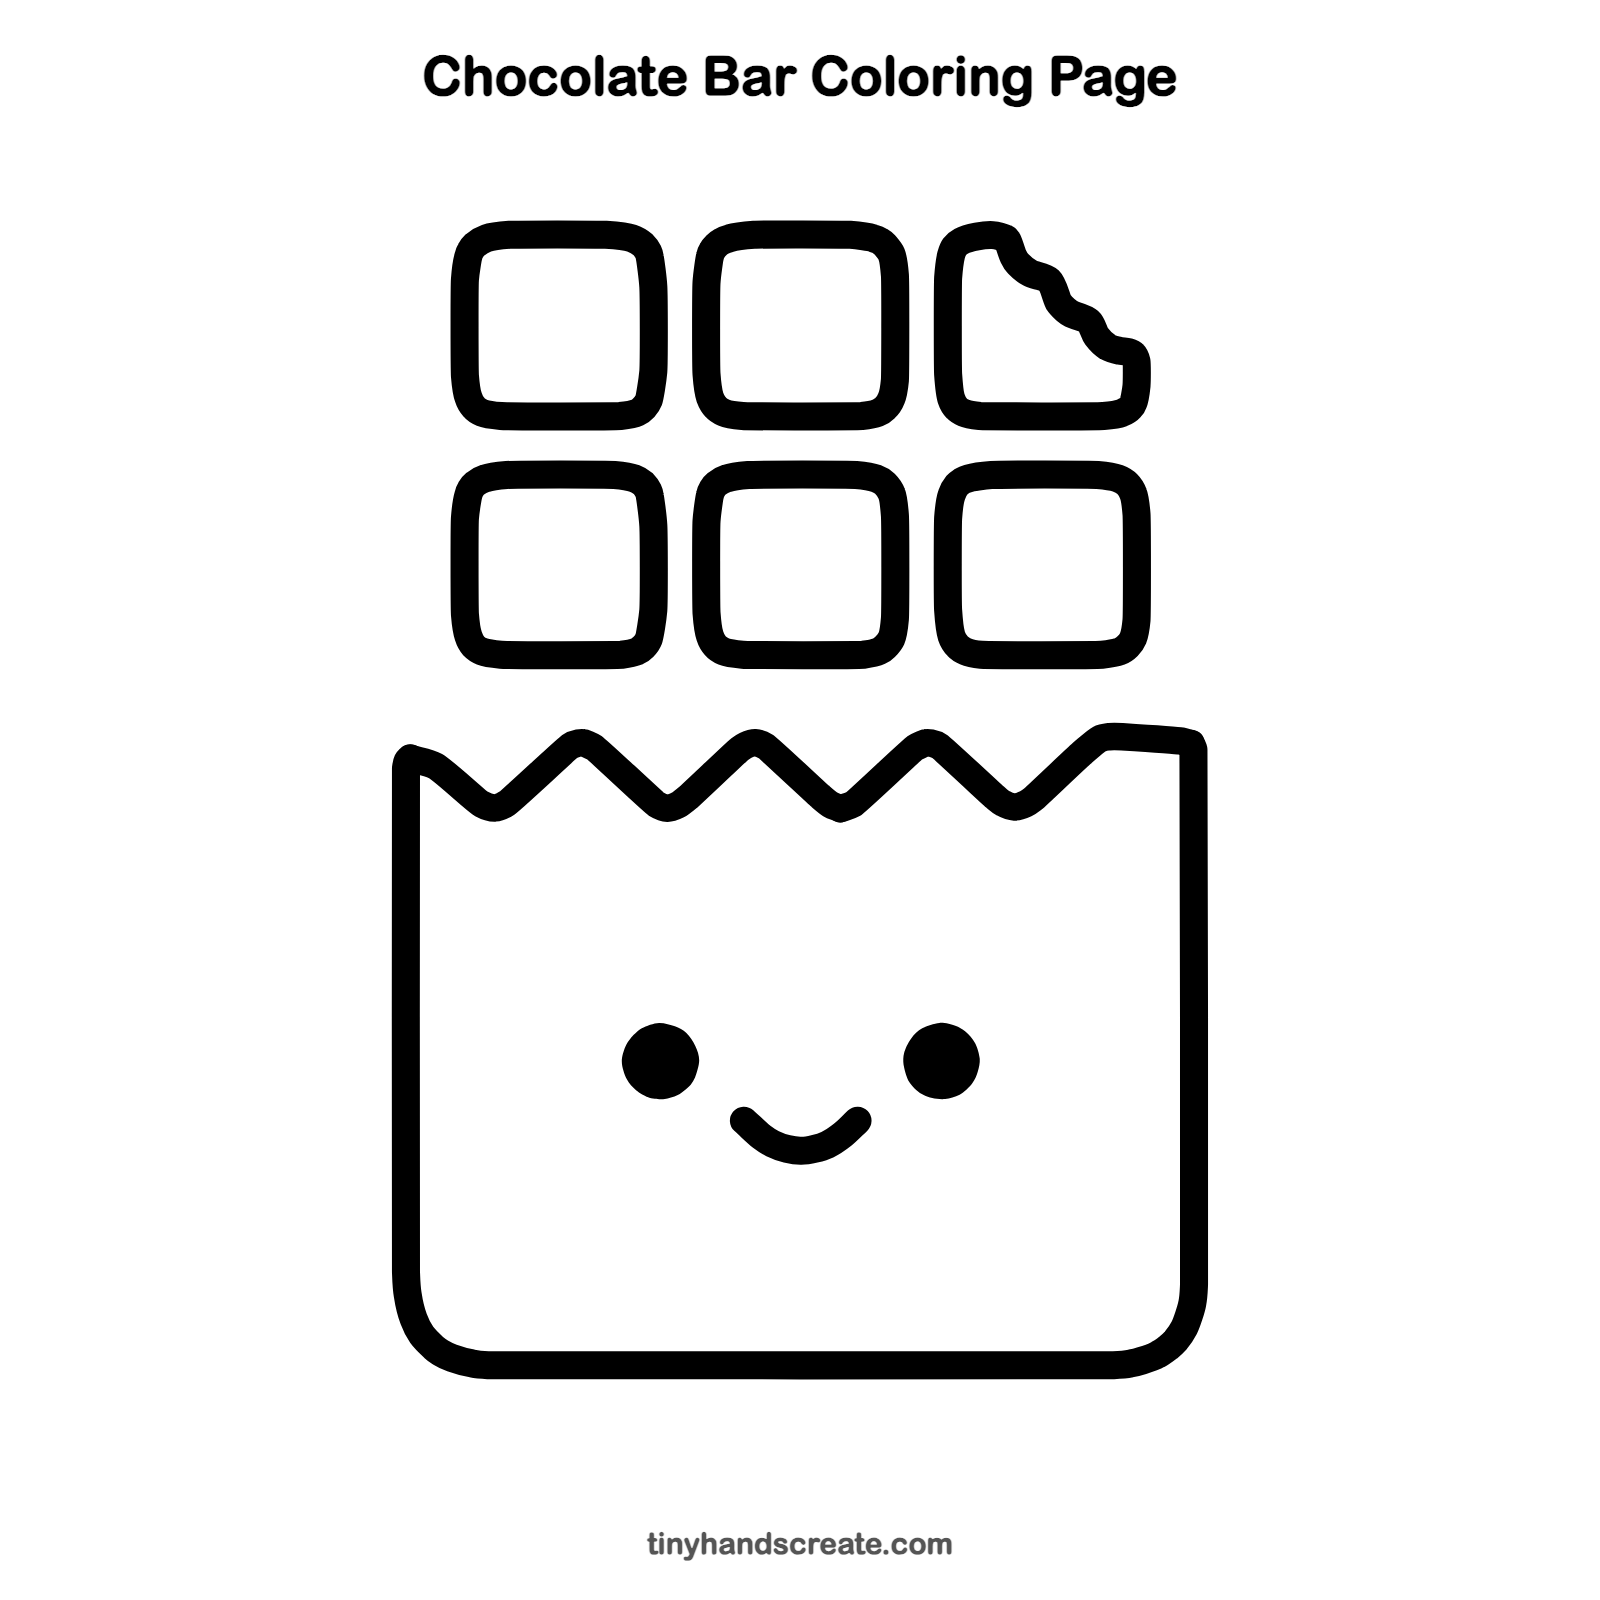
Want to go straight to coloring? Open this chocolate bar coloring page at full size and print it. It is the same drawing you just learned, with clean lines ready for crayons or markers.
How to color your chocolate bar drawing
Color the squares in different shades of brown, from milk chocolate to dark chocolate, and make the wrapper a bright red or blue. For a twist, give each square its own pattern, like swirls, dots or stripes.
Chocolate bar fun fact for kids
Chocolate is made from the seeds of the cacao tree, which grows in warm places near the equator. The seeds are dried, roasted and ground before they become the chocolate we eat.
Questions about drawing a chocolate bar
What shapes do I need to draw a chocolate bar?
You need rounded squares for the pieces, a U shape with a zigzag top for the wrapper, two dots for the eyes and a curved line for the smile.
How do I draw the bite mark on the chocolate?
Draw a square, then make the top right corner out of three small bumps in a row instead of a sharp corner. The bumps look like tooth marks.
How do I make my chocolate bar look cuter?
Place the eyes wide apart and the smile low and small between them. Make the eyes solid dots so the face stands out.