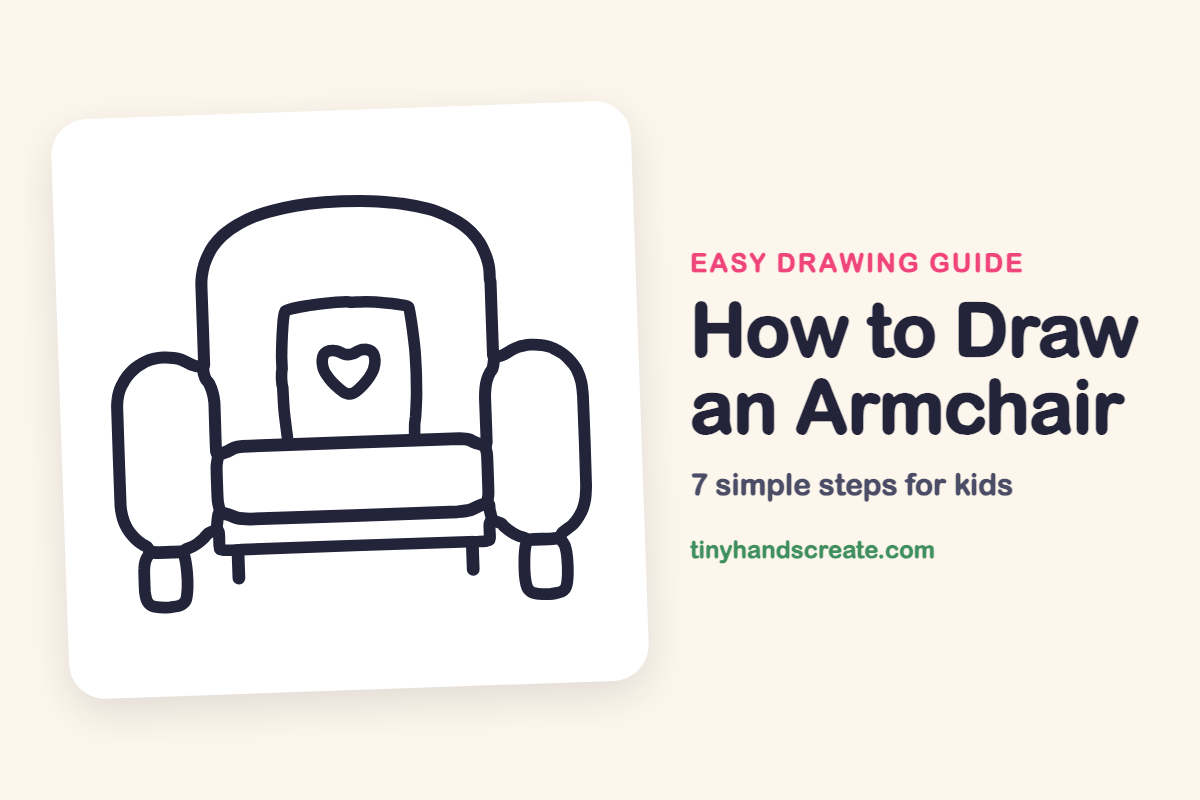
How to Draw an Armchair (Easy Step by Step)
An armchair is a cozy thing to draw, and it is built from simple shapes you already know. You will use a big arch, rounded shapes, a rectangle, and one small heart. Each shape is easy on its own, and together they make a chair you could curl up in.
- Easy
- 12 minutes
- 7 steps
You need: paper, a pencil, an eraser, and crayons or markers for coloring.
Start drawingIn this article (7 sections)
How to draw an armchair step by step
How to Draw an Armchair · tinyhandscreate.com
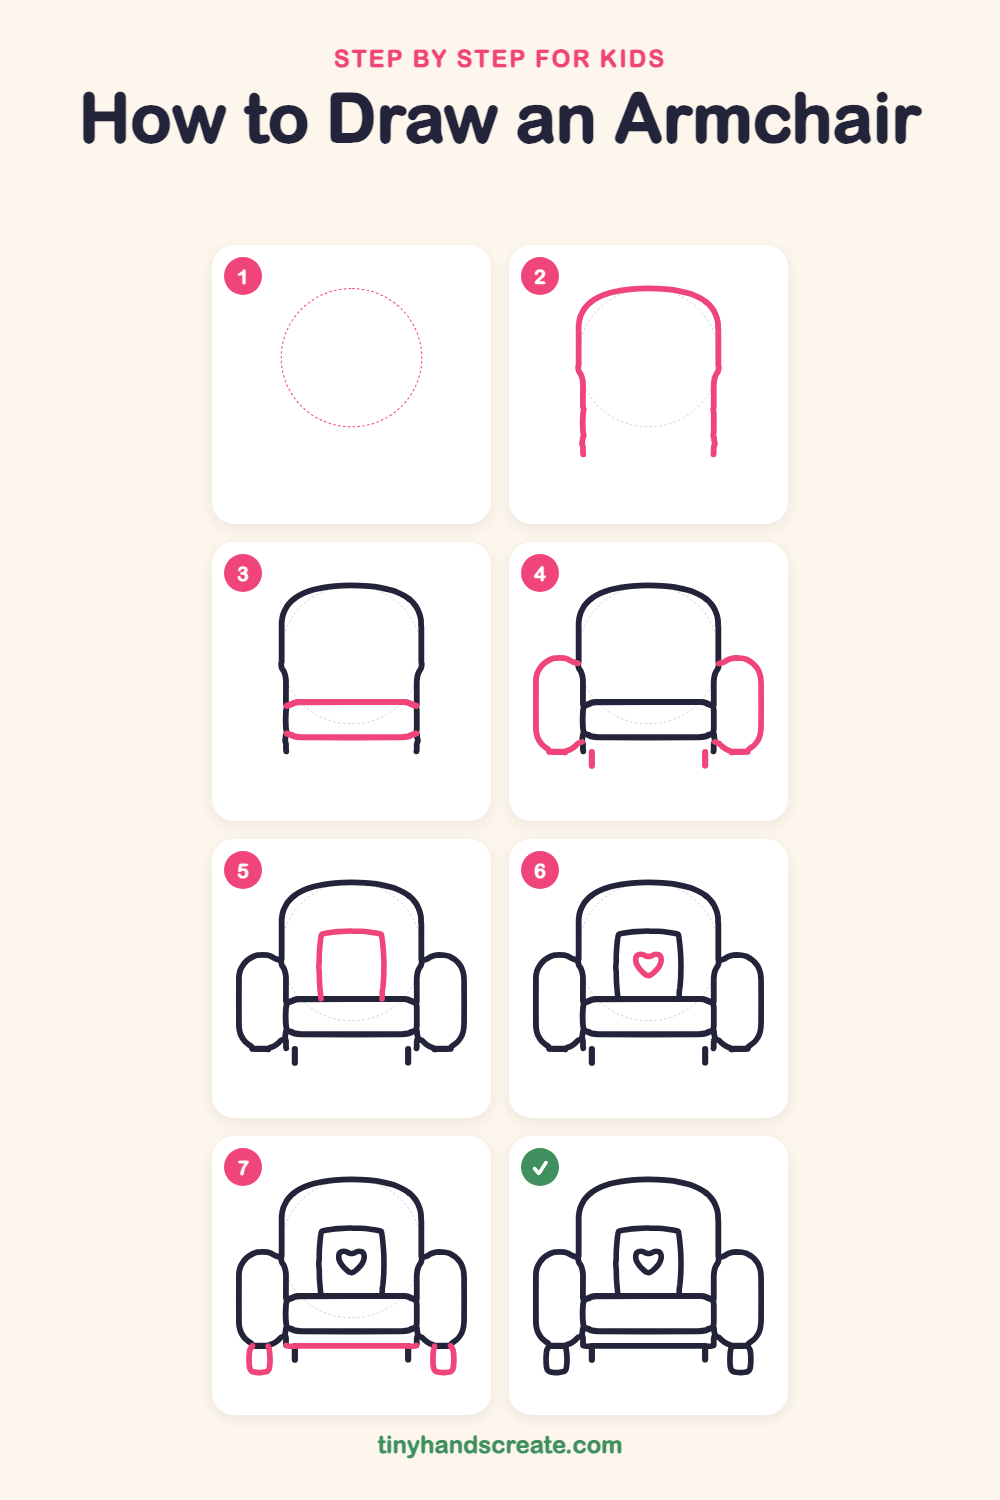
Step 1: Guide shapes
Lightly sketch this oval. It only shows where the big parts go, so press softly. You will erase it at the end.
Step 2: Tall arched back
Start low on the left and draw a line straight up, then curve it over the top like a big rounded arch and bring it straight down the right side. This is the tall back of the chair.
Step 3: The seat cushion
Near the bottom of the chair back, draw a long, slightly curved line from the left side to the right side. Draw a second line a little below it, so the two lines make a thick cushion.
Step 4: Arms and little legs
On each side, draw a tall rounded shape like a sausage standing up, tucked against the chair back and curving in under the seat. Then add a short straight line hanging down under the seat on each side for a little leg.
Step 5: The back pillow
Between the arms, sitting on the seat cushion, draw a tall rectangle with a slightly curved top. It looks like a pillow leaning on the chair back.
Step 6: The little heart
In the middle of the pillow, draw two small bumps side by side, then bring the lines down to a point. That makes a cute heart.
Step 7: Base and feet
Draw a straight line under the seat from one little leg to the other for the bottom of the chair. Then add a small rounded square foot under each arm.
All done!
Erase the guide shapes, go over your lines, then color it in.
Finished your armchair? Keep the pencils out and learn how to draw a bathtub or how to draw a toothbrush next.
Tips for drawing an armchair
- Draw the tall back first and keep it wide. The arms and seat fit beside and under it, so a roomy back makes everything else easier.
- The arms are the trickiest part. Sketch each one as a tall, thin oval first, then trace over it so both sides come out about the same size.
- Draw the heart small. If it comes out lopsided, try making the two top bumps first, then connect them to the point at the bottom.
Free armchair coloring page
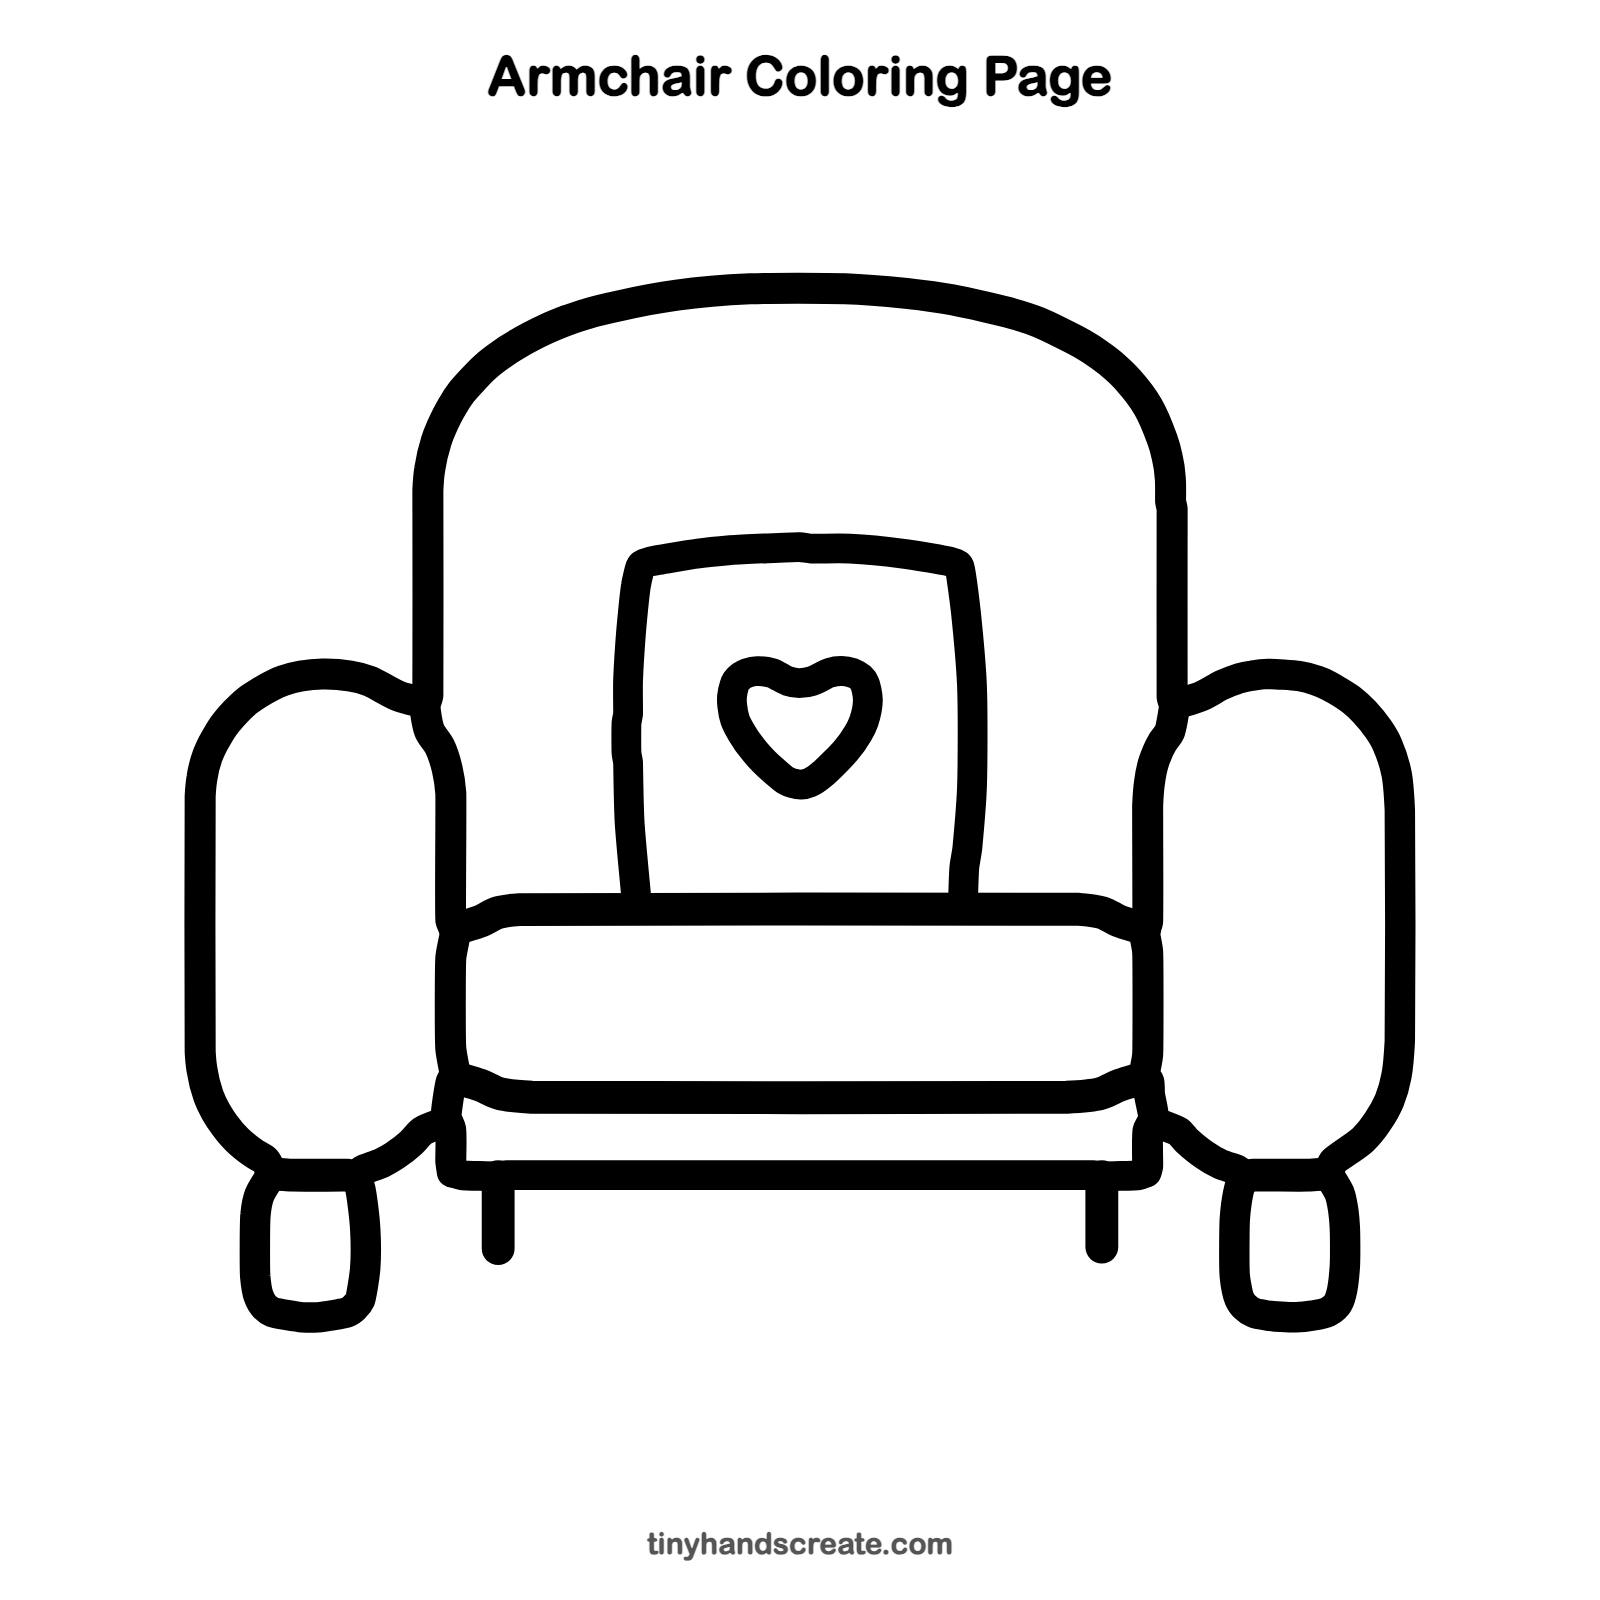
Want to go straight to coloring? Open this armchair coloring page at full size and print it. It is the same drawing you just learned, with clean lines ready for crayons or markers.
How to color your armchair drawing
Try a classic red or deep green chair with a pink heart on the pillow. For a creative twist, give the chair a polka dot or striped pattern, or color each arm a different color.
Armchair fun fact for kids
The word chair comes from the Latin word cathedra, which means a seat. It is the same old word that gave us cathedral, a church that holds an important bishop's seat.
Questions about drawing an armchair
What shapes do I need to draw an armchair?
You need a big arch for the back, long lines for the seat cushion, tall rounded shapes for the arms, a rectangle for the pillow, and a small heart. Little rounded squares make the feet.
How do I make my armchair look puffy and comfy?
Round every corner and add a second line under the top line of the seat cushion so it looks thick. Soft, curvy lines make a chair look cozy.
How do I make both arms match?
Draw one arm, then compare the second one to it. Try starting both at the same height on the chair back and ending them at the same height near the seat.