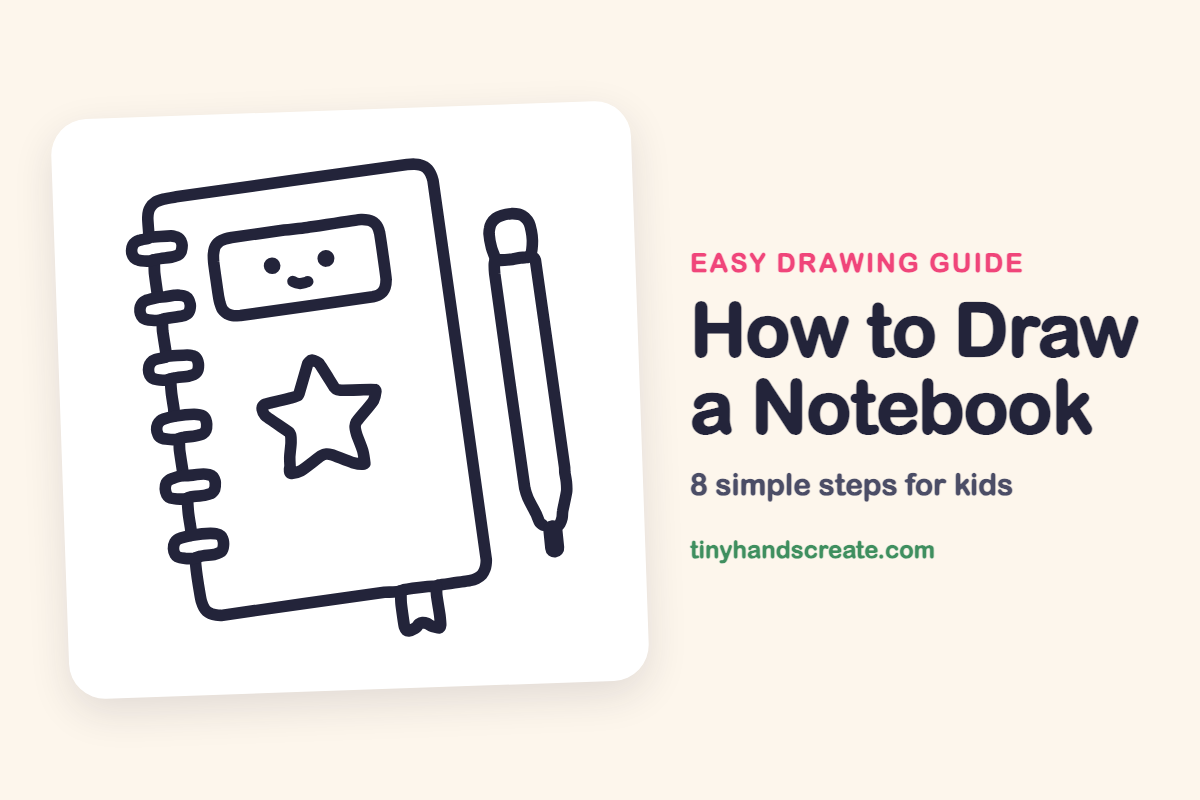
How to Draw a Notebook (Easy Step by Step)
A notebook is a great first drawing because it is mostly rectangles, circles and one friendly star. This one has a smiley name label, a row of spiral rings, a bookmark ribbon and a pencil waiting beside it. Once you can draw it, you can make a notebook of your very own design.
- Easy
- 12 minutes
- 8 steps
You need: paper, a pencil, an eraser, and crayons or markers for coloring.
Start drawingIn this article (7 sections)
How to draw a notebook step by step
How to Draw a Notebook · tinyhandscreate.com
Step 1: Cover outline
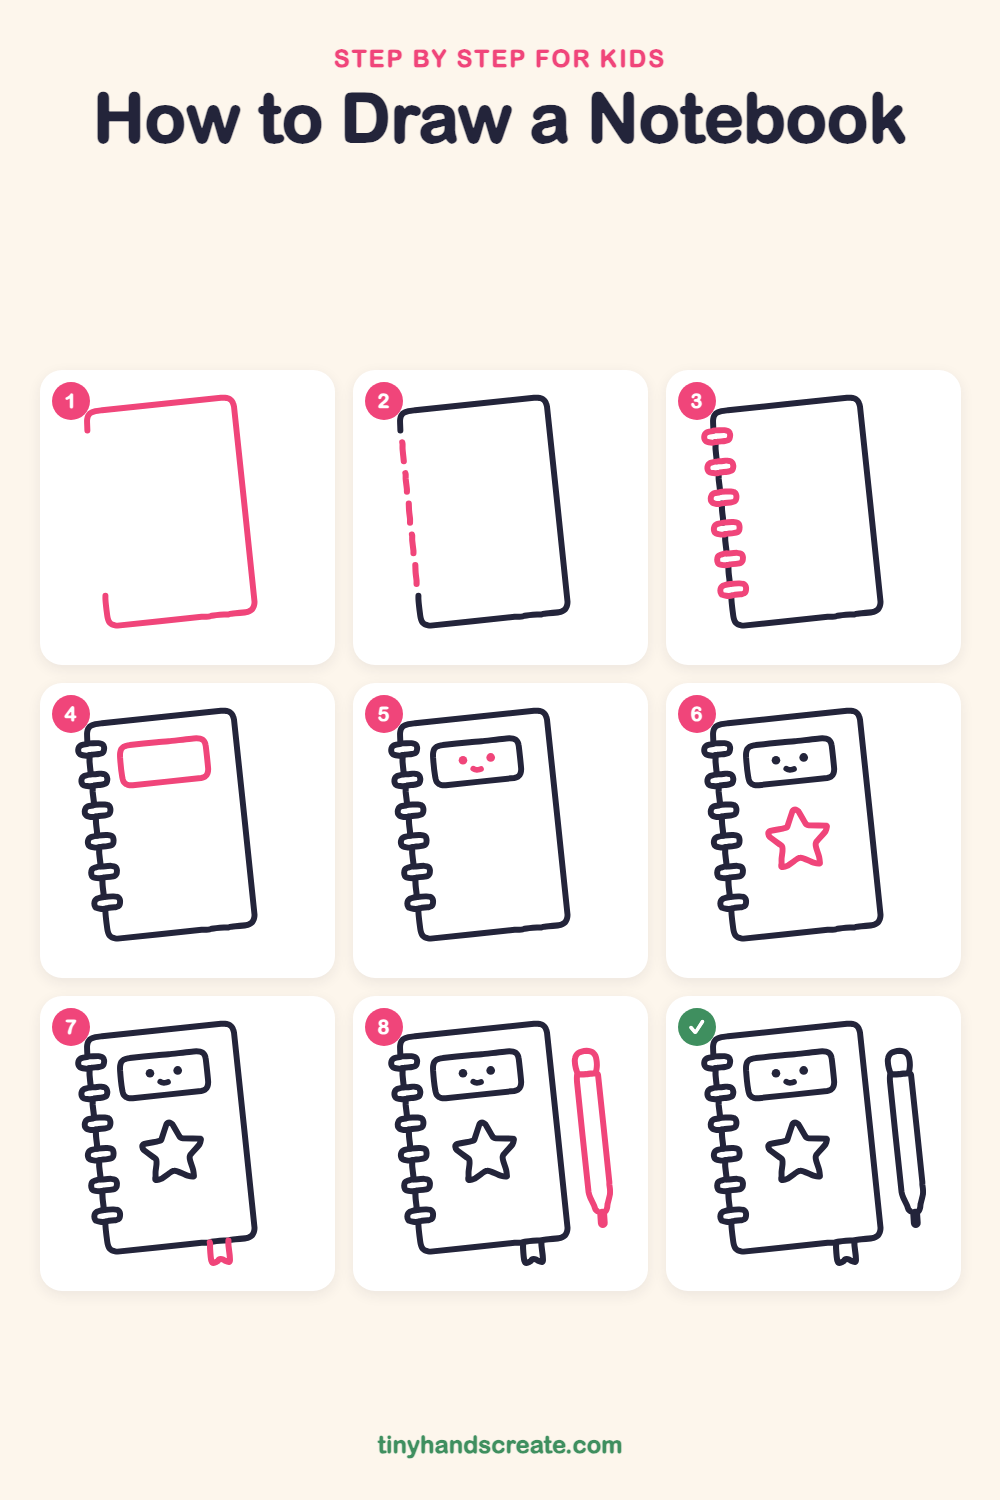
Draw a tall rectangle with rounded corners, leaning just a little to one side. Draw the top, the right side and the bottom, and leave the left side open for now.
Step 2: Left edge
Draw the left side of the cover as a row of short dashes, going from the top corner down to the bottom corner. Leave small gaps between the dashes.
Step 3: The spiral rings
Draw six little pill shapes down the left edge, one below the other, so each one crosses the edge. Try to space them evenly, like rungs on a ladder.
Step 4: The name label
Near the top of the cover, draw a wide rectangle with rounded corners. This is the sticker where a name would go.
Step 5: The smiley face
Inside the label, draw two small dots for eyes. Then draw a tiny curved smile between and below them.
Step 6: The star
In the middle of the cover, below the label, draw a big star. Start at the top point and zigzag out and in until you come back to the start.
Step 7: The bookmark ribbon
Near the bottom right of the cover, draw two short lines hanging down below the bottom edge. Join their ends with a little notch shaped like a W to make the ribbon end.
Step 8: The pencil
Next to the notebook, draw a long thin rectangle that leans the same way. Add a rounded eraser on top, then a pointed tip at the bottom with a tiny point at the very end.
All done!
Go over your lines with a marker, then color it in.
Finished your notebook? Keep the pencils out and learn how to draw a glue bottle or how to draw a teacher next.
Tips for drawing a notebook
- Draw the cover's left edge as dashes first, then add the six spiral rings over it. Sketch tiny dots first to mark where each ring goes, because equal spacing makes the notebook look neat.
- The star is the trickiest part. Start with a light pencil sketch of a dot at each of the five tips, then connect the points before you go over it.
- Let the pencil lean the same way as the notebook, and keep both long sides almost parallel so they look like they belong together.
Free notebook coloring page
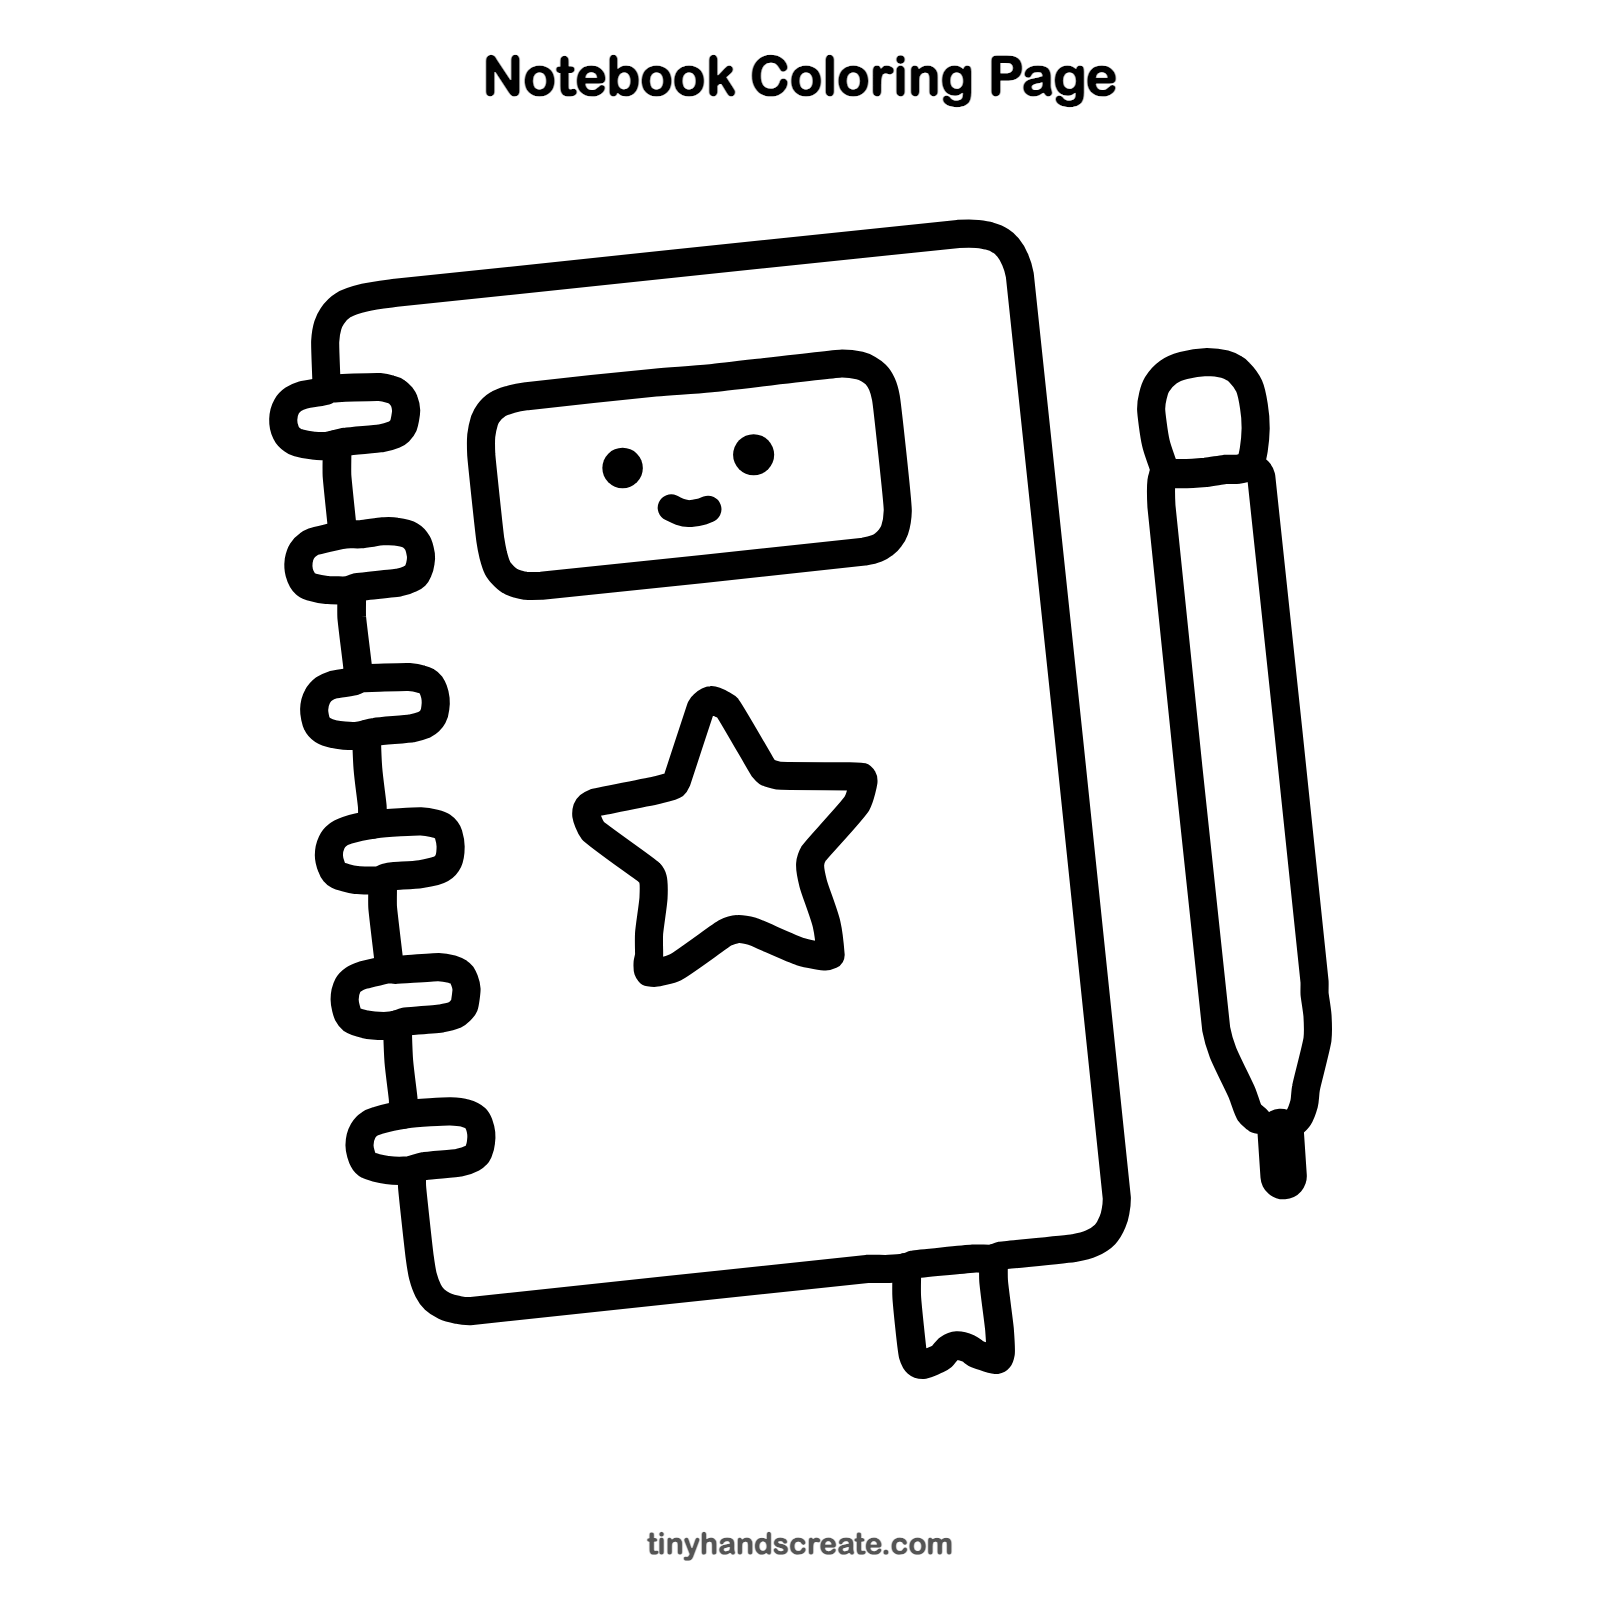
Want to go straight to coloring? Open this notebook coloring page at full size and print it. It is the same drawing you just learned, with clean lines ready for crayons or markers.
How to color your notebook drawing
Try a bright cover color like teal or sunny yellow, with a pink label and an orange star. For a creative twist, decorate the cover with stickers, doodles or your own name on the label.
Notebook fun fact for kids
Pencil "lead" is not lead at all. It is made from graphite, a soft gray form of carbon mixed with clay.
Questions about drawing a notebook
What shapes do I need to draw a notebook?
You need a tall rounded rectangle for the cover, a wider rectangle for the label, small pill shapes for the rings, and a star. The pencil is a long thin rectangle with a pointed tip.
How do I make my notebook drawing look cuter?
Add a smiley face to the label, with two dot eyes and a small curved mouth. A star and a bookmark ribbon also make it look friendly.
How do I draw the spiral rings evenly?
Make small light marks down the left edge first, with the same space between each one. Then draw a pill shape on each mark.