How to Draw a Teacup (Easy Step by Step)
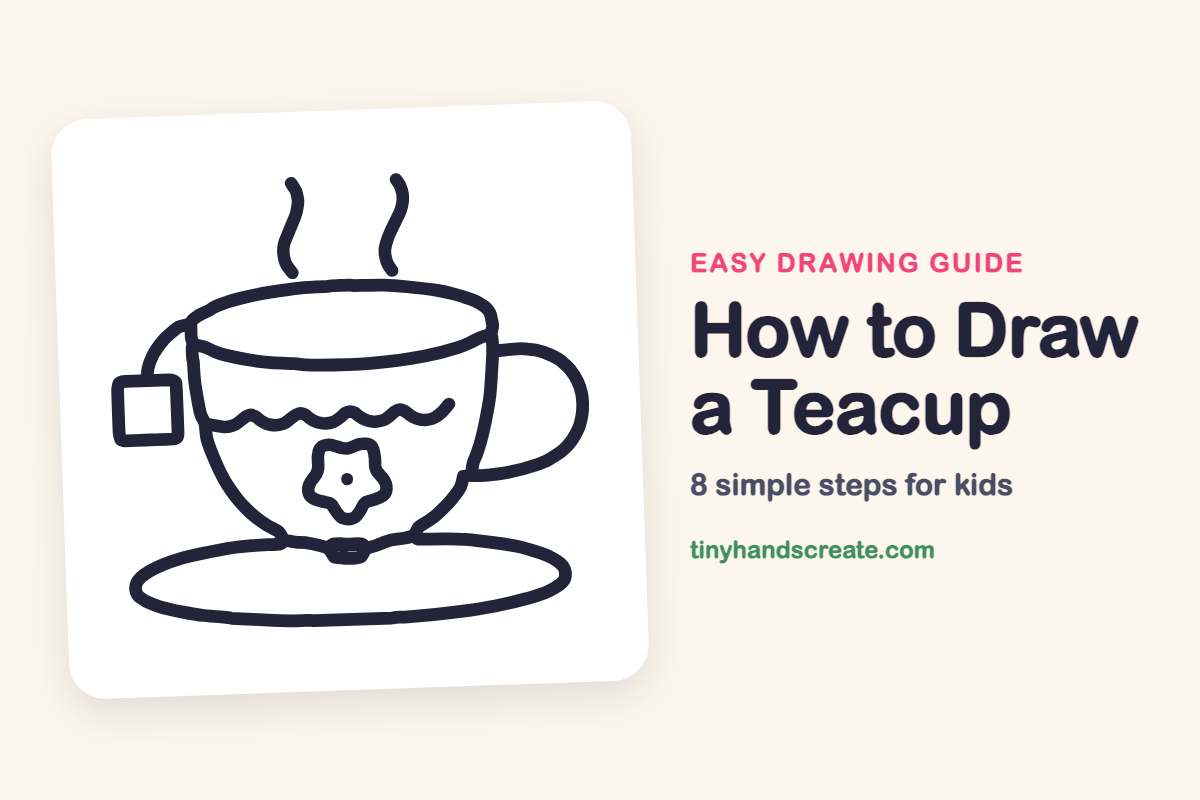
A teacup is a cozy thing to draw, and it is built from shapes you already know: ovals, a curved bowl, a square, and a wobbly star. Add a little steam and a tea bag tag, and your cup looks ready for a tea party.
- Easy
- 12 minutes
- 8 steps
You need: paper, a pencil, an eraser, and crayons or markers for coloring.
Start drawingIn this article (7 sections)
How to draw a teacup step by step
How to Draw a Teacup · tinyhandscreate.com
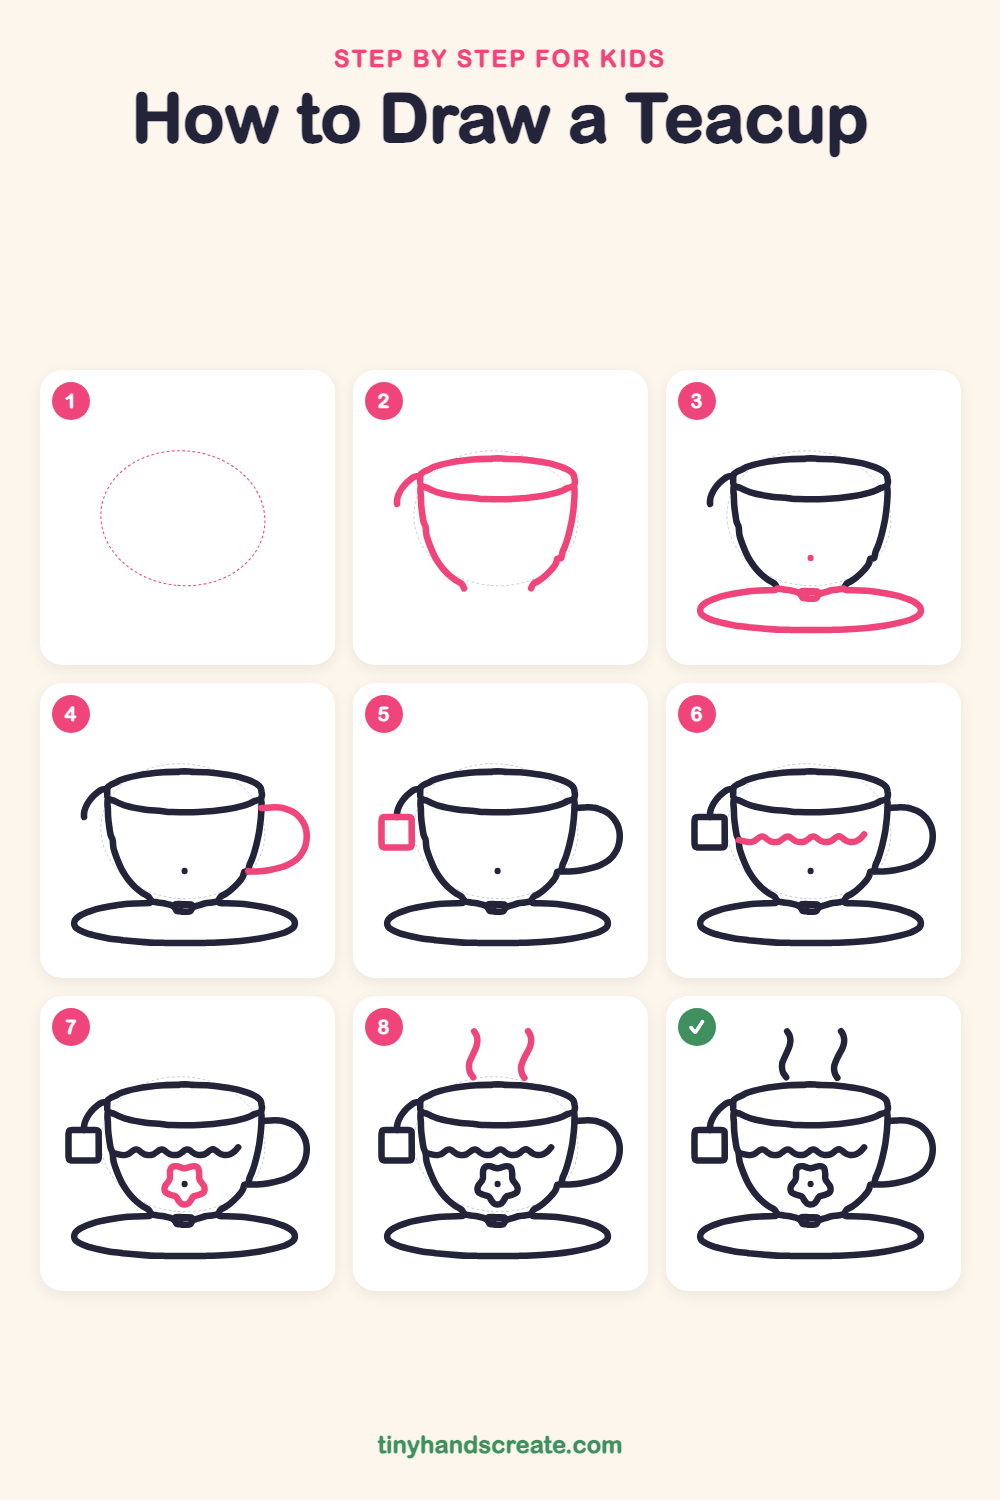
Step 1: Guide shapes
Lightly sketch this oval. It only shows where the big parts go, so press softly. You will erase it at the end.
Step 2: Cup and string
Draw a wide, flat oval for the top of the cup, then a curved line along the front of the oval. Add two sides that curve down and in like a bowl, and a small curl that hooks out from the left side of the rim.
Step 3: Saucer and foot
Under the cup, draw a long, flat oval for the saucer. Add a tiny bump where the cup sits on it, and a small dot in the middle of the cup.
Step 4: The handle
On the right side, draw a handle shaped like a sideways letter D. Start near the top of the cup, curve out and around, and end back on the cup lower down.
Step 5: The tea bag tag
At the end of the curl on the left, draw a small square for the tea bag tag.
Step 6: The wavy band
Across the middle of the cup, draw a line of little hills, up and down like gentle waves.
Step 7: The flower
Around the dot, draw a wobbly star shape with five soft points. The dot becomes the center of the flower.
Step 8: The steam
Above the cup, draw two wiggly lines that curl up and down. They show how hot the tea is.
All done!
Erase the guide shapes, go over your lines, then color it in.
Finished your teacup? Keep the pencils out and learn how to draw a banana split or how to draw a cookie jar next.
Tips for drawing a teacup
- Make the top oval wide and flat. If it is too round, the cup will look like a ball instead of a bowl.
- Draw the saucer wider than the cup so the cup has room to sit on it. Add the small bump where the two meet.
- Make the dot in the middle of the cup first, then draw the star around it. The five points do not need to match.
Free teacup coloring page
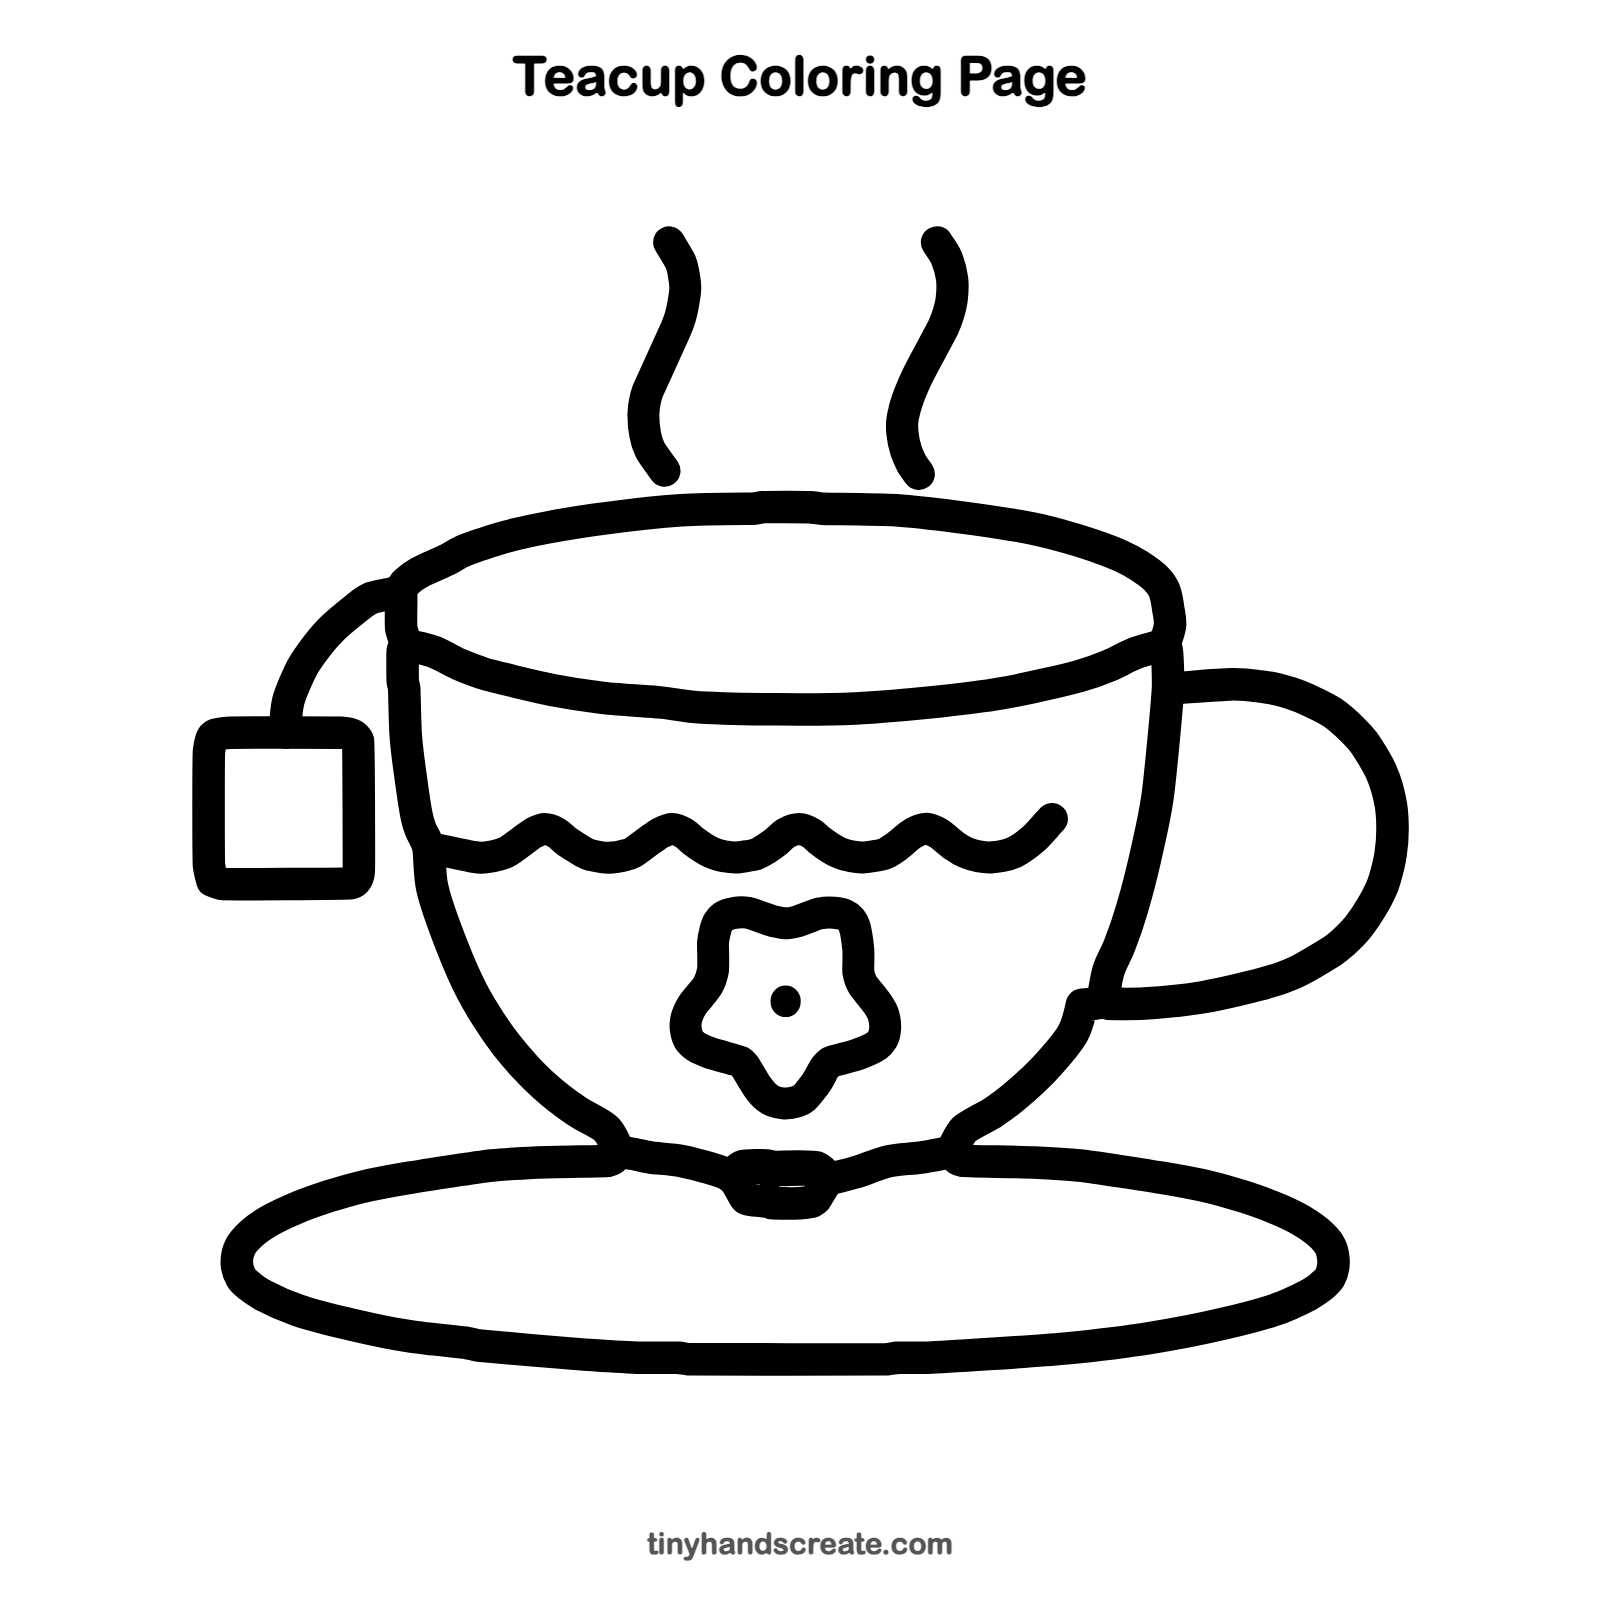
Want to go straight to coloring? Open this teacup coloring page at full size and print it. It is the same drawing you just learned, with clean lines ready for crayons or markers.
How to color your teacup drawing
Try a soft pink or blue cup with a yellow flower and a green tea bag tag. For a creative twist, give the wavy band a rainbow of colors, one for each hill.
Teacup fun fact for kids
Tea was first drunk in China, and the early Chinese teacups were small bowls with no handles. Handles were added to cups later in Europe.
Questions about drawing a teacup
What shapes do I need to draw a teacup?
You need two ovals, one for the top of the cup and one for the saucer, plus a curved bowl shape. A square for the tea bag tag and a sideways D for the handle finish it.
How do I make my teacup look cuter?
Draw a flower on the front and a wavy pattern around the middle. Wiggly steam and a little tea bag tag make it look friendly too.
How do I draw the handle so it looks right?
Think of a letter D on its side. Start near the top of the cup, curve out and down, then bring the end back to the cup.