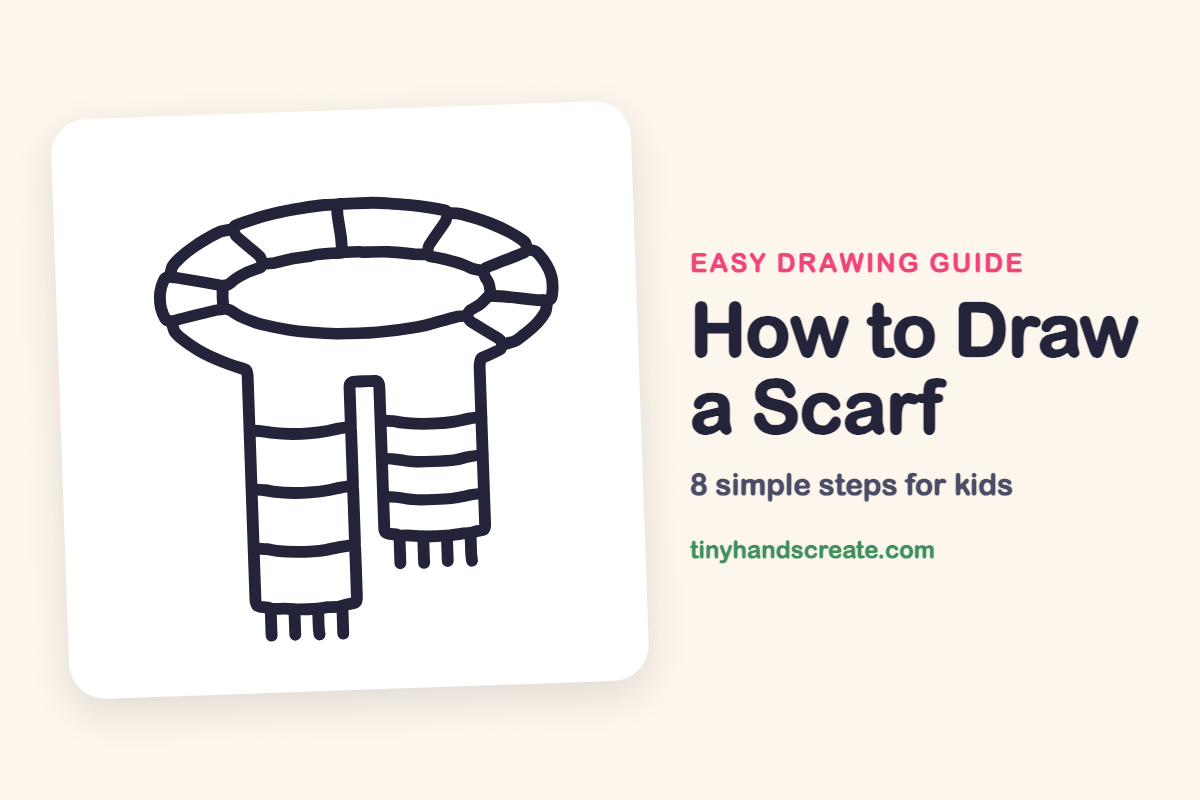
How to Draw a Scarf (Easy Step by Step)
A scarf is a cozy thing to draw, and it is built from just a few simple shapes: ovals, long lines, a thin rectangle, curvy stripes and tiny lines. This one loops around like a doughnut and hangs down in two stripy ends with tassels at the bottom.
- Easy
- 12 minutes
- 8 steps
You need: paper, a pencil, an eraser, and crayons or markers for coloring.
Start drawingIn this article (7 sections)
How to draw a scarf step by step
How to Draw a Scarf · tinyhandscreate.com
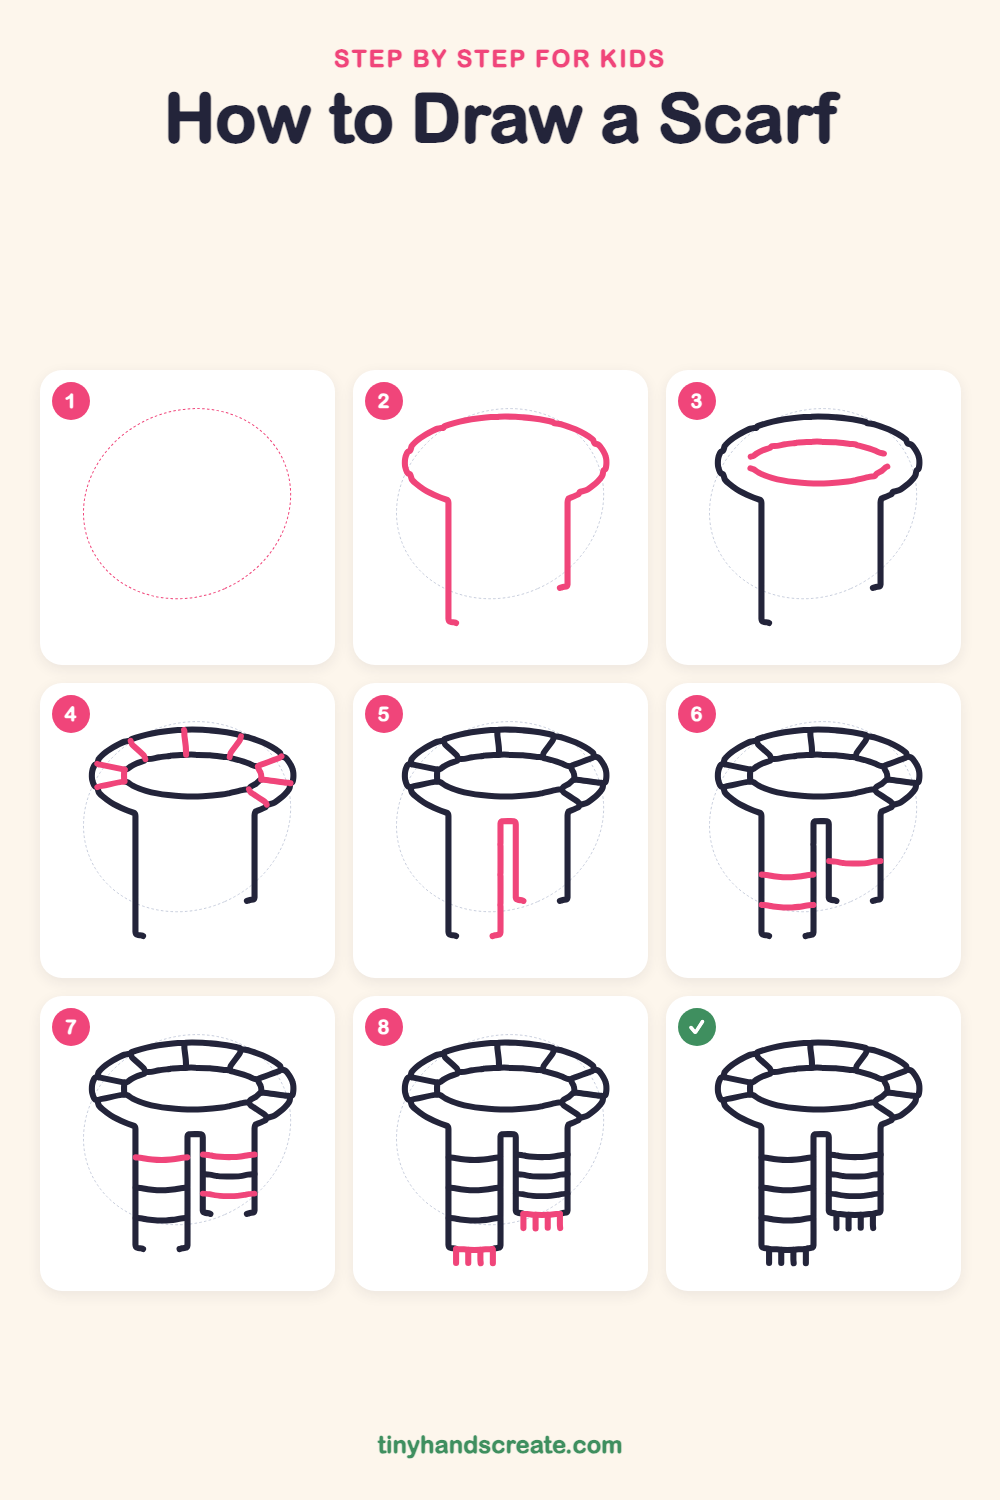
Step 1: Guide shapes
Lightly sketch this oval. It only shows where the big parts go, so press softly. You will erase it at the end.
Step 2: Loop and hanging ends
Draw a wide, flat oval shape for the loop around the neck, but leave the bottom open. From the bottom left of the loop, draw a straight line down. Do the same on the right side, so the scarf hangs down like two long legs.
Step 3: The neck hole
Inside the loop, draw a smaller, flatter oval for the hole where the neck goes. Leave a gap all the way around, like a doughnut.
Step 4: Wrap lines
Draw short lines across the ring, from the small oval to the big outline, like slices of a pie. They show how the scarf is wrapped around.
Step 5: The middle fold
In the middle of the hanging part, draw a tall, thin rectangle with the top end closed and the bottom open. It splits the scarf into a wider end on the left and a narrower end on the right.
Step 6: First stripes
On the left end, draw two curvy lines straight across from side to side. On the right end, draw one curvy line across, from the middle fold to the right edge.
Step 7: More stripes
Add one more curvy line across the left end. On the right end, add two more curvy lines across, so each stripe sits between the middle fold and the right edge.
Step 8: Fluffy fringe
At the bottom of each end, draw four little lines hanging down, like the tassels on a scarf. The right end is shorter, so its tassels sit higher up.
All done!
Erase the guide shapes, go over your lines, then color it in.
Finished your scarf? Keep the pencils out and learn how to draw an owl or how to draw a scarecrow next.
Tips for drawing a scarf
- Draw the two ovals first and keep the small oval in the middle, so the ring has about the same width all around.
- Make the stripes slightly curved, so the scarf looks round instead of flat.
- For the tassels, draw four short lines hanging down from the bottom of each end. Try making them all about the same length.
Free scarf coloring page
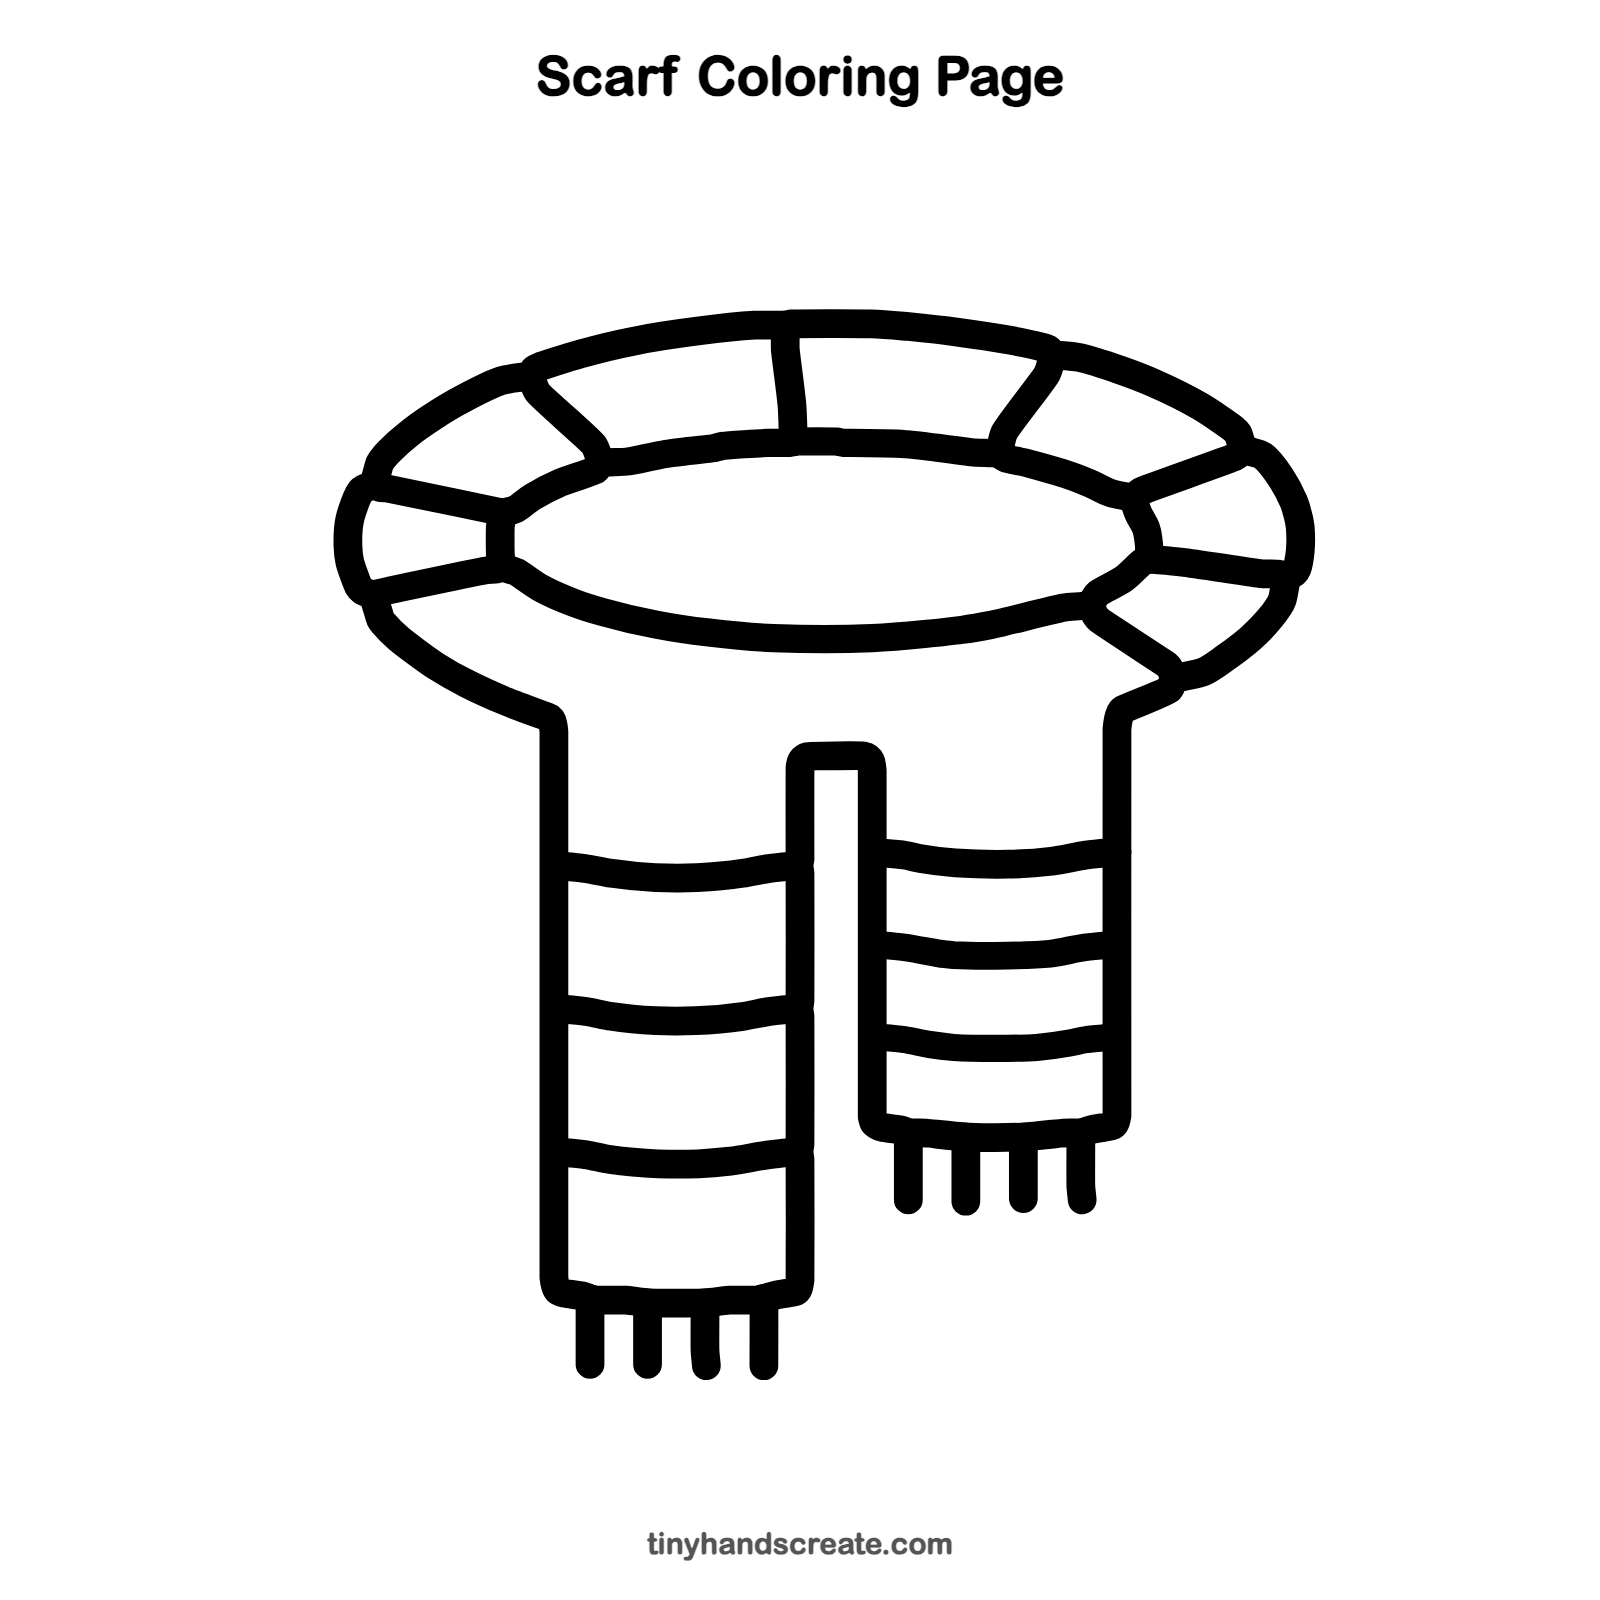
Want to go straight to coloring? Open this scarf coloring page at full size and print it. It is the same drawing you just learned, with clean lines ready for crayons or markers.
How to color your scarf drawing
Try red and white stripes for a candy cane look, or pick your favorite team colors. For a creative twist, make every stripe a different color so it looks like a rainbow scarf.
Scarf fun fact for kids
Scarves are very old. A famous army of clay soldiers buried in China more than 2,000 years ago includes figures wearing cloth around their necks.
Questions about drawing a scarf
What shapes do I need to draw a scarf?
You need two ovals for the loop, two long lines for the hanging ends, a thin rectangle in the middle, and some curvy lines for the stripes. The tassels are just short straight lines.
How do I make my scarf look cozy?
Add stripes in lots of colors and draw tassels at the bottom of each end. You could also add little dots or zigzags in the stripes to look like knitting.
How do I draw the scarf ends hanging down?
Draw two straight lines down from the big oval, then add a tall thin rectangle in the middle to split them into a wider end on the left and a narrower end on the right. Make the right end a little shorter so it looks real.