How to Draw a Piggy Bank (Easy Step by Step)
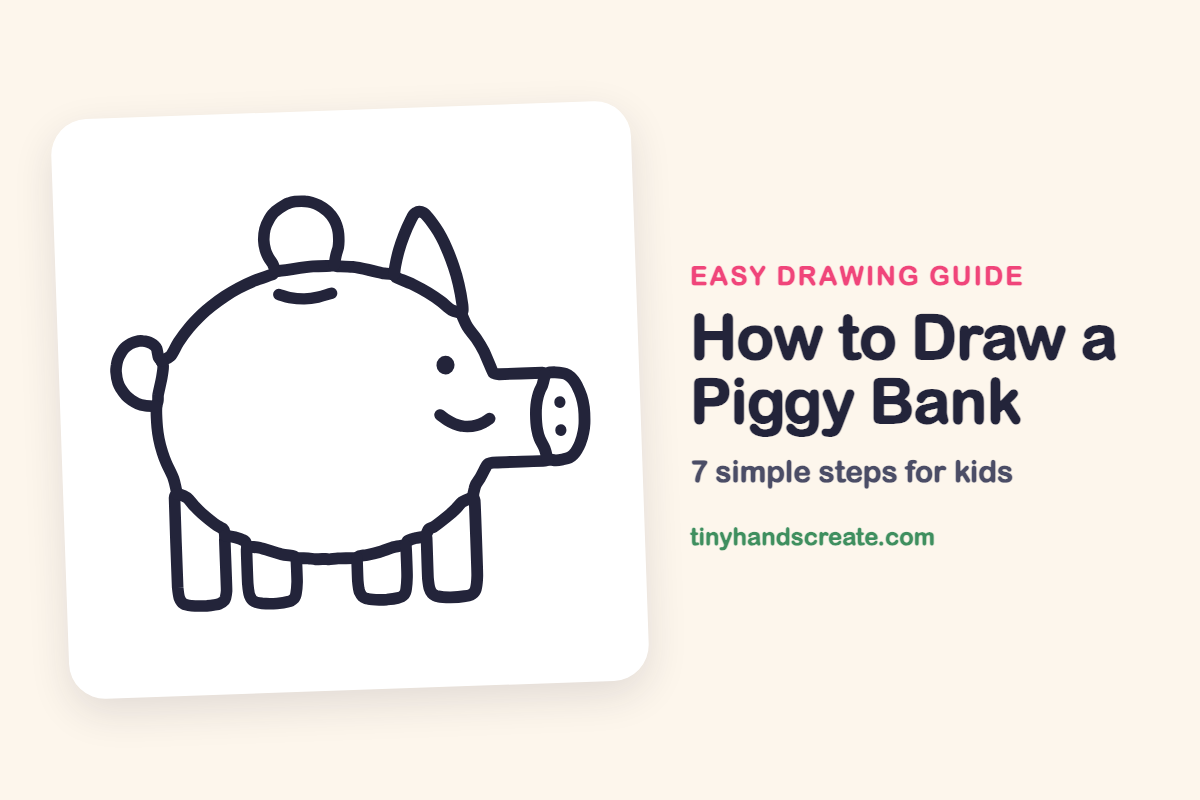
A piggy bank is a friendly drawing made almost entirely of simple shapes. You will use a big oval for the body, a small circle for the coin, and a few rounded rectangles for the legs. A short tube makes the snout. It is a great one for practicing smooth, round lines.
- Easy
- 10 minutes
- 7 steps
You need: paper, a pencil, an eraser, and crayons or markers for coloring.
Start drawingIn this article (7 sections)
How to draw a piggy bank step by step
How to Draw a Piggy Bank · tinyhandscreate.com
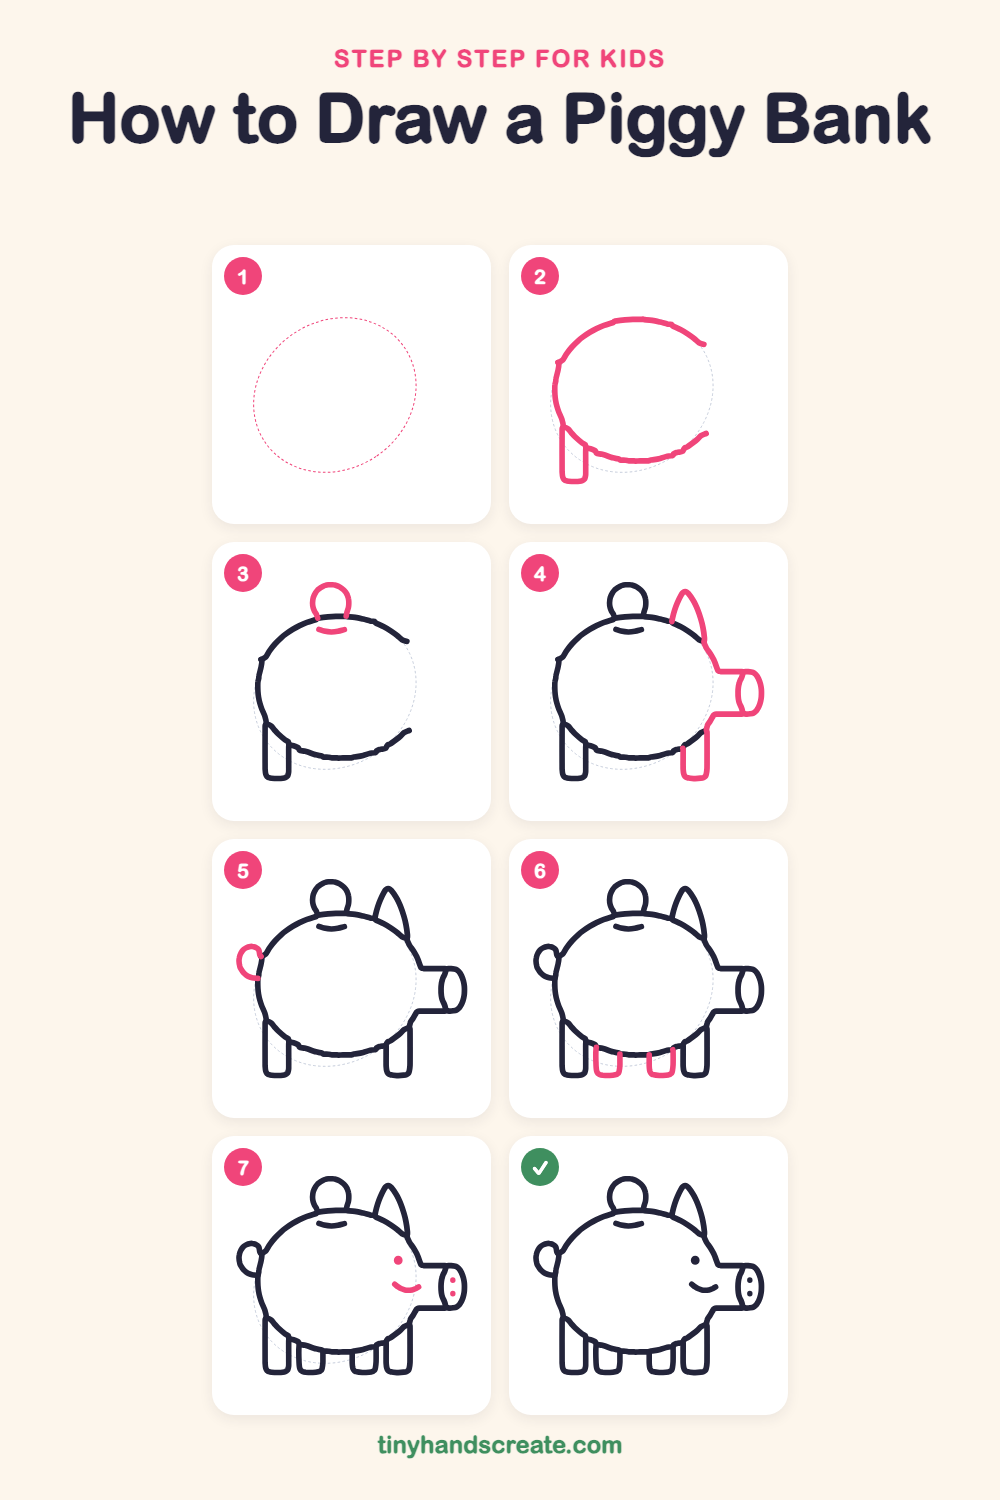
Step 1: Guide shapes
Lightly sketch this oval. It only shows where the big parts go, so press softly. You will erase it at the end.
Step 2: Body and back leg
Draw a big, wide oval for the body, but leave a gap on the right side where the snout will go. Then add one short leg with a rounded bottom on the lower left, going straight down from the body.
Step 3: Coin and slot
Draw a small circle sitting on top of the body, like a coin about to drop in. Then draw a short, gentle curve just below it on the body for the coin slot.
Step 4: Ear, snout and front leg
On the upper right, draw a tall, pointy ear shaped like a leaf. Then close the gap on the right with a short tube sticking out for the snout, and finish it with a small oval on the end. Add one more leg with a rounded bottom under the right side.
Step 5: The curly tail
On the left side of the body, draw a little loop, like a small circle that is open where it touches the body.
Step 6: Two middle legs
Under the belly, between the two legs you already drew, add two short legs. Start each one at the body line, go straight down, and round off the bottom like a little U.
Step 7: Face details
Draw a small dot for the eye above the snout and a curved smile below it. Then add two tiny dots on the flat end of the snout for nostrils.
All done!
Erase the guide shapes, go over your lines, then color it in.
Finished your piggy bank? Keep the pencils out and learn how to draw a satellite or how to draw a robot dog next.
Tips for drawing a piggy bank
- Draw the body oval first and keep it light. Every other part attaches to it, so a good oval makes the rest easy.
- The snout is the trickiest part. Draw two straight lines coming out from the body, then close them with a small oval on the end.
- Make the four legs the same height by lining up the bottoms with an imaginary floor line.
Free piggy bank coloring page
Want to go straight to coloring? Open this piggy bank coloring page at full size and print it. It is the same drawing you just learned, with clean lines ready for crayons or markers.
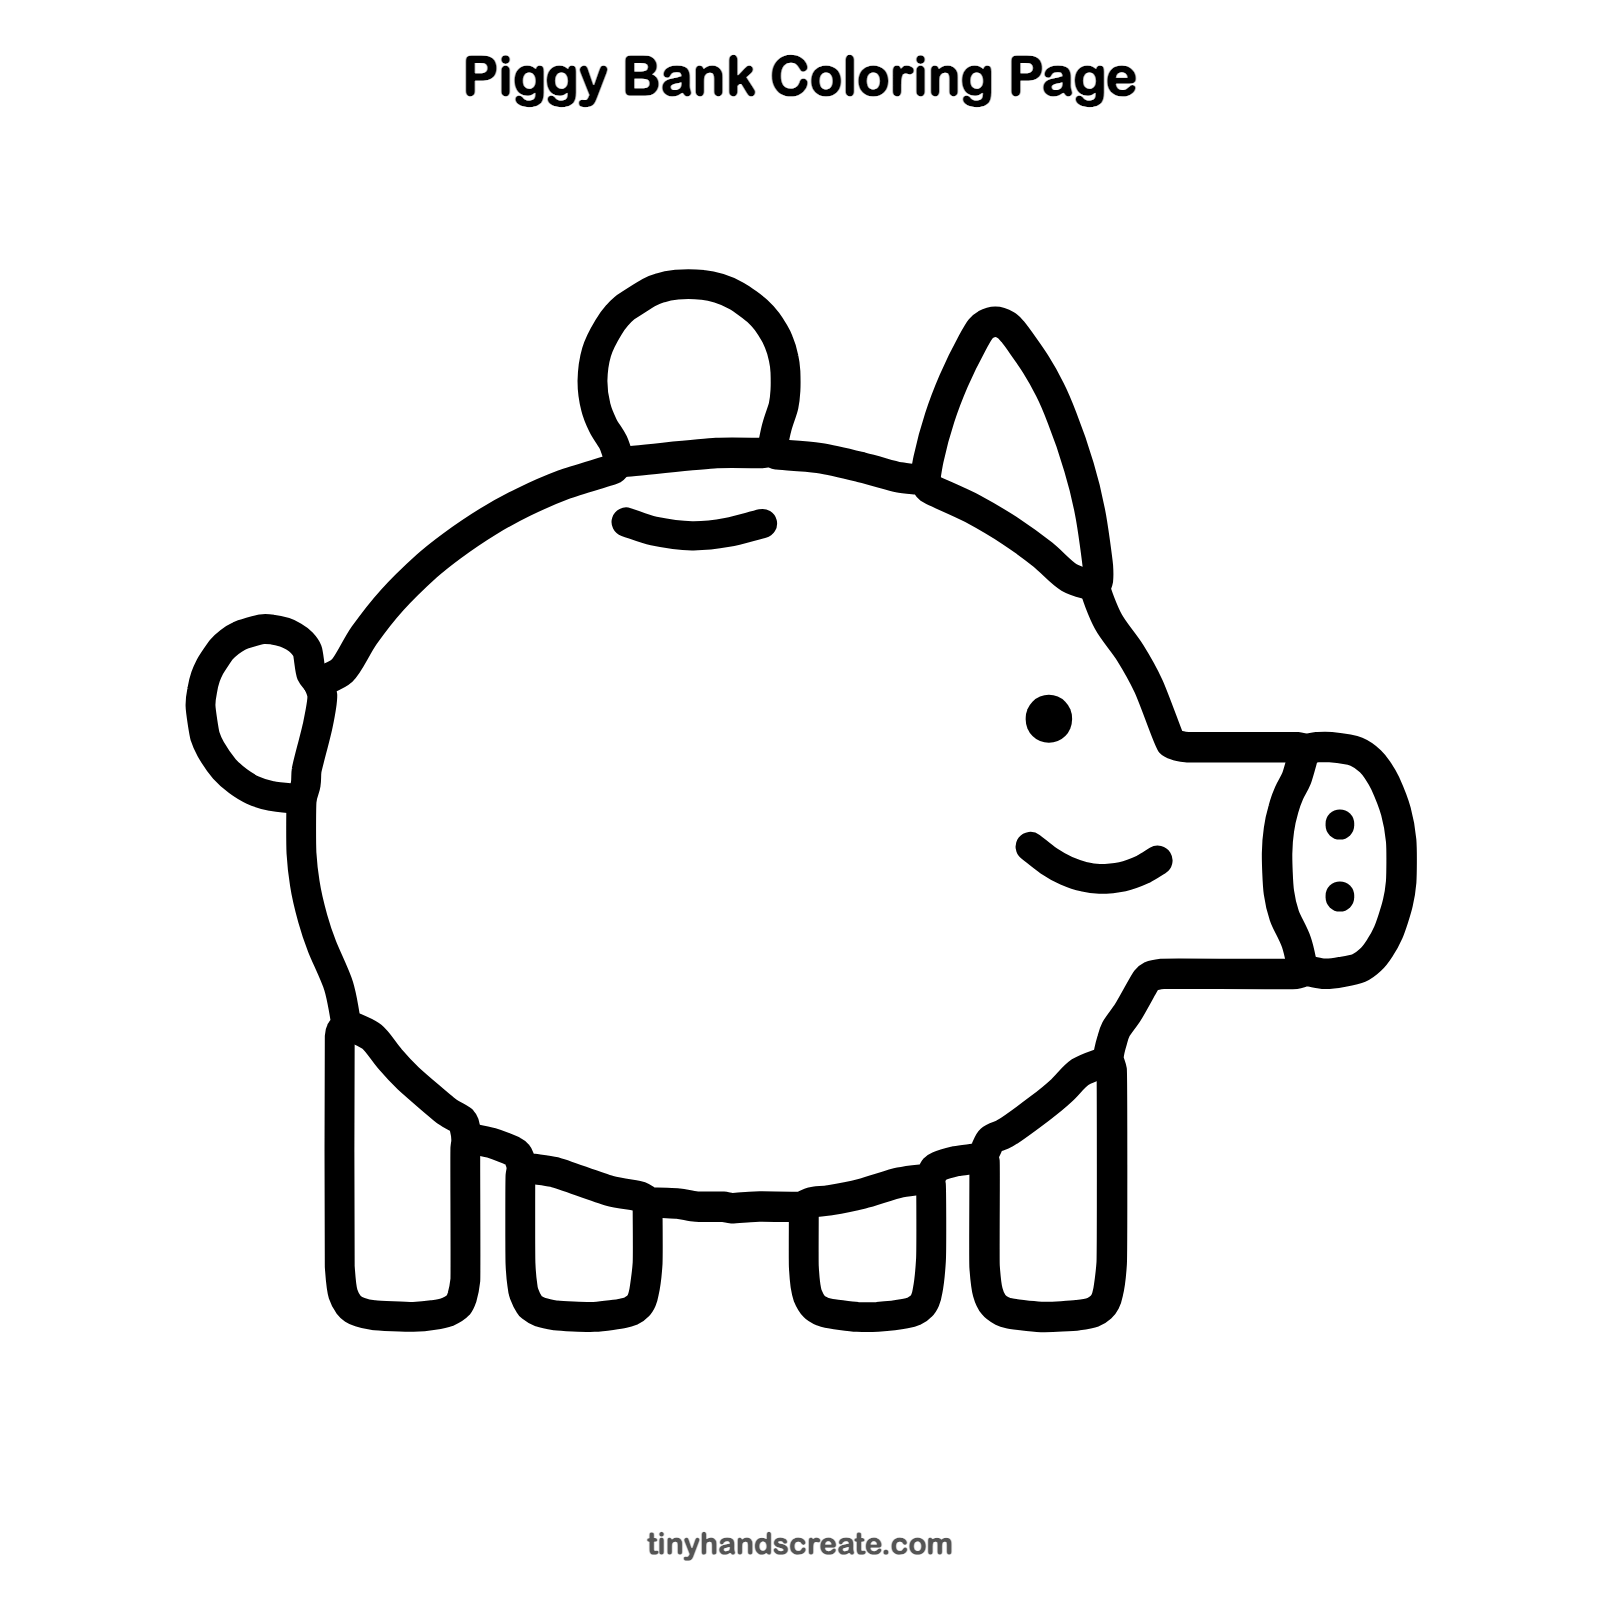
How to color your piggy bank drawing
Pink is the classic choice for the body, with a slightly darker pink for the ear and snout and a gold coin on top. For a twist, make a rainbow piggy bank or cover it in polka dots.
Piggy bank fun fact for kids
Many historians think the name piggy bank comes from pygg, an old English word for a kind of clay. People kept spare coins in jars made of pygg, called pygg jars.
Questions about drawing a piggy bank
What shapes do I need to draw a piggy bank?
You need one big oval for the body, a small circle for the coin, and rounded rectangles for the four legs. The snout is a short tube with an oval end, and the ear is a pointy leaf shape.
How do I make my piggy bank look cuter?
Make the eye a bit bigger and place it close to the smile. Round off every corner on the legs so the pig looks soft.
How do I draw the coin slot?
Draw a short, slightly curved line on top of the body, below the coin. Keep it gently bent, like a flat smile.