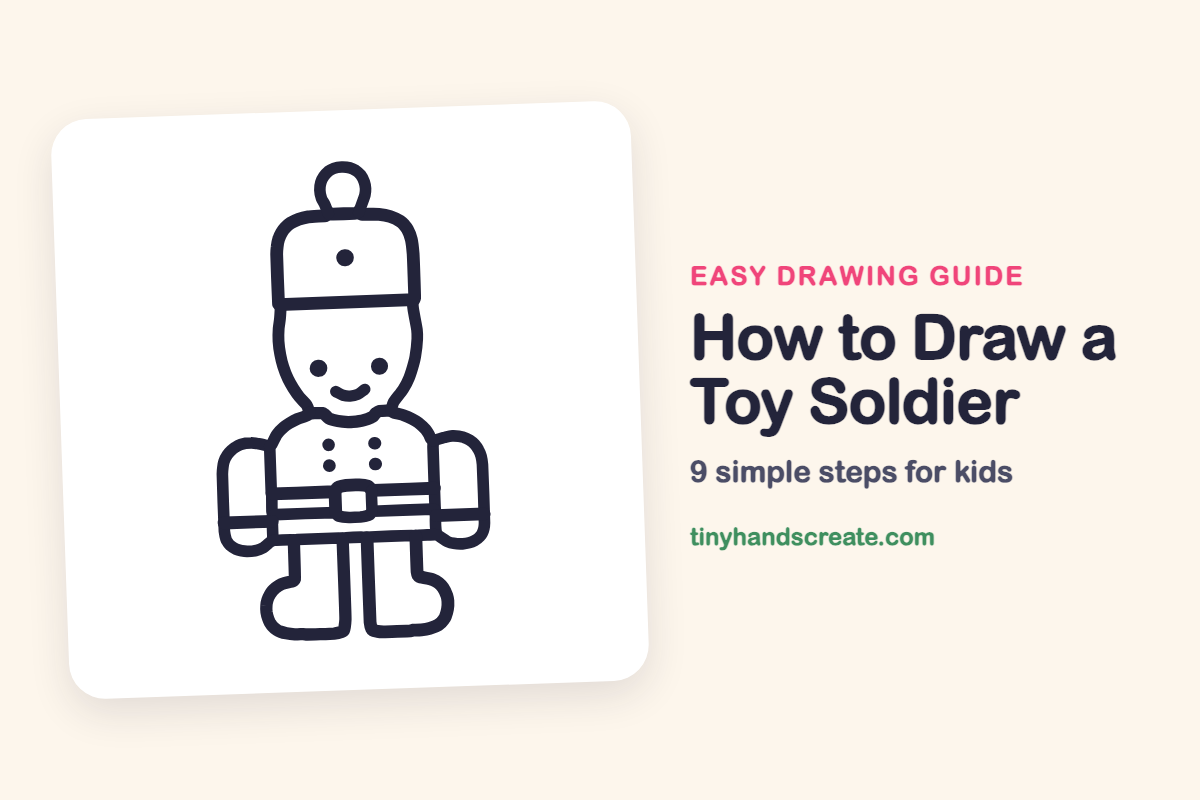
How to Draw a Toy Soldier (Easy Step by Step)
A toy soldier is a fun first character because he is built from simple, blocky shapes: a rectangle hat, a rounded head, and tube arms and legs. Because he stands straight and faces forward, both sides match, which makes him easy to line up. Kids can follow along step by step and end up with a cheerful little guard.
- Easy
- 15 minutes
- 9 steps
You need: paper, a pencil, an eraser, and crayons or markers for coloring.
Start drawingIn this article (7 sections)
How to draw a toy soldier step by step
How to Draw a Toy Soldier · tinyhandscreate.com
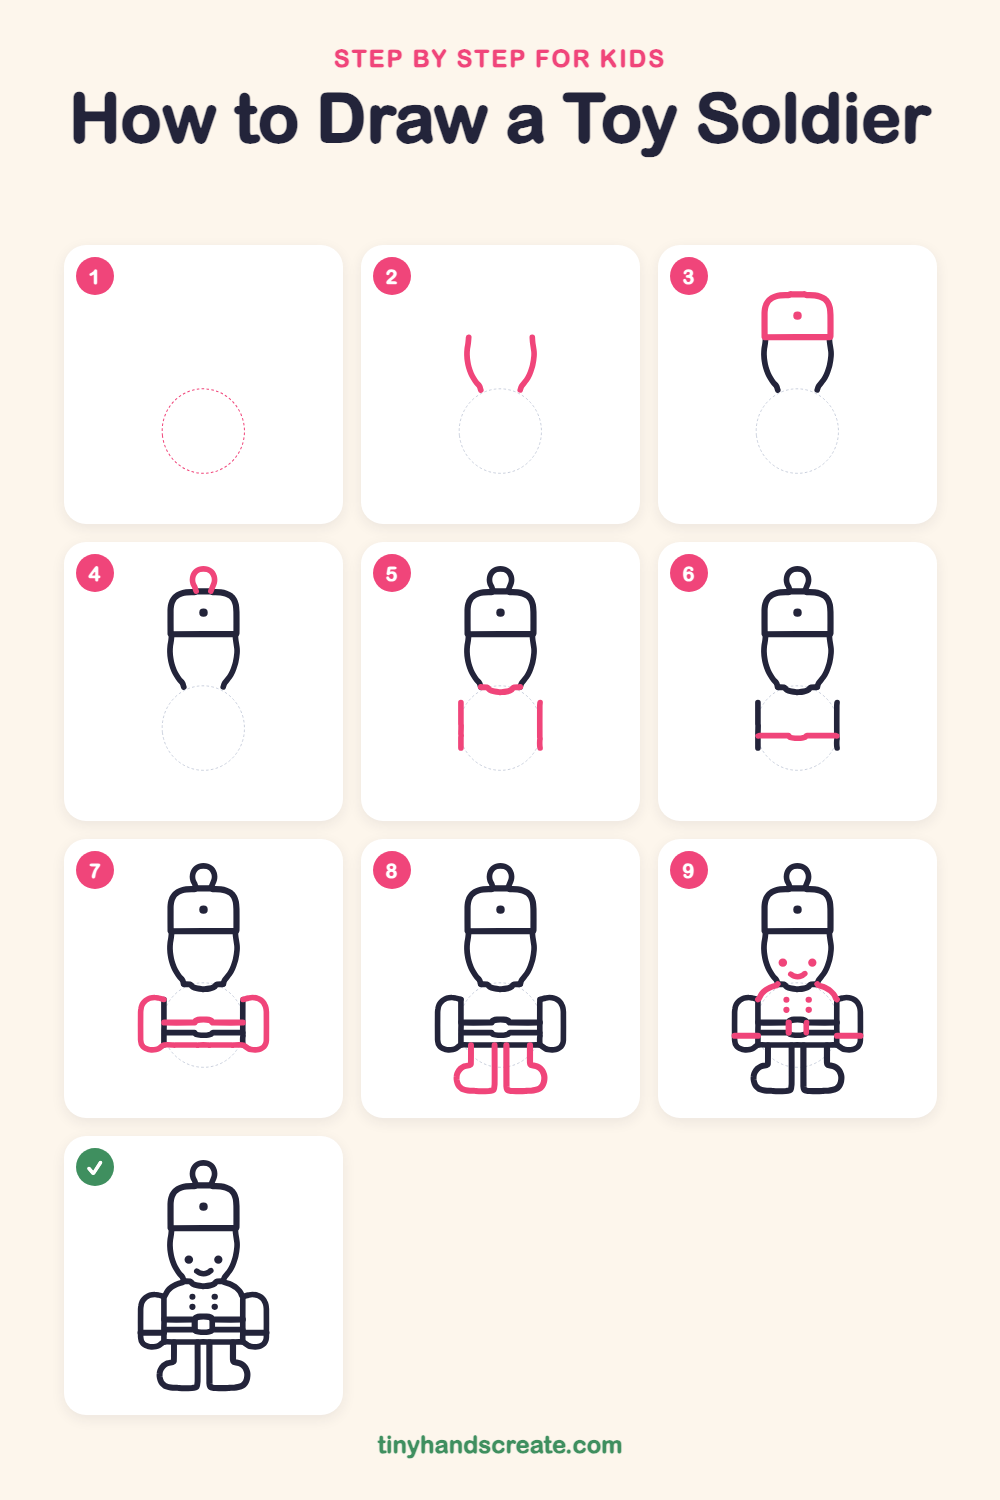
Step 1: Guide shapes
Lightly sketch this oval. It only shows where the big parts go, so press softly. You will erase it at the end.
Step 2: Sides of the head
Draw two curved lines that look like the sides of a face. Start each one high up, curve it down and in, and stop where the chin will be, leaving a gap between them.
Step 3: The tall hat
On top of the head, draw a tall rectangle with rounded top corners. Add a straight line across the bottom for the brim, then a small dot in the middle of the hat.
Step 4: The pom-pom
Draw a small loop on top of the hat, like a tiny circle sitting on the hat's top edge.
Step 5: Chin and jacket sides
Draw a short curved line at the bottom of the head to close the chin. Then draw two straight lines going down, one on each side, to make the sides of the jacket.
Step 6: The belt
Draw a straight line across the jacket between the two side lines. Give it a small bump in the middle where the buckle will go.
Step 7: The arms
Draw a rounded tube on each side of the jacket, like a fat sausage, with a rounded bottom. Add a second straight line across the belt and a line along the bottom of the jacket that joins the two arms.
Step 8: Legs and boots
Draw two straight legs hanging down from the bottom of the jacket with a small gap between them. At the bottom of each leg, curve out to the side to make a chunky boot, and close it with a flat bottom.
Step 9: Face and jacket details
Add two round dots for eyes and a little curved smile. Draw a curved shoulder line on each side of the neck, two rows of two dots for buttons, a small rounded square for the buckle, and a short cuff line across each arm.
All done!
Erase the guide shapes, go over your lines, then color it in.
Finished your toy soldier? Keep the pencils out and learn how to draw a jack-in-the-box or how to draw a snowman family next.
Tips for drawing a toy soldier
- Start the hat as a plain rectangle, then round only the top corners. A straight bottom line makes the brim look neat.
- Draw the two arms at the same height so he looks balanced. A quick light line across both sides of the jacket can help you check.
- Leave a small gap between the legs and make both boots point outward. Drawing one boot, then the other, keeps them about the same size.
Free toy soldier coloring page
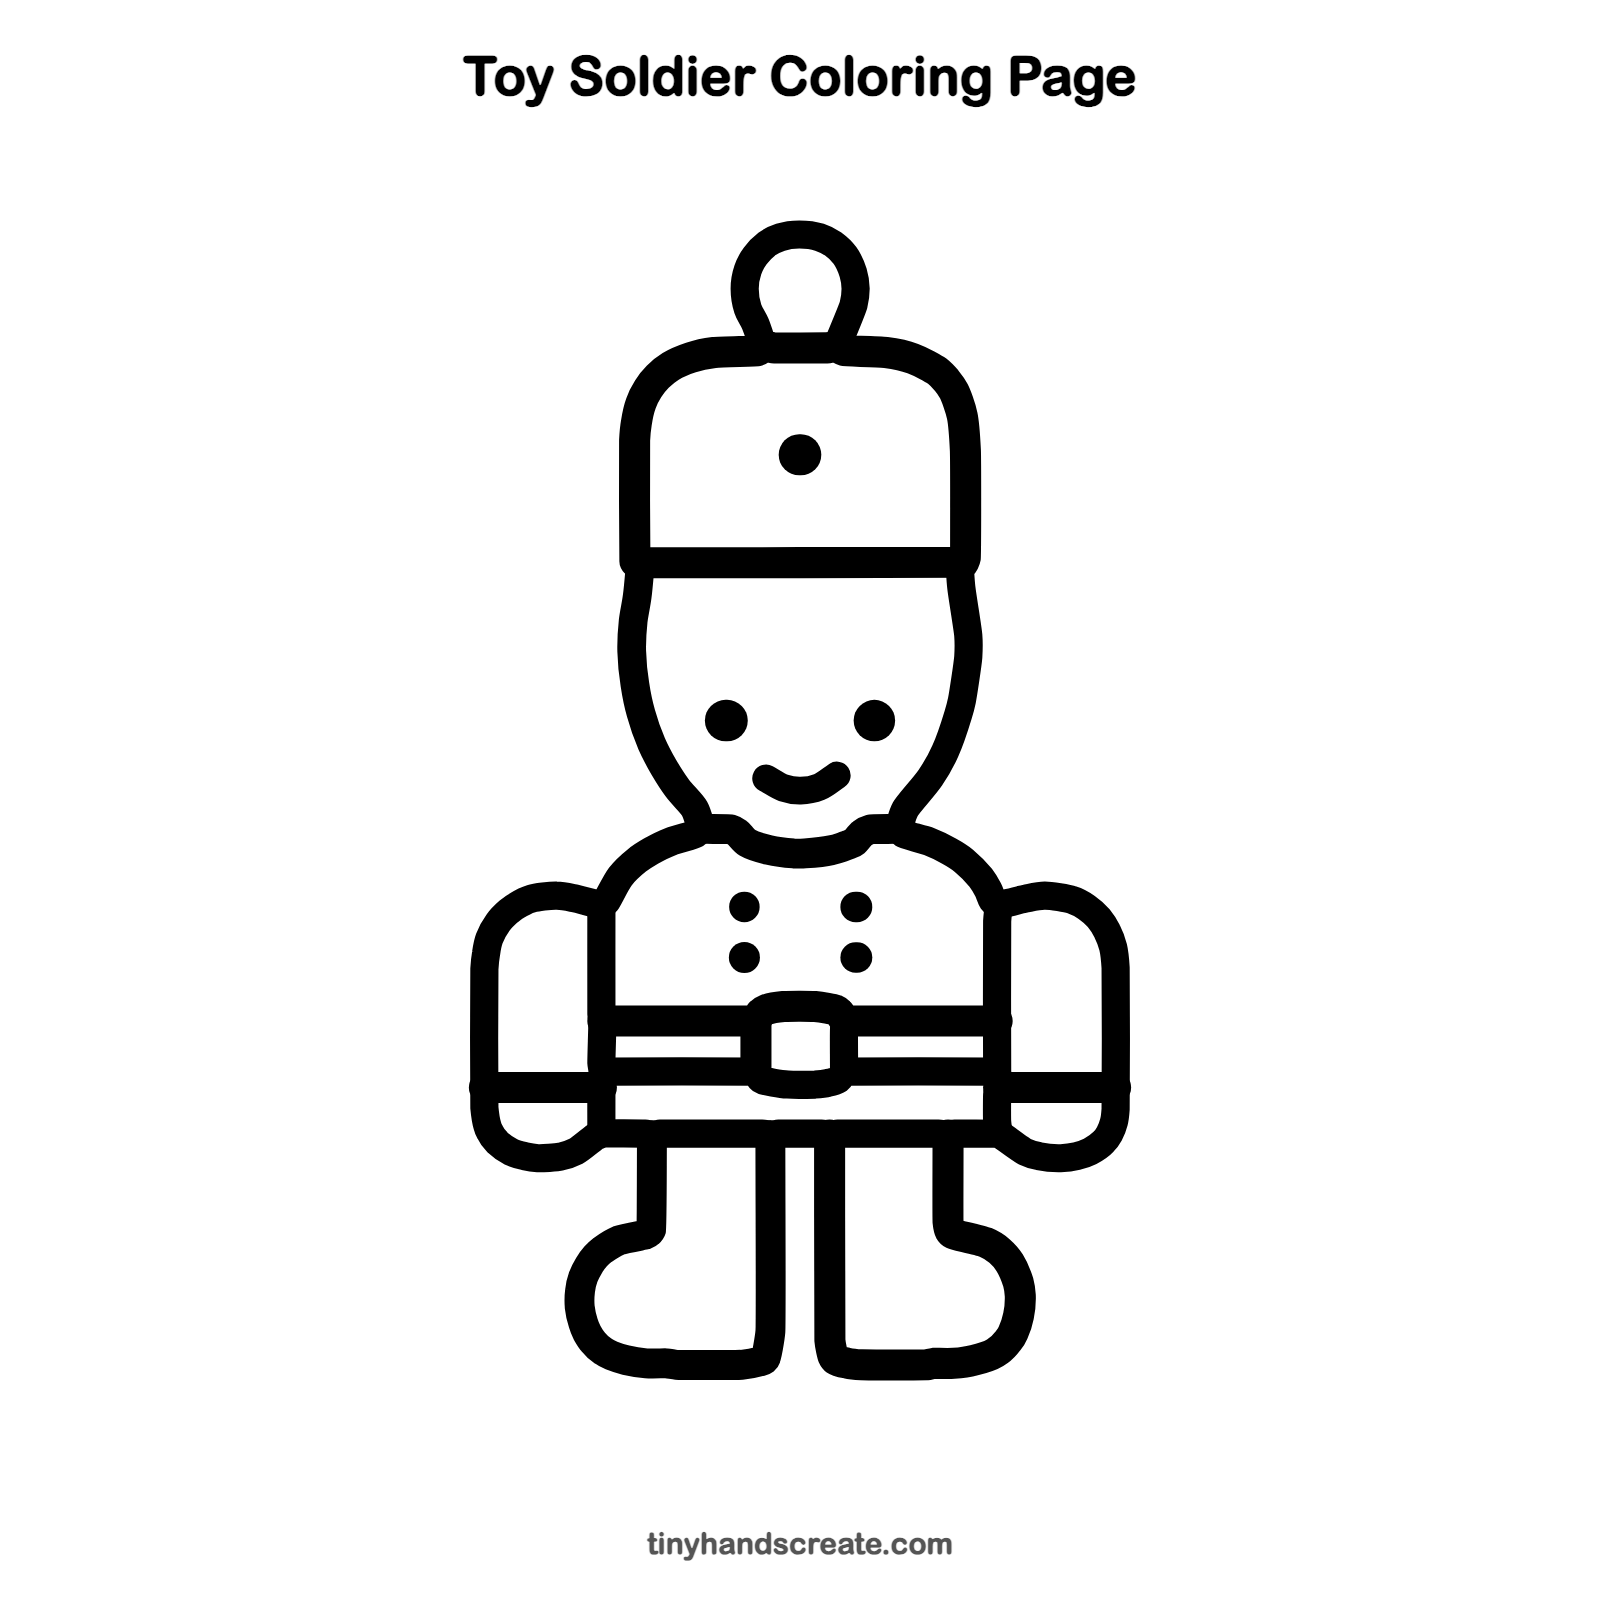
Want to go straight to coloring? Open this toy soldier coloring page at full size and print it. It is the same drawing you just learned, with clean lines ready for crayons or markers.
How to color your toy soldier drawing
Try a bright red jacket, a black or deep blue hat, and golden buttons and belt buckle. For a creative twist, give him a rainbow jacket or turn him into a toy soldier made of shiny silver tin.
Toy soldier fun fact for kids
Hans Christian Andersen wrote the story of the Steadfast Tin Soldier in 1838. In it, the toy soldier has only one leg because the tin ran out when he was made.
Questions about drawing a toy soldier
What shapes do I need to draw a toy soldier?
You need a tall rectangle for the hat, a rounded shape for the head, and a rounded box for the jacket. The arms and legs are tubes, and the pom-pom, eyes, and buttons are circles or dots.
How do I make my toy soldier look cuter?
Keep the eyes wide apart and add a small curved smile. A chunky hat and round boots also make him look friendly and toy-like.
How do I draw the arms so they match?
Draw one arm, then place the second arm at the same height on the other side of the jacket. Make both arms the same width so they look like a pair.