How to Draw a Love Bug (Easy Step by Step)
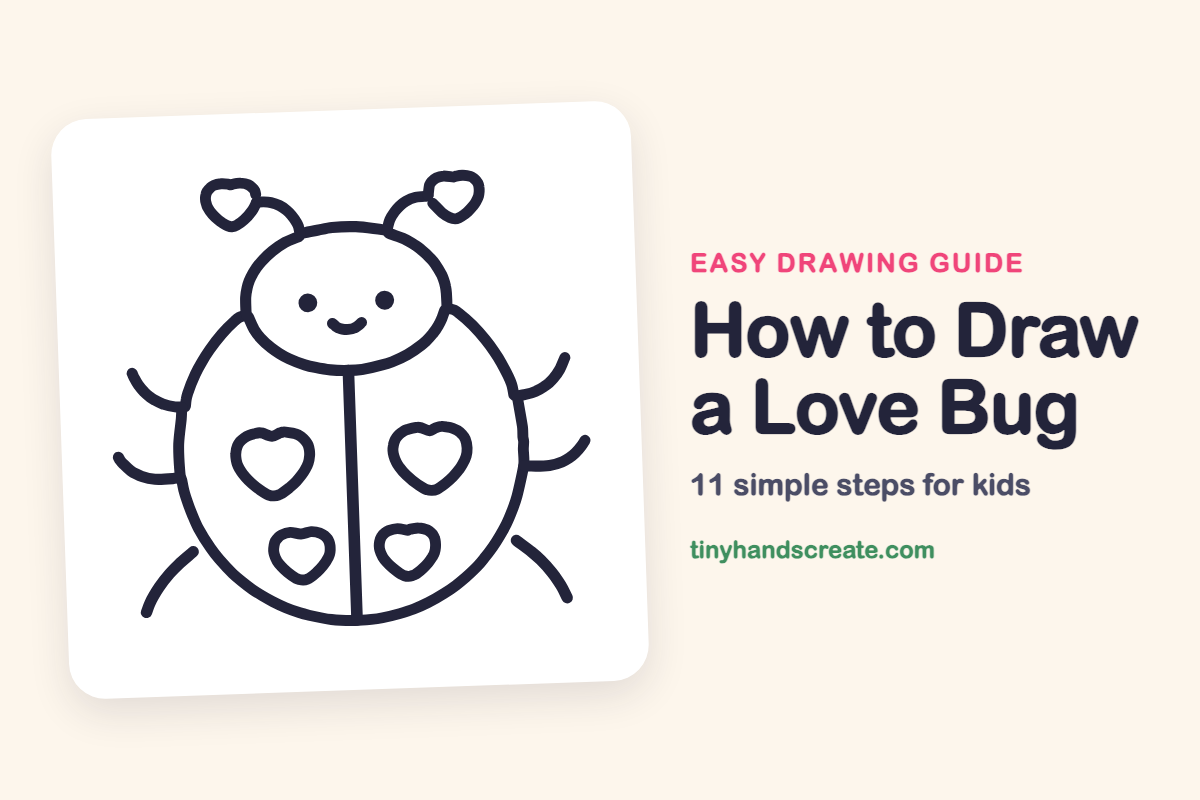
A love bug is a cute ladybug covered in hearts instead of dots, which makes it a fun one to draw for Valentine's Day or any day. It is built from a circle, an oval, a few curved lines and some little hearts. If you can draw those, you can draw this bug.
- Easy
- 15 minutes
- 11 steps
You need: paper, a pencil, an eraser, and crayons or markers for coloring.
Start drawingIn this article (7 sections)
How to draw a love bug step by step
How to Draw a Love Bug · tinyhandscreate.com
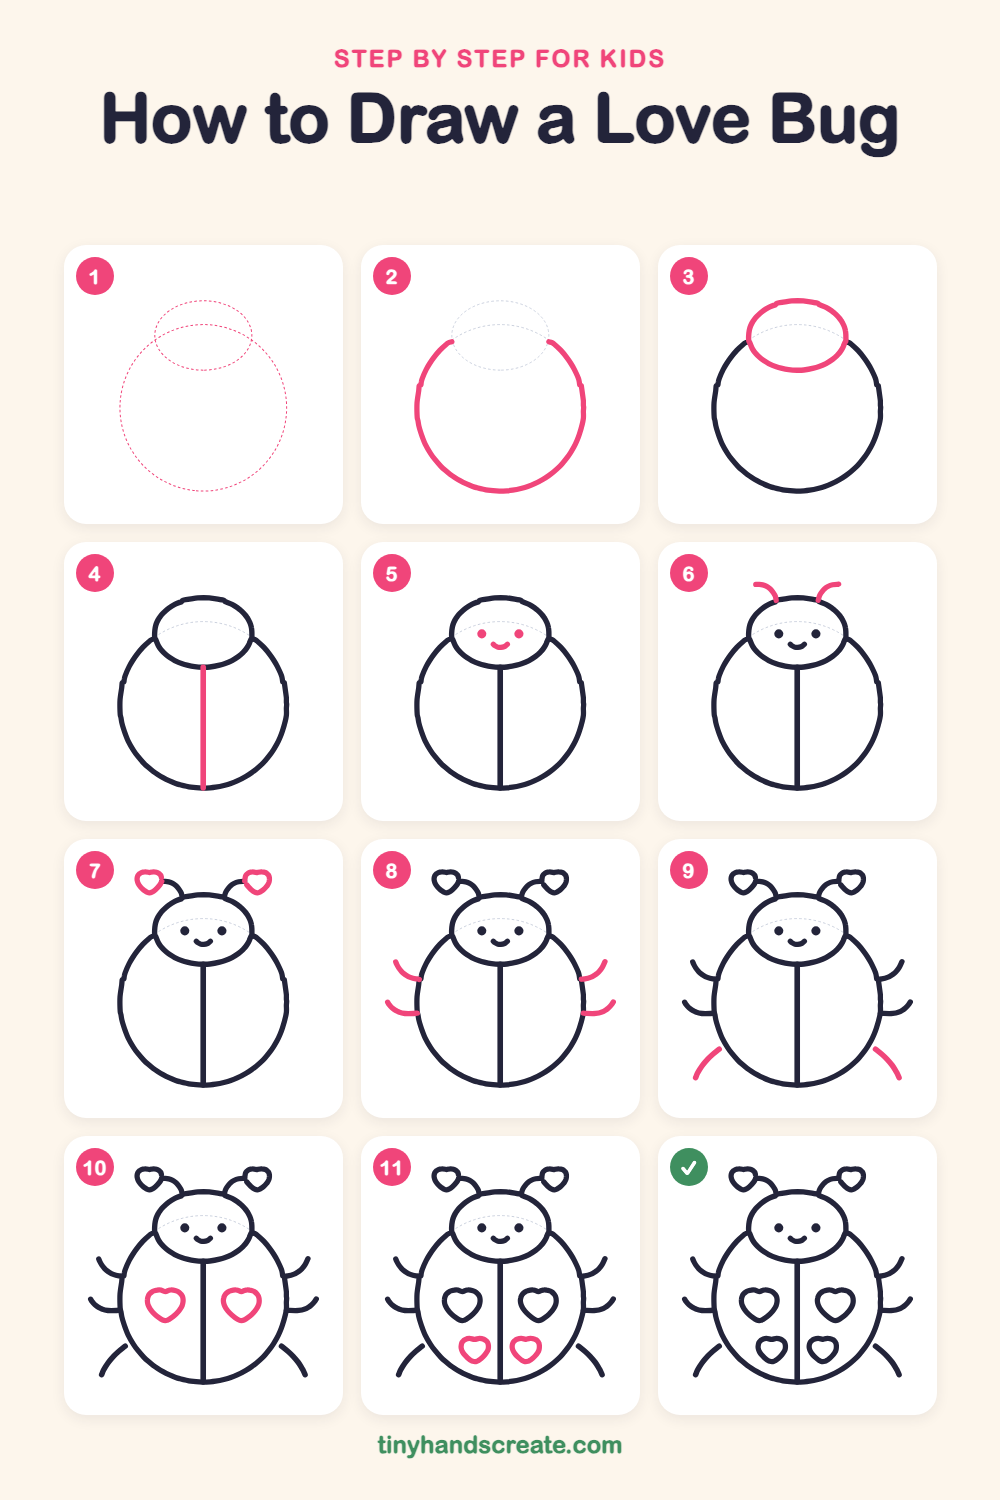
Step 1: Guide shapes
Lightly sketch these 2 ovals. They only show where the big parts go, so press softly. You will erase them at the end.
Step 2: The round body
Draw a big circle for the body, but stop before you close it. Leave a gap at the top, because the head will sit there.
Step 3: The head
Draw a wide oval at the top of the body, filling the gap in the circle. It should look like a head peeking out of a shell.
Step 4: The wing line
Start right under the head and draw one straight line down the middle of the body to the bottom edge. This splits the shell into two wings.
Step 5: Smiling face
Draw two small round dots for eyes in the middle of the head. Add a little curved smile between and below them.
Step 6: Curvy antennae
Draw two short curved lines that start at the top of the head and bend outward, one on each side.
Step 7: Heart tips
At the end of each antenna, draw a small heart. Make the two hearts about the same size.
Step 8: Side legs
On each side of the body, draw two short curved lines that start at the edge of the circle and flick up at the ends. Make the left and right sides match.
Step 9: Back legs
Near the bottom of the body, draw one curved line on each side that starts at the edge of the circle and sweeps outward and down, like a gentle bow.
Step 10: Big heart spots
Draw one medium heart in each wing, a little below the middle of the body. Keep them the same size on both sides.
Step 11: Small heart spots
Below the big hearts, draw one smaller heart in each wing to finish the pattern.
All done!
Erase the guide shapes, go over your lines, then color it in.
Finished your love bug? Keep the pencils out and learn how to draw a bouquet of flowers or how to draw a heart with an arrow next.
Tips for drawing a love bug
- Draw the big circle first and leave a gap at the top, then add the head oval so it fills the gap. This keeps the head from ending up too small.
- The hearts are the trickiest part. Start each one with two small bumps side by side, then draw two lines that meet in a point at the bottom.
- Draw the legs in matching pairs, left then right, so the bug looks balanced. If one side looks off, check that both lines start at the same height.
Free love bug coloring page
Want to go straight to coloring? Open this love bug coloring page at full size and print it. It is the same drawing you just learned, with clean lines ready for crayons or markers.
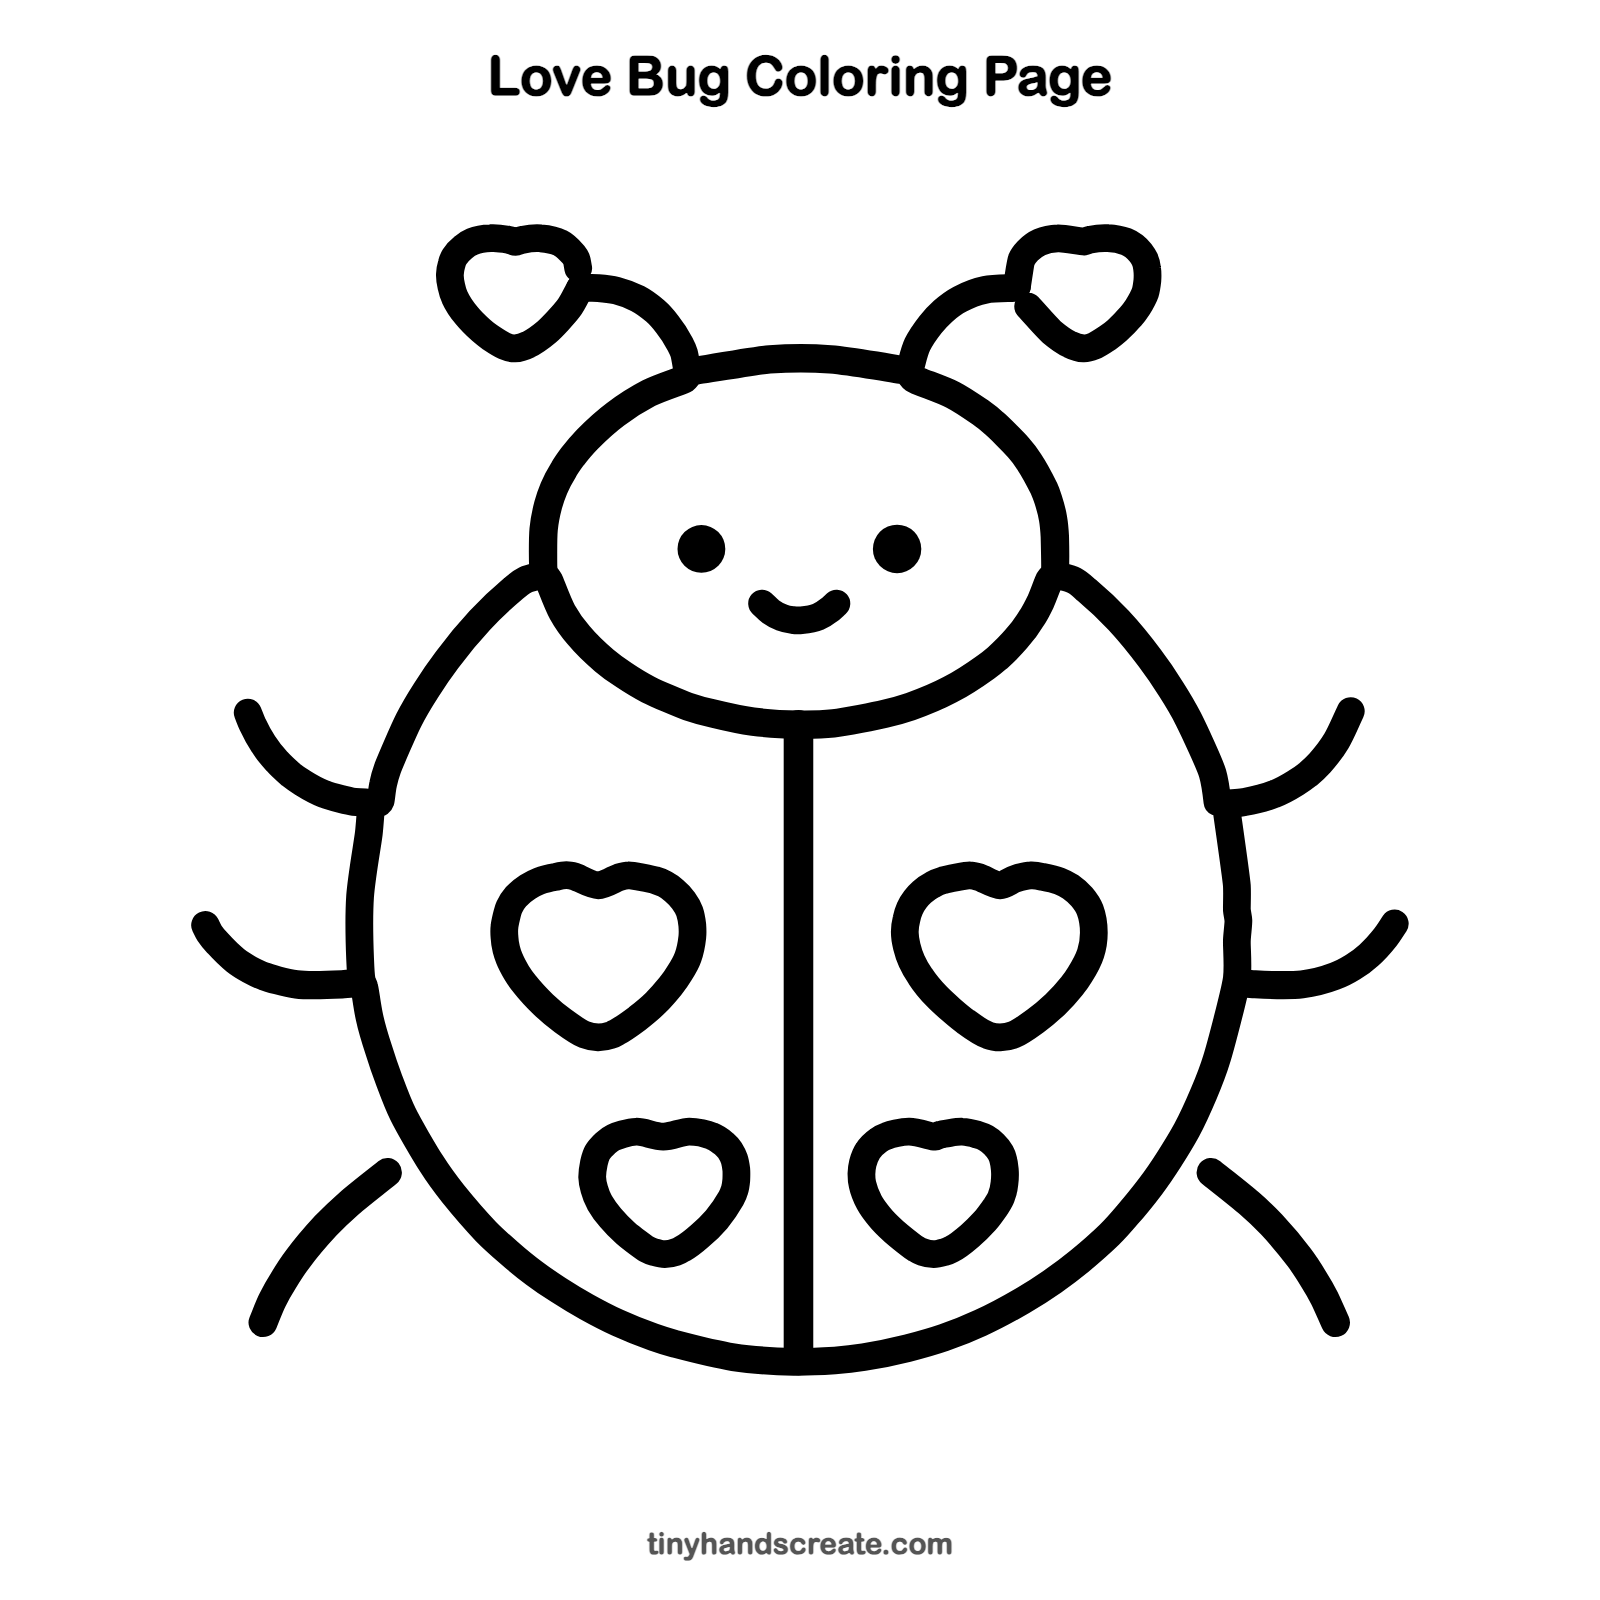
How to color your love bug drawing
Color the wings a bright red or pink and the head and legs dark purple or black, with the heart spots in white or a lighter pink. For a creative twist, give each heart spot a different color, like a rainbow love bug.
Love bug fun fact for kids
Ladybugs are beetles. Their bright, hard shells are really wing covers, and a pair of thin flying wings is folded up underneath.
Questions about drawing a love bug
What shapes do I need to draw a love bug?
You need a big circle for the body, an oval for the head, and curved lines for the legs and antennae. Add small hearts for the spots and the antenna tips.
How do I draw a heart that looks neat?
Start with two round bumps next to each other at the top. Then draw a line from each bump down to one point at the bottom. Drawing it lightly first lets you fix any wobbles.
How do I make my love bug look cuter?
Place the eyes wide apart and keep the smile small and low on the head. Make the two heart antennae the same size, and make the heart spots round and plump.