How to Draw a Log Cabin (Easy Step by Step)
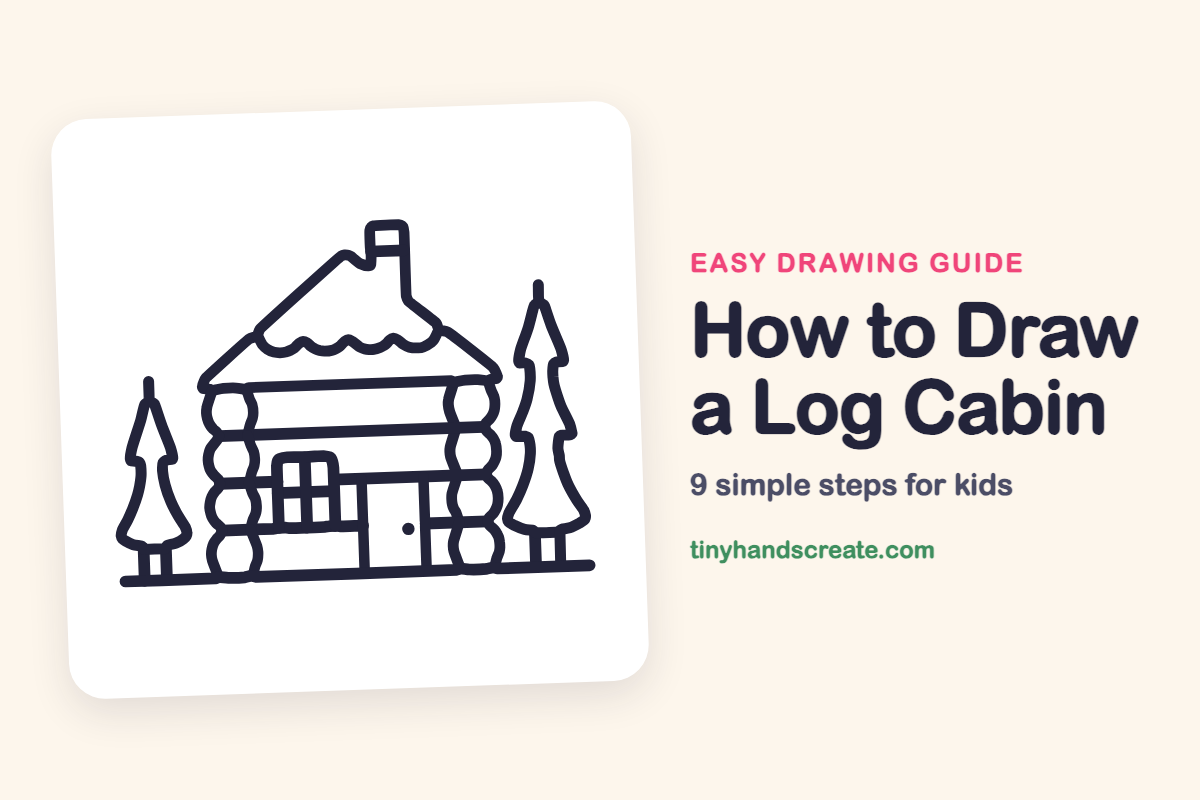
A log cabin is a cozy drawing made of rectangles, stacks of little circles, and wavy lines. The round log ends on each side make it look chunky and warm, and the snow on the roof and the two pine trees make it feel like a quiet winter day. It is a great way to practice straight lines and simple shapes.
- Medium
- 20 minutes
- 9 steps
You need: paper, a pencil, an eraser, and crayons or markers for coloring.
Start drawingIn this article (7 sections)
How to draw a log cabin step by step
How to Draw a Log Cabin · tinyhandscreate.com
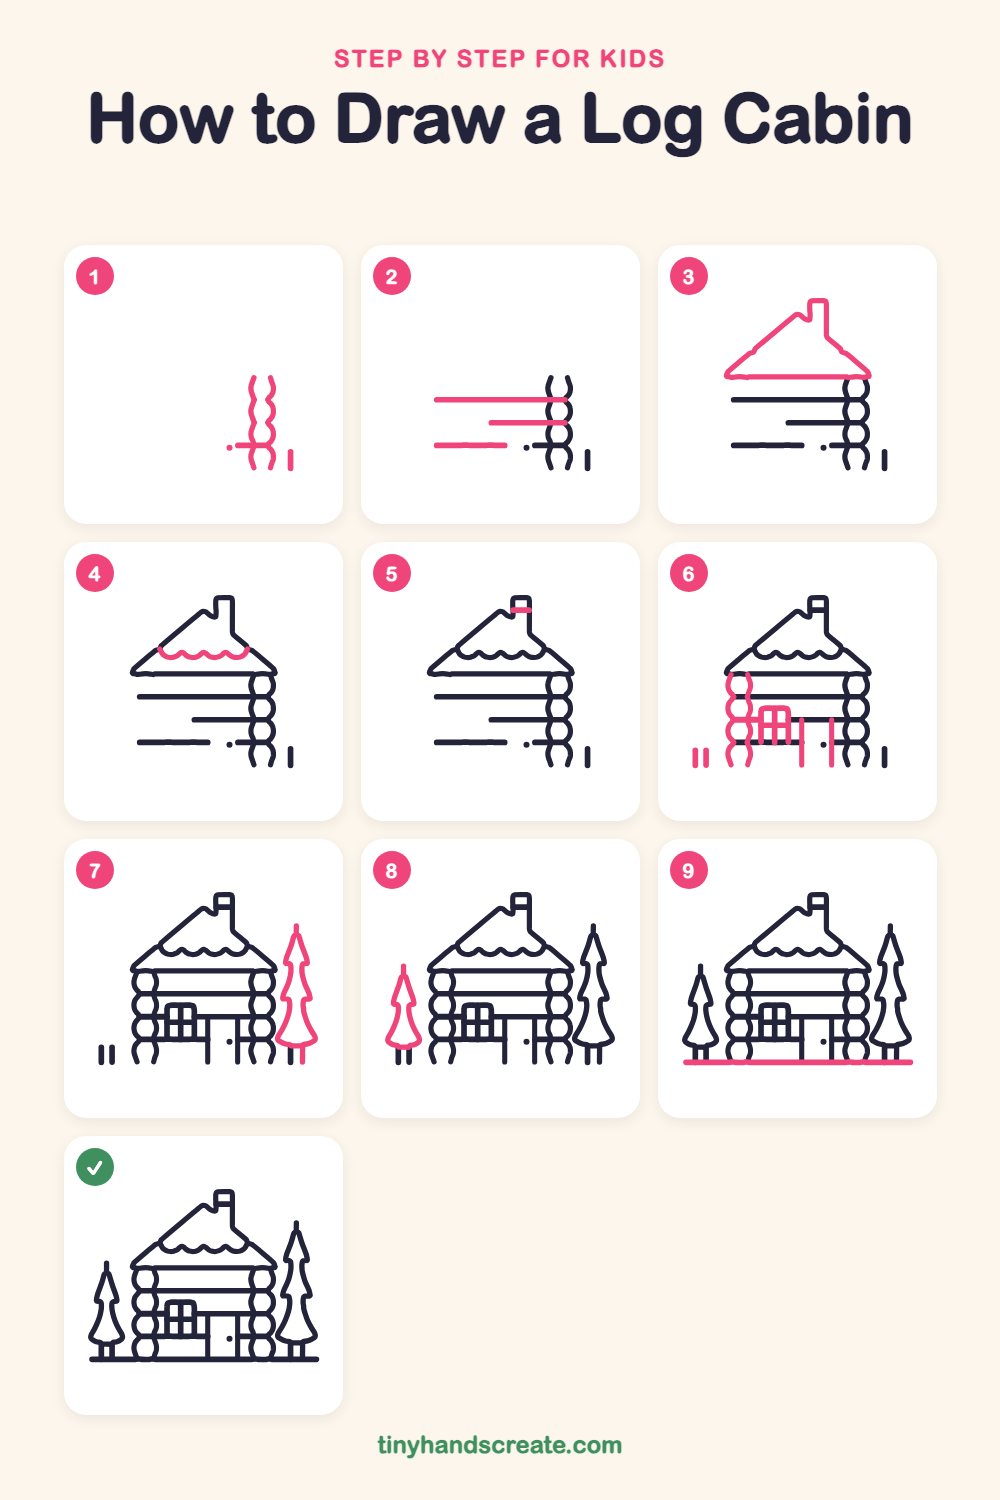
Step 1: Right log ends
On the right side, draw a tall stack of little round log ends, one on top of the next, like a wiggly column of bumps. Then add a short flat line crossing the bottom of the stack, a small dot to its left, and a short straight line standing just to the right.
Step 2: Log lines
Draw three long straight lines across the wall, each starting at the left and running toward the stack of log ends. The top line is the longest, the middle one is shorter, and the bottom one stops a little short.
Step 3: Roof and chimney
Start at the left end of the wall and draw a slanted line up toward the peak, with a tall chimney sticking up along the way. Then slant down to the right end of the wall, and draw a flat line back along the bottom to close the roof.
Step 4: Snow on the roof
Under the roof peak, draw a row of little bumpy scallops, like a wavy line of upside-down smiles. This is the snow sitting on top.
Step 5: Chimney top
Draw one short flat line across the top of the chimney, a little way down from the rim. This makes the chimney opening.
Step 6: Left logs, window, door
On the left side, draw a stack of round log ends to match the right side. Add a small square window with a cross inside, and two tall straight lines for the sides of the door. Near the far left, draw two short upright lines side by side for a tree trunk.
Step 7: The tall tree
On the right side, draw a tall, narrow tree shape that gets thinner toward the top, with a few pointy steps down each side. Add two short lines at the bottom for the trunk.
Step 8: The small tree
On the left side, draw a smaller tree in the same way, with a pointy top and a few steps down each side. Connect it to the short trunk lines you drew earlier.
Step 9: The ground
Draw one long straight line along the bottom, running under the cabin and both trees. This is the ground they all stand on.
All done!
Go over your lines with a marker, then color it in.
Finished your log cabin? Keep the pencils out and learn how to draw earmuffs or how to draw Santa in a chimney next.
Tips for drawing a log cabin
- Draw the round log ends as a neat stack of little bumps. Keep them about the same size and let each one touch the next.
- Use a ruler or the edge of a book for the long lines across the wall. Straight lines make the logs look steady and strong.
- For the snow on the roof, draw the scallops one at a time, each a little smile hanging down. Try to keep them the same width.
Free log cabin coloring page
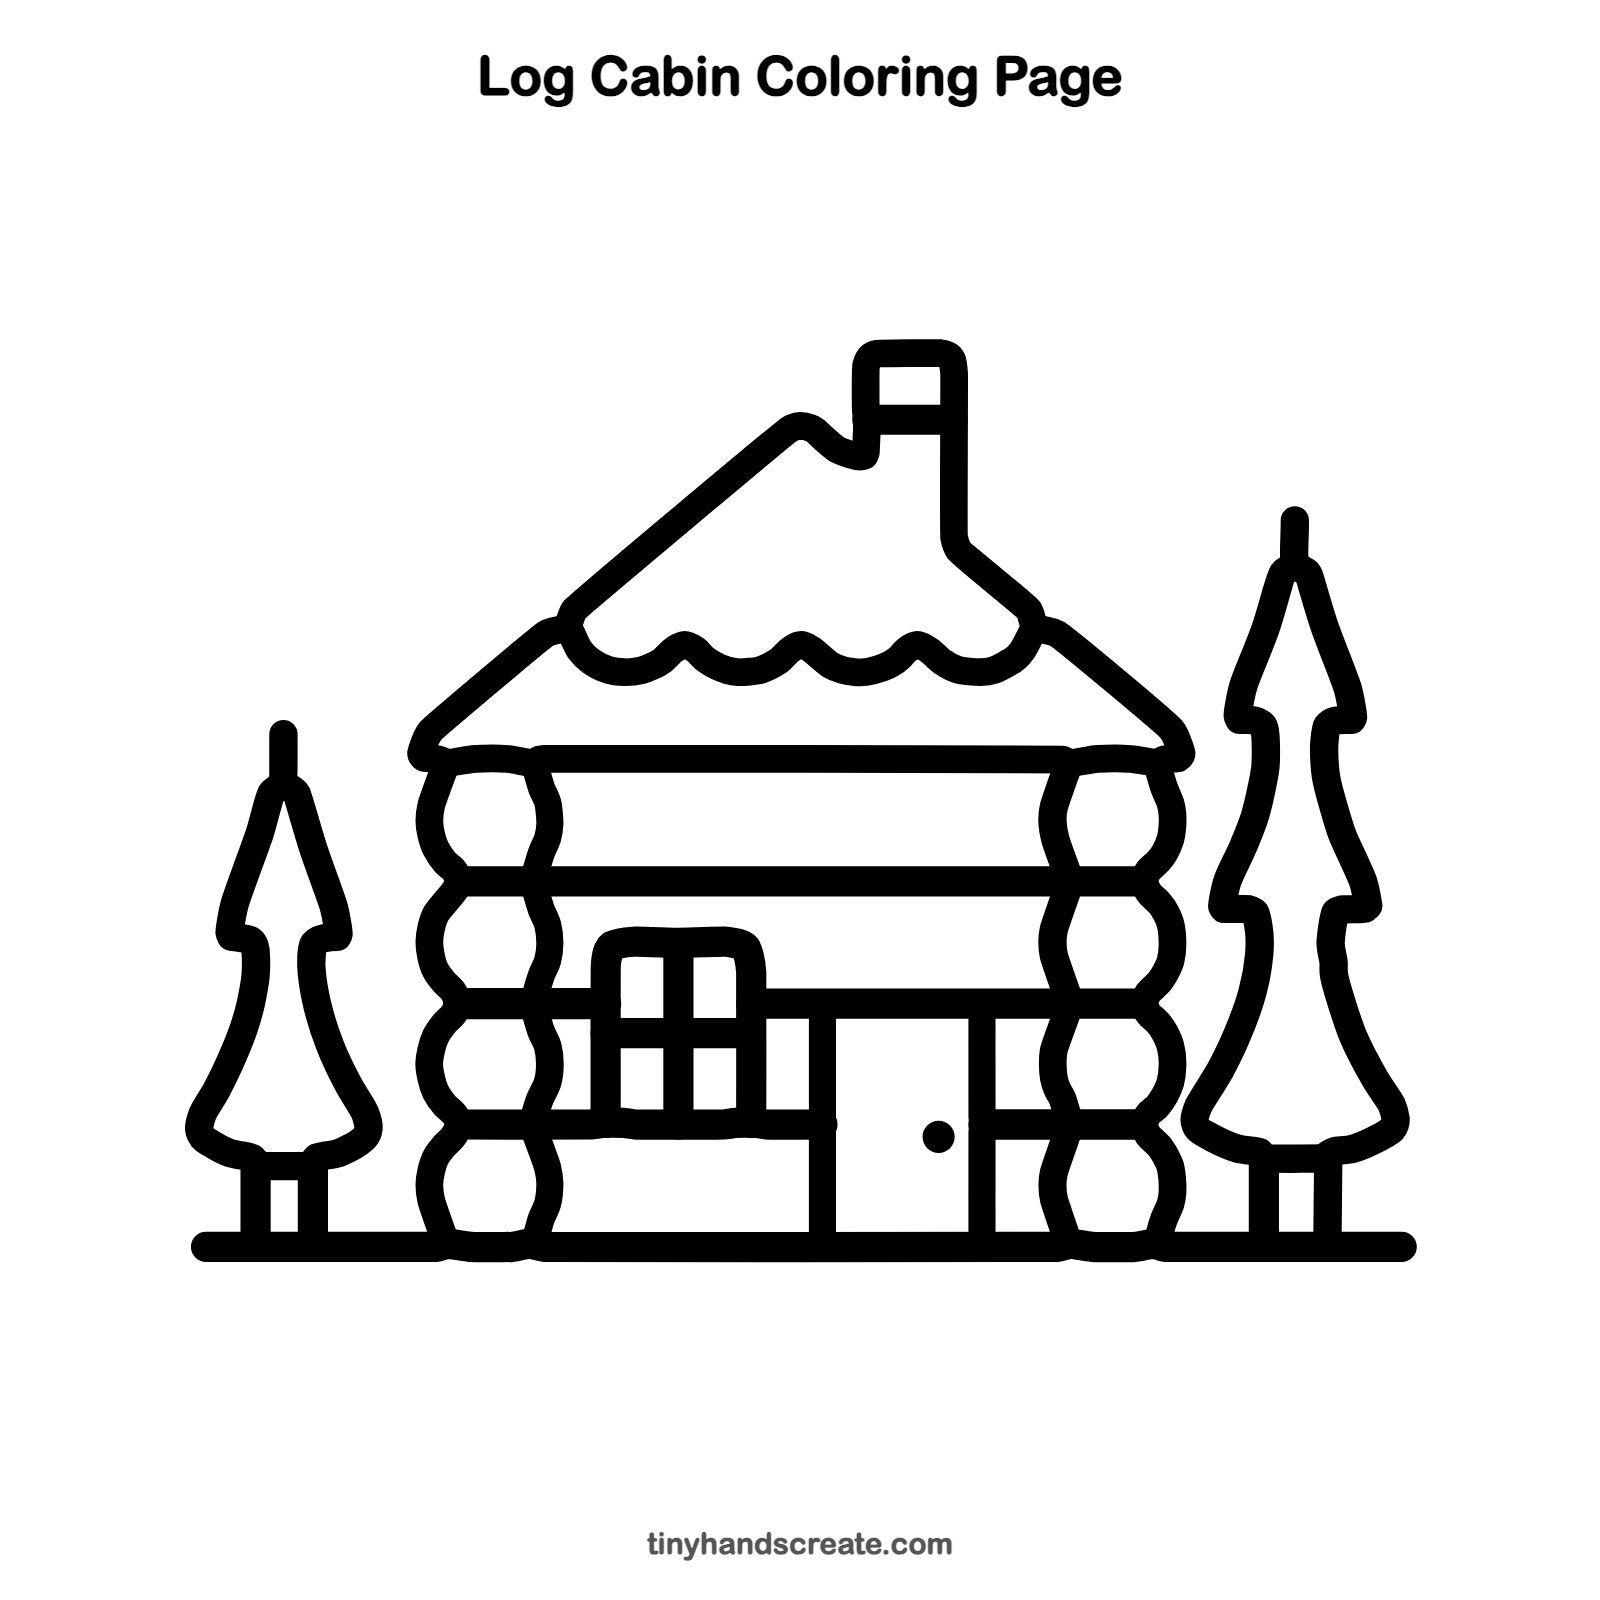
Want to go straight to coloring? Open this log cabin coloring page at full size and print it. It is the same drawing you just learned, with clean lines ready for crayons or markers.
How to color your log cabin drawing
Color the logs in warm browns, the roof in dark red or gray, and the trees in deep green. For a creative twist, leave the snow on the roof white and add a bright yellow glow in the window.
Log cabin fun fact for kids
Many log cabins were built without nails. Builders cut notches near the ends of the logs so they locked together at the corners.
Questions about drawing a log cabin
What shapes do I need to draw a log cabin?
You need long straight lines for the logs, a slanted roof with a chimney, a small square window, tall lines for the door, and stacks of little circles for the log ends. Wavy scallops make the snow.
How do I make the logs look round?
Draw a stack of little round bumps on each side of the wall, each touching the next. Then add long straight lines across the wall between them.
How do I draw a pine tree for my cabin?
Start with a pointy top, then draw a few little steps down each side so it looks like branches. Finish with a short trunk at the bottom.